
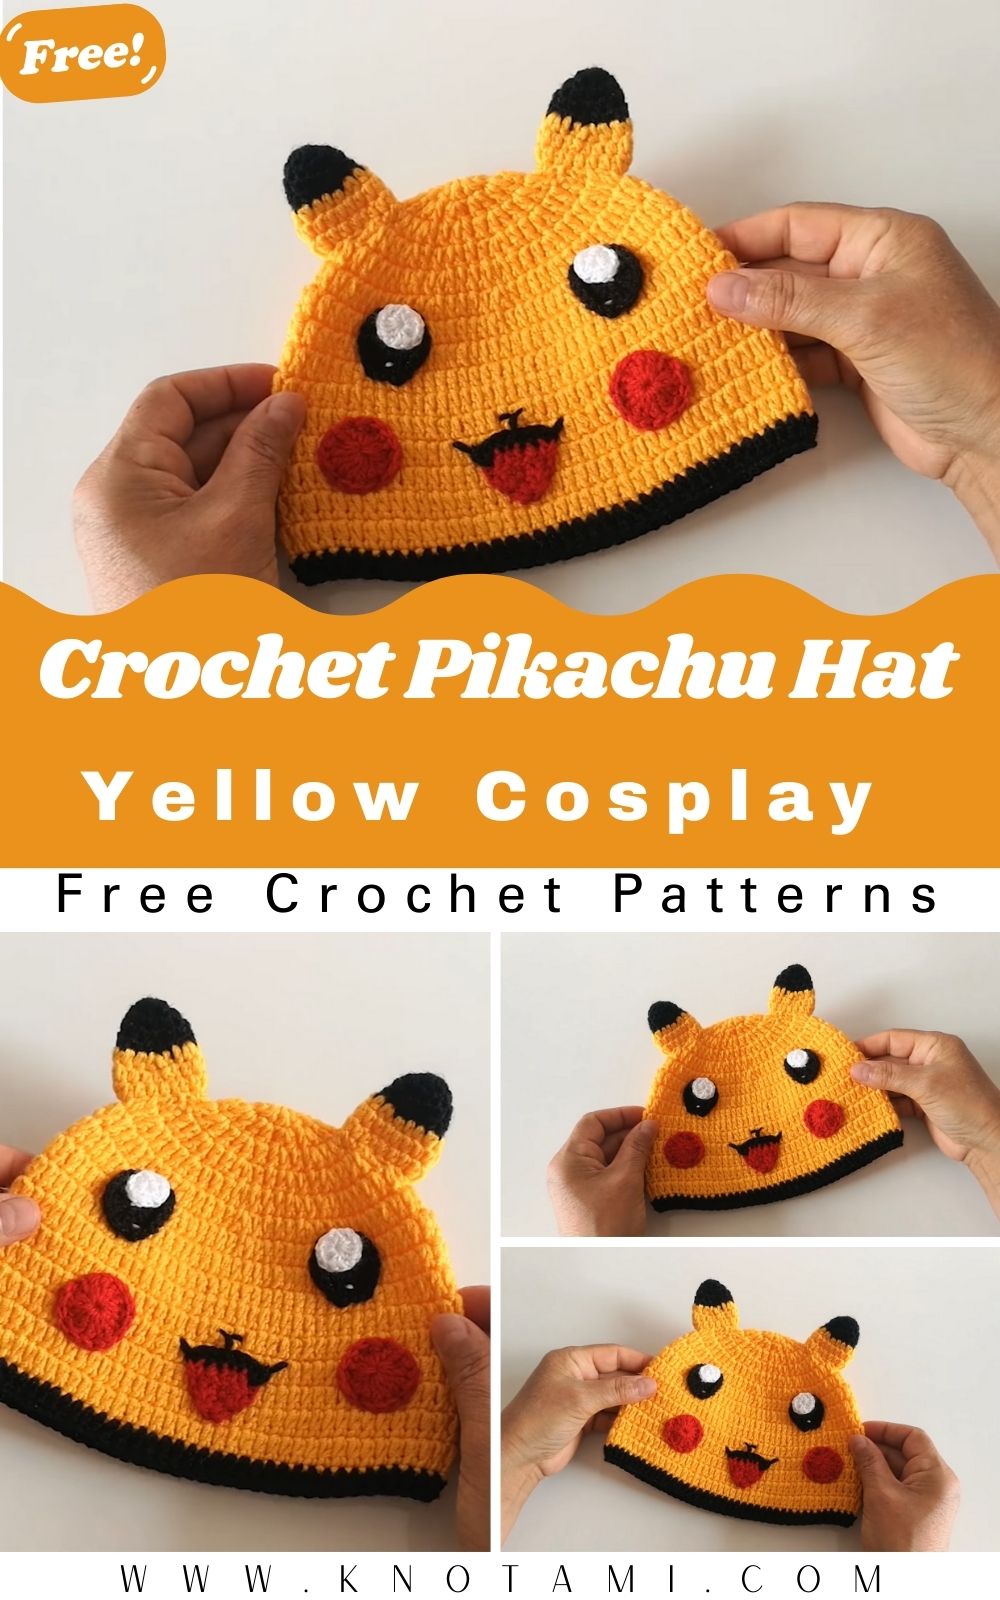
There’s a moment every crafter knows well. You finish a project, hold it up, and think yeah, that actually worked. Making a Crochet Pikachu Hat for the first time gives you one of those moments. Bright yellow stitches, pointy ears with dark tips, two rosy circles on the cheeks, and somehow a ball of yarn turns into a character millions of people have loved since childhood, and that never gets old.
This Crochet Pikachu Hat pattern walks you through the whole process from start to finish. Whether you’re making it for a child’s Halloween costume, a cosplay event, or simply because Pikachu has been culturally iconic for nearly three decades and honestly deserves a handmade tribute this is a satisfying project with a great payoff.
Why a Pikachu Hat Makes Such a Great Crochet Project
Crochet Pikachu Hat works exceptionally well in yarn form. The color palette is simple mostly yellow with small accents, and the shapes involved are rounded and forgiving, which is exactly what you want when you’re learning to crochet in the round. There’s no complex colorwork, no tricky stitch patterns, and no moment where the instructions suddenly become intimidating.
What makes this particular project special is how recognizable the finished result is. Even a slightly imperfect Pikachu hat reads immediately as Pikachu. The Crochet Pikachu Hat design is bold enough that small variations in tension or sizing don’t ruin the look. That makes it genuinely accessible for newer crocheters while still being something experienced makers enjoy working on.
It photographs well, gifts beautifully, and sells consistently at craft fairs. For something that takes a weekend to complete, the return on investment creatively and practically is hard to beat.
Project Overview
This is a top-down crocheted hat with two separately worked ears that get attached once the main hat is finished. Facial details are added last, using embroidery and felt or yarn accents for the cheeks.
Skill level: Beginner to intermediate. If you’ve completed a basic beanie before, you’re fully ready for this. If this is among your first hat projects, expect to move a little slowly through the ear shaping, it’s manageable; just take it one step at a time.
Estimated time: 5 to 8 hours for a complete hat, depending on size and working pace.
Sizing: The pattern scales for baby, child, and adult. Specific measurements are included throughout.
Materials List
Yarn
The main yarn color is a warm, saturated yellow – classic Crochet Pikachu Hat yellow, not lemon and not golden. Worsted weight is the recommended choice for this project. It creates a firm, well-shaped hat that holds up to regular wear and washing, and it works up at a comfortable pace.
For fiber content, a soft acrylic or cotton-acrylic blend works well. Acrylic is machine washable and comes in every color needed. If the hat is intended for a newborn or someone with sensitive skin, look specifically for yarns labeled extra soft or hypoallergenic.
Additional yarn colors needed:
- Black – for the ear tips and facial embroidery
- Red – for the cheek circles, or substitute with red felt
- Dark brown – a tiny bit goes a long way if you want to stitch Pikachu’s back stripe for a more detailed finish
Tools and Supplies
- Crochet hook, 5mm (H/8) standard for worsted weight
- Blunt yarn needle for sewing and weaving ends
- Stitch markers four is a comfortable number to have on hand
- Sharp scissors
- Small amount of polyfill stuffing for the ears
- Two small red felt circles, approximately 2.5 cm in diameter, or red yarn for embroidery
- Black embroidery floss for clean, fine facial features (optional but recommended)
Crochet Techniques Used
These are the stitches and methods that appear throughout this pattern. Most are fundamental techniques that come up in nearly every crochet project, so learning them here pays off well beyond this one hat.
- Magic ring used to start both the hat and each ear; creates a tight, gapless center
- Single crochet (sc) he primary stitch for the ears and crown shaping
- Half double crochet (hdc) used through the body of the hat for a slightly stretchier, softer fabric
- Increases two stitches worked into the same space to expand the fabric outward
- Decreases (sc2tog or invisible decrease) two stitches pulled together to taper the ear tips
- Slip stitch – for joining at the end of each round
- Sewing and embroidery – for attaching the ears and adding facial details
Step-by-Step Pattern Instructions
Step 1 – The Hat Crown
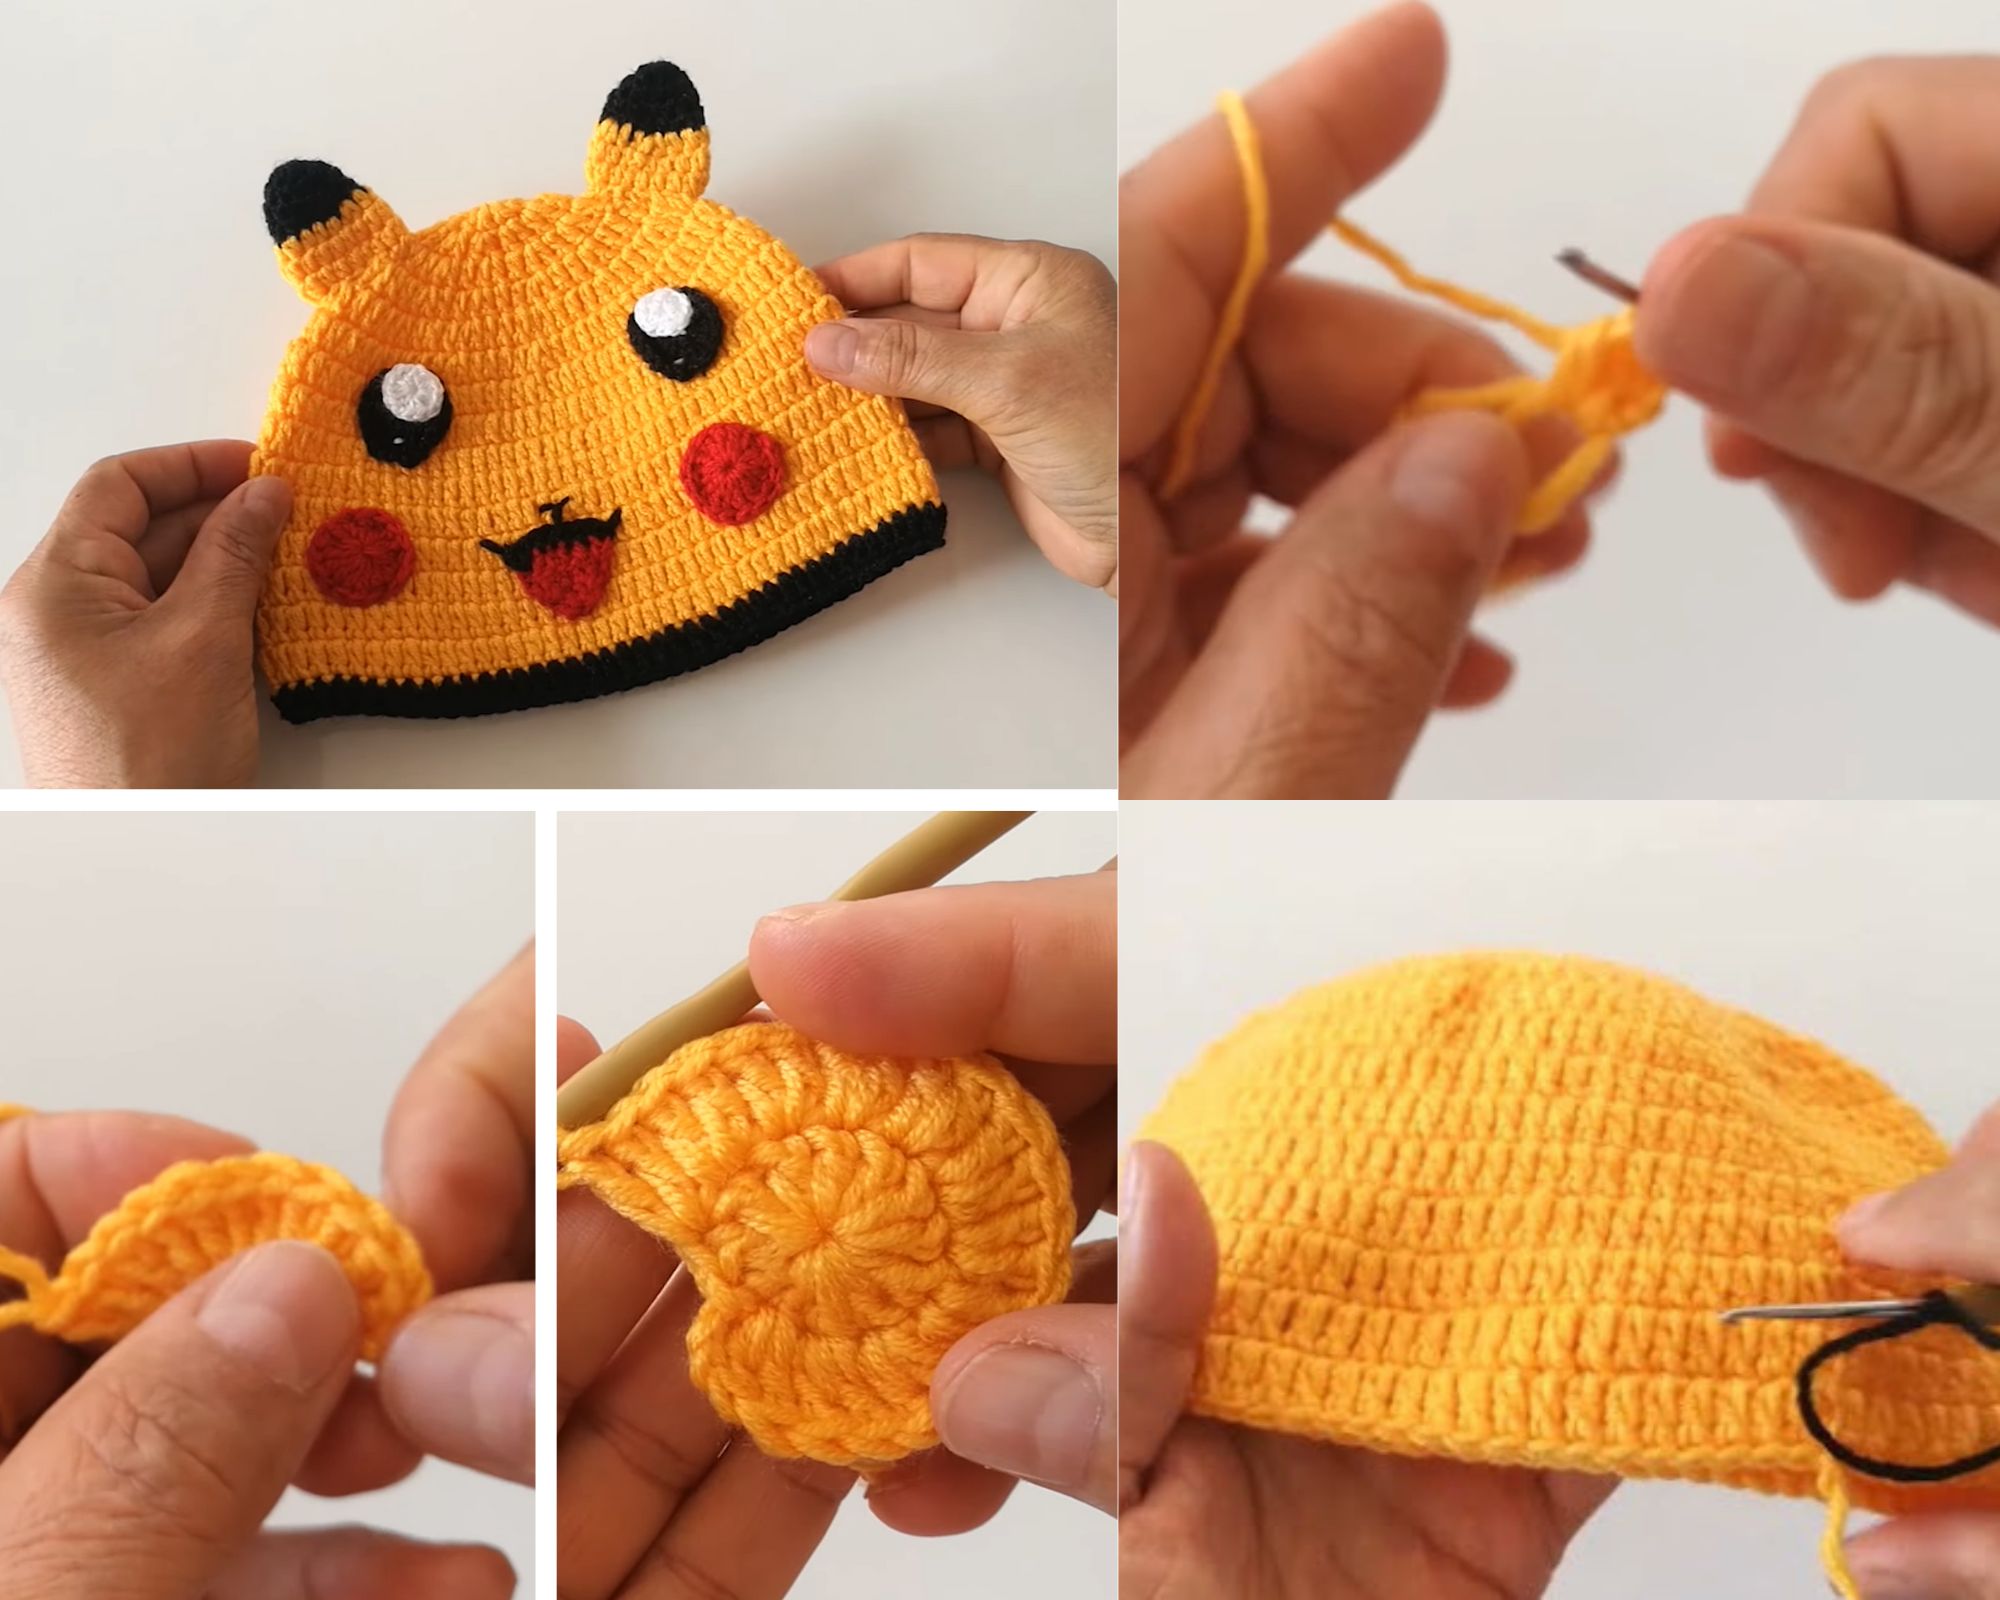
Set up a magic ring with yellow yarn. Work 6 single crochets into the ring, then draw the tail to close the center completely. This small circle of 6 stitches is where everything begins.
Each round that follows increases evenly, adding 6 stitches per round and expanding the circle outward. The increase pattern is consistent: single crochet into each stitch of the previous round, with one increase (2 stitches in 1 space) placed at regular intervals to keep the growth even.
Continue until the flat circle reaches the correct diameter for the intended size:
- Baby (up to 12 months): approximately 13–14 cm across
- Toddler (1–3 years): approximately 15–16 cm
- Child (4–10 years): approximately 17–19 cm
- Teen or adult: approximately 20–22 cm
Place a stitch marker at the first stitch of every round. Counting stitches at the end of each round takes only a moment and prevents the kind of mistake that only surfaces ten rounds later.
Step 2 – The Hat Body
Once the crown circle reaches the correct diameter, stop increasing entirely. From this point, crochet straight down in even rounds same stitch count each round, no shaping changes.
Switching to half double crochet for these rounds gives the hat body a slightly looser, more comfortable feel, particularly for adult sizing. Single crochet throughout is also perfectly fine and produces a firmer result.
Work downward until the hat reaches the appropriate depth:
- Baby: 13–15 cm deep
- Toddler: 15–17 cm deep
- Child: 18–20 cm deep
- Adult: 22–24 cm deep
Close the final round with a slip stitch, fasten off, and weave the end into the inside of the hat. Set aside.
Step 3 – Making the Ears
Each ear is worked in the round as an independent piece, then sewn to the finished hat. Make two.
Begin with a magic ring in yellow and work the same starting circle as the hat 6 single crochets, ring pulled closed. From there, increase for a few rounds to form a small oval shape, work several even rounds to build the height of the ear, then decrease inward over the final rounds to bring the top of the ear to a point.
Color change for the ear tip: Switch from yellow to black approximately two to three rounds before closing. This creates Pikachu’s signature dark ear tops cleanly, with no complicated techniques involved simply cut the yellow yarn, join black, and continue.
Before closing the last few stitches, tuck a small pinch of polyfill stuffing into the ear. Keep the amount modest just enough to give the ear a gentle firmness and help it stand upright on the hat rather than flopping to the side. Fasten off and leave a tail long enough to sew with.
Step 4 – Facial Details
The face is what makes this hat unmistakable. Pikachu’s features are simple but specific, and each element contributes to the overall recognition.
Eyes: Using black yarn or embroidery floss, stitch two small filled ovals onto the front center of the hat. Position them at roughly the midpoint of the hat’s depth, spaced a few centimeters apart. Keeping the eyes proportionally small gives a more accurate, appealing result than oversized eyes would.
Cheek circles: These red circles are the detail that ties the whole face together. Two small circles cut from red felt or embroidered in red yarn placed just below and outside each eye, complete Pikachu’s expression immediately. Felt gives a cleaner, graphic look. Embroidered circles have a softer, handmade quality. Either works well; the choice comes down to personal preference.
Nose and mouth: A small inverted triangle in dark brown or black for the nose, and a subtle curved line for the mouth, can be added with just a few stitches. These details are optional but add polish to the finished face, especially on larger adult-sized hats where the facial area has more visual space.
Step 5 – Assembly
With hat and ears complete, the final stage is putting everything together.
Hold the ears against the top of the hat to work out placement before sewing. Ears positioned slightly toward the front of the hat — rather than directly centered on top tend to look more natural and more recognizably Pikachu. Use pins to hold them in place, then step back and check the positioning from multiple angles. Symmetry matters significantly here; a small difference in ear placement is noticeable on the finished hat.
Once the placement looks right, sew each ear down securely using the long yarn tail and the yarn needle. Work all the way around the base of each ear rather than stitching just a few points. For a hat that will be worn and washed regularly, a thorough join holds far better over time than a quick attachment.
Weave in all remaining ends on the inside of the hat. Give the finished piece a gentle stretch in all directions to check that nothing pulls loose, and the hat is complete.
Tips That Actually Make a Difference
Use stitch markers at the round start every single time. In worked-in-the-round projects, losing track of where a round begins is one of the most common problems and one of the easiest to prevent. Mark it, every round, without exception.
Check your gauge before committing to the full hat. Work the first several increase rounds and measure the circle. If it’s growing faster than expected, your tension is loose and you may want to drop half a hook size. A few minutes now saves significant reworking later.
The invisible decrease is worth learning for the ears. The standard sc2tog decrease creates a slight bump on the outside of the fabric. The invisible decrease produces a noticeably cleaner result on pieces like these, where the shaping is visible. It takes about ten minutes to learn and improves the finish of shaped crochet noticeably.
Sew ears before embroidering the face. It sounds minor, but knowing where the ears sit helps with positioning the eyes and cheeks accurately relative to the full design.
Pin cheek placement before sewing. The red circles look different pinned in place on a stuffed hat than they do held against the flat yarn. Always pin and evaluate before committing to the final position.
Customization Options
The core pattern is a solid foundation that adapts in several interesting directions.
Metallic Pikachu: Holding a strand of fine gold or metallic yarn alongside the yellow yarn throughout creates a subtly sparkly effect. It photographs exceptionally well and gives the hat a distinctive look without changing the construction at all.
Miniature version: Dropping to fingering weight yarn with a 2.5mm hook produces a significantly smaller hat appropriate for newborn photography, doll accessories, or as a display piece. The same stitch pattern scales down cleanly.
Lightning bolt detail: A small crocheted or felt lightning bolt sewn onto the back of the hat adds another layer of accuracy to the design and looks particularly effective in photos from behind.
Other Pokémon variations: The Crochet Pikachu Hat base adapts to other characters with changes to color and ear shape. Eevee translates well in brown with cream-colored inner ears. Jigglypuff works in soft pink with a small curl on top. Gengar can be worked in purple with angular ears. Once the technique is established, the range of possibilities is wide.
Frequently Asked Questions
What Yarn Gives the Best Result for a Wearable Hat?
A soft worsted-weight acrylic remains the most practical choice for hats intended for regular use. It holds shape well, withstands frequent washing, and is available in exactly the colors this project requires. For gift hats or items for people with sensitive skin, a labeled-soft or cotton-blend option in the same weight is a good alternative.
The Hat Turned Out Loosely Shaped. What Likely Went Wrong?
In most cases, tension is the cause. A hook size that’s too large for the yarn, or a naturally loose working tension, produces fabric that doesn’t hold its structure. Going down half a hook size is usually enough to correct this. Blocking the finished hat either by steaming lightly or shaping it damp over a balloon and letting it dry also helps considerably.
How Long Does the Full Project Realistically Take?
A child-sized hat, including ears and face runs approximately 5 to 6 hours for someone who crochets with reasonable regularity. An adult-sized version is closer to 7 to 8 hours. Working across several sessions is perfectly fine place a locking stitch marker in the working stitch when setting the project down so the place is held securely.
Is There a Way to Start Without a Magic Ring?
Yes. Chain 2 and work the starting stitches into the second chain from the hook. The center won’t close quite as tightly as a magic ring, but the difference is minor in a finished hat, and the technique is more straightforward for beginners who find the magic ring difficult to manage at first.
Can Finished Hats Made From This Pattern Be Sold?
The tutorial this pattern is based on is freely shared online. Many designers allow the sale of finished handmade items, provided proper credit is given to the original creator. When the intention is to sell regularly, reaching out to the designer directly to confirm their terms is always the right a
Closing Thoughts
A handmade Crochet Pikachu Hat is genuinely one of those projects that delivers more than expected. At first glance, the construction is straightforward, the materials are inexpensive, and the finished result is something people react to warmly every single time.
More importantly, it serves as a reminder of what makes handmade work worth doing. After all, the time and attention that go into every round produce something no mass-manufactured hat can replicate, and as a result, that difference is felt by everyone who wears or receives it.
In the end, work through it at whatever pace feels comfortable. Fortunately, the pattern is forgiving, the techniques are learnable, and ultimately, the result is worth every stitch.