
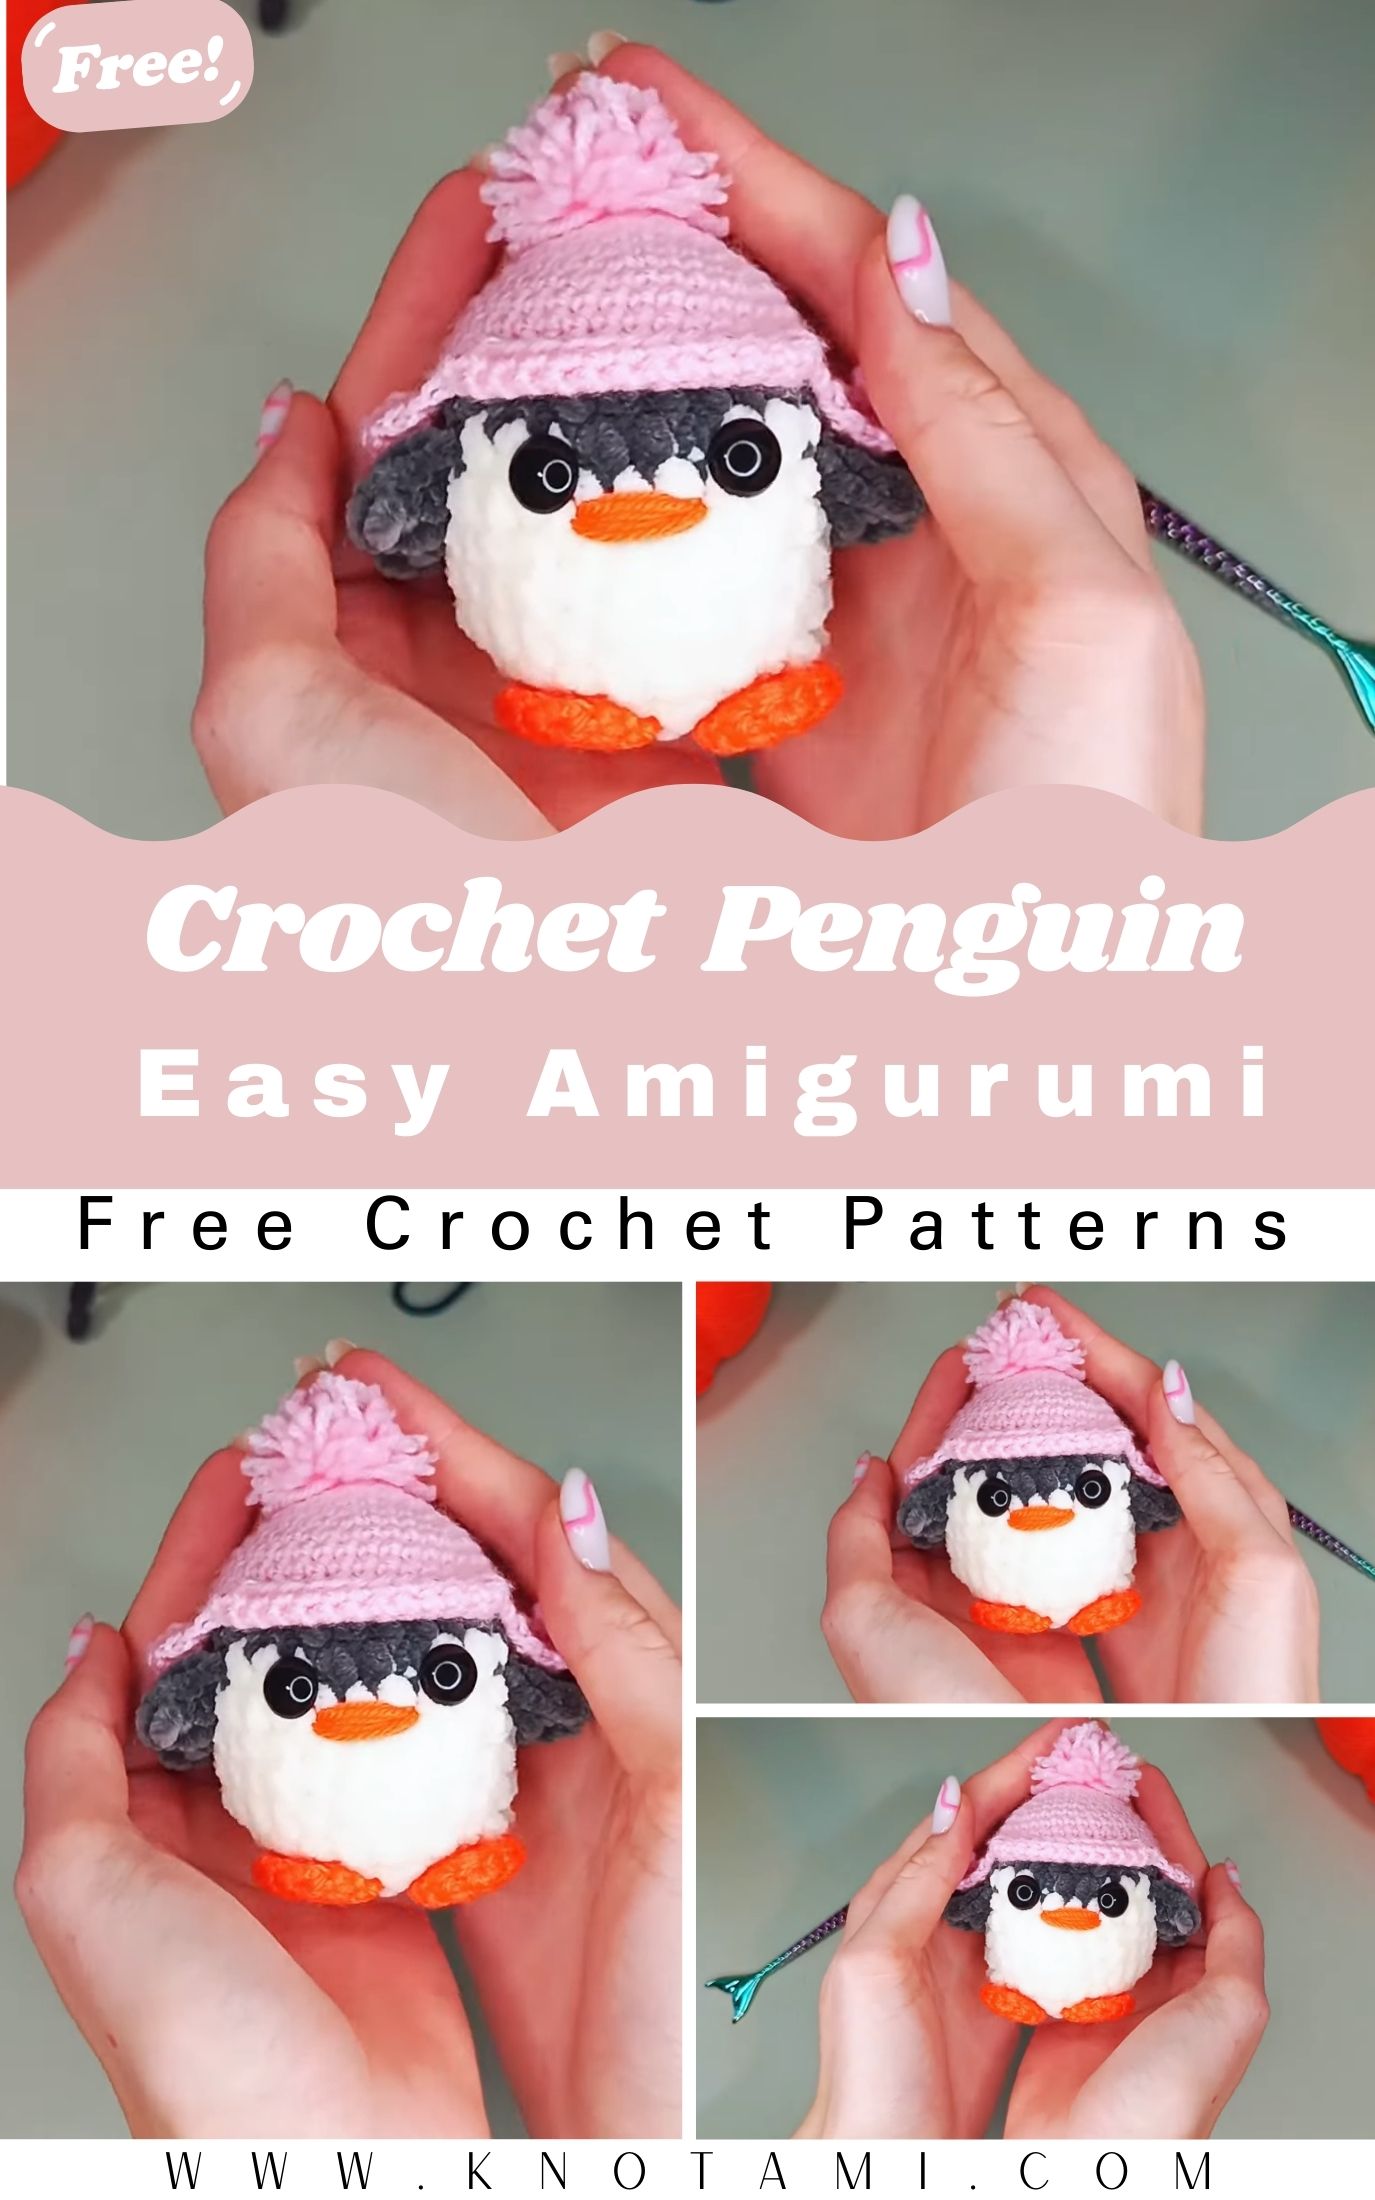
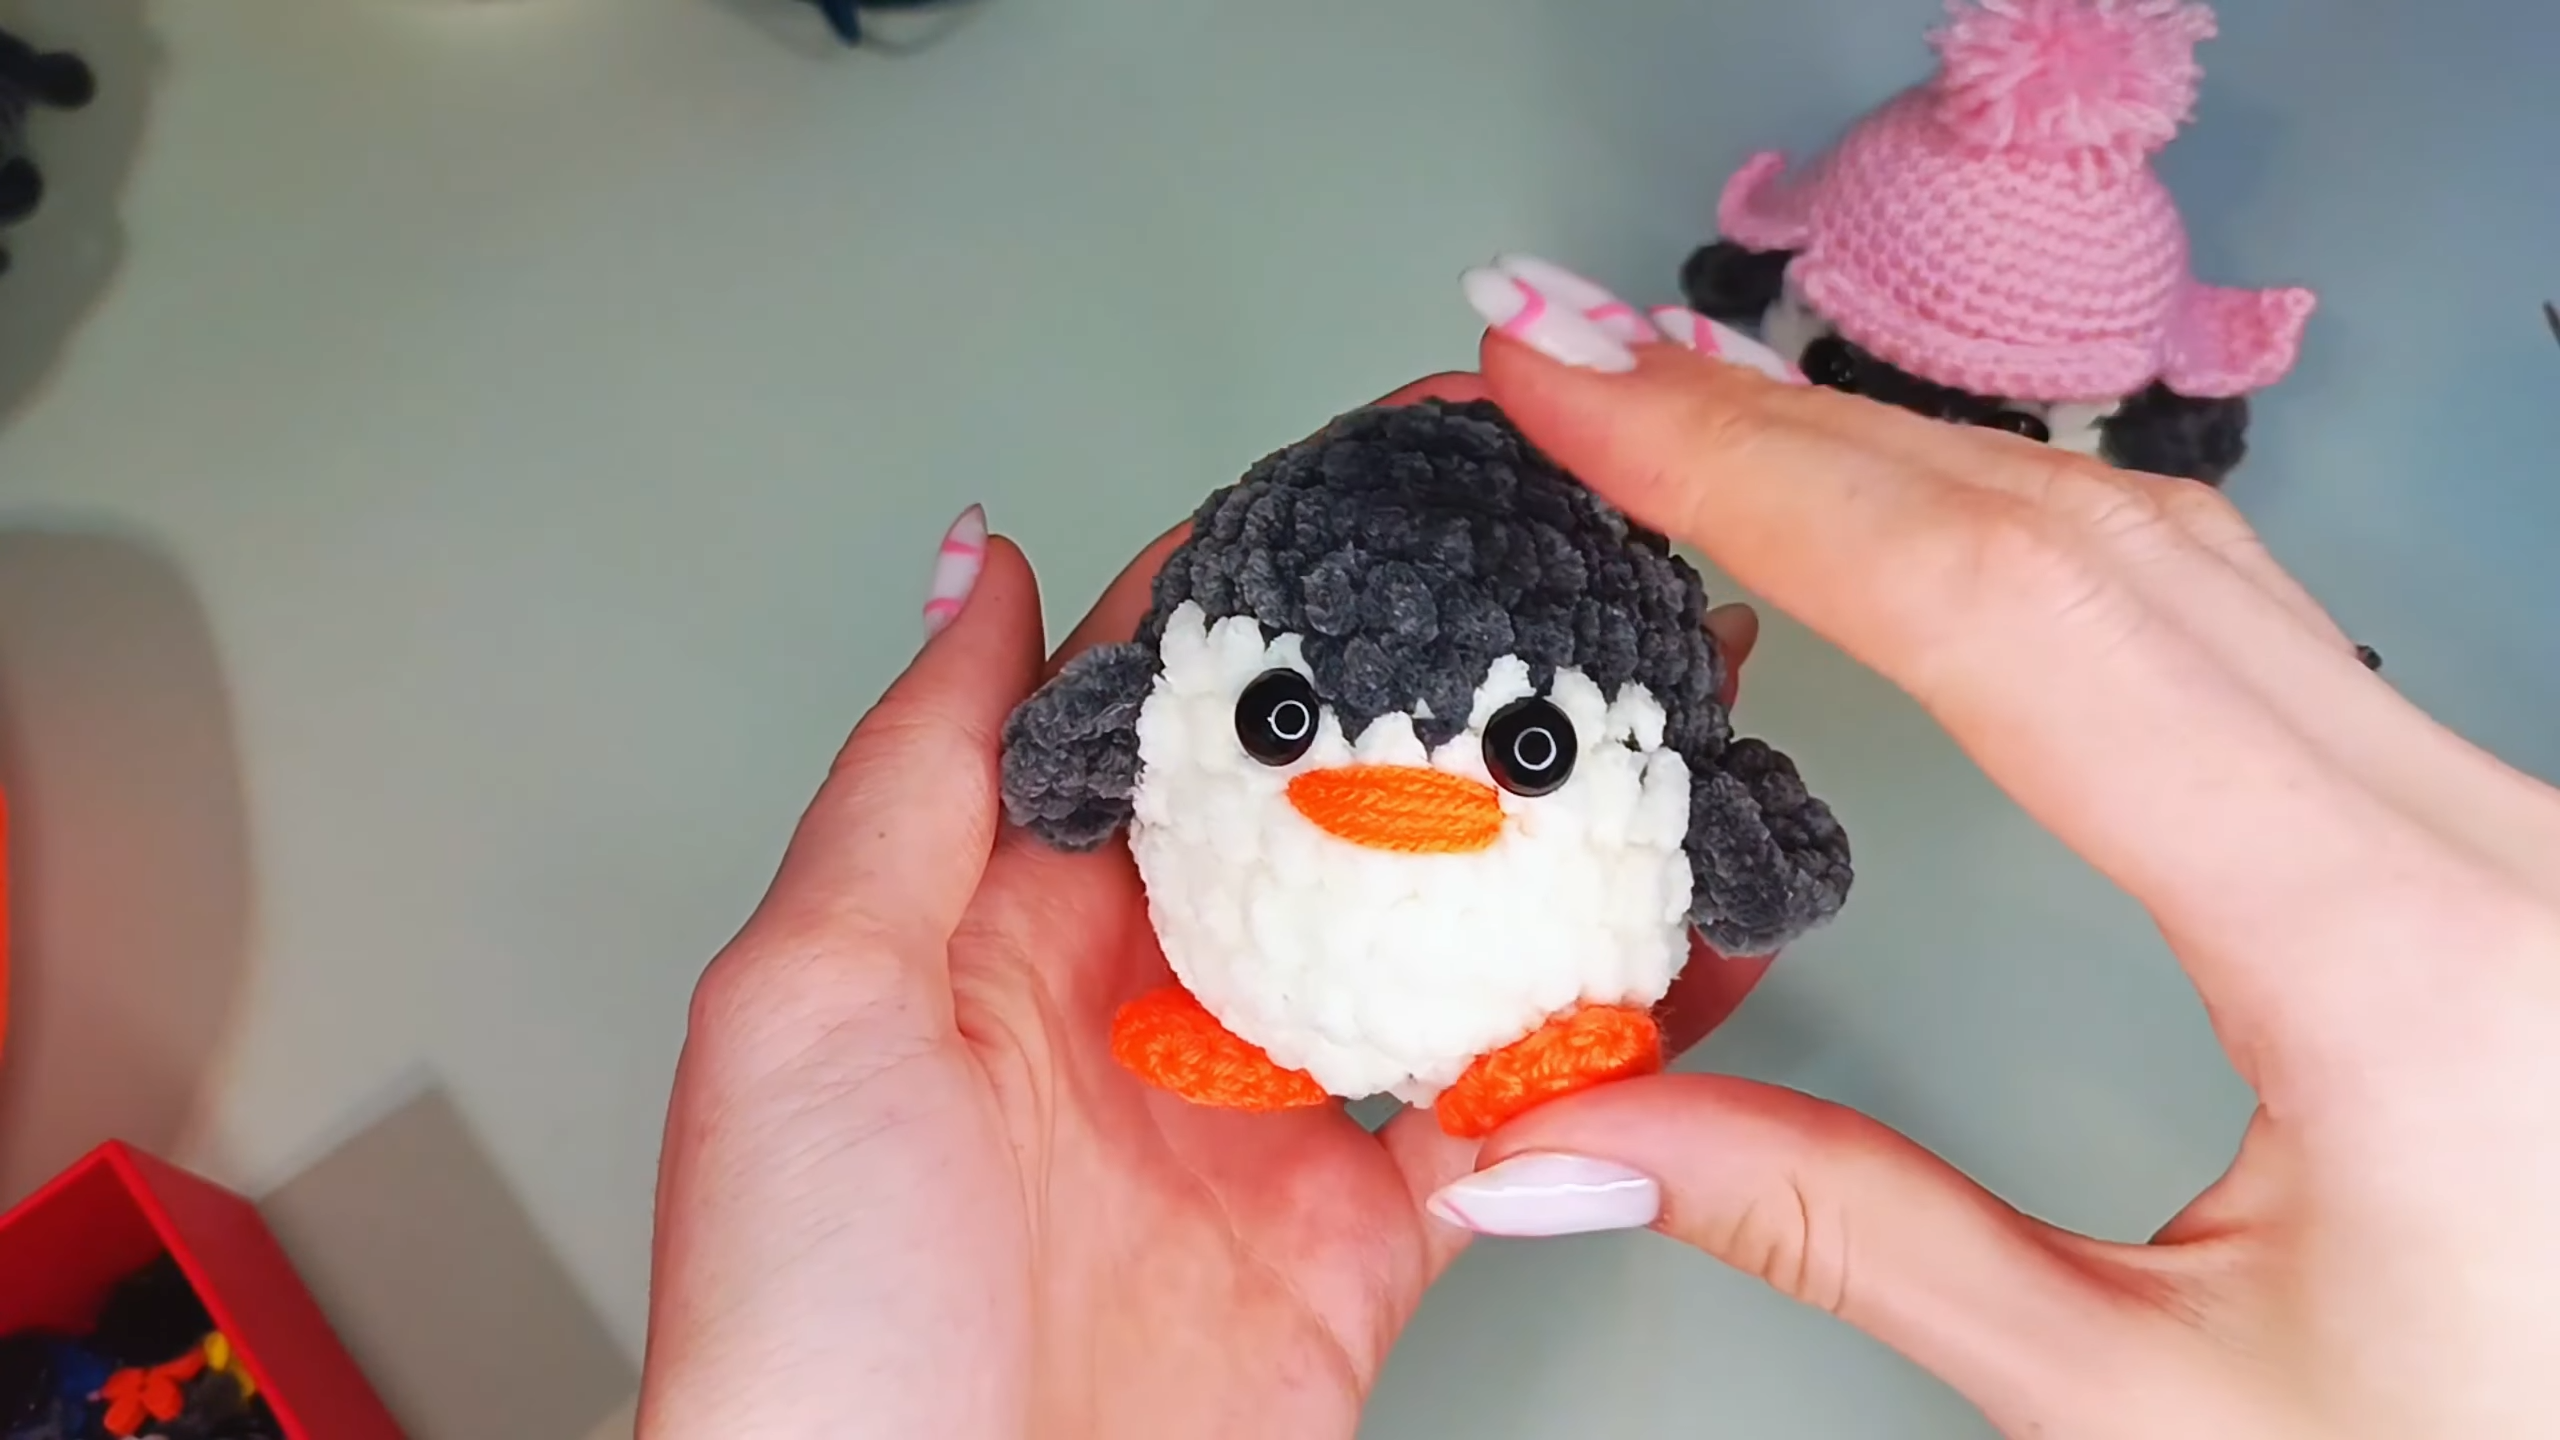
Are you looking for a fun and fast project to brighten your day? If so, you are in the right place because today we are diving into the world of the crochet penguin amigurumi. This little guy is not just any ordinary plushie; he is a “no sew” project, which means you won’t have to spend hours fumbling with a darning needle to attach limbs. Instead, you will use clever crochet methods to join everything as you go. This makes the process incredibly smooth and satisfying for anyone who loves seeing their creations come to life quickly.
Whether you are a seasoned pro or just starting your journey with a hook and yarn, this crochet penguin amigurumi is designed to be accessible and enjoyable. We will use soft, bulky velvet yarn to give him that signature “squishy” feel that everyone loves. Because this pattern is beginner friendly, you can focus on mastering your tension and stitches without the stress of complex assembly. Furthermore, the small size of this pocket penguin makes it a perfect “scrap buster” project for those leftover bits of yarn you have lying around your craft room.
After you watch the video tutorial provided above, you will see exactly how the no sew technique works in real time. It is often much easier to visualize the stitch placement and color changes when you see them performed by an expert. Consequently, I highly recommend following along with the video while reading the written instructions below to ensure your crochet penguin amigurumi turns out perfectly symmetrical and adorable.
Skill Level: Beginner Friendly
The level of difficulty for this project is definitely “Easy.” Since this is a no sew pattern, the most challenging part is simply managing the color changes in the head section. If you know how to do a single crochet, an increase, and a decrease, you are already halfway there! This project is an excellent way for beginners to practice working with bulky plush yarn, which can sometimes be tricky to see but is very forgiving of small mistakes.
Tutor’s Suggestions for Success
Before you begin your crochet penguin amigurumi, I have a few professional tips to share with you. First, always make sure you are using a stitch marker. When working with Chenille or velvet yarn, it is very easy to lose track of where your round starts because the “fuzz” hides the stitch definition. Additionally, try to keep your tension consistent; if you crochet too loosely, the fiberfill stuffing might peek through the holes. Lastly, if you find the magic ring difficult with this specific yarn, don’t worry! Using the “chain 2” method mentioned in the guide is a much safer way to start without snapping your thread.
Materials Needed for Your Penguin
To create your very own crochet penguin amigurumi, you will need to gather the following supplies:
-
Super Bulky Weight Yarn: I suggest a 100% polyester Chenille or velvet yarn. You will need light gray (for the wings and body), white (for the face), dark gray (for the top of the head), and orange (for the beak and feet).
-
Crochet Hook: A 5 mm hook works best with this yarn weight to keep the stitches tight.
-
Safety Eyes: 10 mm or 12 mm plastic safety eyes.
-
Stuffing: High-quality fiberfill to make him extra cuddly.
-
Tools: A pair of sharp scissors and a large eye yarn needle for weaving in ends.
Step-by-Step Guide to the Crochet Penguin Amigurumi
Phase 1: Crafting the Wings (Make Two)
To start your crochet penguin amigurumi, you must first create the wings. Begin with your light gray yarn. Chain two, then place six single crochets into the second chain from the hook. In the second round, you will increase your stitch count to eight. For the third round, simply single crochet around. In round four, you will increase again to reach ten stitches. Round five is a straight round of ten. In round six, increase to twelve stitches. Round seven is another straight round. Finally, in round eight, decrease six times to close the wing slightly. Fasten off, but leave a small tail. Remember, you don’t need to sew these; we will join them later!
Phase 2: Building the Body
Now, you will move on to the main body of the crochet penguin amigurumi. Using the same light gray yarn, start with a chain of two and put eight single crochets in the first chain. In round two, increase in every stitch to get 16. In round three, follow a pattern of “one single crochet, then one increase” to reach 24 stitches. From rounds four to eight, you will simply work even rounds. This builds the height of your penguin. In rounds nine and ten, you will begin decreasing slightly to shape the neck. By round eleven, you should have a sturdy base ready for the wings.
Phase 3: The No-Sew Wing Attachment
This is the most exciting part of the crochet penguin amigurumi process! In round twelve, you will hold your wings flat against your body. You will insert your hook through both the wing layers and the body layer at the same time. By doing three single crochets through these combined layers, the wing becomes a permanent part of the body. Repeat this on the opposite side. This technique ensures your penguin is durable and safe for children, as there are no sewn seams that could come apart over time.
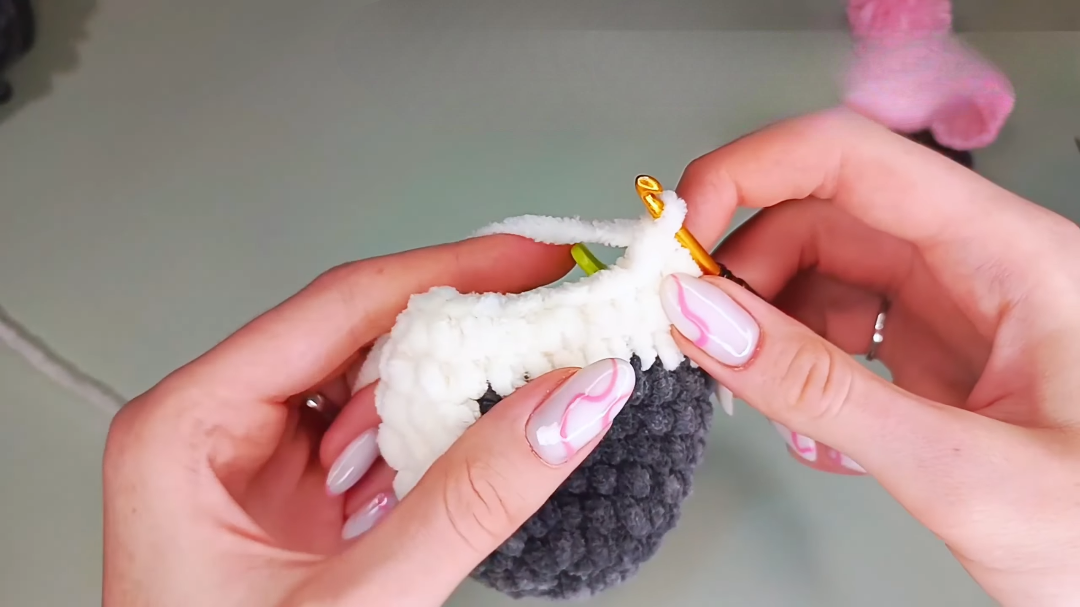
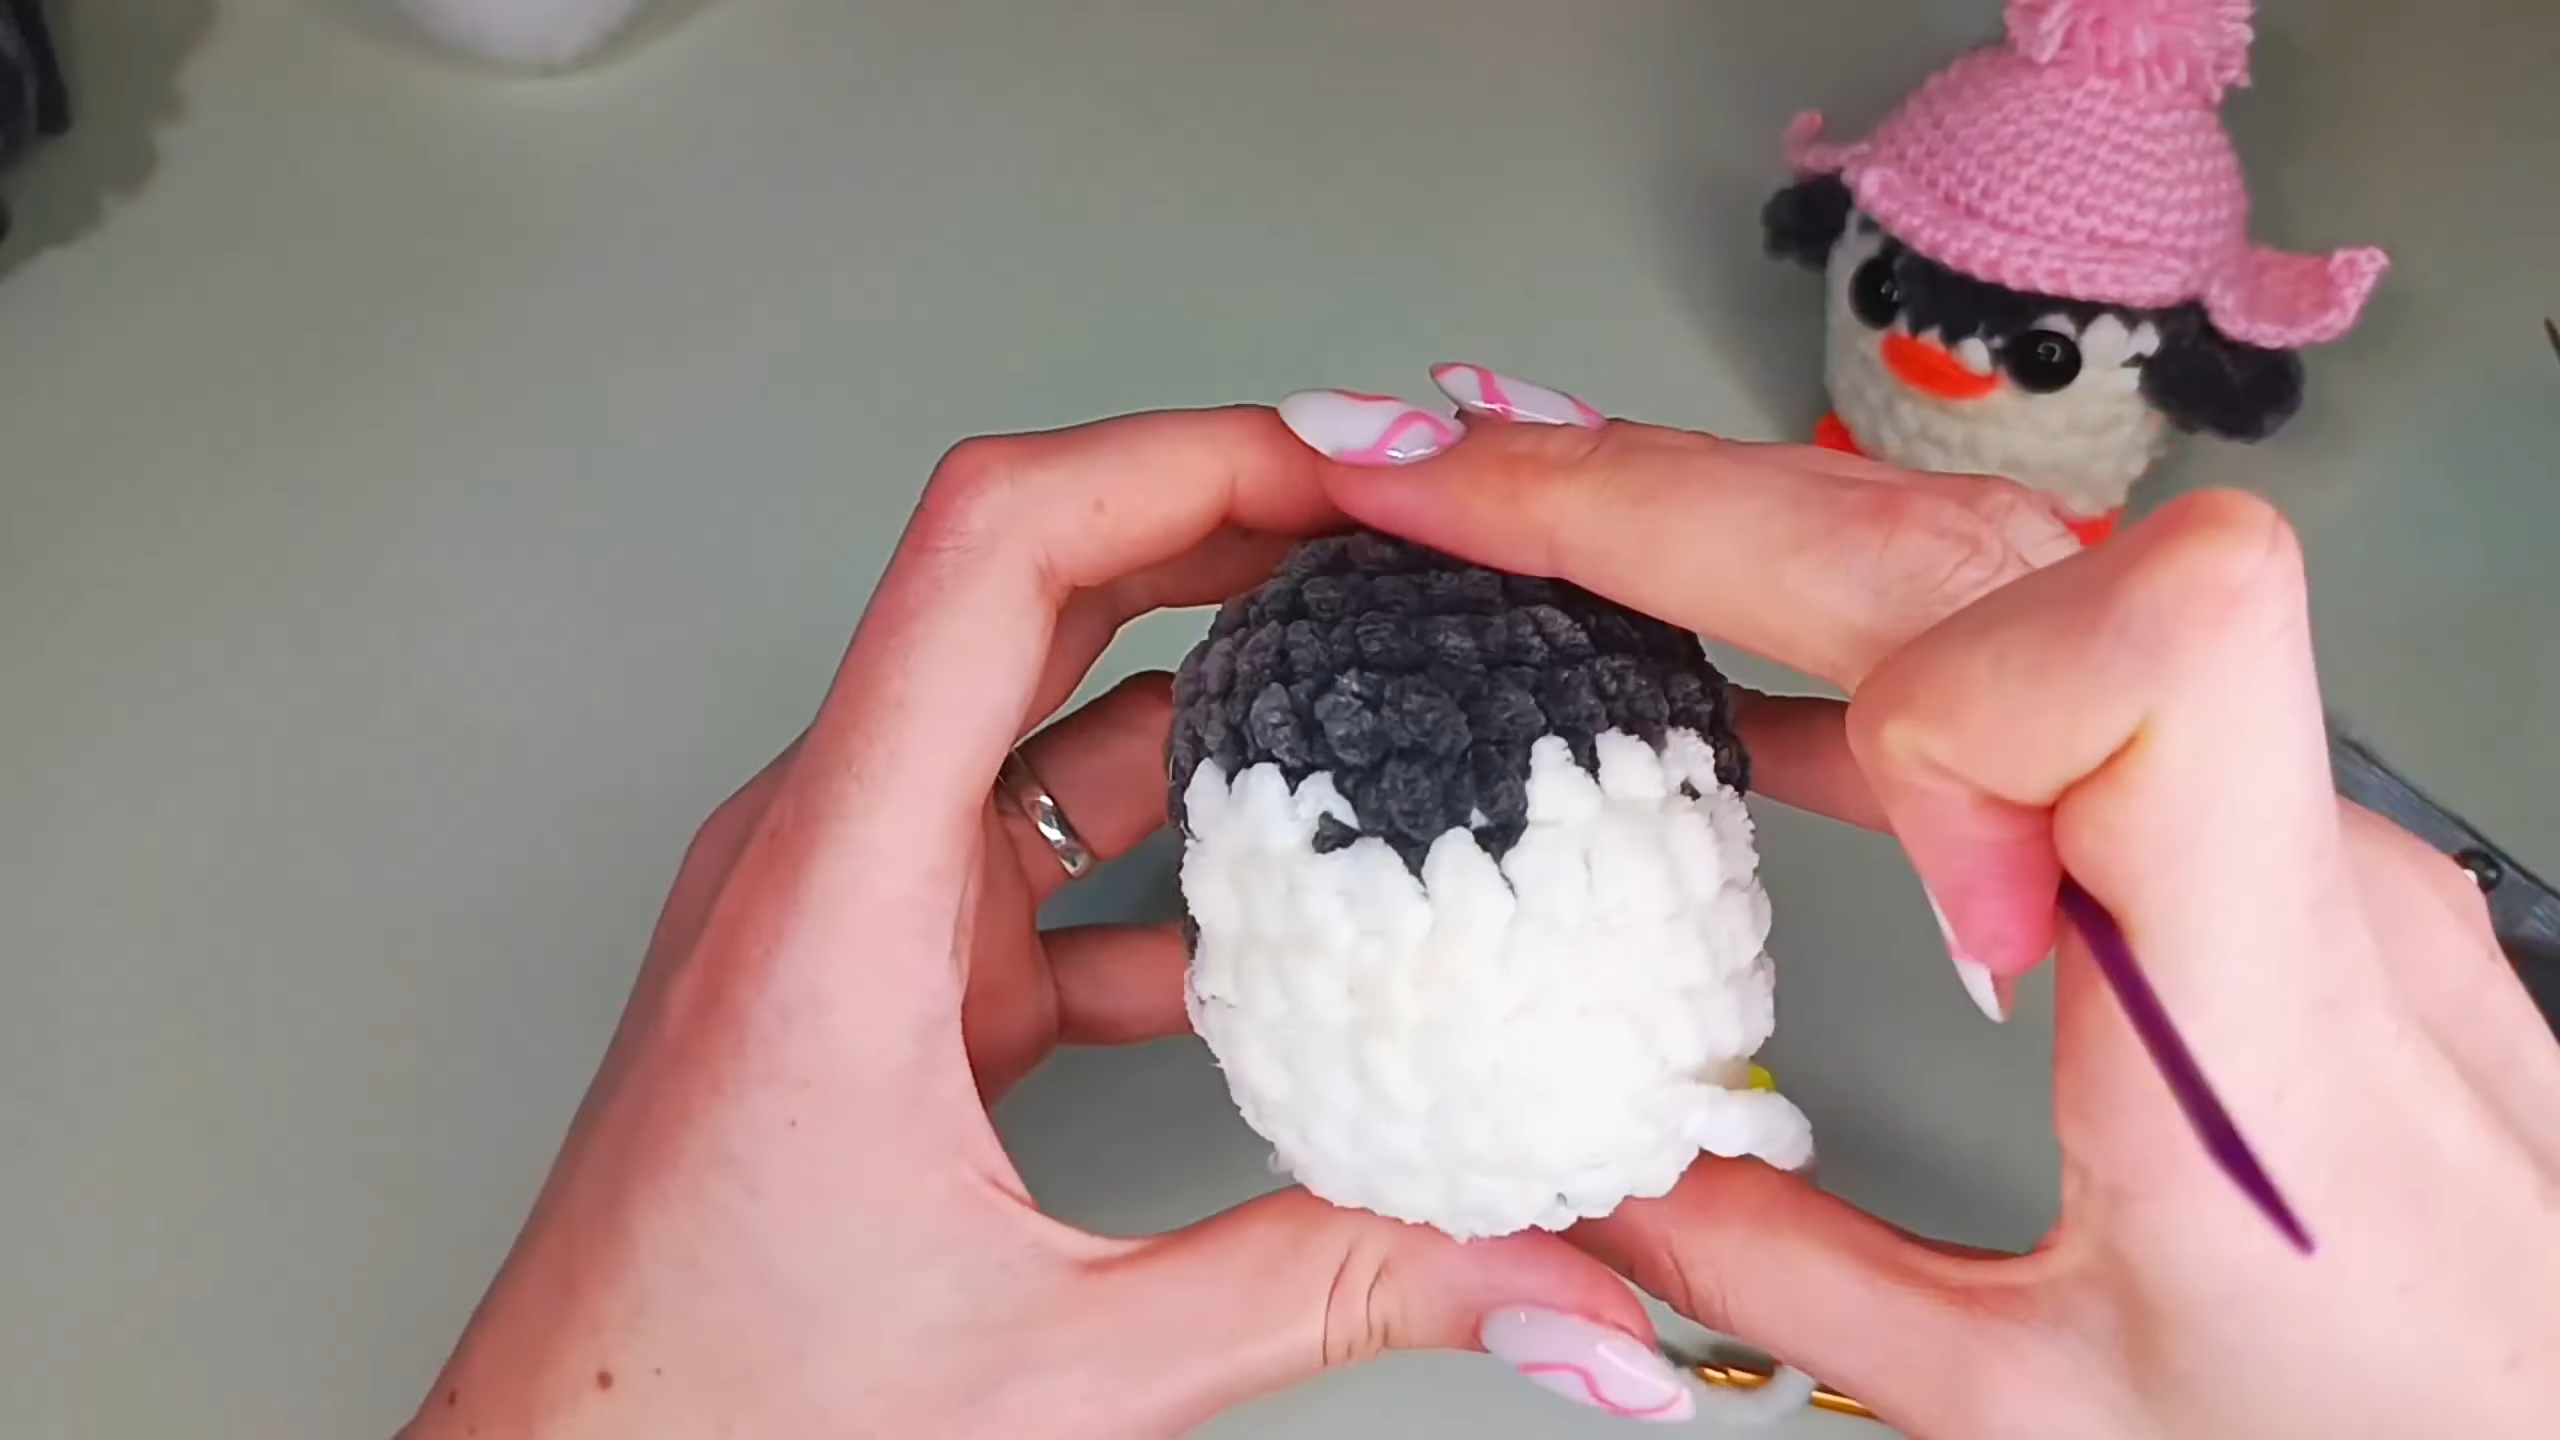
Phase 4: Creating the Penguin Face and Head
Next, you will switch to white and dark gray yarn to create the iconic penguin look. This part requires some focus as you change colors to create the face “mask.” You will work in the front loops only for round thirteen to create a transition ridge. As you move upward, you will alternate between the dark gray for the back of the head and the white for the face. Ensure you keep the yarn “floats” on the inside of the head loose. If you pull them too tight, the face will scrunch up and look uneven. Insert your safety eyes between rounds 16 and 17, roughly three stitches away from the color change.
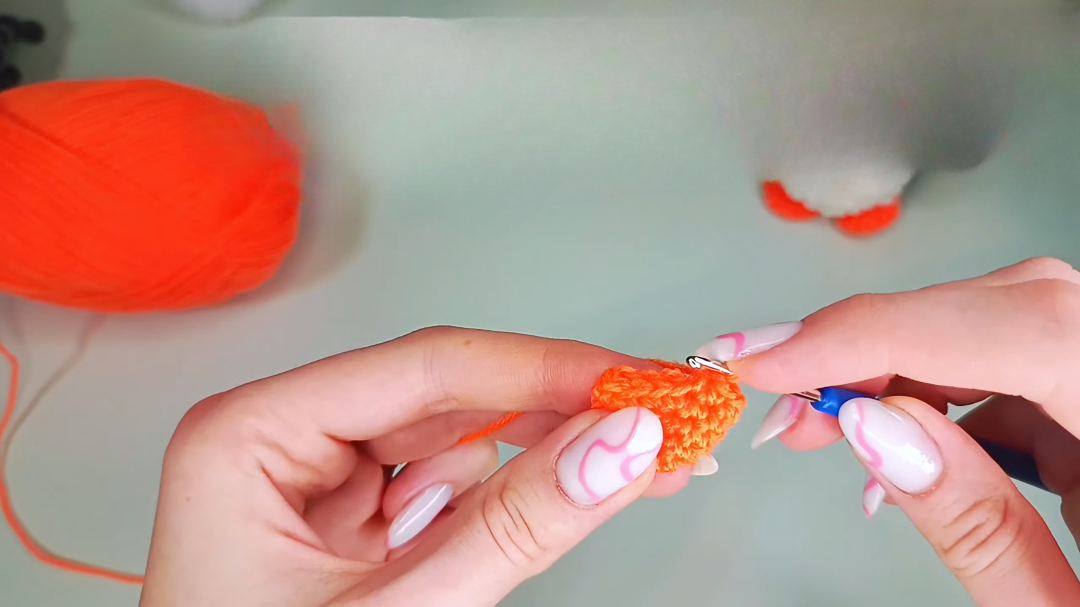
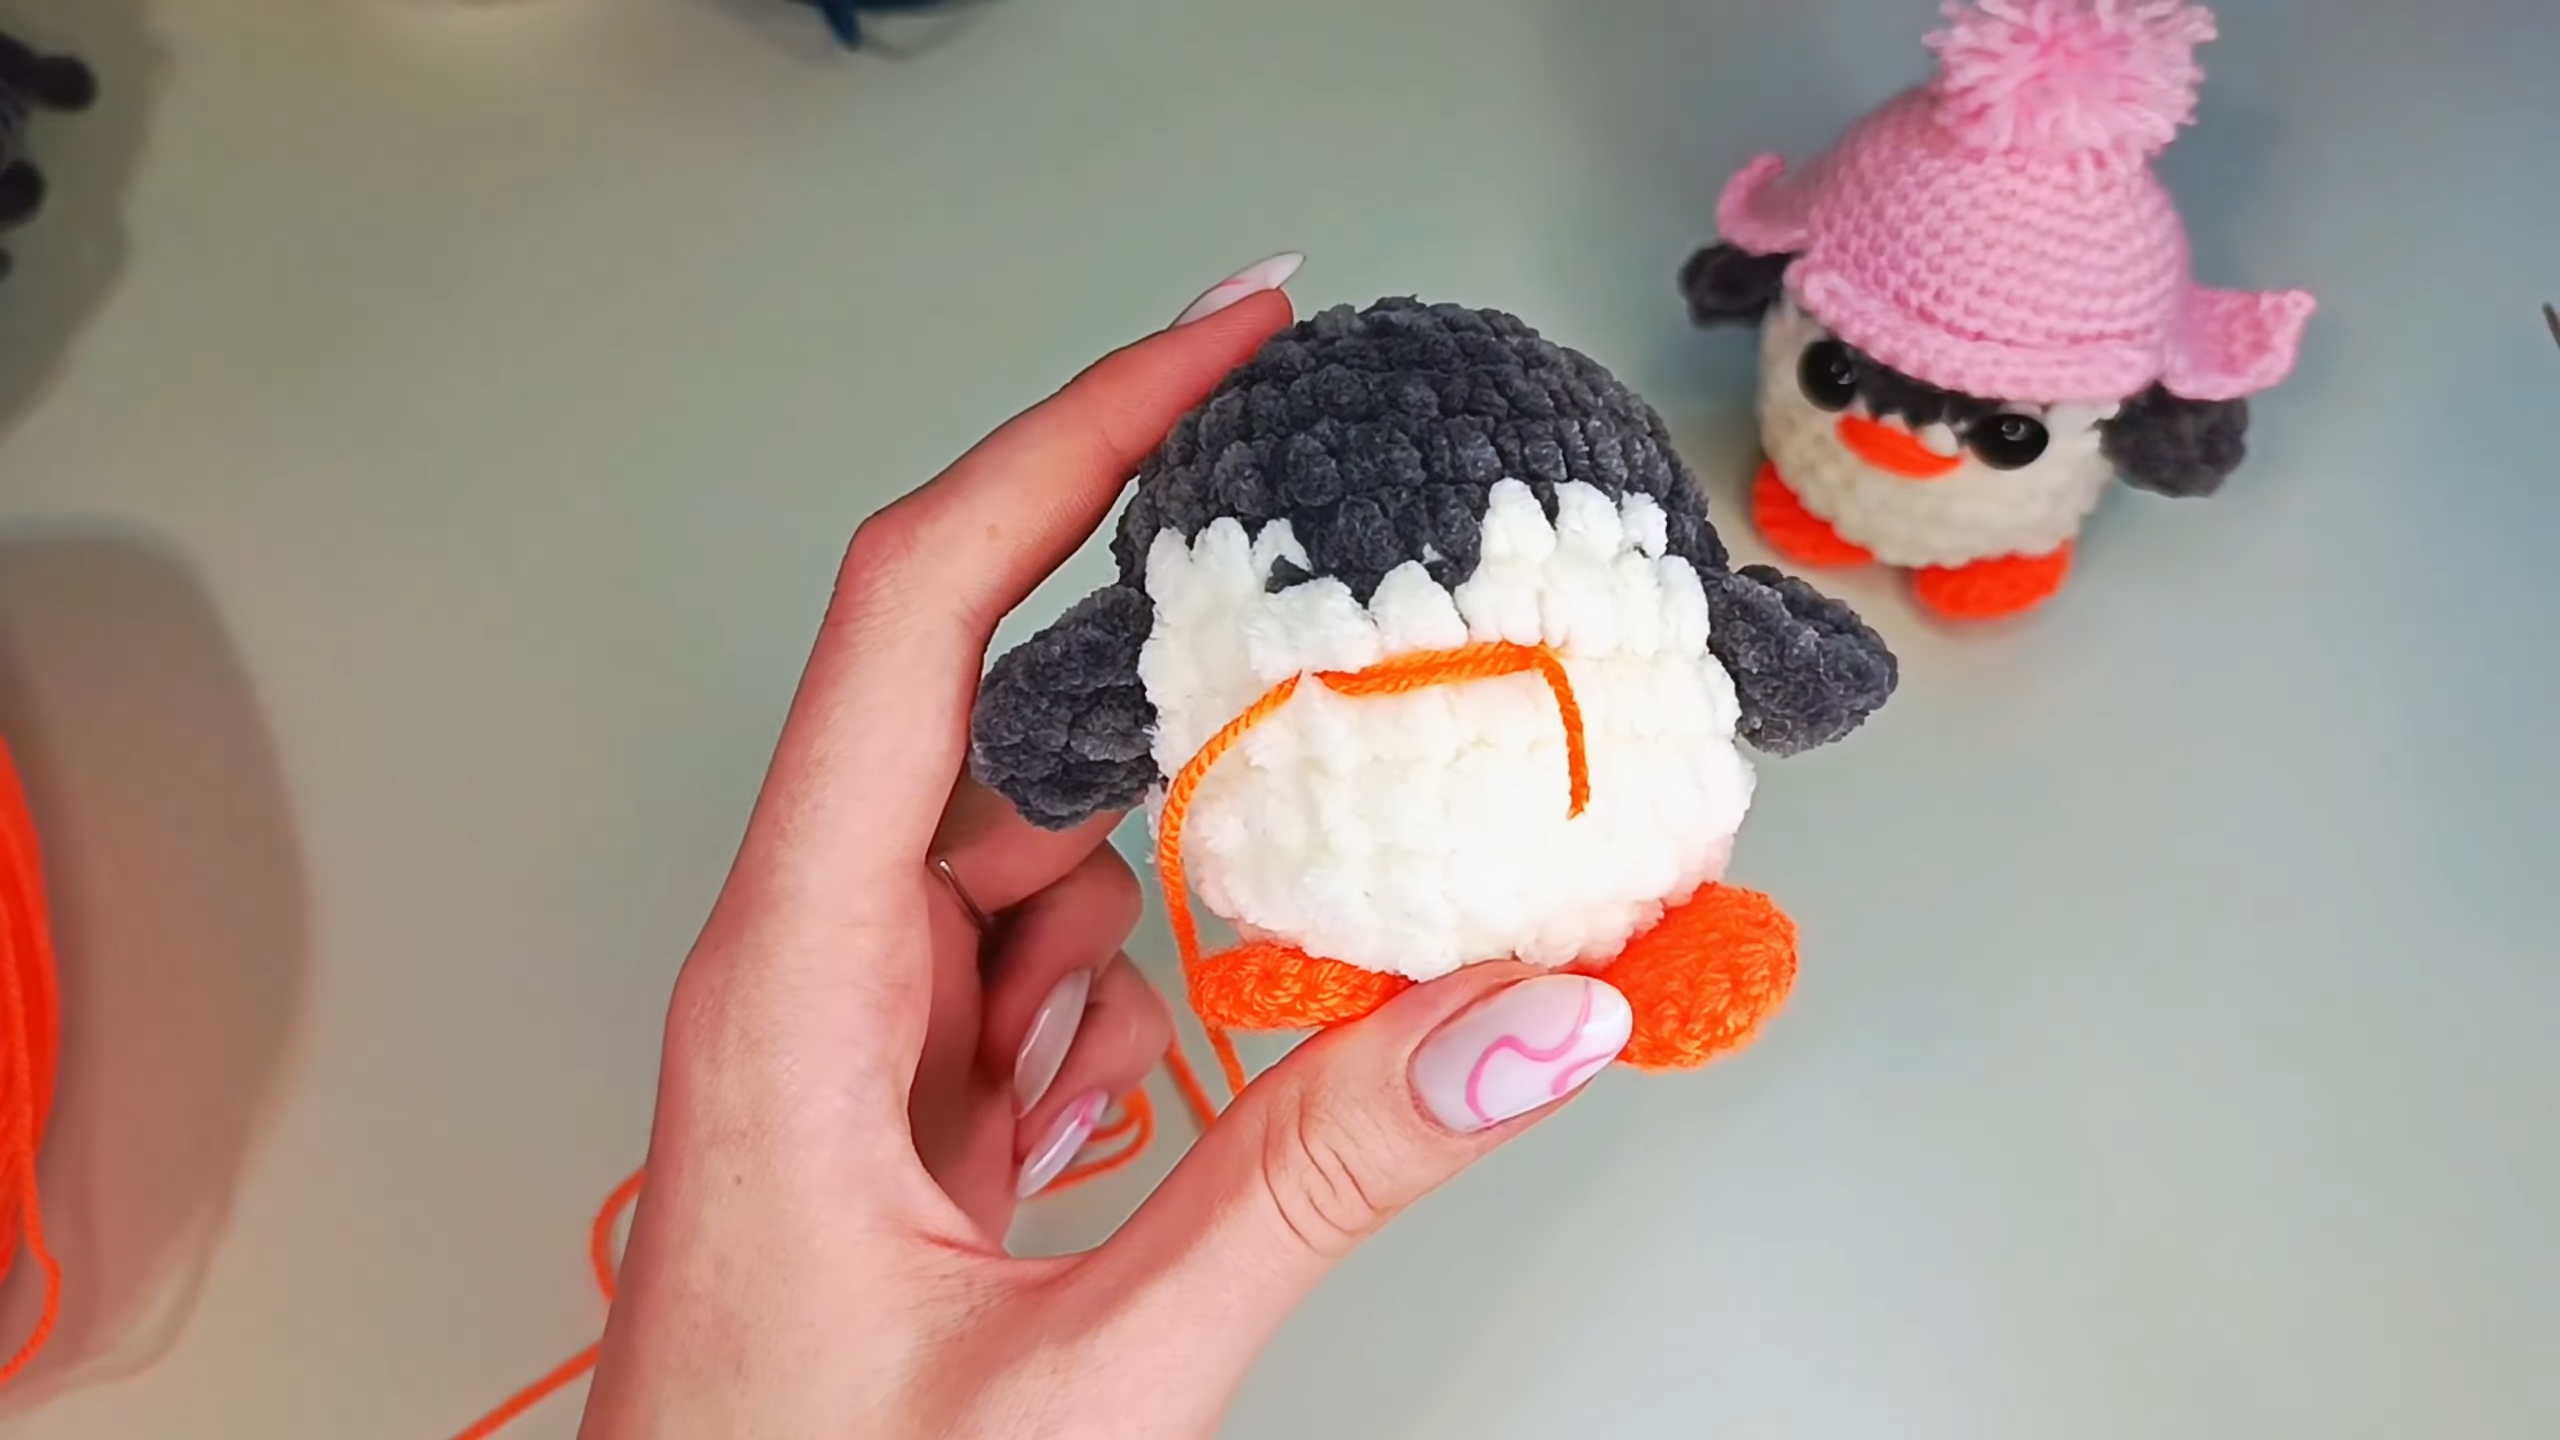
Phase 5: Closing and Details
After you have stuffed the head firmly, you will finish the crochet penguin amigurumi by decreasing until the hole is small enough to cinch shut. Once the head is closed, you will use your orange yarn to add the beak and feet. The beak is a simple cluster of stitches placed right between the eyes. For the feet, you will join the orange yarn at the bottom of the body (around round four) and create three tiny chain loops to represent toes. Because you are doing this directly onto the body, it remains a true no-sew project.
VIDEO PATTERN
Where Can You Use This Little Penguin?
This crochet penguin amigurumi is incredibly versatile! Because of its small “pocket” size, it makes a wonderful keychain if you attach a metal ring to the top. Furthermore, these are excellent items for craft fairs because they are quick to make and very popular with customers of all ages. You can also use them as “worry pets” for children, as the soft velvet texture provides a calming sensory experience. They even work perfectly as Christmas tree ornaments or as a cute desk companion to keep you company while you work.
Pro Tips and Tricks
-
Yarn Selection: If you cannot find velvet yarn, you can use two strands of worsted weight yarn held together to get a similar bulky effect.
-
Invisible Decreases: For a cleaner look on your crochet penguin amigurumi, use the “invisible decrease” method. This involves going through the front loops only of the next two stitches before completing your single crochet.
-
Stuffing Secret: Use the back of your crochet hook to push stuffing into the tiny corners of the wings or the very top of the head to ensure a smooth, rounded shape.
Common Mistakes to Avoid
One common mistake is pulling the color change yarn too tightly. When you switch from gray to white, make sure the yarn trailing inside the head has enough slack. If it is too tight, the head will become oval shaped instead of round. Another error is stuffing the body too early. Wait until you have attached the wings and reached the head section so that the stuffing doesn’t get caught in your stitches while you are trying to work the no sew joins. Finally, make sure you don’t skip the “front loop only” round, as this gives the head the correct tilt and shape.
Frequently Asked Questions (FAQs)
1. Can I use safety eyes for a baby toy?
While safety eyes are very secure, they can still be a choking hazard for children under three. If you are making this crochet penguin amigurumi for an infant, it is better to embroider the eyes using black yarn or embroidery floss instead.
2. How long does it take to make one penguin?
Because this is a no sew pattern and uses bulky yarn, an average crocheter can finish one in about 45 to 60 minutes. This makes it a fantastic “last minute” gift idea.
3. Why is my velvet yarn shedding?
Velvet yarn (Chenille) tends to shed at the ends where it is cut. To prevent this, you can lightly singe the end of the yarn with a lighter or tie a small knot at the very tip of the tail to keep the fibers in place.
4. Do I have to use gray?
Not at all! While gray is traditional, you can make a “fantasy” crochet penguin amigurumi using pink, blue, or even mint green. Custom colors are great for personalizing gifts.
5. How do I make the penguin stand up?
If your penguin is a bit wobbly, try adding a few plastic weighted pellets at the bottom of the body before you finish stuffing. This will give him a “bean bag” base that helps him sit perfectly upright on any flat surface