
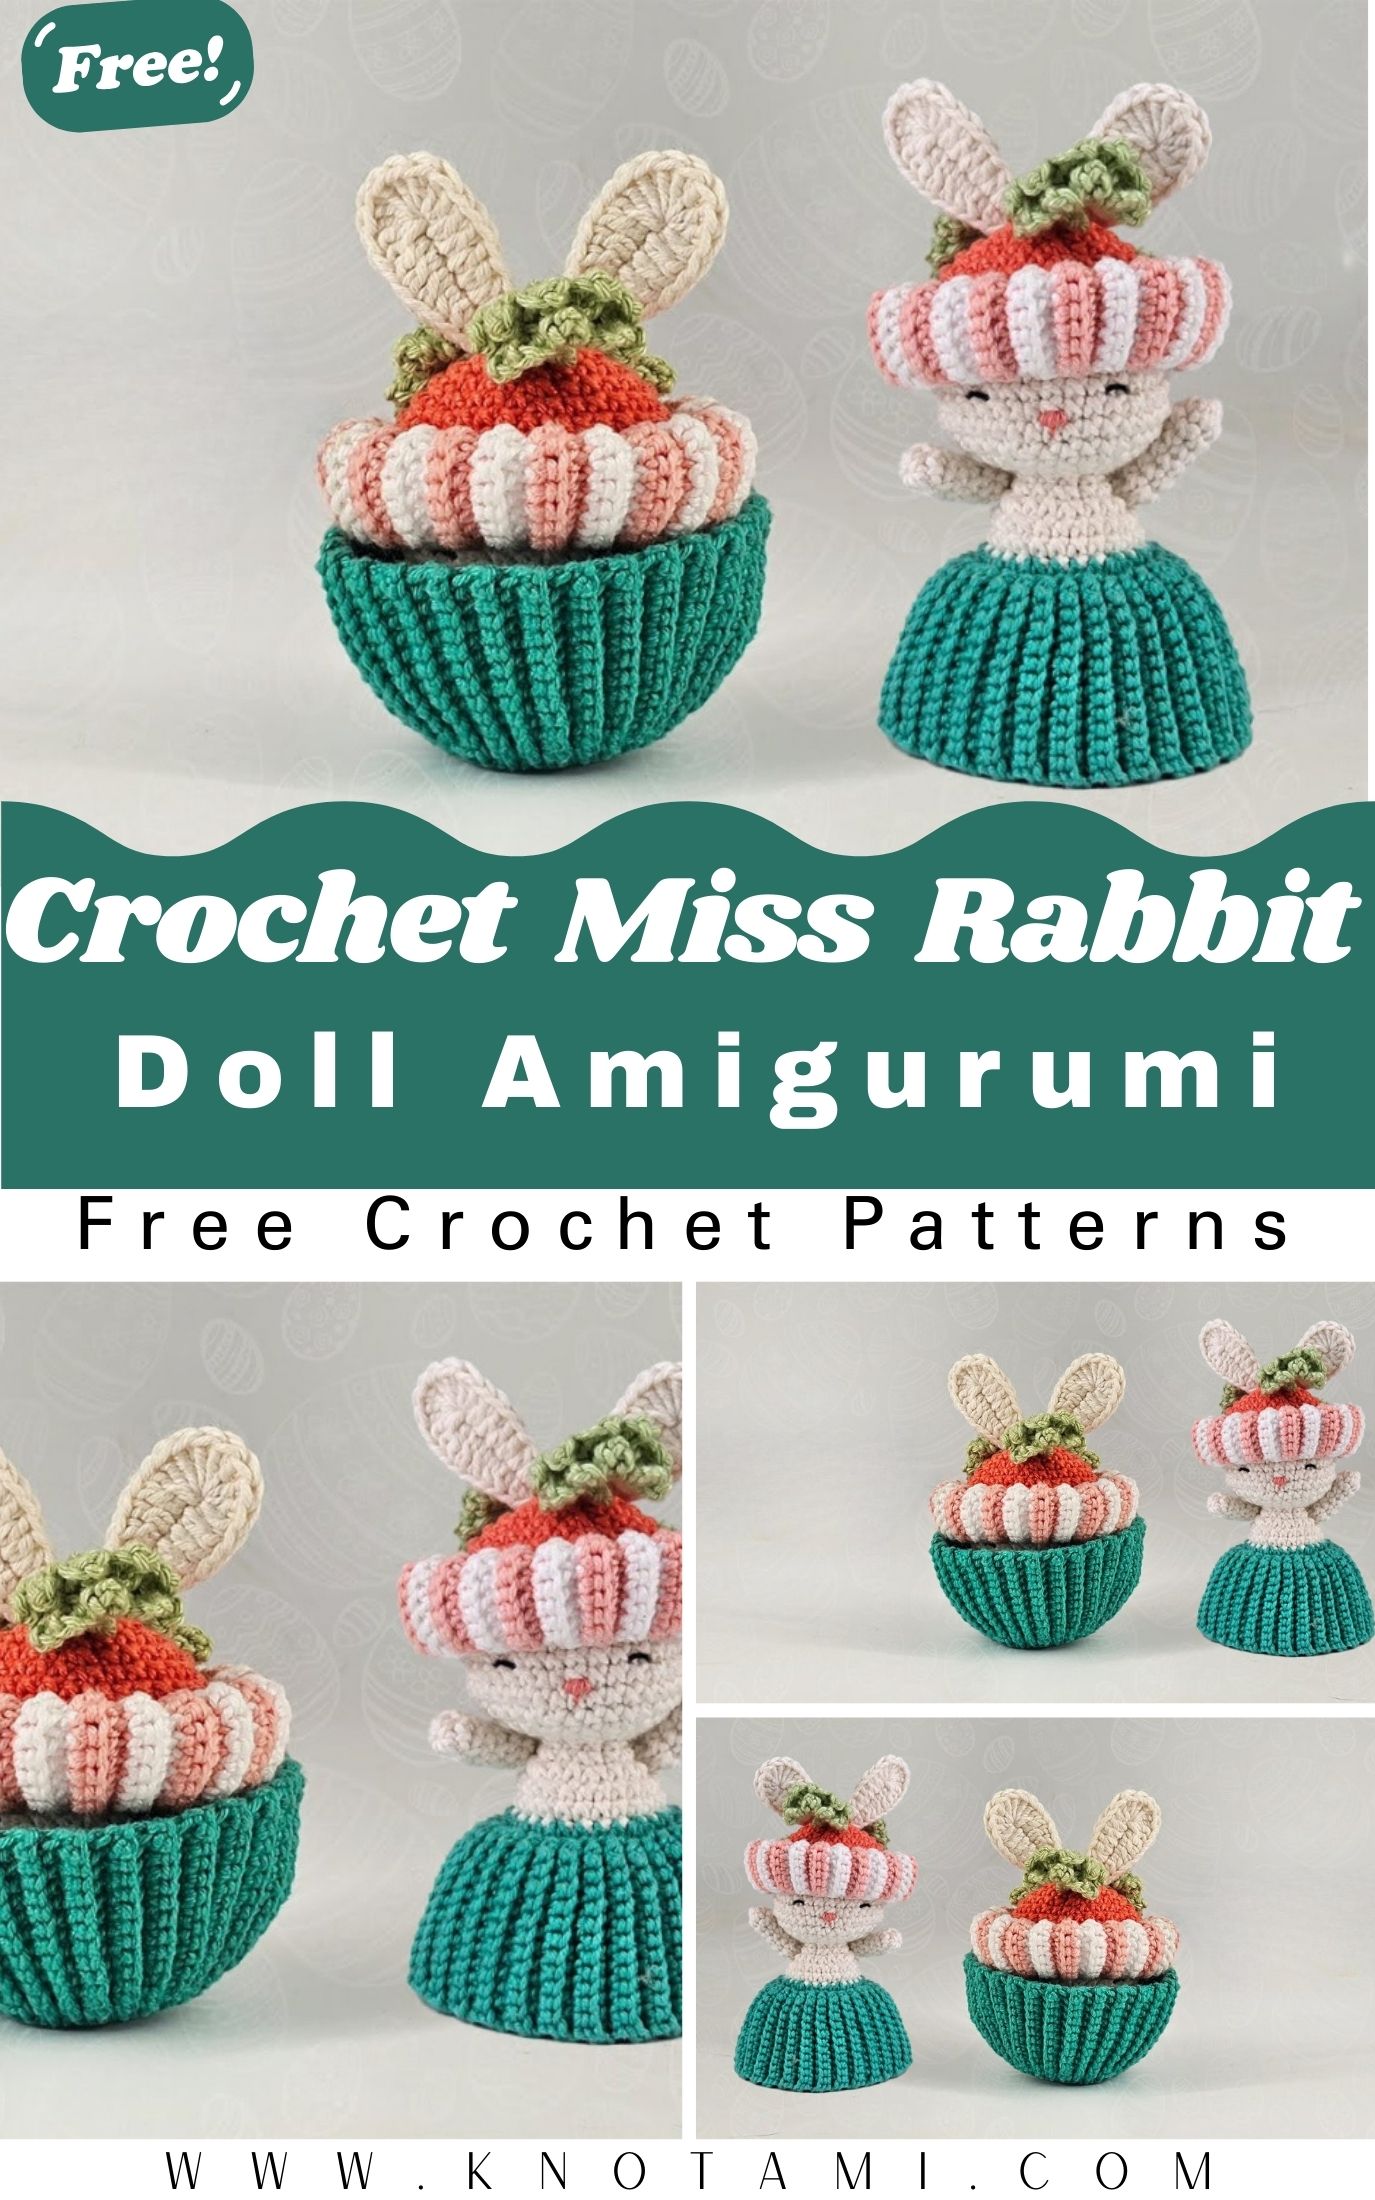
Are you looking for the perfect handmade gift for the upcoming holiday season? If you want to crochet a Miss Rabbit doll, you have come to the right place. This project is not just a simple toy; it is a clever design that transforms a sweet Easter treat into a beautiful little lady rabbit. Whether you are an experienced crafter or just starting your journey into the world of amigurumi, this guide will help you create something truly magical. The design uses soft textures and vibrant colors to bring a touch of whimsy to your crochet collection.
Furthermore, this specific pattern is designed to be accessible and fun. You will find that the construction is quite unique because it combines different shapes to form the “sweet treat” base and the elegant rabbit head. By following this tutorial, you can master the art of shaping amigurumi to look more organic and lifelike. Consequently, you will feel a great sense of accomplishment when you see Miss Rabbit standing on your shelf. Let us grab our hooks and yarn to begin this wonderful creative adventure together.
Skill Level: Level of Difficulty
This project is classified as Intermediate. While the basic stitches are simple, the assembly and the “cupcake” base texture require a bit of patience and attention to detail.
Tutor’s Suggestions for Success
To get the best results, I suggest that you keep your tension consistent throughout the project. If your stitches are too loose, the stuffing might peek through, which is something we want to avoid in amigurumi. Also, I recommend using a stitch marker for every single round. Since we are working in a continuous spiral for the head, it is very easy to lose your place. Lastly, don’t be afraid to mold the head with your hands as you stuff it; as mentioned in the video, an oval shape often looks more charming than a perfect circle.
Materials Needed
To crochet a Miss Rabbit doll successfully, you will need the following high-quality supplies:
-
Amigurumi Natural yarn (Color 20) for the body and ears
-
Yarn in color 5669 (Green) for the base
-
Yarn in color 4092 (Orange) and White for the “sweet” detail
-
Green yarn (Color 5741) for the leaves
-
Clover 2.0 mm crochet hook
-
Tapestry needle (Size 16) for finishing and embroidery
-
High-quality polyester fiberfill (stuffing)
-
Safety eyes or black embroidery thread
-
Amigurumi stuffing tool (optional but recommended)
-
Fabric glue and hot glue gun
Step-by-Step Guide to Creating Miss Rabbit
1. Crafting the Head
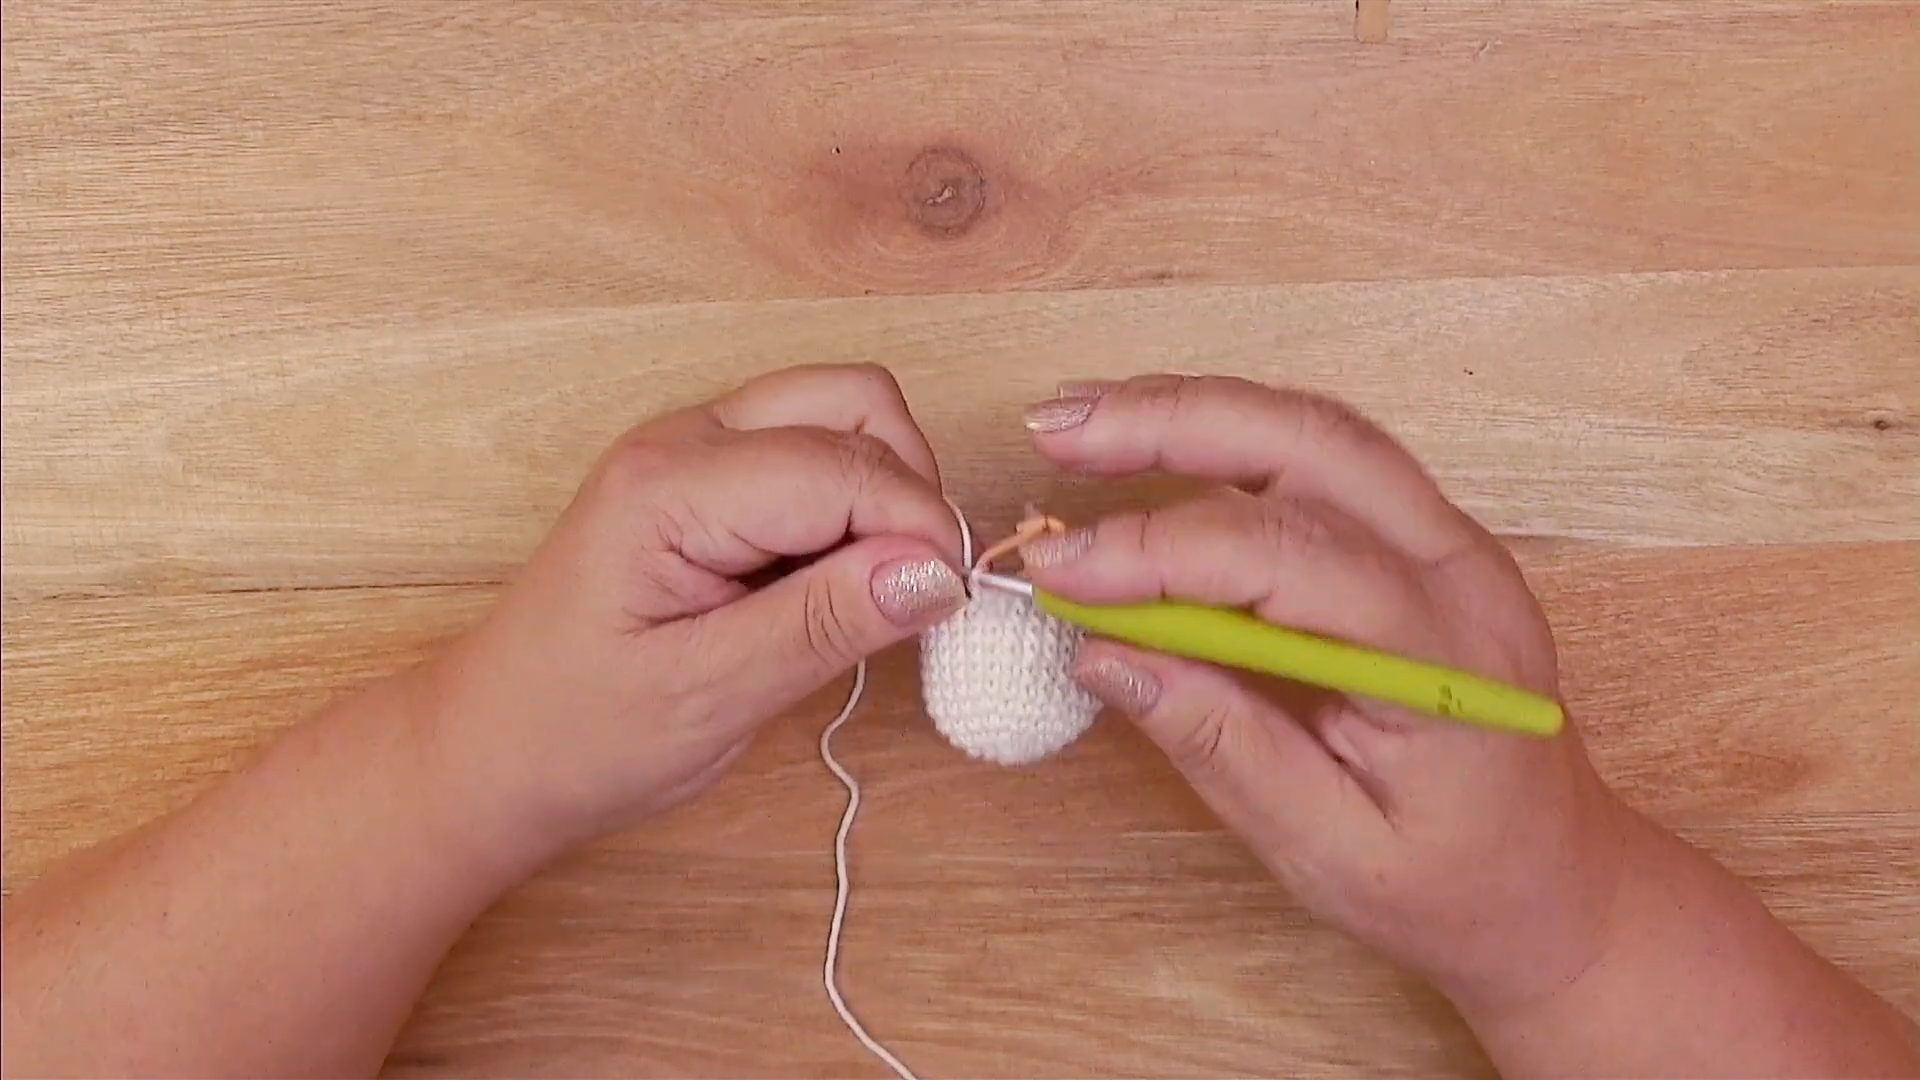
To start your journey to crochet a Miss Rabbit doll, begin with the natural yarn and a magic ring. Work 6 single crochets into the ring. In the second round, you must increase in every stitch to reach 12 points. Following this, perform a sequence of 1 single crochet and 1 increase for 18 points. Continue expanding until you reach 30 points. At this stage, you will work 10 rounds of straight single crochet to build the height of the head.
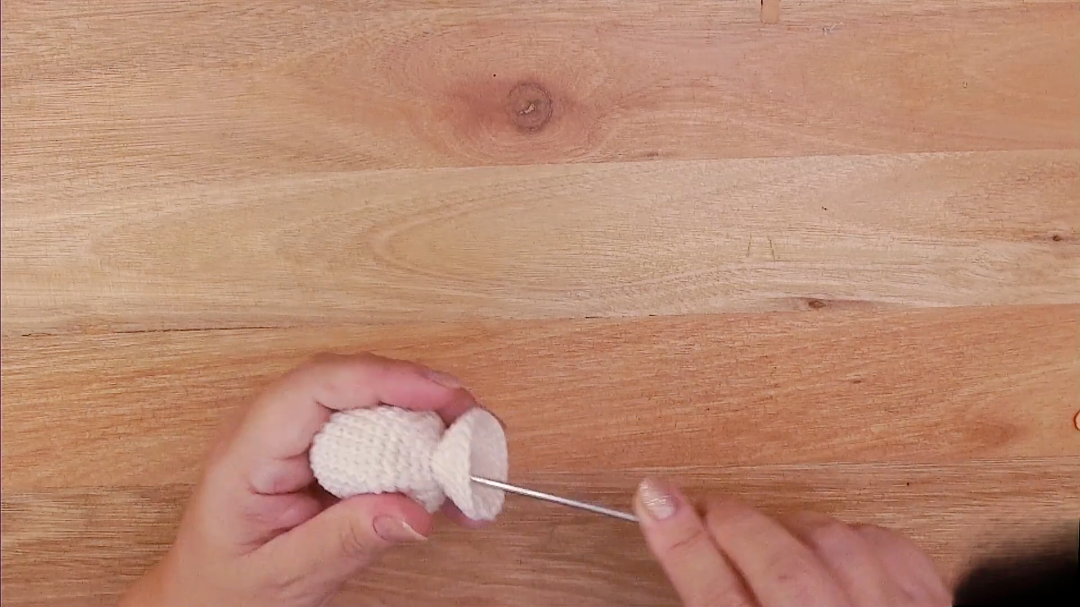
Once the height is reached, start the decreases. You will move from 4 single crochets and a decrease down to 1 single crochet and a decrease. However, before closing the neck, you will work one round in the front loops only. This creates a ridge where the body will eventually flare out. After this, you will immediately start the body by increasing again until you have 24 points. Work a few rounds of even stitches and then fasten off, leaving a long tail for assembly.
2. Creating the “Cupcake” Base
The base of Miss Rabbit is what makes her look like a sweet treat. You will use the green yarn to create a flat circle similar to the start of the head. Once the circle is wide enough, you will join it to the bottom of the body. To create the pleated “wrapper” effect, you will work in back loops only, creating ribs of 12 stitches high. You will go back and forth around the entire circumference of the base. This gives the doll a sturdy foundation so she can stand upright on your table.
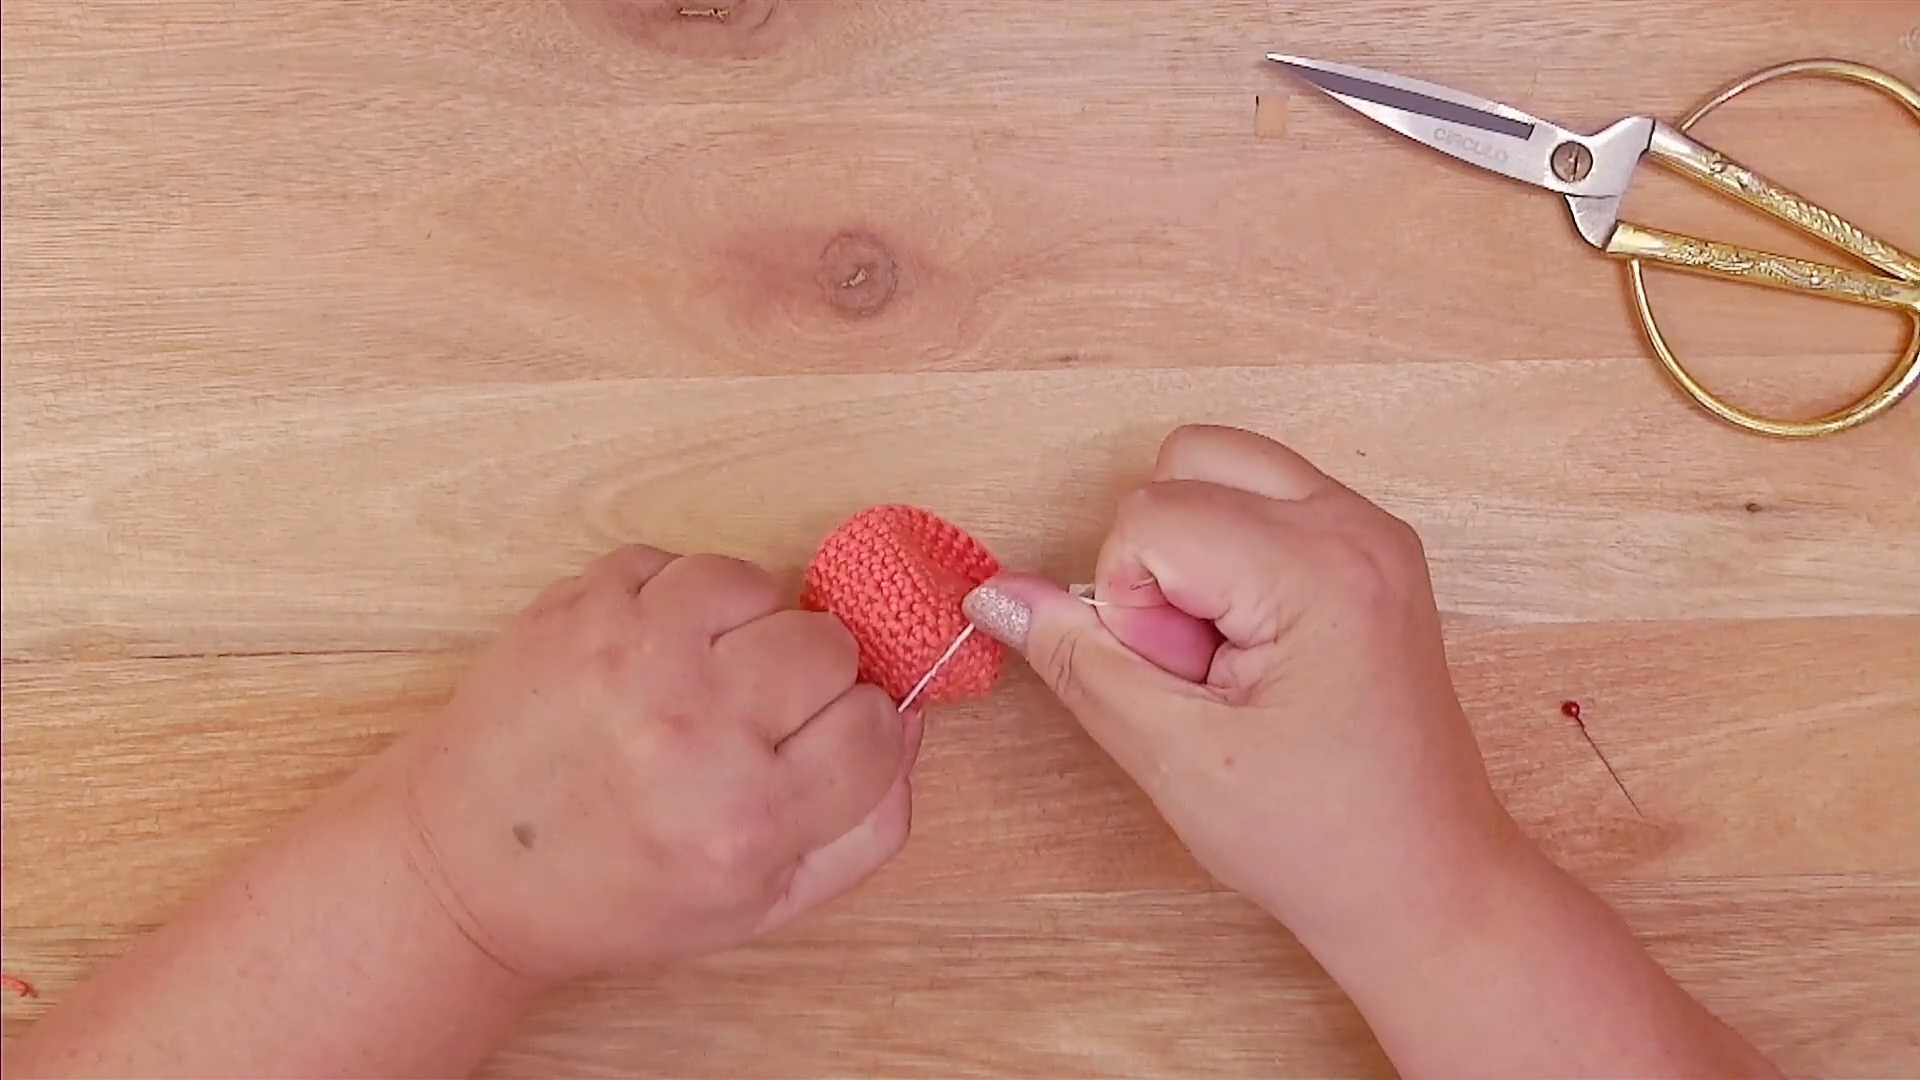
3. The Orange Treat and Leaves
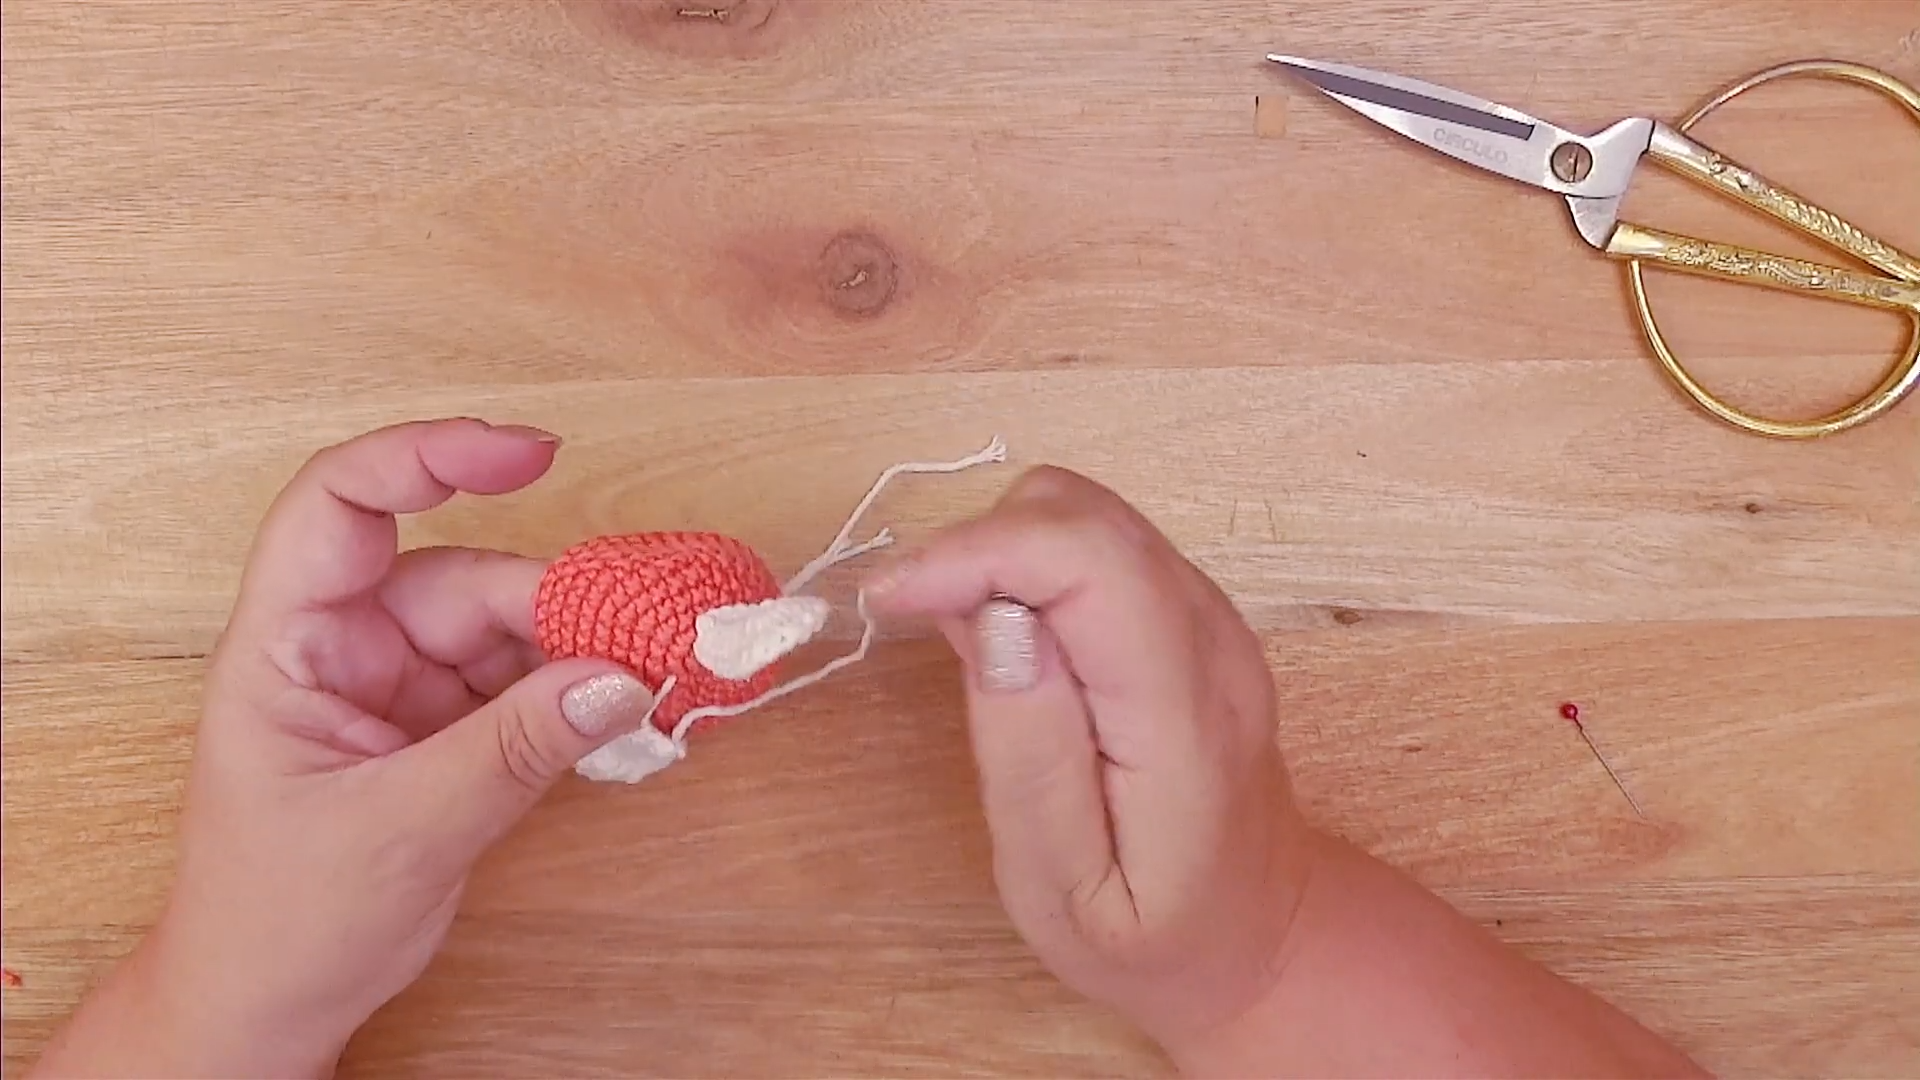
Next, you need to create the “topping” for the head. Using the orange and white yarn, you will work in a striped pattern. This involves working 12 stitches in rows, alternating colors every two rows to create a “gominho” or segment effect. You will wrap this around the top of the rabbit’s head like a little hat. For the leaves, use the darker green yarn to create small, pointed shapes that sit right in the center of the orange topping, mimicking the look of a carrot or a fancy garnish.
4. Ears and Arms
No rabbit is complete without ears! You will crochet a Miss Rabbit doll with long, elegant ears using the natural yarn. Start with a base chain and work a variety of stitch heights, including half double crochets and double crochets, to give the ear its signature curve. For the arms, keep them simple by working a small tube of 7 stitches for about 7 rounds. Do not stuff the arms, as they need to lay flat against the body for a dainty appearance.
5. Assembly and Facial Details
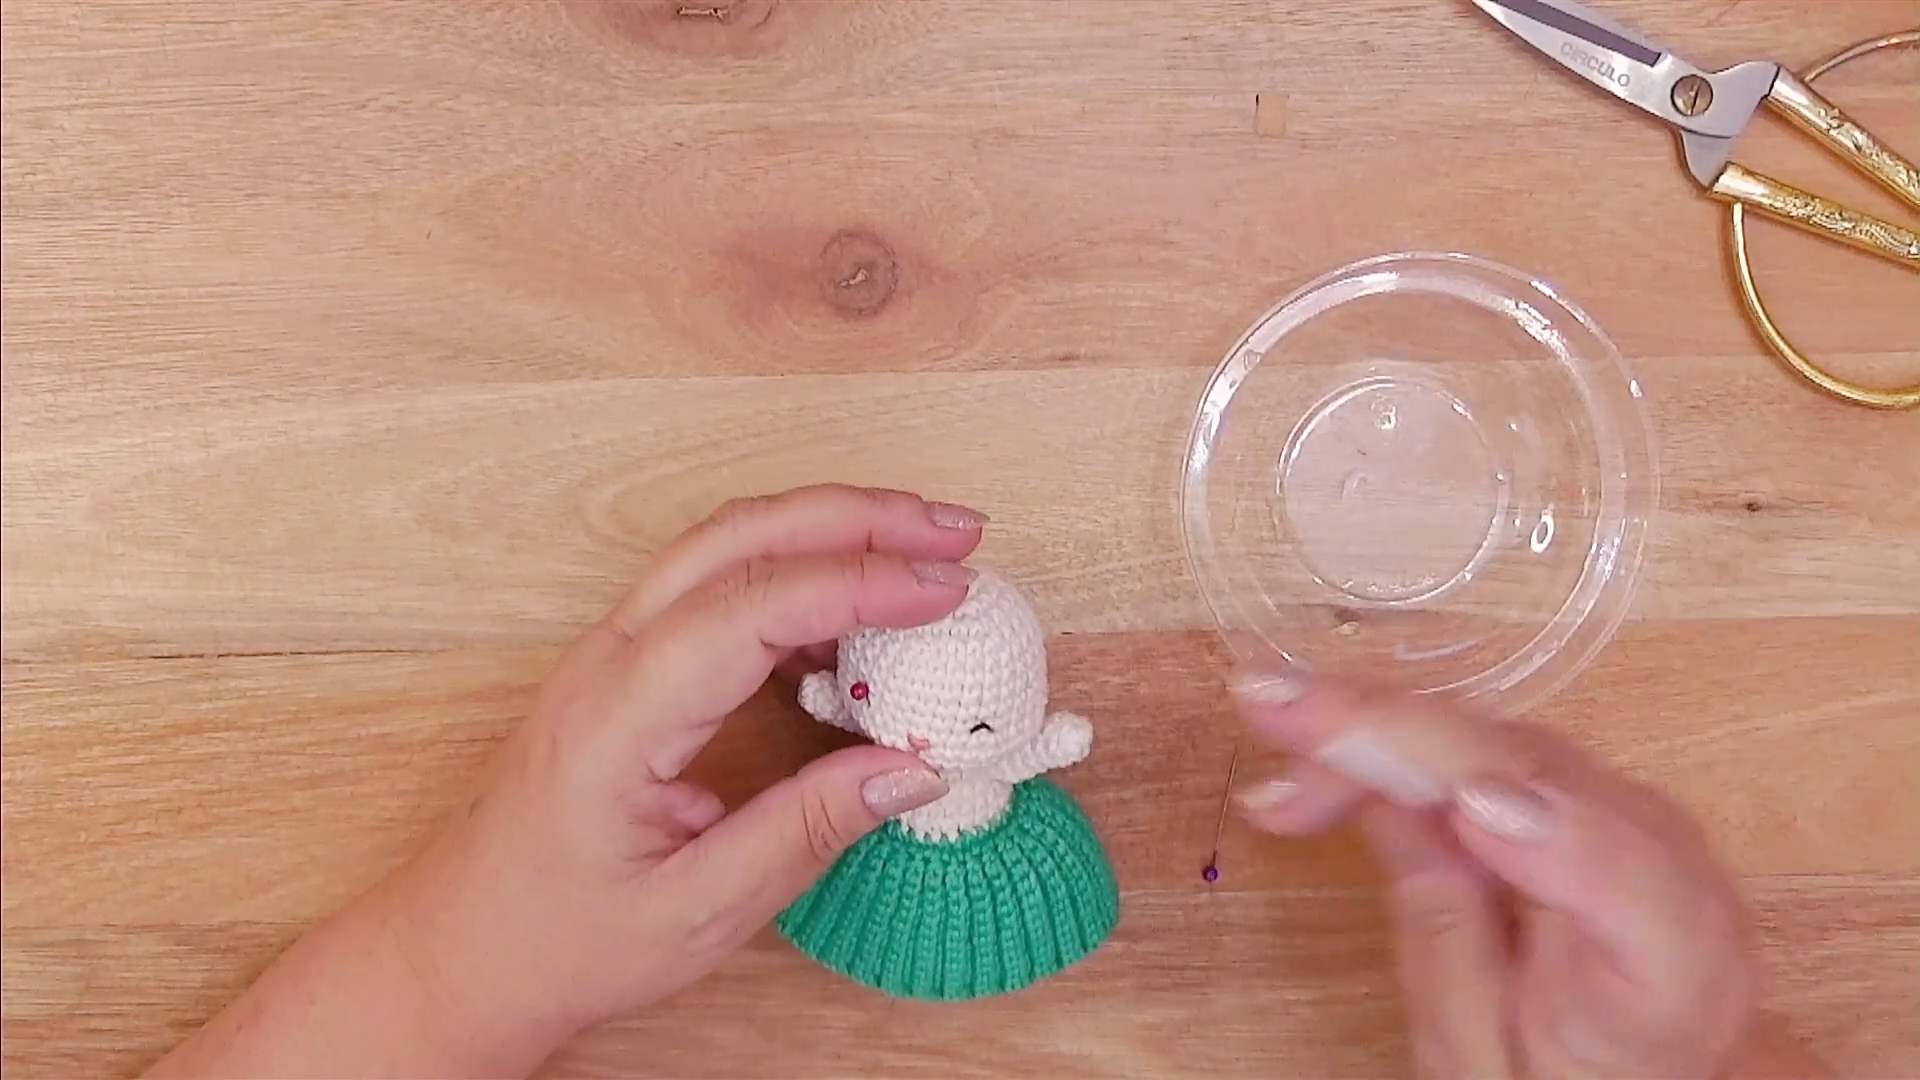
Finally, it is time to bring her to life. Use your tapestry needle to sew the arms to the sides of the body, aligning them with where you plan to put the eyes. Insert the safety eyes between the 10th and 11th rounds. Embroider a small pink nose just below the eyes. For an extra touch of personality, you can use a tiny bit of fabric glue to set the embroidery thread in a “happy” curved shape. Use hot glue to securely attach the ears and the leaf garnish to the top of the head.
video pattern
Where Can You Use Your Miss Rabbit Doll?
This adorable creation is incredibly versatile. Primarily, she makes for a stunning centerpiece for your Easter Sunday dinner table. You can place her inside a decorative basket filled with chocolate eggs. Additionally, because she is so soft and safe, she serves as a wonderful gift for children or as a nursery decoration. Many people also use these dolls as “shelf sitters” to add a touch of handmade charm to their home offices or craft rooms.
Tips and Tricks for Amigurumi
-
Invisible Decreases: Always use the invisible decrease method to ensure there are no gaps in your fabric.
-
The “X” Stitch: Try yarning under instead of yarning over to create tighter, square-shaped stitches that look more professional.
-
Stuffing Technique: Use small clumps of fiberfill at a time. This prevents the stuffing from becoming lumpy and helps you sculpt the shape of the head more effectively.
-
Color Changes: Change colors in the last pull-through of the previous stitch for a seamless transition between the orange and white stripes.
Common Mistakes to Avoid
One frequent error is stuffing the doll too early. If you stuff the head before you finish the decreases, the fibers can get caught in your hook and ruin the look of your stitches. Another mistake is not securing the yarn tails inside the body. Over time, these can wiggle out, so make sure to tie them off properly. Lastly, ensure your eyes are symmetrical; even being one stitch off can make the rabbit look a bit lopsided.
Frequently Asked Questions
1. Can I use a larger hook for this project?
While you can use a larger hook, I do not recommend it. A larger hook will create bigger gaps between your stitches, and the stuffing will show through. It is best to stick to a 2.0 mm or 2.5 mm hook.
2. How long does it take to crochet a Miss Rabbit doll?
For an intermediate crocheter, this project typically takes about 4 to 6 hours from start to finish. This includes the time needed for assembly and embroidery.
3. Is this yarn washable?
Yes, most amigurumi yarns like the Círculo brand are washable. However, I suggest hand washing and air drying to maintain the shape of the doll and the integrity of the glue.
4. Can I make this rabbit in different colors?
Absolutely! You can customize the “cupcake” base and the “sweet” topping to any color palette you like. A chocolate brown base with pink frosting would also look adorable.
5. Do I have to use safety eyes?
If you are giving this to a very young child, I recommend embroidering the eyes with black yarn instead of using plastic safety eyes to prevent any choking hazards.
Final Thoughts on Your Crochet Journey
Creating handmade items is a journey of patience and love. When you crochet a Miss Rabbit doll, you are not just making a toy; you are crafting a memory. This pattern allows you to practice essential amigurumi skills while producing a unique piece of art. Remember to take your time with the finishing touches, as they truly define the character of your doll. Happy hooking, and may your Easter be filled with many wonderful crochet creations!