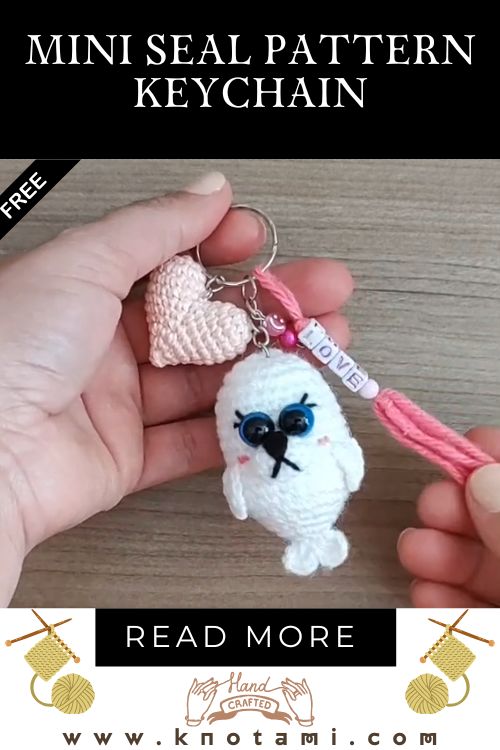
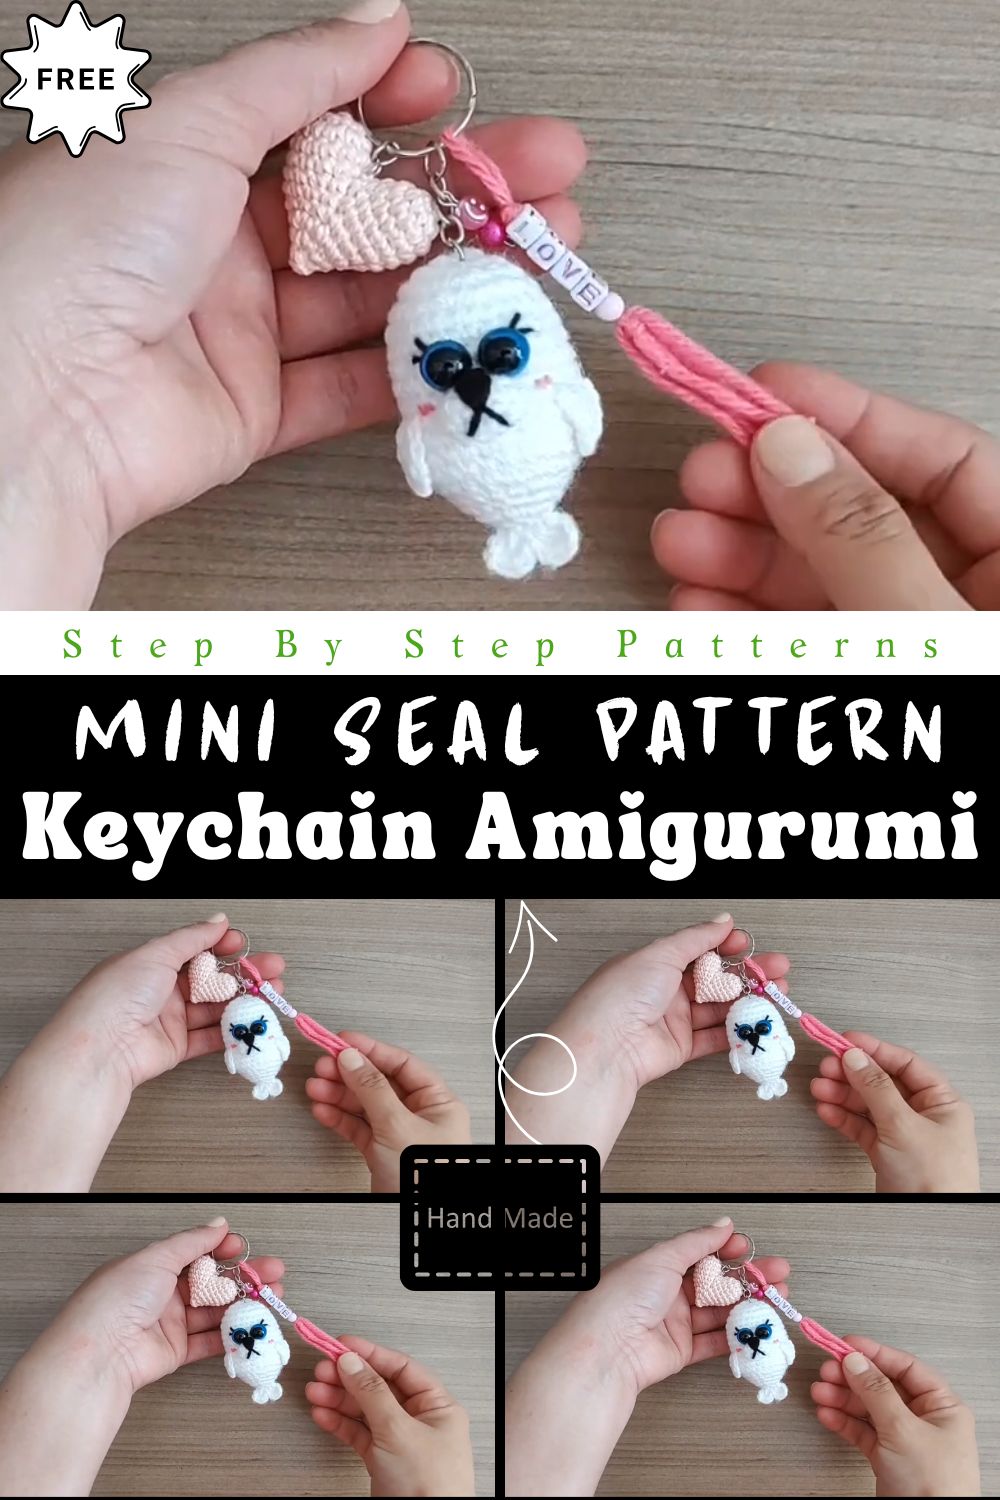
Mini Crochet Seal Keychain Pattern | Amigurumi Animal
There’s something truly heartwarming about crafting a tiny sea creature with your own hands especially when it’s as cute as this Mini Crochet Seal Keychain Pattern! This project combines creativity relaxation and a dose of ocean-inspired charm in every stitch. Whether you’re a beginner looking for your next small project or a seasoned crocheter hunting for something irresistibly cute this little seal is sure to win your heart.
Crochet enthusiasts love mini crochet seal keychain patterns for their simplicity, speed, and endless customization possibilities. Using just a bit of yarn and a few tools, you can transform simple stitches into a sweet, chubby seal that fits right in your palm or on your keys! It’s a wonderful way to practice basic amigurumi techniques like the magic ring, shaping, and sewing minimal details.
These adorable crochet seal keychain amigurumi creations aren’t just crafts they’re expressions of creativity and joy. They make thoughtful handmade gifts perfect for birthdays, anniversaries or just because. Every time your friend jingles their keys or spots this tiny seal hanging from a bag, they’ll think of you and your thoughtful handiwork.
More than just a craft crocheting this small seal amigurumi pattern is an act of mindfulness. Watching each round grow, stuffing the body with softness and sewing on a little smile all bring a calm, meditative pleasure that few other hobbies can match. Ready to dive in? Let’s make your own pocket-sized ocean friend!
Materials & Tools
Here’s everything you’ll need to make your DIY crochet seal keyring pattern. Most of these are basic supplies that you probably already have in your crochet kit!
| Item | Description |
|---|---|
| Yarn | Use lightweight cotton or acrylic yarn (DK weight) in soft gray, white, or pastel blue for a classic seal look. Cotton gives a smooth texture while acrylic makes it extra cuddly. |
| Crochet Hook | A 2.5mm–3mm hook works perfectly for keeping stitches tight so stuffing doesn’t show through. |
| Fiberfill Stuffing | For giving your seal that adorable plump shape. Use small amounts to avoid overstuffing. |
| Stitch Markers | Helps you track rounds in amigurumi a real lifesaver for beginners! |
| Yarn Needle & Scissors | For sewing the tail attaching features and weaving in ends neatly. |
| Safety Eyes (6mm–8mm) | Optional but highly recommended they give your seal that expressive lovable look. |
| Keychain Ring or Lobster Clasp | Turns your mini seal into a functional and fashionable accessory! |
Pro Tip: If you don’t have safety eyes you can embroider tiny eyes using black yarn or thread for a soft handmade touch.
Step-by-Step Instructions
Follow these simple beginner-friendly steps to make your crochet seal keychain amigurumi:
Step 1: Start with a Magic Ring
Begin with a magic ring and crochet 6 single crochets (sc) into the loop. This forms the rounded base of the head and body. Pull the loop tight to close.
Step 2: Build the Body
Increase evenly in the next few rounds:
-
Round 2: 2 sc in each stitch (12 sts)
-
Round 3: (1 sc, inc) x 6 (18 sts)
-
Round 4–6: sc in each stitch to form height.
This creates the rounded shape of your seal’s chubby body.
Step 3: Shape the Head
Continue crocheting without increasing for 3–4 more rounds maintaining the same stitch count. You’ll notice your plush beginning to take shape.
Step 4: Add the Face
Insert the safety eyes between Rounds 4 and 5, about 4 stitches apart. Embroider a small smile with black thread just a simple curve will do!
Step 5: Stuff and Close
Add fiberfill stuffing gradually, shaping the body as you go. Once satisfied with the firmness, start decreasing:
-
(1 sc, dec) x 6 (12 sts)
-
(dec) x 6 (6 sts)
Fasten off sew the hole closed and weave in the end.
Step 6: Create the Flippers & Tail
-
Flippers: Chain 4 slip stitch back along the chain and attach to the sides.
-
Tail: Make a small triangle by chaining 5 and decreasing each row. Attach it at the back.
Step 7: Add the Keychain
Use your yarn needle to securely attach the keychain ring on top of your seal’s head. And voila your pocket-size crochet seal keychain is ready!
Special Features & Pro Tips
What makes this seal amigurumi keychain tutorial so lovable? Let’s look at its charming details and expert crafting hacks!
-
No-Sew Design Option: You can crochet flippers and the tail directly onto the body to save time and effort.
-
Quick to Make: Finish your easy beginner seal keychain crochet project in under 2 hours perfect for last-minute gifts!
-
Customizable Colors: Try pastel pink for a cute kawaii look or cream white for a realistic baby seal vibe.
-
Perfect Stitch Tension: Use a smaller hook to keep stitches tight especially important for amigurumi miniatures.
-
Creative Details: Add blushing cheeks with pink yarn or felt circles for extra charm.
-
Adjustable Size: Use thicker yarn and a larger hook to make a plush version instead of a keychain.
Expert Tip: When shaping tiny amigurumi gently roll the stuffed piece in your palms to smooth out bumps before closing. It gives your seal a perfectly round finish!
Uses & Creative Ideas
Your seal crochet toy keychain pattern isn’t just a cute project it’s a versatile keepsake! Here are some fun ways to use it:
-
As a Keychain: Attach it to your house car or bag keys for a daily dose of handmade cuteness.
-
As a Gift: Make a bunch of these for friends perfect for birthdays Valentine’s Day, or stocking stuffers!
-
For Home Décor: Display it on your desk or shelf as a tiny mascot.
-
Plushie Collection: Add it to your growing lineup of amigurumi animals.
-
Seasonal Variations: Try winter-white seals with scarves or beach-themed ones with mini starfish charms.
Conclusion
Crafting your own Mini Crochet Seal Keychain Pattern is more than just following stitches it’s about creating something joyful, soft, and full of personality. Whether you make one for yourself or a friend each tiny seal carries a touch of handmade love.
Crocheting brings peace, focus, and pride with every loop and this cute amigurumi project proves that even the smallest creations can make the biggest smiles. So grab your hook some yarn and dive into this DIY crochet seal keyring pattern adventure. Your little sea friend is waiting to come to life!