
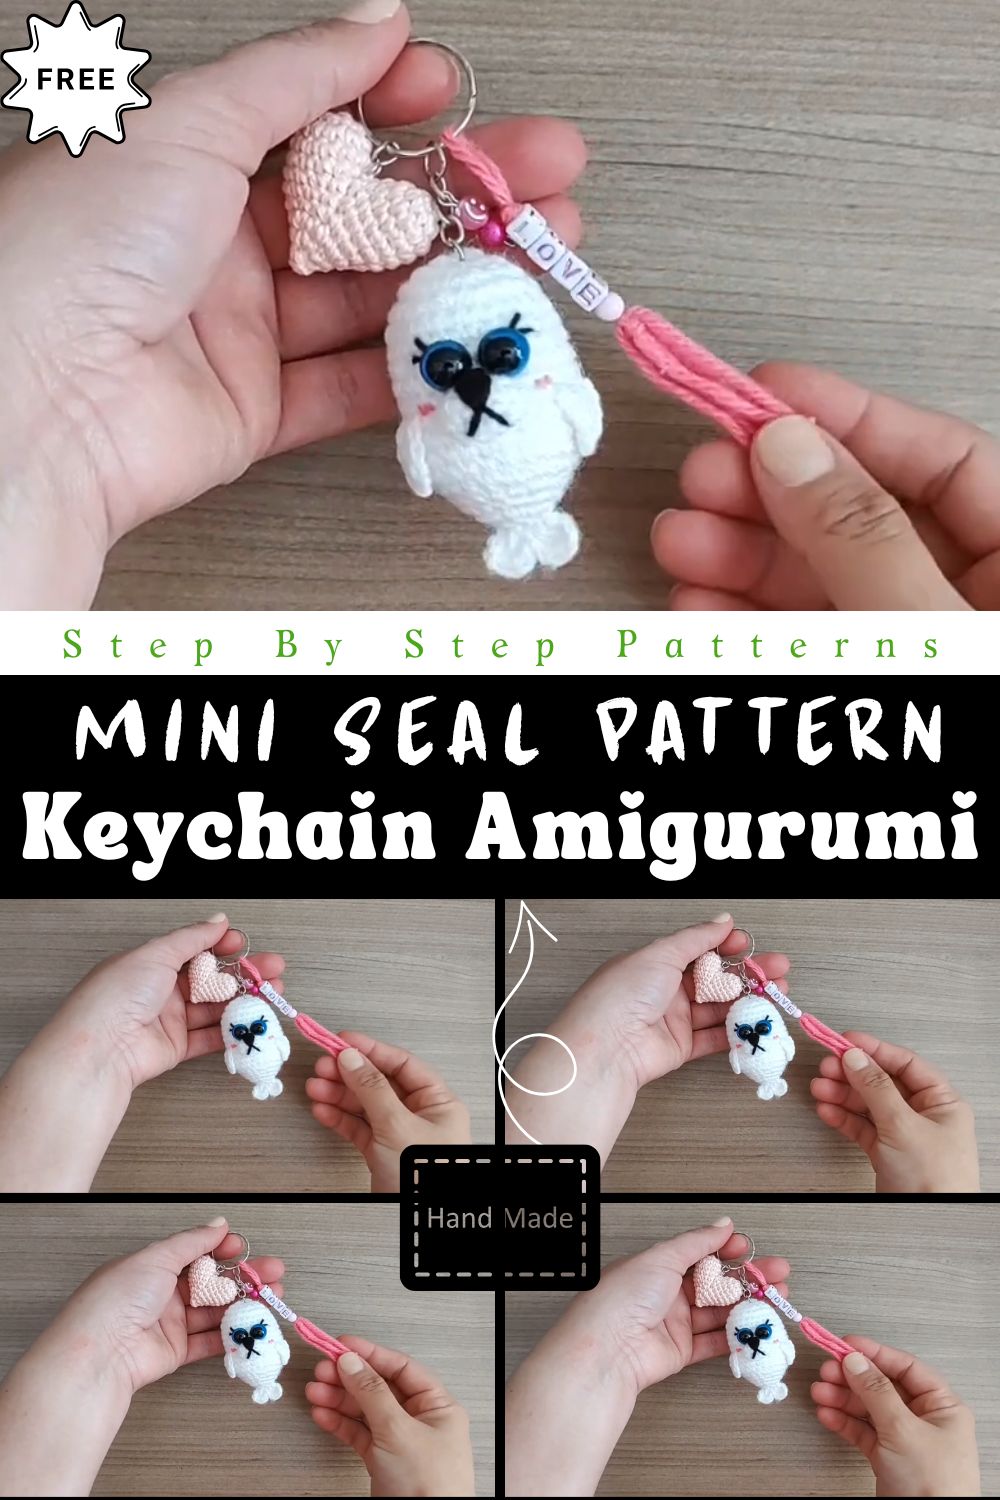
A mini Crochet Seal Keychain Pattern adds instant charm to bags, keys, and gifts while keeping your handmade style front and center. This amigurumi animal keychain pattern works up quickly, feels modern, and suits collectors of amigurumi animals, dolls, and character minis alike.
If you love tiny projects with big personality, this little seal will win you over. Amigurumi brings handmade creativity to life, and a pocket-sized sea friend feels even more special because you can take it everywhere. Plus, a small build helps you practice the basics without committing to a huge plush. In this guide, you’ll learn how to plan your mini amigurumi, choose the right crochet keychain pattern supplies, and assemble an easy crochet seal with a neat finish. You’ll also pick up beginner amigurumi habits that make every stitch look cleaner.
Stuff Needed
- Yarn: smooth DK or worsted yarn (gray, cream/white, plus small accents if desired)
- Crochet hook: match your yarn, often 2.5–3.5 mm for tight amigurumi fabric
- Stuffing: polyester fiberfill
- Tapestry needle: for sewing pieces and weaving ends
- Stitch marker: locking marker or scrap yarn
- Scissors
- Safety eyes or embroidery thread (choose the option you prefer)
- Keychain ring (split ring or lobster clasp)
- Optional: small jump ring, keychain strap, blush powder, or felt for cheeks
Procedure
Step 1: Build the body in a simple round
Start with a magic ring and crochet in continuous rounds to form a tidy oval body. Increase evenly so the shape grows smoothly, and then keep a few rounds steady for a plump look. Mark your first stitch so you stay on track.
Step 2: Shape the seal with gentle decreases
Next, decrease gradually to close the form without sharp angles. Stuff the body as you go, and add small amounts often for an even, soft finish. Keep tension firm so the stuffing never shows through.
Step 3: Create flippers and tail details
Crochet tiny flippers with a few quick rounds, then pinch them slightly so they look fin-like. Add a small tail or back fin to suggest that classic seal silhouette. You can keep these parts minimal, which also makes the project faster.
Step 4: Add the face and bring it to life
Place eyes first so the expression looks balanced, then embroider a small nose and simple mouth. If you want extra cuteness, add blush or tiny stitched whisker dots. Avoid over-detailing—clean lines look best on mini amigurumi.
Step 5: Assemble and attach the keychain hardware
Sew the flippers securely with tight whip stitches, and weave in ends neatly. Then attach a keychain ring at the top with a strong yarn loop or a jump ring for durability. For full, start-to-finish stitch counts and the complete visual walkthrough, follow the detailed instructions available in the video.
Sweet Look & Personality Factor
This seal design stands out because it relies on a rounded body, petite flippers, and a soft, squishy feel. The shape reads “seal” right away, even at a small size, because the proportions stay simple and iconic. Additionally, a tiny embroidered face gives you lots of control over the mood—sleepy, happy, or curious—without complicated shaping. When you use velvety or plush-style yarn, you can amplify the cuddle factor; however, classic cotton or acrylic keeps the stitches crisp and beginner-friendly.
Uses & Benefits
A seal keychain does more than look adorable—it also earns a place in your daily routine.
- Keychain use: Clip it to house keys, backpacks, pencil cases, or zipper pulls for an easy personal touch.
- Gift ideas: Make one as a party favor, stocking stuffer, classroom reward, or supportive “good luck” charm.
- Decorative value: Hang it from a rearview mirror charm (where legal), display it on a corkboard, or tuck it into a gift wrap bow as a topper.
Because it stays small, you can create multiples quickly, and then mix colors for a whole sea-themed set.
What Makes This Project Ideal for New Crocheters
This pattern fits beginners because it uses a compact shape and repeatable rounds, so you build confidence fast. You also practice increases and decreases in a low-pressure format since the seal stays tiny and forgiving. Moreover, you finish quickly, which keeps motivation high and helps you learn from each attempt. When you complete one, you can immediately make another with small improvements, and that repetition builds skill faster than starting a large plush.
Creativity & Skill Benefits
Crochet strengthens patience because each round asks you to slow down and stay consistent. At the same time, amigurumi encourages creativity: you choose colors, facial expressions, and tiny accessories that change the whole vibe. As you experiment, you naturally improve stitch control, counting habits, and hand coordination. Additionally, finishing a small keychain boosts confidence, which often inspires crocheters to try more animals, dolls, and character designs next.
Helpful Tips for Better Results
- Use a smaller hook than you would for the same yarn in wearable projects, because tight fabric holds stuffing cleanly.
- Count every round and move your stitch marker right away, otherwise you’ll lose your starting point.
- Stuff in small layers and shape with your fingers as you go, so the seal stays smooth instead of lumpy.
- If you choose safety eyes, place them before you close the body; if you embroider eyes, add them after stuffing for better spacing.
- Pull sewing stitches snug, especially on flippers and the keychain loop, because keychains face more tugging than shelf plushies.
- Weave ends through several stitches and change direction once, so the tails stay hidden even with daily use.
FAQs
Q1: What yarn works best for a mini crochet seal keychain?
Smooth cotton or acrylic works best because it shows stitch definition and keeps shaping predictable. Plush yarn looks cute too, but it can hide stitches and challenge beginners.
Q2: Can I make this seal keychain without safety eyes?
Yes. You can embroider eyes with black thread or yarn, and you’ll still get a clean, adorable expression. This option also suits babies and toddlers.
Q3: How do I keep the keychain from ripping off?
Create a reinforced yarn loop at the crown and stitch it through multiple rounds. Additionally, use a jump ring or double ring setup to spread the stress.
Q4: How long will this project take?
Most beginners finish a mini seal in about 45–90 minutes, depending on comfort with counting and sewing. After one or two tries, you’ll likely crochet it faster.
Conclusion FOR ( Crochet Seal Keychain Pattern)
A mini seal keychain gives you a quick win and a truly practical handmade accessory. Because the shape stays simple, you can focus on clean rounds, neat decreases, and a cute face. Then, you can clip it anywhere for instant personality. Most importantly, this tiny amigurumi delivers charm, giftability, and everyday usefulness in one beginner-friendly project.