
Want a quick, feel-good crochet project you can actually finish in one sitting? This mini bear keychain is tiny, soft, and ridiculously cute perfect for using up yarn scraps and building confidence fast. It’s ideal for easy crochet patterns for beginners, and it doubles as an amigurumi keychain tutorial you’ll want to make again and again.
If you’re into small, satisfying makes, you’ll love this sweet crochet bear pattern. The round face and little ears come together quickly, and the simple assembly keeps it stress-free. It’s a small crochet teddy keychain for beginners, with basic shapes and minimal sewing. Try it as one of those go-to easy crochet keychain animals beginners can master, and use these tiny crochet bear keychain step by step ideas to add a neat bow and a strong loop that won’t pop off your keys.
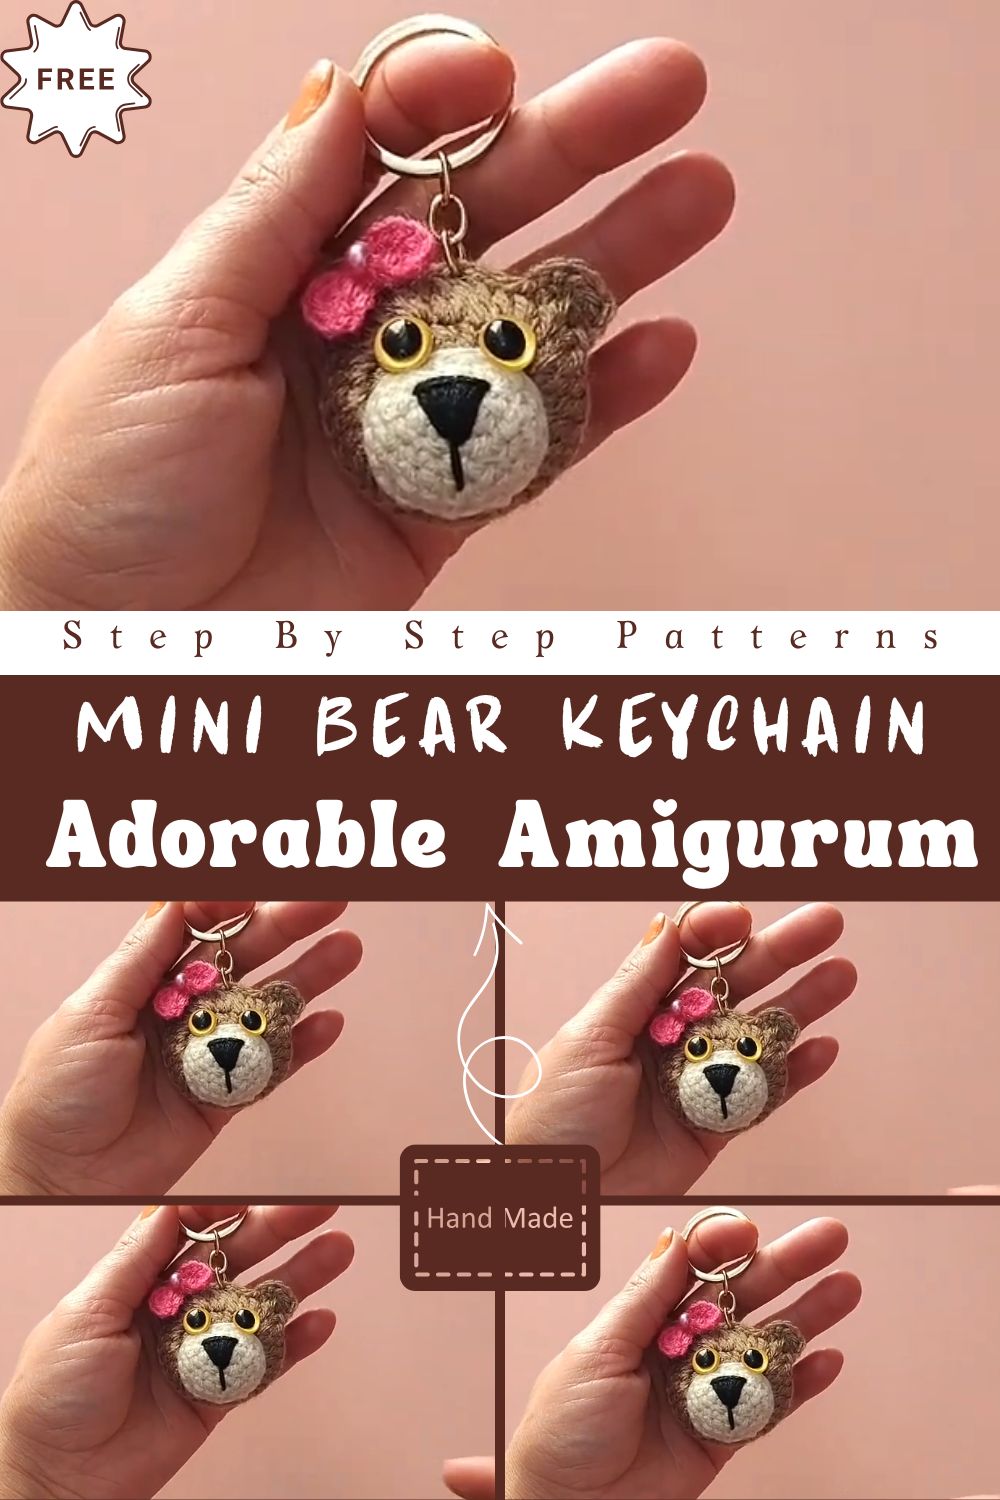
Easy Crochet Mini Bear Keychain Amigurumi Pattern for Beginners
Skill Level
Beginner (confident beginner if you’re brand new to sewing parts).
You’ll practice:
- Working in continuous rounds
- Single crochet, increases, and decreases
- Simple sewing and embroidery
Materials
Choose a smooth yarn for clean stitches, or a soft velvet-style yarn for a plush look (just note it can be harder to see stitches).
- Yarn in bear color (light brown, beige, or cream)
- Small amount of contrasting yarn for a bow (pink, red, blue, or white)
- Black embroidery thread or yarn for facial details (or safety eyes)
Hook Sizes
Pick a hook slightly smaller than your yarn label recommends to keep stuffing from showing.
- 2.5 mm–3.5 mm for DK/worsted yarn
- If using plush/velvet yarn: 4.0 mm–5.0 mm (expect a bigger bear)
Other Supplies
- Keyring, split ring, or lobster clasp
- Stitch marker (or scrap yarn)
- Tapestry needle
- Scissors
- Stuffing (polyfill)
- Optional: 6–8 mm safety eyes
- Optional: jump ring (extra secure keychain attachment)
Key Abbreviations (US Crochet Terminology)
- MR = Magic ring
- ch = Chain
- sc = Single crochet
- inc = Increase (2 sc in one stitch)
- dec = Decrease (sc2tog; invisible decrease recommended)
- sl st = Slip stitch
- rnd = Round
- st(s) = Stitch(es)
Special Notes
- Work in continuous rounds (spiral). Do not join unless stated.
- Use tight, even stitches to make a durable keychain.
- Stuff firmly but gently so the face stays round, not lumpy.
- This is an original, beginner-friendly pattern based on the project description (tiny bear keychain with ears and bow). It does not copy the YouTube content; the video is referenced only as helpful visual guidance.
Step-by-Step Instructions
Head and Body (One Piece)
Use your bear color.
Rnd 1: MR, 6 sc (6)
Rnd 2: inc around (12)
Rnd 3: (sc, inc) x6 (18)
Rnd 4: (2 sc, inc) x6 (24)
Rnd 5–6: sc around (24) for 2 rounds
Now shape into a tiny body (slightly smaller than the head area):
Rnd 7: (2 sc, dec) x6 (18)
Rnd 8: sc around (18)
Rnd 9: (sc, dec) x6 (12)
Start stuffing, focusing on keeping the top nicely rounded.
Add a bit more stuffing.
Fasten off, close the hole, and weave in the end.
Ears (Make 2)
Use bear color.
Rnd 1: MR, 6 sc (6)
Rnd 2: inc around (12)
Rnd 3: sc around (12)
Fasten off, leave a long tail for sewing. Flatten each ear lightly.
Attach the Ears
Sew ears to the top of the head, spaced evenly. Tip: place them slightly forward for an extra “cute” look.
Face Details (Simple and Sweet)
You can use safety eyes or embroider.
- Eyes: place between Rnds 4–5 (or embroider small dots)
- Nose: embroider a small triangle or oval centered below the eyes
- Mouth (optional): a short “V” or gentle curve under the nose
Keep features close together—mini amigurumi looks cuter with a compact face.
Bow (Cute Keychain Detail)
Use contrasting yarn.
Option A: Simple Bow (fastest)
- Chain 10.
- Sl st back to the first chain to form a ring.
- Wrap yarn around the middle 6–8 times.
- Tie off at the back and leave tails for sewing.
Option B: Tiny Classic Bow (slightly fuller)
- Chain 8, sl st to form a ring.
- sc around the ring 12 times.
- Wrap the center tightly with yarn and knot at the back.
Sew bow near one ear or at the “neck” area, depending on the look you want.
Keychain Hanging Loop
Attach yarn at the top center of the head.
- ch 12–18 (adjust to your keyring size)
- sl st back into the same stitch to form a loop
- Weave ends through the base several times for strength
For extra durability, thread the yarn tail through the loop base and body again before trimming.
Tips for Beginners
- Use a smaller hook than normal to prevent gaps.
- Count stitches each round—small rounds get off track easily.
- If sewing feels hard, pin (or tack) ears and bow first, then sew securely.
- Don’t overstuff; too much stuffing can stretch stitches and make the bear look pointy.
- Watch the YouTube video for a quick visual check on proportions and placement, especially for the bow and keychain loop.
Creative Variations
- Sleepy bear: embroider closed eyes (two curved lines).
- Blush cheeks: add pink yarn stitches or a tiny dab of fabric blush (lightly).
- Two-tone bear: cream muzzle patch (embroidered oval) and darker body.
- Holiday bear: swap the bow for a mini scarf or tiny Santa hat.
- Personalized gift: stitch an initial on the belly with contrasting thread.
Conclusion
This crochet mini bear keychain amigurumi pattern is a quick, beginner-friendly project that turns a small amount of yarn into a charming accessory. With simple shapes, tiny ears, and an optional bow, it’s easy to make, easy to gift, and fun to customize.