
Want a quick, giftable crochet project you can finish in one sitting? This tiny eagle keychain is soft, simple, and beginner-friendly. It pairs perfectly with easy crochet patterns for beginners and doubles as a clear amigurumi keychain tutorial.
This mini makes a sweet crochet bird pattern you can stitch from scraps, and it’s designed to work up fast. If you’ve been searching for a crochet keyring pattern that looks polished without being complicated, you’re in the right place. It’s truly amigurumi for beginners: basic rounds, simple shaping, and easy add-ons. You can also personalize it with colors and expressions for endless trendy crochet ideas.
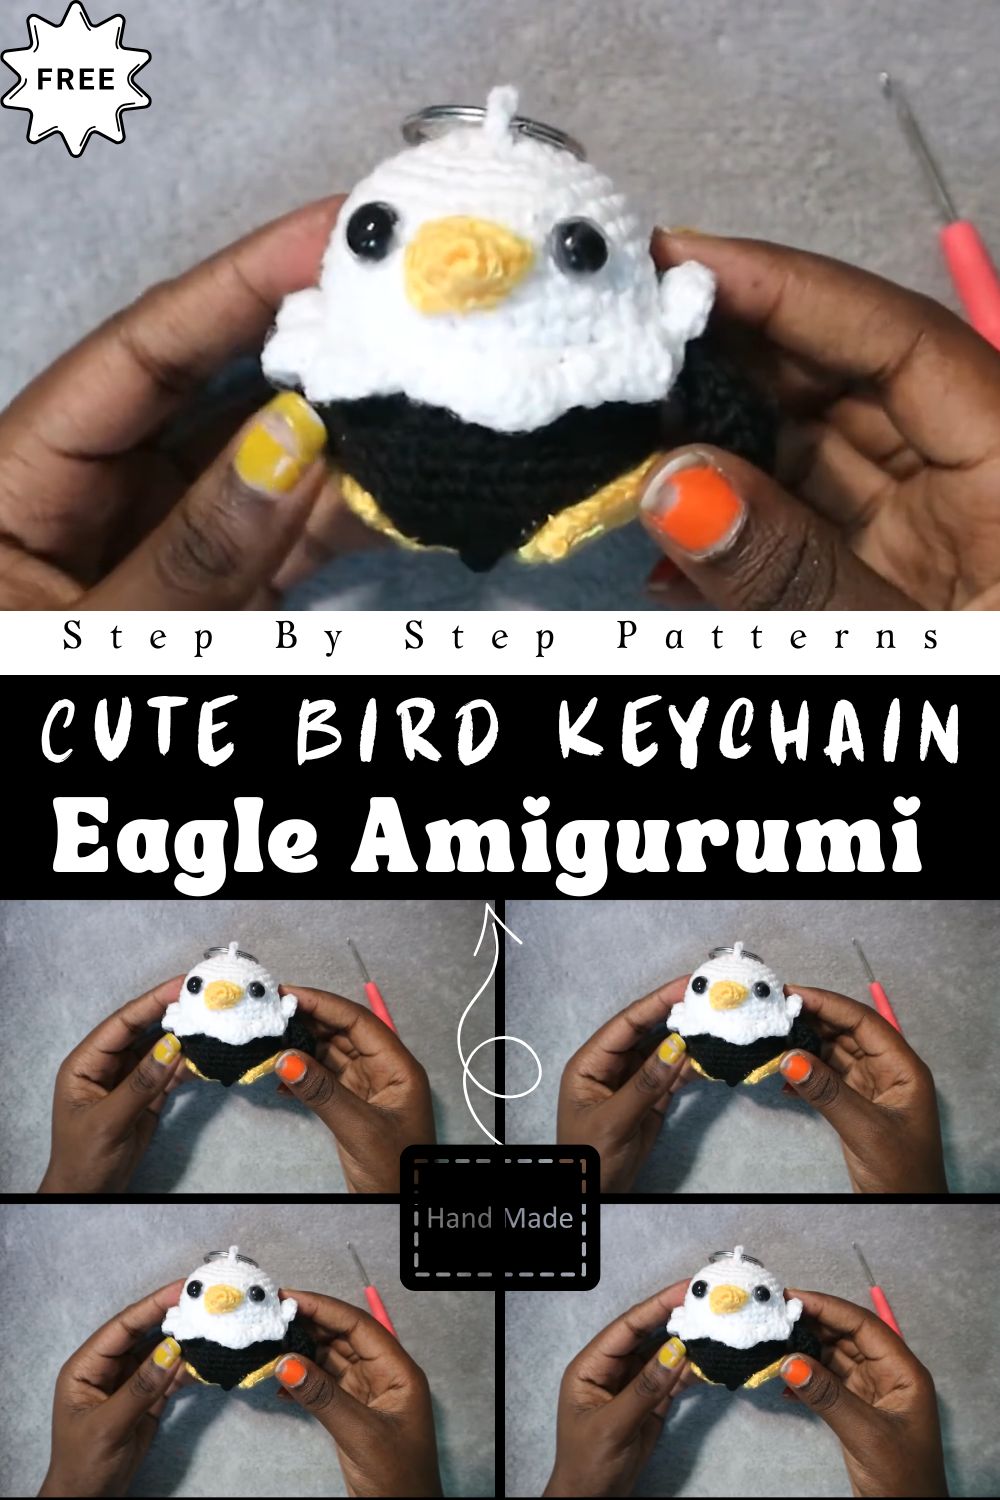
Easy Crochet Eagle Bird Keychain Amigurumi Pattern for Beginners (Cute Mini DIY Guide)
Skill Level
Beginner.
You’ll use:
- Magic ring
- Single crochet in the round
- Simple increases and decreases
- Basic sewing to attach small parts
If you like learning by watching each step, the YouTube video is a helpful visual guide for yarn changes, shaping, and assembly (use it alongside the written steps here).
Materials
To match the look in the image (brown body, white head, yellow beak), you’ll need:
- Yarn (soft acrylic or cotton works well):
- Brown (body)
- White (head)
- Yellow (beak + feet)
- Small amount of black (eyes) if not using safety eyes
Tip: The scraped tutorial uses white, black, and yellow and makes a similar round bird base. Here, we adapt the same construction style into an “eagle” colorway by swapping black for brown and keeping the white head and yellow beak.
Hook Sizes
- 2.75 mm crochet hook (as in your scraped notes)
For tighter stitches (better for amigurumi), use a smaller hook than your yarn label suggests.
Other Supplies
- Keyring (split ring or lobster clasp)
- Stitch marker (or a scrap of yarn)
- Stuffing (polyfill)
- Yarn needle (for sewing and weaving in ends)
- Scissors
- Optional: fabric glue (tiny amount) for extra security on the keyring loop
Key Abbreviations (US Crochet Terminology)
- MR = magic ring
- ch = chain
- sc = single crochet
- dc = double crochet
- inc = increase (2 sc in the same stitch)
- dec = decrease (sc2tog; use invisible decrease if you prefer)
- BLO = back loop only
- FLO = front loop only
- sl st = slip stitch
- rnd = round
- st(s) = stitch(es)
Special Notes
- Work the body in continuous rounds (spiral). Don’t join unless noted.
- In the scraped tutorial, a color change is made and one round is worked BLO to create a clean ridge and leave front loops for a decorative “neck” edging. We’ll use the same smart trick here.
- Keep stuffing lightly at first, then adjust near the end so the shape stays round and firm.
- This article is an original write-up based on the information you provided, presented in a cleaner pattern format (not copied from the video).
Step-by-Step Instructions
Body + Head (One Piece)
Start with brown for the eagle’s body.
Rnd 1: MR, 6 sc (6)
Rnd 2: inc in each st around (12)
Rnd 3: (sc, inc) x6 (18)
Rnd 4: (2 sc, inc) x6 (24)
Rnd 5: (3 sc, inc) x6 (30)
Rnd 6: (4 sc, inc) x6 (36)
Rnd 7–12: sc around (36) for 6 rounds
H3: Color Change for the White Head
Switch to white (finish the last brown sc by pulling through with white).
Rnd 13: sc around in BLO (36)
This leaves FLO loops free for a decorative collar edge later.
Rnd 14–19: sc around (36) for 6 rounds
H3: Start Decreases (Shaping the Top)
Rnd 20: (4 sc, dec) x6 (30)
Rnd 21: (3 sc, dec) x6 (24)
Rnd 22: (2 sc, dec) x6 (18)
Now stuff firmly, shaping it into a nice round ball.
Rnd 23: (sc, dec) x6 (12)
Rnd 24: dec x6 (6)
Fasten off, close the hole (thread through front loops of remaining stitches), and weave in.
Wings (Make 2)
Use brown.
Rnd 1: MR, 6 sc (6)
Rnd 2: inc around (12)
Rnd 3–5: sc around (12) for 3 rounds
Rnd 6: (sc, dec) repeat around (9)
Rnd 7: dec around to close (about 4–5 decreases; close neatly)
Leave a long tail for sewing.
Feet (Make 2)
Use yellow. These are made in short rows (turned), building a small triangular shape like in your scraped notes.
- Start: MR, 2 sc
- Turn, ch 1
- Next row: sc, inc
- Turn, ch 1
- Next row: sc in next 2 sts, inc
- Turn, ch 1
- Next row: sc in next 3 sts, inc
- Continue the same idea until you have 10 rows total, always:
- turning,
- chaining 1,
- single crocheting across,
- and increasing at the end to widen the foot.
Fasten off with a tail for sewing.
Beak
Use yellow.
Rnd 1: MR, 6 sc (6)
Rnd 2: 2 sc, inc, 2 sc, inc (8)
Rnd 3: (3 sc, inc) x2 (10)
Fasten off, leave a tail for sewing.
Decorative Neck/Collar (Optional but Adds a “Feather” Look)
This uses the front loops left from the BLO round (Rnd 13).
- Attach white yarn to any front loop.
- ch 1, sc in the next loop
- Skip next loop, then 5 dc in the next loop (this creates one “wave/feather”)
- Skip next loop, sc in the next loop
- Repeat around: (ch 1, sc, skip 1, 5 dc in next, skip 1, sc)
Finish with a sl st to the first stitch. Fasten off and weave in.
Assembly + Keychain Loop
Place the Face
- Choose the front of the bird.
- Sew the beak centered on the white head area.
- Add eyes:
- Safety eyes, or
- stitch small eyes with black thread/yarn.
Attach Feet
Sew feet near the bottom so they form a slight triangle spacing toward the center front.
Tip from your scraped notes: stitch the feet so they “pop out” nicely—don’t flatten the outer edges too much.
Attach Wings
Sew wings to the sides around the midline (where the body transitions upward). Keep them even.
Add the Keyring
Make a small hanger at the top:
- Find the top center of the head.
- Attach yarn and chain a short loop (about 8–15 chains depending on ring size).
- Slip stitch back to the head to form a loop.
- Slide the keyring and secure it with a few stitches and tight knots inside.
Tips for Beginners
- Use a stitch marker every round—36 stitches is easy to lose track of.
- If your circle starts looking like a hexagon, add one extra even round earlier, or loosen your tension slightly.
- Stuff more than you think (but not so much that stitches stretch). A firm ball looks best as a keychain.
- For cleaner decreases, try an invisible decrease (front loops only).
- Watch the YouTube video for a quick confidence boost on the collar edge and how the parts are positioned.
Creative Variations
- Bald eagle look: dark brown body, bright white head, golden beak/feet.
- Cartoon style: oversized beak and bigger safety eyes.
- Add a tiny tail: a small brown triangle or a few stitched “feather” lines.
- Make it a mascot by changing colors to match a school or team theme.
- Mini accessories: add a tiny scarf, hat, or a little star patch on the belly.
Conclusion
This crochet eagle keychain amigurumi pattern is a fast, satisfying project that’s perfect for gifts, craft fairs, or a fun bag charm. The round body keeps it simple, the white head and yellow beak make it instantly recognizable, and the optional collar adds a polished touch. Use the YouTube video as a visual helper, then mix and match colors and details to create your own flock of adorable mini birds.