
Are you looking for a fun and creative project to start your weekend? If so, then making a Crochet Cat Keychain Amigurumi is the perfect way to spend your time. Not only is this project incredibly adorable, but it is also a fantastic way to practice your basic crochet stitches. Many people love amigurumi because it allows you to create small, stuffed toys that bring a smile to anyone’s face. Consequently, this cat keychain serves as a wonderful accessory for your bags or a thoughtful handmade gift for your friends and family members.
Furthermore, this Crochet Cat Keychain Amigurumi guide is designed to be very simple and easy to follow. Even if you are just starting your crochet journey, you will find that the steps are straightforward and manageable. We will use basic techniques like the magic ring and single crochet to build the shape of the kitty. Because the project is small, you can finish it in just one sitting. Therefore, let’s grab your yarn and hook so we can begin crafting your very own miniature feline friend today.

After watching the embedded video above, you will have a clear visual understanding of how the stitches come together. While the video shows the movement of the hook, the following written guide provides the specific stitch counts and extra details you need to succeed. Using both the video and this article together ensures that your Crochet Cat Keychain Amigurumi turns out perfectly symmetrical and professional. In addition, seeing the process in real-time helps to clarify any tricky parts like the invisible decrease or the placement of the ears.
Skill Level: Beginner Friendly
This project is classified as an easy or beginner level task. Since it focuses on repetitive rounds and basic increases, it is ideal for those who have just learned the fundamentals of crochet. Moreover, it introduces the concept of shaping through decreases, which is a vital skill for all future amigurumi projects you might want to try.
Tutor’s Suggestions
Before you dive into the pattern, I have a few suggestions to make your experience smoother. First, I highly recommend using a stitch marker because it is very easy to lose track of your rounds in a spiral. Additionally, try to keep your tension consistent so that the stuffing does not peek through the holes. Lastly, if you are a beginner, using a lighter colored yarn will help you see your stitches much more clearly than using black or dark navy yarn.
Materials Needed
To create your Crochet Cat Keychain Amigurumi, you will need to gather the following supplies:
-
Cotton or Acrylic yarn in your preferred cat color.
-
A crochet hook (2.5mm or 3.0mm works best for keychains).
-
Fiberfill or polyester stuffing to make the body soft.
-
A pair of safety eyes or black embroidery thread for the face.
-
A yarn needle for sewing the parts together.
-
A pair of sharp scissors.
-
A metal keychain ring to attach to the finished cat.
Step-by-Step Guide to Your Crochet Cat Keychain Amigurumi
Phase 1: The Magic Ring and Body Base
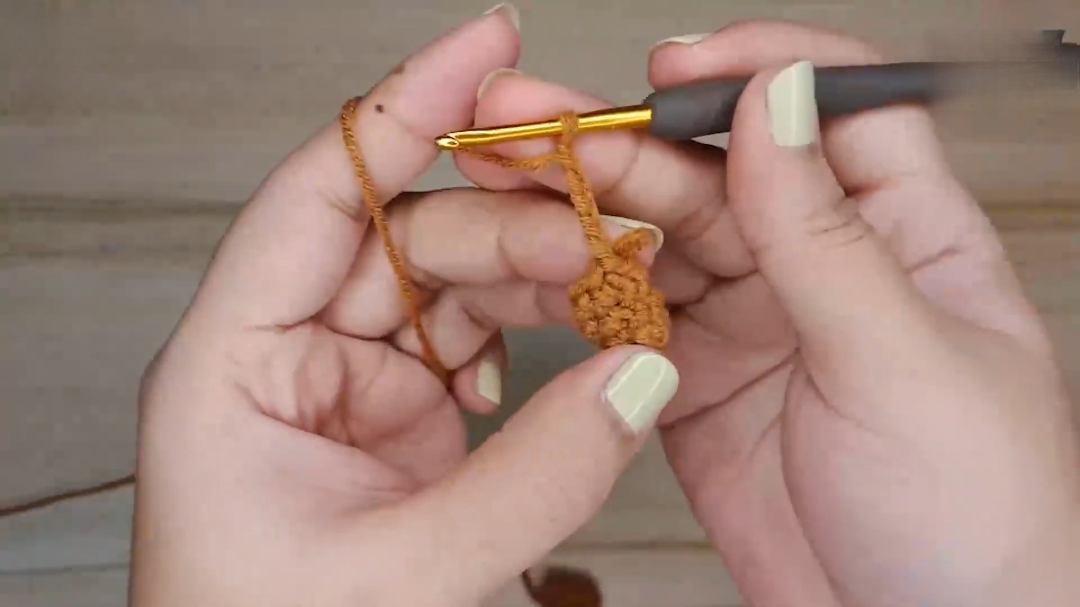
To begin your Crochet Cat Keychain Amigurumi, you must start with a magic ring. This technique ensures there is no hole at the very bottom of your cat. Once you have your ring, work six single crochets into it. Pull the tail tight to close the circle. For round two, you will perform an increase in every stitch, which means you make two single crochets in each of the six stitches. By the end of this round, you should have 12 stitches in total.
Moving on to round three, follow a pattern of one single crochet followed by one increase. Repeat this six times around the circle to reach 18 stitches. In round four, you will increase your circle further by making a single crochet in the next two stitches and then an increase in the third. This brings your total to 24 stitches. Finally, for round five, work three single crochets and then an increase in the fourth stitch. Now you have a base of 30 stitches, which is the widest part of your Crochet Cat Keychain Amigurumi.
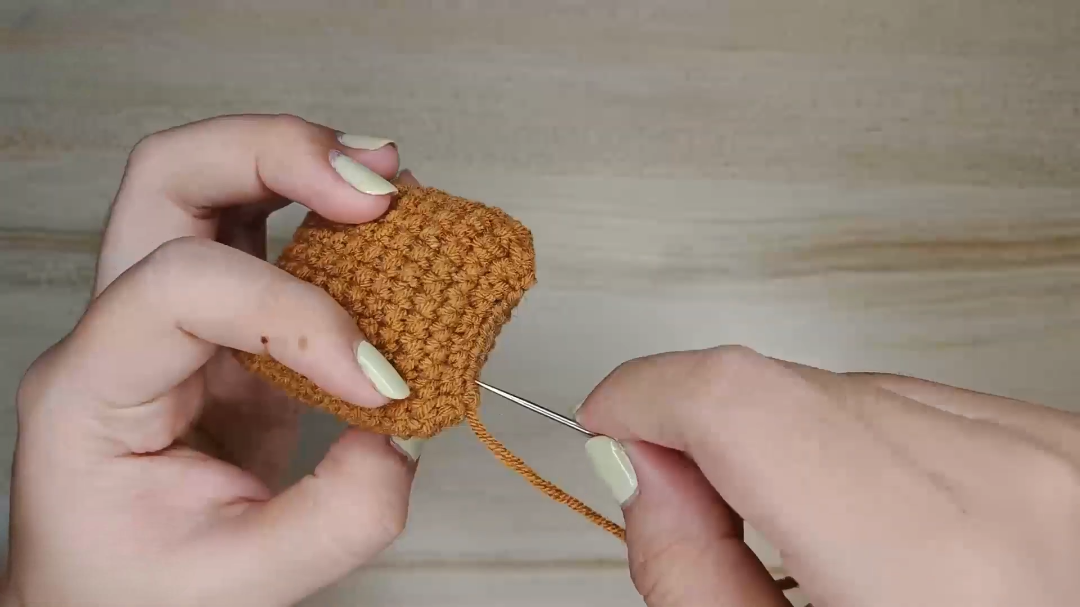
Phase 2: Building the Height
Now that the base is finished, you need to build the height of the cat body. From round 6 through round 14, you will simply work one single crochet into every single stitch. This means you will have nine rounds of 30 stitches each. During this stage, you will notice the crochet piece starting to bowl upwards. It is important to keep your stitch marker moving up with each round so you do not lose your place. This section is the easiest part because no counting of increases is required.
Phase 3: Shaping and Decreasing
After you finish round 14, it is time to start closing the body. For round 15, you will work three single crochets and then one decrease. You can use a standard decrease or an invisible decrease to keep the surface smooth. This round will leave you with 24 stitches. In round 16, work two single crochets and then a decrease, bringing the count to 18. Before the hole gets too small, start adding your fiberfill stuffing. Make sure to pack it firmly so your Crochet Cat Keychain Amigurumi holds its round shape.
In round 17, follow a pattern of one single crochet and one decrease to reach 12 stitches. Finally, in round 18, perform six decreases in a row. Cut your yarn, leaving a long tail. Use your yarn needle to weave the tail through the remaining stitches and pull tight to close the gap. Fasten off securely and hide the yarn end inside the body.
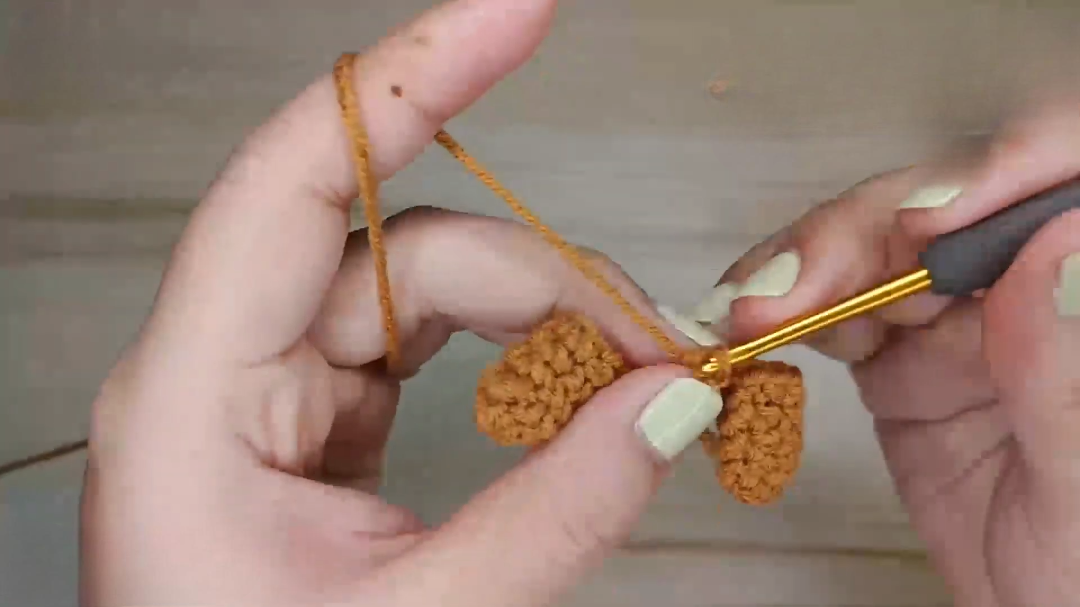
Phase 4: Crafting the Ears
Your Crochet Cat Keychain Amigurumi needs cute ears to look like a cat. To make an ear, start with a slip knot and chain two. In the second chain from the hook, work a single crochet, then three double crochets, and another single crochet all into that same spot. Finish with a slip stitch. This creates a small triangle shape. Repeat this process to make a second ear. When you are finished, sew them onto the head area around round five or six. Make sure they are spaced evenly so the cat looks symmetrical.
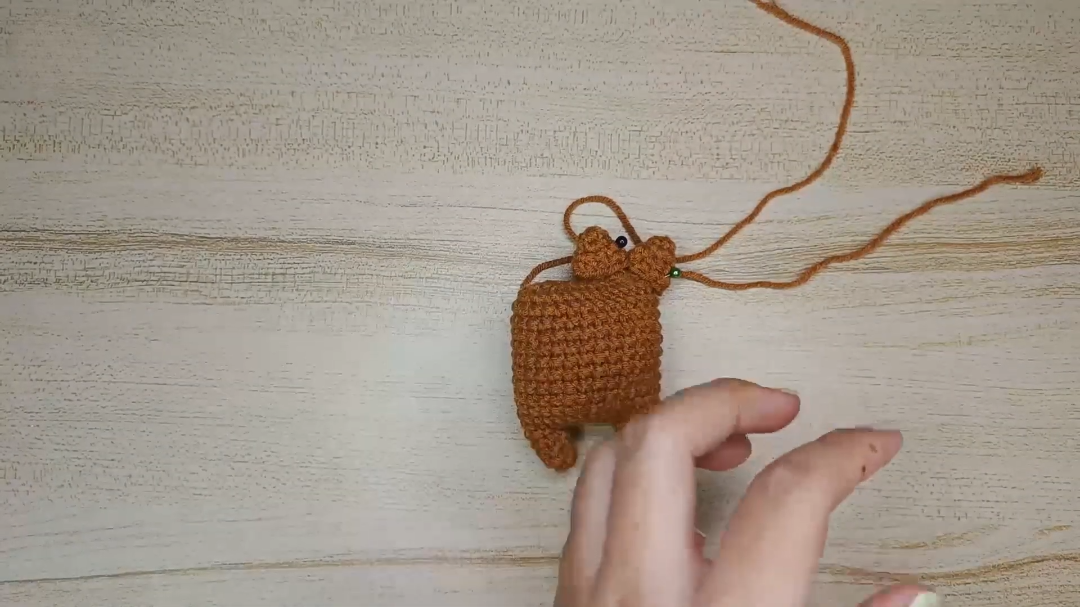
Phase 5: Adding the Tail and Face
To add the tail, attach your yarn to the back of the cat body near the bottom. Chain 10, then skip two chains and work half double crochets back down the chain. This creates a slightly thick, curly tail. Slip stitch back into the body and hide the ends. For the face, you can sew on little whiskers and a nose using black thread. Finally, attach your metal keyring to the top of the head. Your Crochet Cat Keychain Amigurumi is now complete and ready to use!
video pattern
Where Can We Use This Keychain?
You can use this Crochet Cat Keychain Amigurumi in many creative ways. Primarily, it is designed to hold your keys, making them easier to find in a large bag. Furthermore, it makes an excellent “bag charm” for backpacks, purses, or even school bags. Many people also use these small amigurumi cats as Christmas tree ornaments or as hanging decorations for their car’s rearview mirror. Because they are so small and lightweight, they are perfect for adding a touch of personality to almost any item. Additionally, they are wonderful items to sell at craft fairs or to give away as party favors.
Tips and Tricks for Success
If you want your Crochet Cat Keychain Amigurumi to look like it came from a professional shop, follow these tips. First, always use the “invisible decrease” method. This technique prevents large gaps from forming where you reduce stitches. Second, when stuffing the cat, use small clumps of fiberfill rather than one large ball. This helps prevent lumps and ensures a smooth surface. Third, you can add a bit of pink embroidery or even a tiny bit of blush makeup to the cheeks to give the cat a “kawaii” or cute appearance. Lastly, if you want a larger cat, simply use a thicker yarn and a larger hook while following the same pattern.
Common Mistakes to Avoid
One of the most common mistakes when making a Crochet Cat Keychain Amigurumi is forgetting to count the stitches. If you miss an increase or decrease, the shape will look lopsided. Another mistake is stuffing the body too lightly, which causes the cat to look wrinkled and flat over time. Conversely, stuffing too tightly can stretch the stitches and show the white filling. Many beginners also sew the ears on crookedly. To avoid this, use sewing pins to hold the ears in place and check the alignment from the front before you start stitching them down permanently.
Frequently Asked Questions
1. What is the best yarn for a crochet cat keychain?
Cotton yarn is generally the best choice for a Crochet Cat Keychain Amigurumi. This is because cotton is sturdy, does not pill easily, and shows stitch definition very clearly. However, acrylic yarn also works well if you want a softer, fuzzier look for your kitty.
2. How long does it take to finish this project?
Most people can finish a Crochet Cat Keychain Amigurumi in about one to two hours. Because the size is very small, it is a quick project that provides instant satisfaction. If you are an experienced crocheter, you might even finish it in under forty five minutes.
3. Can I wash my amigurumi keychain?
Yes, you can wash it, but you should be gentle. It is best to hand wash the cat using cool water and a mild soap. Avoid putting it in a washing machine or dryer, as the heat and tumbling might ruin the shape or cause the stuffing to shift.
4. Do I have to use safety eyes?
No, safety eyes are optional. While they look great, they can be a choking hazard for very small children. Instead, you can easily embroider the eyes using black yarn or embroidery floss. This makes the Crochet Cat Keychain Amigurumi safer and gives it a unique, handmade look.
5. How do I stop my work from curling?
In amigurumi, curling is actually a good thing! As you work in rounds, the piece will naturally curl into a bowl shape. Just make sure the “right side” (the side that looks like little Vs) is facing outward. If the “wrong side” (the side with horizontal bars) is facing out, simply flip the piece inside out.
Final Thoughts on Your New Craft
Creating a Crochet Cat Keychain Amigurumi is a rewarding experience that combines skill and imagination. Once you master this basic pattern, you can experiment with different colors, such as making a calico cat or a striped tabby. The possibilities are endless when you have the basic foundation of amigurumi. Therefore, keep practicing your stitches and don’t be afraid to make mistakes along the way. Every stitch you make brings you closer to becoming a crochet expert. Now, go ahead and show off your new handmade cat keychain to the world!