
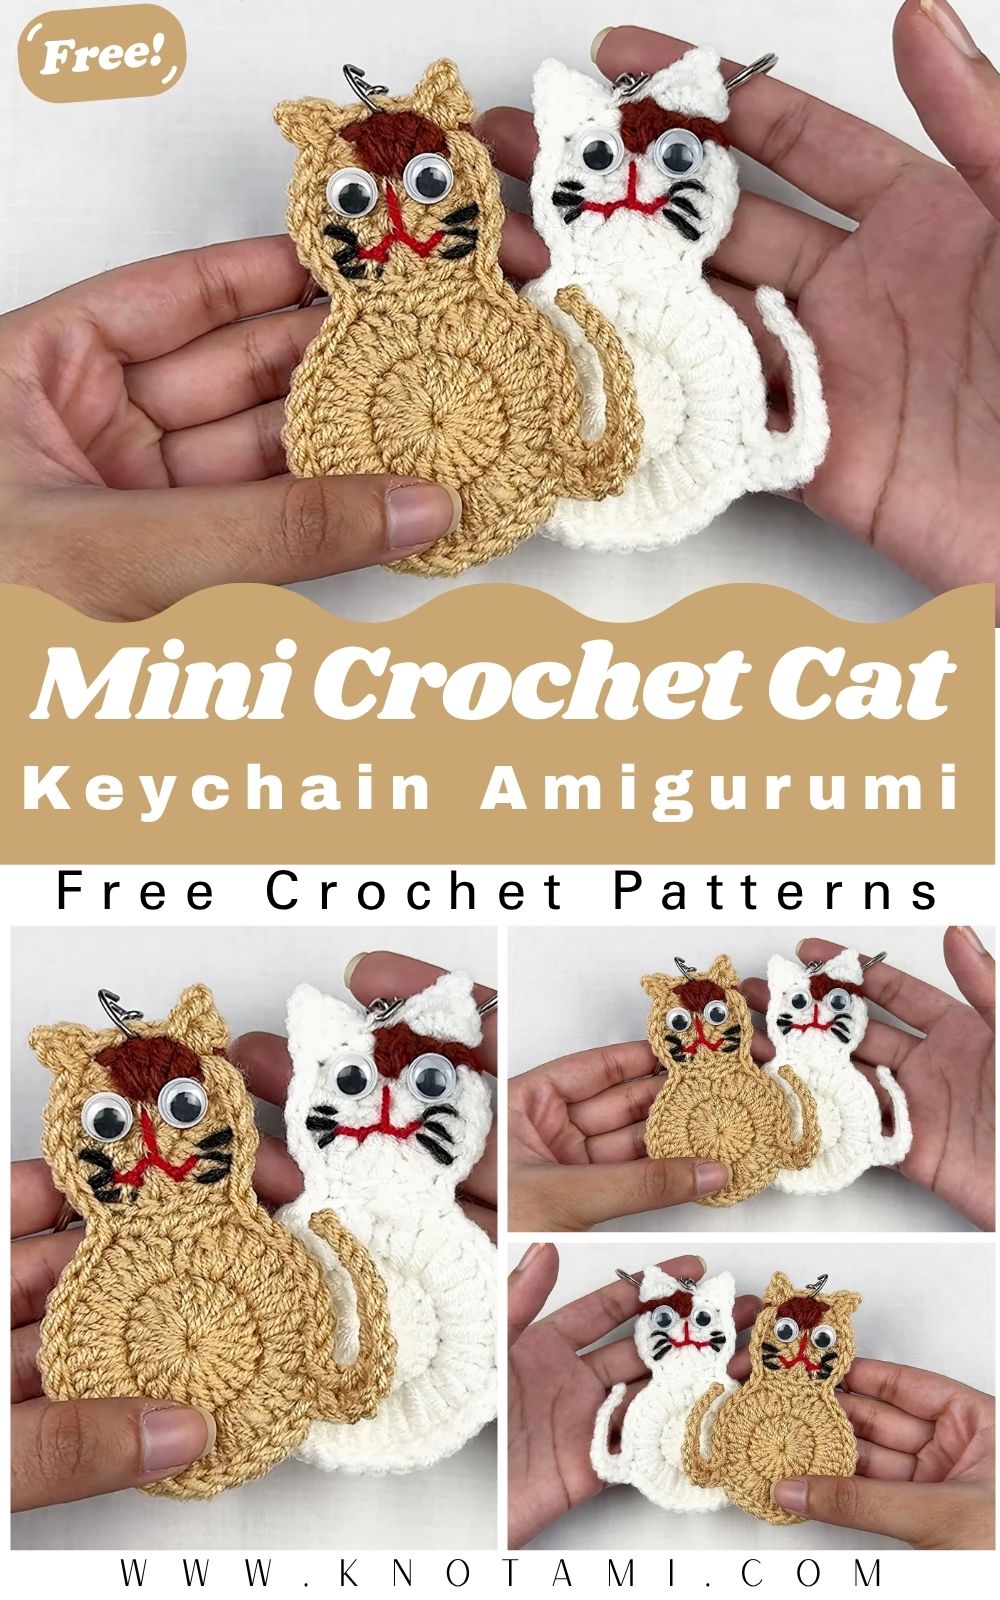
A small crochet cat turns ordinary keys into something adorable and special that you’ll love to carry around. This crochet cat keychain pattern offers an easy and creative idea that fits comfortably in the palm of your hand. Make it into a cute amigurumi keychain and enjoy completing it in no time.
Amigurumi of cute animals is growing in popularity because they show full character and beauty even in small sizes. The cat shape is especially perfect for keychains, as it is easy to recognize, the ears make it more adorable, and the facial expressions can be changed with just a few stitches. Simple color changes also make each cat a unique and adorable pet.
Handmade keychains also feel personal in a way that store-bought charms don’t match. You can gift one as a small “thinking of you” present, or add it to a bag as a soft accessory that doesn’t scratch screens. Since the project uses short lengths of yarn, you can turn leftovers into a finished piece that still looks planned.
Supplies
- Yarn
- Main cat color (white, gray, black, tan, or any shade you like)
- Small amounts for inner ears and details (pink, cream, or light gray)
- Optional: contrasting yarn for stripes or patches
- Hook
- Small hook that matches your yarn (commonly 2.0–3.5 mm for amigurumi)
- Needle
- Tapestry/yarn needle for sewing parts and weaving ends
- Stuffing
- Polyester fiberfill for a firm, smooth shape
- Accessories
- Stitch marker
- Safety eyes or black embroidery thread (for stitched eyes)
- Keychain ring or lobster clasp
- Jump ring
- Optional: small bell, bow, or tiny ribbon collar
Process
Step 1: Crochet the cat head and body base
Start with a magic ring and build a rounded shape using single crochet increases. Keep your tension tight so the stuffing stays hidden. The video shows the shaping pace, which helps you avoid turning the head into an oval.
Step 2: Shape the ears
Crochet two small triangles or curved ear pieces, depending on the style in the tutorial. Stitch them on evenly so the cat looks balanced from the front. Check placement before you knot off, since one ear even a few stitches off can change the expression.
Step 3: Add facial details
Attach safety eyes before closing the head, or embroider eyes later for a softer look. Stitch a small nose and mouth with embroidery thread, then add whisker lines if you want extra character. Use the video for face placement so the features sit at the right height.
Step 4: Stuff and close
Fill the head and body firmly, focusing on the cheeks and the lower edge so the shape holds. Close the opening with neat stitches and weave in the tail end. Squeeze the piece gently and adjust stuffing until it sits smoothly.
Step 5: Attach the keychain hardware
Create a strong yarn loop at the top or sew in a small strap tab. Add a jump ring, then connect the keychain ring or clasp. Follow the video method for the cleanest finish and a secure hold.
Design Highlights
- Cat shape
- Rounded head with perky ears that read as “cat” instantly
- Colors
- Solid classics (black, white, gray) or playful tones (lavender, mint, peach)
- Texture
- Tight amigurumi stitches that hold shape and resist snagging
- Cute features
- Small eyes, tiny stitched nose, and optional whiskers or blush marks
Uses & Benefits
- Keychain
- Clip it to keys, a backpack zipper, or a travel pouch
- Gift
- Add it to a birthday card, thank-you bag, or holiday present
- Decor
- Hang it on a craft cart, desk hook, or pegboard
- Collectible
- Make a set in different colors and swap them with the seasons
This project gives you a fast, satisfying finish without needing a lot of yarn. You also get a handmade accessory that feels light in a pocket while still holding its shape.
Time & Skill Level
- Time required
- 60–120 minutes, depending on sewing and face details
- Skill level
- Confident beginner to intermediate
- Techniques you’ll use
- Magic ring, single crochet, increases/decreases, sewing small parts
Yarn & Tools Guide
- Best yarn for keychains
- Cotton for crisp stitch definition and durability
- Smooth acrylic for a soft feel and lots of color options
- Yarn weight
- DK/worsted for a chunkier cat charm
- Sport/fingering for a smaller, neater keychain size
- Hook sizing
- Choose a hook 0.5–1.0 mm smaller than the yarn label suggests for tight fabric.
- Needle and thread
- Use a tapestry needle for assembly
- Use embroidery floss or thin yarn for facial features
- Hardware
- Lobster clasp for quick clip-on
- Split ring for classic keys
- Jump ring to reduce twisting stress on the yarn loop
Final Look
The finished crochet cat keychain should feel firm, with ears that stand up and a face that sits centered. The stitches should look even, and the keychain loop should feel sturdy when you tug it lightly.
Usage Ideas
- Clip it to a school bag zipper as an easy identifier
- Add it to a wallet wrist strap for a soft charm
- Use it as a party favor for cat-themed events
- Tie it onto a gift ribbon as a reusable topper
- Hang it on a rearview mirror only if it stays out of your sightline
- Attach it to a project bag so you spot it fast
Common Mistakes
- Loose stitches
- Gaps show stuffing and weaken the shape. Size down your hook and keep tension steady.
- Uneven ear placement
- One ear too far forward makes the face look tilted. Pin ears first, then sew.
- Overstuffing
- Too much stuffing stretches stitches and rounds out details. Add small pinches and shape as you go.
- Understuffing
- A soft, empty head collapses in a pocket. Fill firmly, especially around the edges.
- Weak keychain loop
- A thin loop can snap over time. Reinforce it with extra stitches and multiple passes of sewing.
Care Instructions
- Spot clean with mild soap and a damp cloth
- Air dry fully before clipping back onto keys
- Keep it away from rough Velcro to prevent fuzzing
- Avoid tossing it into a washing machine unless you use a mesh bag and a gentle cycle
- Check hardware now and then so jump rings stay closed
Customization Ideas
- Add a tiny collar using a thin ribbon strip
- Stitch a heart patch on the belly or back
- Create striped cats with color changes every few rounds
- Add blush cheeks with pink yarn or soft fabric chalk
- Make sleepy eyes with curved embroidery lines
- Attach a mini bell for a light jingle (skip this for toddlers)
Safety Tips
- Use embroidered eyes instead of safety eyes for items meant for children under three
- Keep jump rings fully closed so they don’t open on bags
- Weave in ends securely to prevent unraveling
- Store hooks and needles safely during breaks
- Avoid small add-ons like bells if a child might chew on the keychain
Why It’s Trending
Small crochet charms have taken over craft feeds because they finish quickly and show personality in a snapshot. A cat keychain hits that sweet spot: cute shape, simple parts, and endless ways to customize the face.
- It works as a quick win project between bigger makes
- It turns yarn scraps into a gift that still feels intentional
- It photographs well on keys, bags, and gift wrap
FAQs
1) What stitch works best for an amigurumi cat keychain?
Use single crochet with tight tension. That stitch makes a dense fabric that holds stuffing and keeps the shape clean.
2) Should I use cotton or acrylic yarn?
Choose cotton if you want crisp edges and less pilling on keys. Choose smooth acrylic if you want softer texture and more color options.
3) How do I make the ears stand up?
Crochet ears with firm tension and sew them on through both layers. You can also add a tiny bit more stuffing near the top of the head.
4) Can I make the cat smaller without changing the pattern?
Yes. Use thinner yarn and a smaller hook while keeping the same stitch counts. The finished cat will shrink while the proportions stay similar.
5) How do I attach the keychain ring so it doesn’t tear out?
Sew a reinforced loop with several passes through the top stitches. Add a jump ring between the yarn loop and the clasp to reduce pulling stress.
Judgment
This lovely crochet cat keychain amigurumi project gives you a small handmade accessory with real personality. Additionally, the pattern stays simple: a rounded shape, two ears, then a face that you can shift from playful to sleepy with a few stitches. Keep your tension tight, stuff the head firmly, and secure the hardware like you mean it. For the exact shaping, placement, and assembly flow, crochet along with the video and pause at each step until the pieces match, overall.