
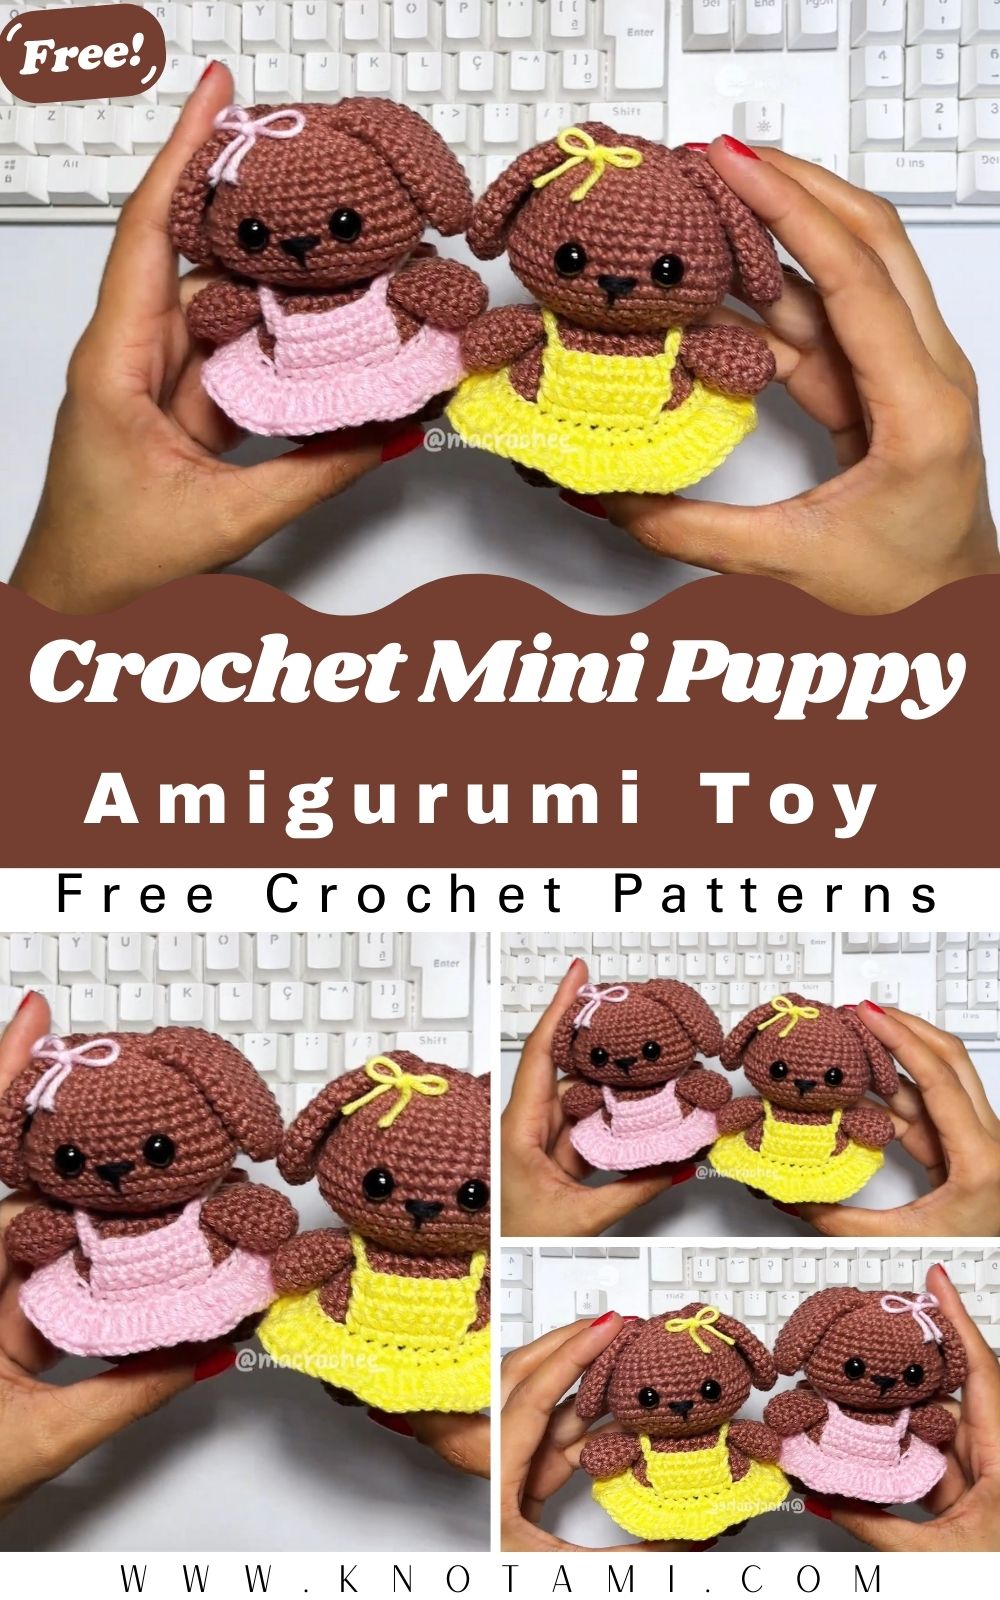
If you’re looking for a fun and adorable crochet project, this Crochet Mini Puppy Amigurumi Pattern is the perfect choice. These tiny handmade puppy dolls are dressed in beautiful crochet dresses and feature floppy ears, shiny safety eyes, and sweet little bows that make them impossible to resist. Whether you’re creating them as gifts, nursery decorations, craft fair products, or simply adding them to your amigurumi collection, these cute puppies are sure to become a favorite.
One of the best things about this project is that it is beginner-friendly. You don’t need advanced crochet skills to make these little puppies. By using simple stitches such as the magic ring, single crochet, increases, and invisible decreases, you can create an adorable handmade toy that looks professional and charming.
These crochet mini puppies are small enough to fit comfortably in your hand, making them ideal for keychains, bag charms, desk decorations, or thoughtful handmade gifts. Their colorful dresses can be customized with different yarn colors, bows, and accessories, allowing you to create a unique puppy every time.
Skill Level
Difficulty: Easy
This project is designed for beginners who already know a few basic crochet techniques.
You’ll only need to know:
- Magic Ring (MR)
- Chain Stitch (ch)
- Single Crochet (sc)
- Slip Stitch (sl st)
- Increase (inc)
- Invisible Decrease (dec)
- Fasten Off (FO)
No complicated shaping or advanced techniques are required.
Materials Needed
Before starting your project, gather all the materials you’ll need.
Yarn
Use soft cotton or cotton-blend yarn for the best results.
Recommended colors include:
- Chocolate Brown (body)
- Light Brown
- Beige
- White
- Black (nose and eyes)
- Pink (dress and bow)
- Neon Yellow (dress and bow)
- Lavender
- Mint Green
- Sky Blue
Cotton yarn is recommended because it creates tighter stitches and helps the puppy keep its shape.
Crochet Hook
Use a smaller hook for tighter stitches.
Recommended sizes:
- 2.5 mm
- 3.0 mm
Other Supplies
- Polyester Fiberfill
- Stitch Marker
- Yarn Needle
- Sharp Scissors
- Safety Eyes (6–8 mm)
- Embroidery Thread
- Measuring Tape
Finished Size
The completed puppy measures approximately:
- Height: 10–12 cm (4–5 inches)
- Width: 7–8 cm
- Weight: Approximately 40–60 grams
Changing the yarn weight and hook size will affect the final dimensions.
Crochet Abbreviations
| Abbreviation | Meaning |
|---|---|
| MR | Magic Ring |
| SC | Single Crochet |
| INC | Increase |
| DEC | Invisible Decrease |
| CH | Chain |
| SL ST | Slip Stitch |
| FO | Fasten Off |
| ST | Stitch |
| R | Round |
Before You Start
Before picking up your crochet hook, take a few minutes to organize your materials and prepare your workspace. Read through the entire pattern once to understand how each piece comes together. Using a stitch marker will help you keep track of the beginning of each round, and counting your stitches regularly will ensure that your puppy keeps its proper shape.
With everything ready, you’re all set to start crocheting your own adorable mini puppy.
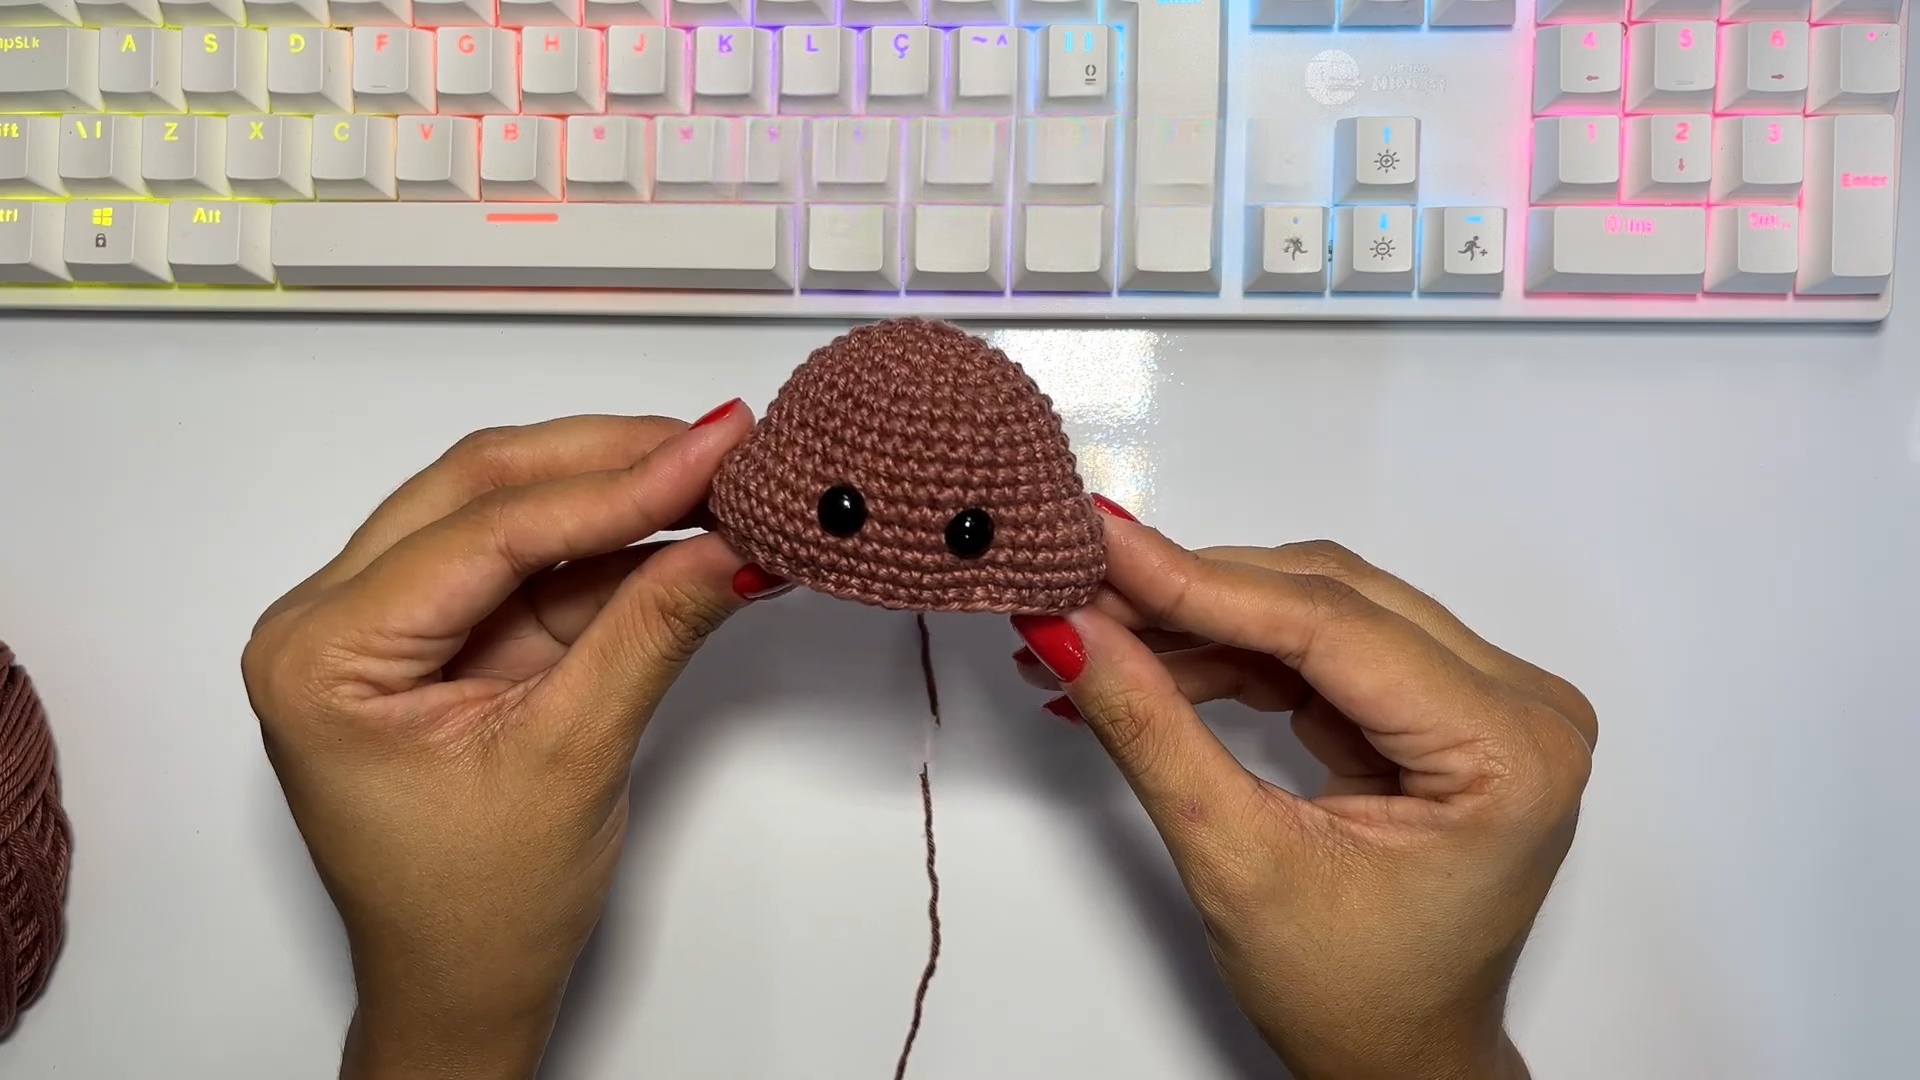
Step 1 – Crochet the Puppy Head
The head is the largest part of the puppy and gives it its adorable expression.
Using your main body color, begin with a Magic Ring (MR) and crochet 6 single crochet (SC) stitches into the ring.
Increase evenly over the next few rounds until you have approximately 30–36 stitches, depending on the size you’d like your puppy to be.
After reaching the desired width, crochet several rounds without increasing. This forms a smooth round shape.
Before closing the head, insert the 6–8 mm safety eyes between rounds 10 and 12, leaving about 5–6 stitches between them.
Lightly stuff the head with polyester fiberfill. The head should feel soft but firm enough to hold its shape.
Complete the final decrease rounds and fasten off, leaving a long tail for sewing.
Step 2 – Crochet the Body
The body is slightly smaller than the head, creating the classic chubby amigurumi style.
Start another Magic Ring with 6 single crochet stitches.
Increase gradually until you reach around 24–30 stitches.
Work several rounds evenly before decreasing toward the bottom.
Stuff the body as you crochet, adding small amounts of fiberfill until it feels firm but not overfilled.
Fasten off with a long yarn tail.

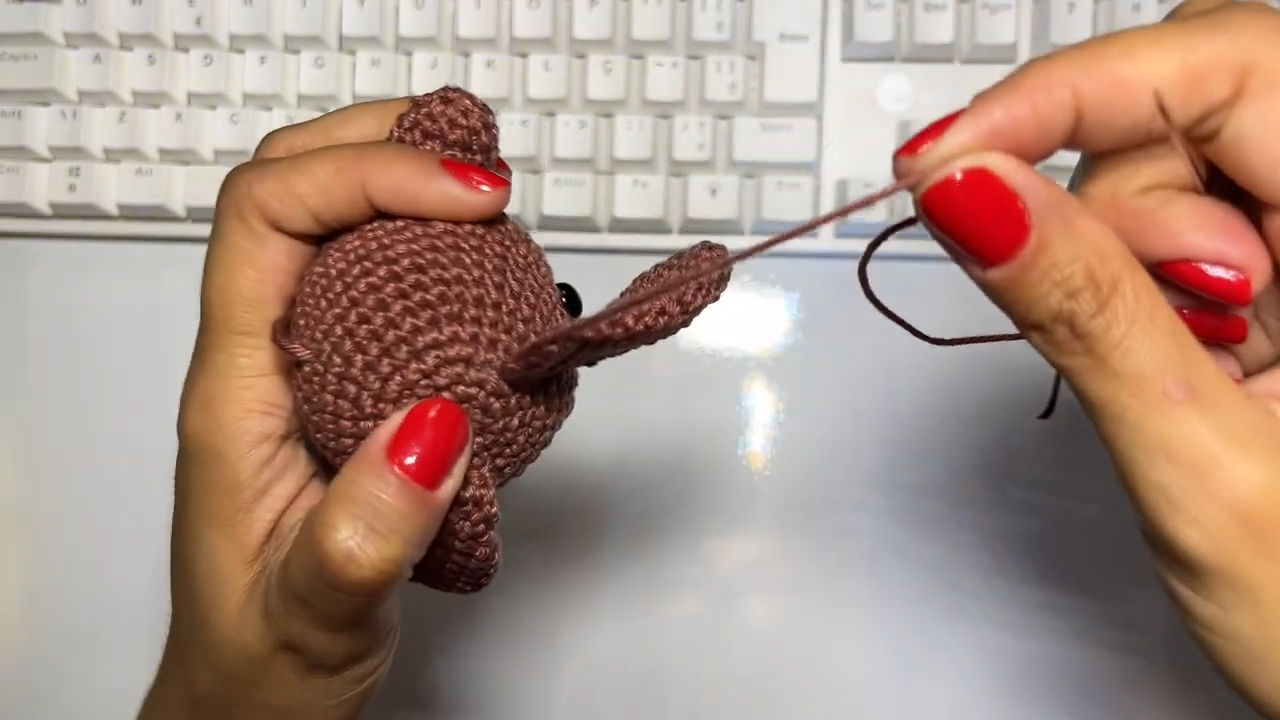
Step 3 – Make the Puppy Ears
The floppy ears give this puppy its sweet personality.
Create two identical ears.
Start each ear with a Magic Ring of 6 single crochet stitches.
Increase slightly during the second round before crocheting straight for two or three more rounds.
Flatten each ear gently before sewing.
Leave long yarn tails so they can be attached securely to the head.
For extra cuteness, gently fold each ear before sewing to create a natural floppy effect.
Step 4 – Crochet the Arms
The arms are small tube-shaped pieces.
For each arm:
- Magic Ring with 6 SC
- Crochet 5–6 rounds evenly
- Lightly stuff if desired
- Fasten off with a long sewing tail
Make two identical arms.
When attached to the body, position them slightly forward as if the puppy is holding its dress.
Step 5 – Crochet the Legs
The legs are slightly thicker than the arms to support the body.
Begin with a Magic Ring containing 6 single crochet stitches.
Work several rounds without increasing.
Lightly stuff each leg before fastening off.
Create four identical legs if making a standing puppy, or two larger sitting legs if you prefer the seated style shown in the picture.

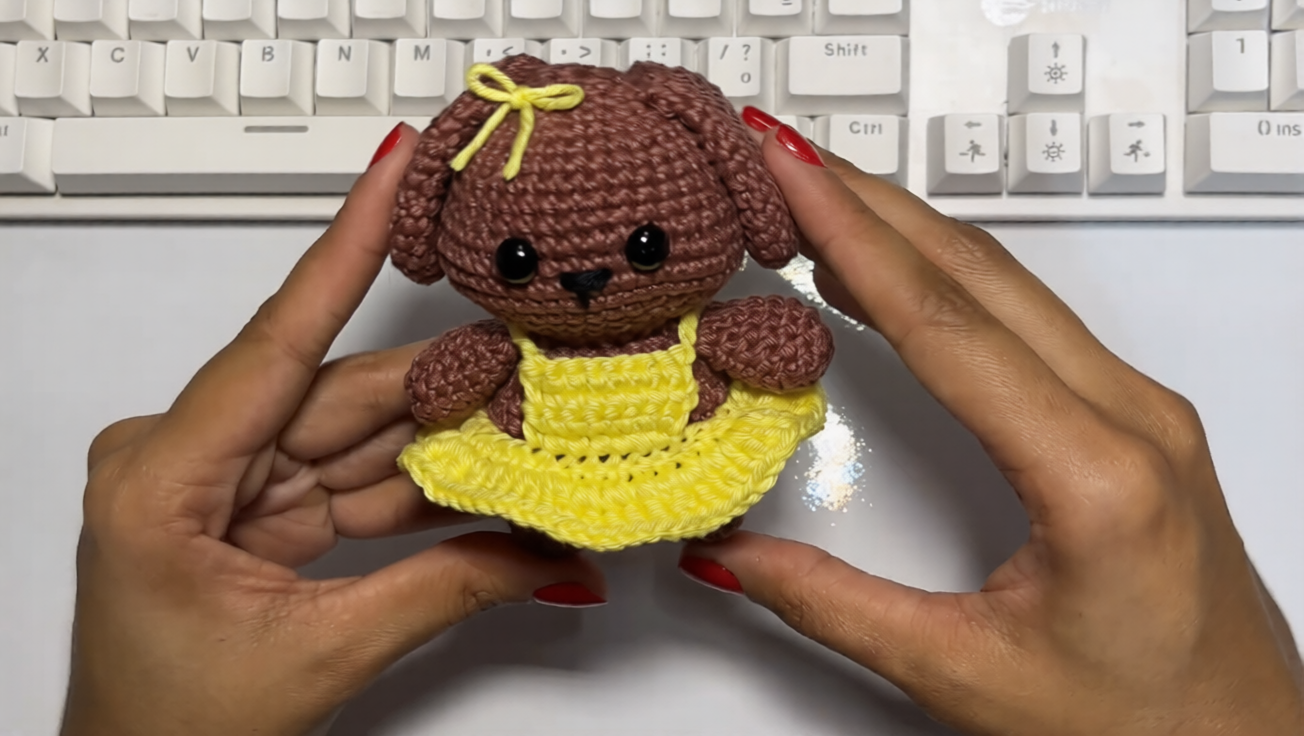
Step 7 – Crochet the Cute Dress
One of the most charming features of this Crochet Mini Puppy Amigurumi is the little dress.
Using your favorite dress color, chain enough stitches to fit around the puppy’s waist.
Join with a slip stitch to create a circle.
Crochet several rounds of single crochet for the bodice.
For the skirt, increase evenly in each round to create soft ruffles.
Continue until the dress reaches the desired length.
Finish with a decorative edge using slip stitches or shell stitches for a beautiful finish.
You can create dresses in many colors, including:
- Baby Pink
- Neon Yellow
- Mint Green
- Sky Blue
- Lavender
- Peach
- White
- Red
Adding a tiny crochet bow to the top of the dress gives your puppy an even sweeter look.
Step 8 – Assemble Your Puppy
Now comes the most exciting part—bringing your Crochet Mini Puppy Amigurumi to life.
Sew the head securely onto the body.
Attach the ears evenly on each side of the head.
Position the arms just below the neck and sew them in place.
Attach the legs evenly underneath the body.
Sew the tail to the back.
Slide the finished dress onto the puppy before attaching any permanent accessories.
Finally, embroider the nose and mouth using black embroidery thread. If desired, add a tiny blush to the cheeks using pink fabric chalk or blush powder for an extra cute finish.
Once everything is sewn together, gently shape your puppy with your hands and adjust the stuffing if needed.
Your adorable Crochet Mini Puppy Amigurumi is now complete and ready to display, gift, or add to your handmade collection.
If you prefer learning visually, you can follow the complete video tutorial below. The tutorial demonstrates every step of making this Crochet Puppy Doll Amigurumi Pattern, from crocheting the head and body to shaping the floppy ears, sewing the tiny arms, and creating the beautiful crochet dress. Watching the video makes the project much easier to follow, especially for beginners, because you can pause, rewind, and crochet along at your own pace.
Customization Ideas
One of the best things about this Crochet Mini Puppy Amigurumi pattern is how easy it is to personalize. Once you’ve completed your first puppy, you can experiment with different colors, accessories, and facial expressions to create an entire collection of unique handmade puppies.
Change the Puppy Colors
Different yarn colors can represent different dog breeds.
- Light Brown – Golden Retriever
- Dark Brown – Chocolate Labrador
- Black – Black Labrador
- White with Black Spots – Dalmatian
- Gray and White – Husky
- Cream – Poodle
- Tan and White – Beagle
Create Colorful Dresses
The crochet dress can completely change your puppy’s personality.
Try using:
- Baby Pink
- Lavender
- Mint Green
- Lemon Yellow
- Sky Blue
- Peach
- Red
- White
Add matching bows or tiny flowers to complete the outfit.
Add Cute Accessories
Give your puppy even more personality by adding:
- Small crochet bows
- Mini flowers
- Tiny heart appliqués
- Crochet hats
- Scarves
- Tiny handbags
- Pearl beads
- Mini bells
- Ribbon collars
These small details make every puppy unique and are perfect if you’re selling your finished projects.
Common Mistakes to Avoid
Even simple amigurumi projects can have small challenges. Here are a few common mistakes and how to avoid them.
Crocheting Too Loosely
Loose stitches create gaps that allow stuffing to show through.
Use a slightly smaller crochet hook if necessary to achieve tighter stitches.
Creative Ways to Use Your Crochet Mini Puppy Amigurumi
This adorable little puppy is much more than just a crochet toy.
Handmade Gift
A thoughtful gift for birthdays, Christmas, Valentine’s Day, Mother’s Day, or baby showers.
Nursery Decoration
Place several puppies on nursery shelves for an adorable handmade display.
Desk Companion
Keep your crochet puppy beside your computer or workspace for a cheerful decoration.
Bag Charm
Attach a keychain ring to create a cute accessory for backpacks or handbags.
Keychain
Make a smaller version using thinner yarn for a charming keychain.
Craft Fair Item
Small amigurumi toys are popular at local markets because they’re affordable and quick to make.
Home Decoration
Display your puppies on bookshelves, coffee tables, or tiered trays.
Handmade Collection
Create different puppy colors and dresses to build your own amigurumi family.
Frequently Asked Questions
Is this Crochet Mini Puppy Amigurumi suitable for beginners?
Yes! This pattern is beginner-friendly and only uses basic crochet stitches, making it perfect for anyone learning amigurumi.
What yarn should I use?
Cotton yarn is highly recommended because it provides excellent stitch definition and helps the puppy keep its shape.
How long does it take to complete?
Most crocheters can finish one puppy in 3–5 hours, depending on their experience.
Can I make a larger puppy?
Absolutely! Simply use thicker yarn and a larger crochet hook. Bulky yarn creates a bigger and softer puppy.
Can I wash my crochet puppy?
Yes. Hand washing is the safest method to protect the stuffing and shape.
Can I sell finished Crochet Mini Puppy Amigurumi dolls?
Yes. Handmade crochet puppies are popular products at craft fairs, Etsy shops, and local markets. If you’re using another designer’s pattern, always respect their copyright and selling terms.
Final Thoughts
Making your own Crochet Mini Puppy Amigurumi is a fun and rewarding crochet project for beginners and experienced crafters alike. With just a few simple stitches and a handful of materials, you can create an adorable handmade puppy that will be treasured for years.
These tiny crochet puppies are perfect for gifts, nursery décor, keychains, bag charms, or selling at craft fairs. Their cute dresses, floppy ears, and sweet little faces make every finished puppy unique.
Once you’ve completed your first one, you’ll likely want to make more in different colors and outfits. Experiment with bows, flowers, scarves, and accessories to create a collection of charming crochet puppies that reflects your own style.
Whether you’re crocheting for yourself or someone special, this Crochet Mini Puppy Amigurumi pattern is a relaxing project that lets your creativity shine. Happy crocheting!