

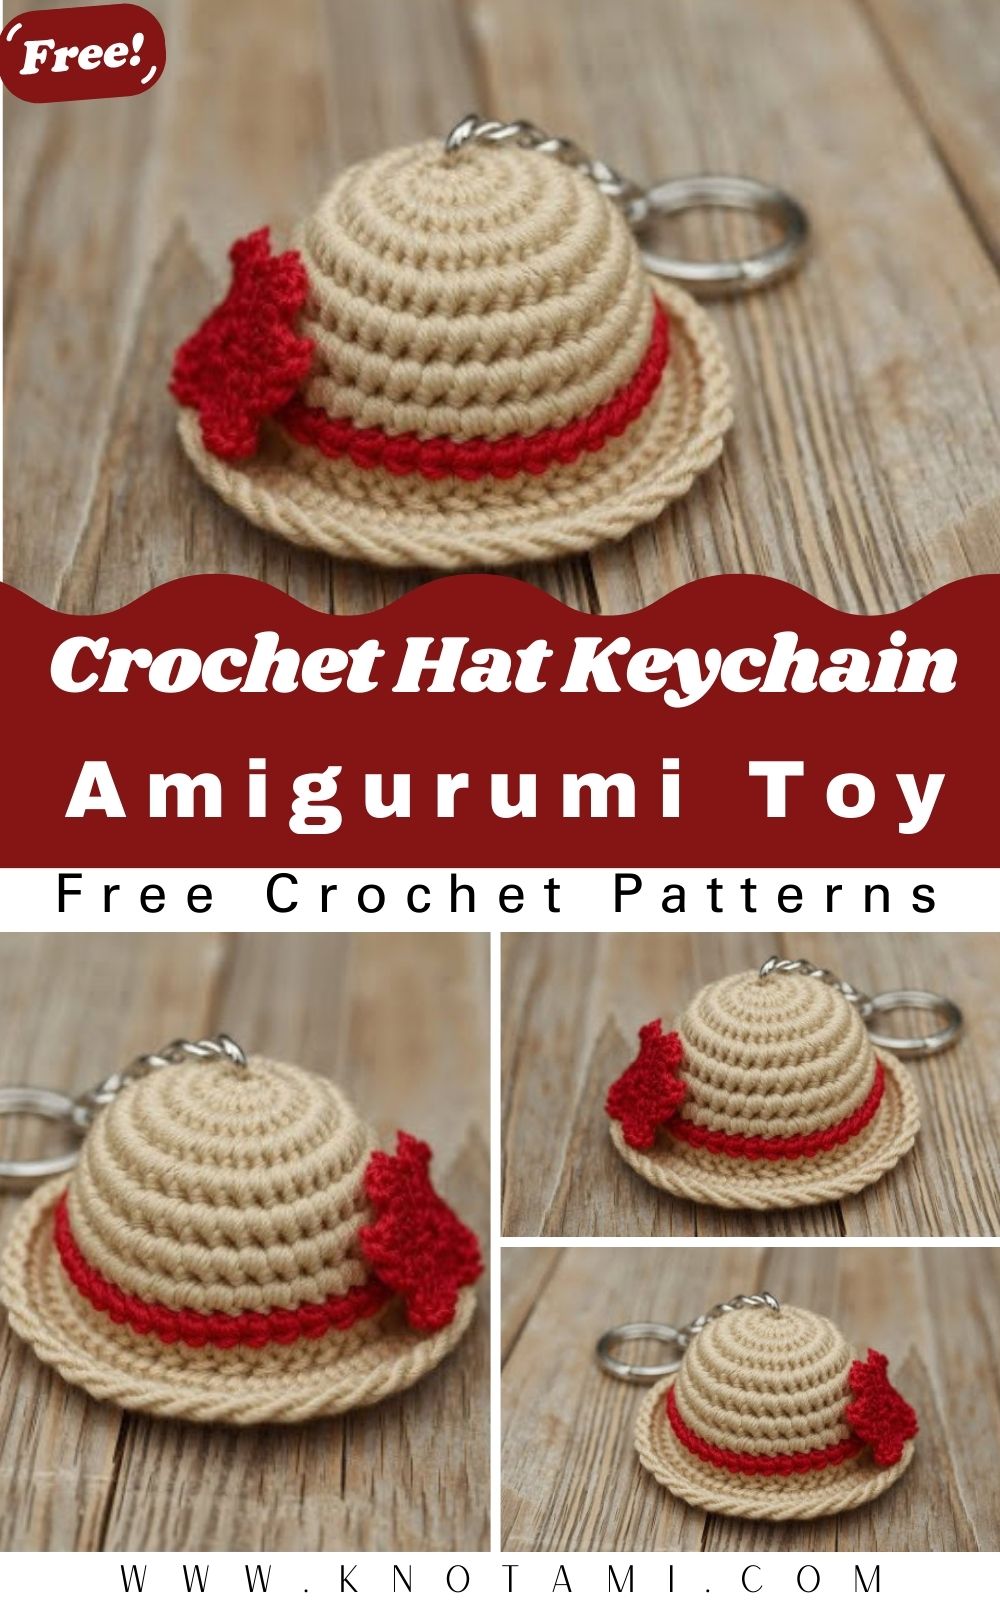
The crochet hat features a rounded crown, a wide brim, and a decorative flower that gives it a stylish and elegant look. Attach a key ring to the top, and you’ll have a unique handmade keychain that everyone will admire. You can easily customize it by changing the yarn colors, adding ribbons, bows, flowers, or even tiny beads to match different seasons and occasions.
Whether you’re new to crochet or an experienced maker looking for a relaxing project, this Crochet Hat Keychain is fun to create and makes excellent use of leftover yarn.
Skill Level
Difficulty: Easy
This project is suitable for beginners who know the following crochet stitches:
- Magic Ring (MR)
- Chain (ch)
- Single Crochet (sc)
- Slip Stitch (sl st)
- Increase (inc)
- Fasten Off (FO)
No complicated shaping techniques are required.
Project Information
| Project Details | Information |
|---|---|
| Pattern Type | Mini Amigurumi |
| Skill Level | Easy |
| Finished Size | 5–7 cm |
| Time Required | 1–2 Hours |
| Yarn Weight | DK or Cotton Yarn |
| Crochet Hook | 2.5–3 mm |
| Crochet Terms | US Terms |
Materials You’ll Need
Gather all your supplies before you begin.
Yarn
Cotton yarn is recommended because it provides excellent stitch definition and helps the hat keep its shape.
Main Color
Choose any color for the hat.
Popular choices include:
- Beige
- White
- Cream
- Brown
- Pink
- Blue
- Yellow
- Purple
Approximately 20–30 meters of yarn is enough for one keychain.
Accent Color
Use a contrasting color for the decorative band around the hat.
Popular options include:
- Red
- Green
- Pink
- Navy Blue
- Black
Flower Color
Choose a bright color for the flower decoration.
Ideas include:
- Red
- Yellow
- White
- Pink
- Orange
- Purple
Other Supplies
You’ll also need:
- 2.5 mm or 3 mm crochet hook
- Stitch marker
- Yarn needle
- Sharp scissors
- Metal keyring
- Jump ring
- Small pliers (optional)
- Fabric glue (optional)
Crochet Abbreviations
| Abbreviation | Meaning |
|---|---|
| MR | Magic Ring |
| sc | Single Crochet |
| inc | Increase |
| sl st | Slip Stitch |
| ch | Chain |
| st | Stitch |
| FO | Fasten Off |
Step 1 – Crochet the Hat Crown
Begin with a Magic Ring.
Round 1
Work 6 single crochet (sc) into the Magic Ring.
Total stitches: 6
Round 2
Increase in every stitch.
Total stitches: 12
Round 3
Repeat:
1 sc, increase
Total stitches: 18
Round 4
Repeat:
2 sc, increase
Total stitches: 24
Round 5
Repeat:
3 sc, increase
Total stitches: 30
Continue crocheting several rounds without increasing to create the rounded crown of the hat.
The crown should resemble a small dome before moving on to the brim.
Step 2 – Crochet the Hat Sides
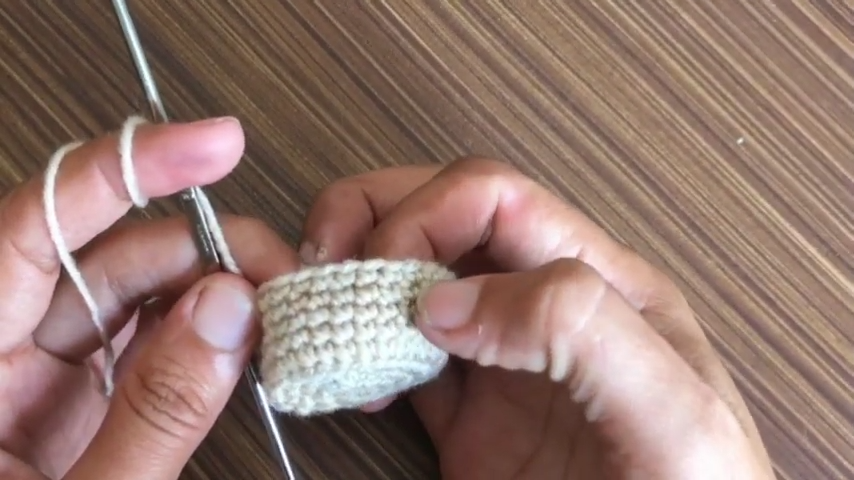
Once you’ve completed the crown, it’s time to crochet the sides of the hat. This section gives the hat its realistic shape and depth.
Continue working in continuous rounds without increasing.
Round 6
- Crochet 1 single crochet (sc) into every stitch around.
Total stitches: 30
Round 7
- Single crochet in each stitch around.
Round 8
- Single crochet around once more.
Depending on how deep you’d like the hat to be, you can add one or two extra rounds before starting the brim.
Your miniature hat should now have a nice dome shape with straight sides.

Step 3 – Crochet the Hat Brim
The brim is what gives the hat its classic appearance.
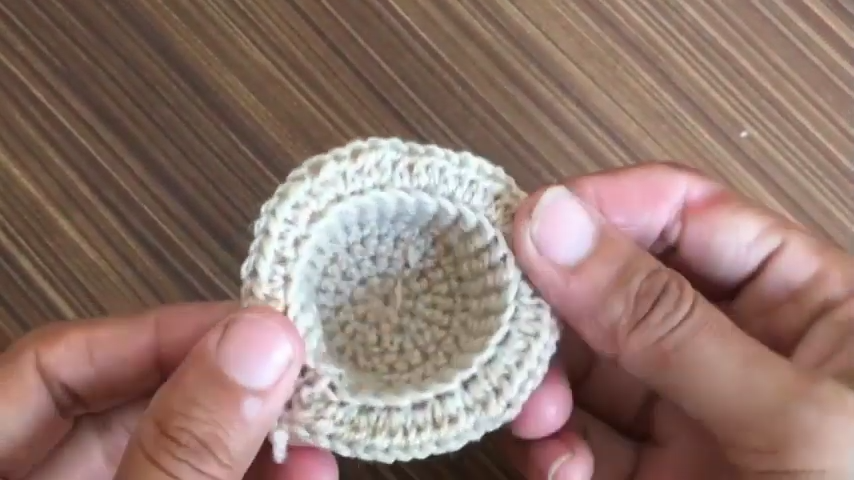
You’ll create the brim by increasing evenly around the bottom edge.
Round 9
Repeat:
4 single crochet, increase
Continue around the hat.
The brim should begin to spread outward naturally.
Round 10
Work:
- 1 single crochet into every stitch.
If you prefer a wider hat, add another increase round.
Optional Decorative Edge
To create a decorative finish, crochet one of the following around the brim:
- Slip Stitch Border
- Crab Stitch (Reverse Single Crochet)
- Picot Edge
- Twisted Rope Edge
These simple borders give your Crochet Hat Keychain a professional finish.
Step 4 – Crochet the Decorative Band
A colorful band makes the miniature hat stand out.
Join a contrasting yarn color around the base of the crown.
Work one round of:
- Slip Stitch
or
- Single Crochet
Popular band colors include:
- Bright Red
- Dark Brown
- Navy Blue
- Emerald Green
- Mustard Yellow
- Black
This simple detail instantly transforms the appearance of the hat.
Step 5 – Crochet the Flower
The flower shown in the sample photo is easy to make and adds a beautiful finishing touch.
Round 1
Create a Magic Ring.
Work:
- Chain 2
- Slip Stitch
Repeat this sequence 5 times to create five petals.
Pull the Magic Ring closed.
Fasten off and leave a long yarn tail.
Sew the flower onto one side of the decorative band.
You can also add:
- Small pearl bead
- Tiny button
- Mini bow
- Crochet leaf
to personalize your keychain.
Step 6 – Attach the Key Ring
Insert a jump ring through the center of the top of the hat.
Attach the metal keyring securely using pliers if necessary.
Before finishing, gently pull on the ring to ensure it is firmly attached.
A secure keyring helps your handmade project last much longer.

If you’re following along with a video tutorial, watch it before you begin. The video demonstrates every step of making this Crochet Hat Keychain, including crocheting the rounded hat, creating the brim, attaching the decorative flower, and adding the keyring.
Watching each step makes it much easier to understand the shaping and assembly, especially if this is your first miniature crochet project. Feel free to pause and crochet at your own pace until your keychain is complete.
Care Instructions
To keep your handmade Crochet Hat Keychain looking beautiful, follow these simple care tips.
- Hand wash gently using cold or lukewarm water.
- Use a mild detergent.
- Avoid bleach or harsh chemicals.
- Do not twist or wring the crochet fabric.
- Lay flat to air dry.
- Keep away from direct heat.
- Store in a dry place when not in use.
With proper care, your crochet keychain will stay in great condition for years.
Frequently Asked Questions
Is this pattern beginner-friendly?
Yes! This Crochet Hat Keychain is perfect for beginners who know basic crochet stitches such as the Magic Ring, single crochet, and increases.
How long does it take to make?
Most crocheters can finish one keychain in 1–2 hours, depending on their experience.
What yarn is best?
Cotton yarn is recommended because it provides better stitch definition and helps the hat maintain its shape.
Can I use acrylic yarn?
Yes, but cotton yarn gives a cleaner finish and is generally more durable for keychains.
Can I make a larger hat?
Absolutely. Simply use thicker yarn and a larger crochet hook, or continue adding rounds before making the brim.
Can I sell finished Crochet Hat Keychains?
Yes! Handmade crochet keychains are popular at craft fairs, gift shops, and online marketplaces. If you’re using someone else’s original pattern, always follow the designer’s copyright and selling terms.
What decorations can I add?
You can personalize your hat with:
- Crochet flowers
- Tiny bows
- Pearls
- Wooden buttons
- Leaves
- Mini pom-poms
- Lace ribbons
- Embroidered initials
Every hat can have its own unique style.
Final Thoughts
The Crochet Hat Keychain is a simple, enjoyable, and rewarding crochet project that’s perfect for beginners and experienced crocheters alike. With just a small amount of yarn and a few basic stitches, you can create a charming handmade accessory that’s both stylish and practical.
This miniature hat is ideal for decorating keys, backpacks, handbags, and zipper pulls. It’s also a wonderful gift idea and a popular item to sell at craft fairs or online shops. Best of all, it’s easy to customize with different colors, flowers, ribbons, or seasonal decorations, allowing you to create a unique design every time.
If you’re following along with the video tutorial, take your time, enjoy each stitch, and have fun experimenting with your favorite color combinations. Once you’ve finished your first Crochet Hat Keychain, you’ll likely want to make several more for friends, family, or your own handmade collection.
Happy Crocheting!