
There’s a special kind of magic in taking a strand of yarn and shaping it into something that feels alive and full of heart. Crochet turns simple loops into stories: the gentle rhythm of your hands, the soft glide of yarn, the quiet moment when a tiny creature takes form. It’s creativity you can hold warm, tactile, and deeply satisfying. And when that little creation shimmers with fantasy and colour, the joy multiplies.
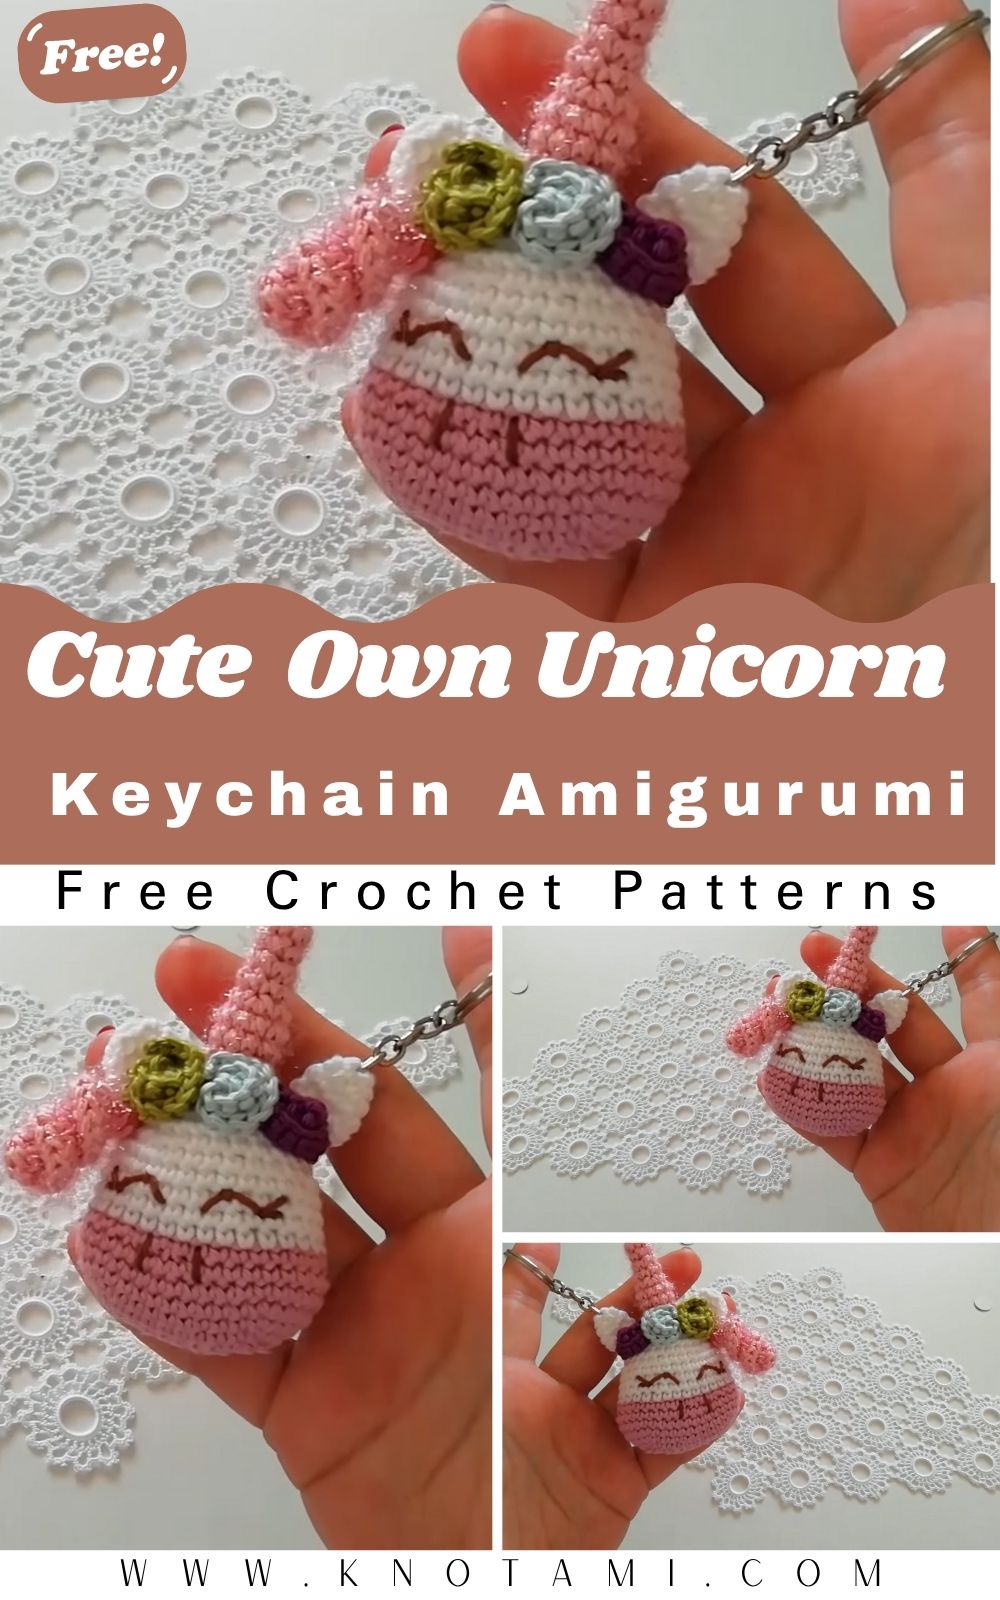
Enter the Crochet Cute Own Unicorn Keychain, a miniature amigurumi that captures the wonder of unicorns in a pocket-sized charm. With a plump, round face, a sweet snout, tiny ears, and a softly spiralled horn, this project checks every “cute” box. Add a pastel mane and tail, attach a keyring, and you have a tiny guardian of whimsy for your bag, keys, or gift boxes. It’s adorable, eye-catching, and guaranteed to spark conversations.
This project welcomes both beginners and seasoned crocheters. New makers will love the straightforward rounds, simple shaping, and small parts that build confidence. Experienced crafters can play with colourwork, decorative surface stitches, and crisp assembly for a boutique-quality finish. Best of all, it works up quickly, perfect for craft fairs, last-minute gifts, or weekend makes.
Beyond the stitches, crocheting this unicorn becomes a mindful ritual: loop by loop, your mind unwinds. There’s pride in that final tug of the yarn tail, in the little smile you embroider, and in the delicate horn that crowns your work. If you enjoy slow crafting and gifting thoughtful handmade pieces, this keychain is the perfect bite-sized project full of personality and charm.
Materials & Tools
Gathering the right supplies sets you up for success and a polished, professional finish.
Yarn (DK / Light Worsted, #3):
-
Main body: white, cream, or very pale pastel
-
Muzzle (optional contrast): soft beige or blush
-
Mane and tail: 2–4 colors (pastels, rainbow, or gradient)
-
Horn: gold, pale yellow, or metallic yarn (non-scratchy)
-
Hooves (if adding legs): light gray or tan
-
Embroidery details: black (for mouth and lashes), pink (for blush)
Hook: 2.25–3.0 mm (use a smaller size than your yarn label recommends to achieve tight, no-gaps fabric)
Stuffing: Polyester fiberfill
Safety Eyes: 6 mm (embroider eyes if gifting to babies/toddlers)
Notions & Tools:
-
Tapestry needle (blunt tip)
-
Scissors
-
Stitch markers (to mark round starts)
-
Keychain ring / lobster clasp with short chain
-
Optional: tiny ribbon, fabric glue (for knots), blush powder
Choosing Yarn Texture, Weight & Colors
-
Fiber: Cotton yarn gives clean stitch definition (great for small details). Acrylic is softer and more forgiving for beginners.
-
Weight: DK/#3 keeps the keychain compact yet sturdy; switch to sport/#2 for a teenier charm.
-
Colors: Pastel body + rainbow mane is classic. For a dreamy look, choose monochrome pastels (e.g., lavender body, lilac mane). Metallic or sparkle yarn adds enchantment for the horn just ensure it’s not scratchy around the keyring.
Step-by-Step Crochet Instructions
Notes: Work in continuous rounds (spiral) unless stated. Use a stitch marker to track the first stitch of each round.
Abbreviations: MR (magic ring), ch (chain), sl st (slip stitch), sc (single crochet), inc (increase: 2 sc in one st), dec (decrease: invisible decrease preferred), FO (fasten off).
1) Head (with optional integrated body start)
-
Round 1: With body color, MR, 6 sc (6).
-
Round 2: inc around (12).
-
Round 3: (sc, inc)×6 (18).
-
Round 4: (2 sc, inc)×6 (24).
-
Rounds 5–7: sc around (24 each).
-
Insert safety eyes between Rounds 5–6, about 5–6 sts apart.
-
Round 8: (2 sc, dec)×6 (18).
-
Round 9: (sc, dec)×6 (12). Lightly stuff the head firm but not overpacked.
-
Round 10: If making a separate body, dec around to 6 and FO. If making a single-piece mini (head-body), continue to the neck.
Shaping Tip: Roll the head gently between your palms to smooth stuffing and perfect the sphere. If eyes look asymmetrical, tug the internal washer gently or massage stuffing to rebalance.
2) Neck & Upper Body
If continuing from the head:
-
Round 10: Work even around (12).
-
Round 11 (expand): (1 sc, inc)×6 (18).
-
Round 12: sc around (18).
-
Round 13 (expand again): (2 sc, inc)×6 (24).
-
Lightly stuff the neck to avoid a wobble.
Neck Stability Tip: Push a tuft of stuffing slightly into the head cavity while filling the neck so the junction is supported.
3) Main Body (compact oval)
-
Rounds 14–16: sc around (24 each) for a plump little body.
-
Round 17 (shape base): (2 sc, dec)×6 (18).
-
Round 18: (sc, dec)×6 (12).
-
Round 19: dec around (6). Finish stuffing before closing, then FO and weave tail through front loops to close neatly.
Balance Tip: If you plan to display the unicorn sitting, keep the lower third a touch flatter by massaging the base before closing.
4) Base & Legs (optional but cute)
Base (flat “sit” option):
-
After Round 16, crochet one more round in back loops only (BLO) to mark an edge. Then decrease as written. BLO creates a gentle base edge that helps the unicorn sit.
Tiny Legs (make 4):
-
MR, 5 sc, sl st to close, FO leaving a tail. Do not stuff. Sew two under the front, two under the back, slightly angled outward.
-
For hooves: work the last round in a contrasting color.
Leg Placement Tip: Before sewing, pin legs in place. Check balance by gently pressing the body on a flat surface.
5) Ears (make 2)
-
MR, (sc, hdc, sc) into ring; pull closed lightly to form a soft triangle.
-
FO leaving a tail. Pinch the base as you sew onto the head (about 2–3 sts behind each eye).
Ear Crispness Tip: For extra structure, work ears in cotton yarn or add a single invisible back-stitch along the base after sewing.
6) Muzzle (optional but adds dimension)
-
With blush/beige, ch 4.
-
Row 1: sc in 2nd ch from hook and across (3); ch 1, turn.
-
Row 2: sc across (3). FO with a long tail.
-
Sew centered under the eyes; lightly stuff the tiniest pinch for a rounded snout.
-
Embroider nostrils (two tiny vertical stitches) and a small smile with black thread.
Embroidering Tip: Anchor knots inside the head by entering from the back seam and exiting under the muzzle.
7) Horn (spiral cone)
Method A (spiral round):
-
MR, 4 sc (4).
-
Round 2: sc around (4).
-
Round 3: (sc, inc)×2 (6).
-
Round 4: sc around (6).
-
Round 5: (2 sc, inc)×2 (8).
-
Round 6: sc around (8). FO, stuff lightly (use the tip of your scissors or a skewer). Sew between ears, slightly forward.
Method B (flat rolled):
-
Ch 7, sc in 2nd ch, hdc in next, dc in next, tr in next, dc in next, hdc in last. FO. Roll from narrow end and sew into a cone. Great for metallic yarns that are stiffer.
Horn Tip: Metallic threads can be itchy hold double with soft cotton in a matching color for sparkle + comfort.
8) Mane (multi-strand or curlies)
Simple Fringe Mane:
-
Cut 8–12 strands (8–10 cm). With a hook, latch through stitches behind the horn and ears, pull midpoint through, and make a lark’s head knot. Trim or taper for a layered look.
Curly Mane:
-
With any mane color: ch 16–20, 2 sc in each ch back to start (it will spiral). Make 3–5 curlies in different colors/lengths and sew along the head-to-neck line.
Mane Placement Tip: Start dense near the horn, then space out toward the neck to keep the silhouette neat, especially for a keychain that gets handled a lot.
9) Tail
-
Use 3–5 strands matching the mane; attach with lark’s head knots at the back, or create a single curly strand as above and sew it low on the body centerline.
10) Assembly & Positioning
-
Order: Horn → ears → mane → tail → muzzle → legs (if any) → keychain hardware.
-
Keyring: Stitch a small loop of yarn at the top of the head (between horn and ear), pass the chain through, or attach a split ring directly through a strong stitch.
-
Symmetry Check: Align ears evenly, and make sure the horn is centered. Tweak stuffing by massaging before finalizing.
Professional Finish Tip: Use the mattress (ladder) stitch for seams; weave tails in multiple directions (3–4 passes) to lock.
11) Final Touches & Accessories
-
Embroider lashes, freckles, or a tiny heart on the cheek.
-
Lightly add blush with fabric-safe pigment or pink yarn surface stitches.
-
Tie a mini ribbon around the horn’s base or a micro scarf in cooler colors.
-
For sparkle, sew on one or two tiny beads avoid if gifting to small children.
Customization Ideas
-
Color Schemes:
-
Classic Pastel: White body, gold horn, pastel rainbow mane/tail.
-
Galaxy: Navy body, silver horn, purple/blue/teal mane with speckled yarn.
-
Cotton Candy: Pink body, pearl horn, blue/pink ombré mane.
-
Minimalist: Cream body, beige horn, dusty-rose mane for a calm aesthetic.
-
-
Different Yarns:
-
Cotton for crisp details.
-
Acrylic for plush softness.
-
Fine sparkle thread held with cotton for subtle shimmer.
-
Avoid heavy faux-fur for minis (it hides details).
-
-
Themes:
-
Holiday: Red-green scarf for Christmas, pastel eggshell palette for Easter, black-gold for New Year’s.
-
Fantasy: Mermaid unicorn (teal/purple mane), autumn unicorn (rust/mustard mane).
-
Birthstone: Match mane colors to the recipient’s birthstone.
-
-
Add-Ons:
-
Micro bow, flower crown, tiny star applique, felt hearts, or a mini saddle blanket (a 3×3 sc square in a contrasting color).
-
Advanced Tips & Troubleshooting
-
Invisible Decreases: Work through the front loops of the next two stitches, yarn over, pull through both loops, yarn over, pull through two—this minimizes bumps and gaps.
-
Even Tension: Keep a relaxed grip. If your fabric shows stuffing, drop down a hook size; if it’s too stiff, go up a size.
-
Round Tracking: Always mark the first stitch of the round and count every few rounds to prevent drift and lopsided shapes.
-
Shape Recovery: If the head looks oblong, steam lightly with a damp cloth (no direct iron), then reshape by hand.
-
Stuffing Balance: Add in small tufts, pressing outward with your pinky. Overstuffed = bulges; understuffed = sagging seams. Aim for “firm marshmallow.
-
Seamless Joins: Use the ladder stitch and match yarn colors to parts. Take tiny bites of fabric to hide stitches.
-
Reading Abbreviations: Make a mini cheat card: MR, sc, inc, dec, sl st, BLO/FLO. Keep it at your workstation.
-
Horn Stability: Anchor the horn with 3–4 stitches around the base. Add one hidden stitch into the head center to prevent wobble.
-
Mane Durability (Keychain Use): Knot each fringe strand twice; dab a micro-dot of fabric glue inside the knot for strength.
-
Hardware Safety: Use split rings with smooth edges; avoid jump rings that can pry open with daily use.
Care Instructions
-
Hand Wash Gently: Use mild detergent in cool water; agitate softly.
-
Do Not Wring: Press between towels to remove moisture.
-
Air Dry Flat: Reshape the head and mane while damp; avoid tumble drying.
-
Sunlight Caution: Prolonged sun can fade pastels store away from direct UV.
-
Long-Term Storage: Keep in a dust-free pouch or box; avoid crushing the horn/mane.
-
Hardware Check: If used daily as a keychain, occasionally check the ring and threads for wear.
Display & Gift Ideas
-
Bag & Key Charm: Clip to backpacks, totes, or zipper pulls instant personality.
-
Desk Buddy: Sit the unicorn near your monitor for a daily dose of cheer.
-
Home Décor: Perch on a bookshelf or in a glass cloche with fairy lights.
-
Kid’s Room Accent: Hang from a wall hook or mobile (embroidered eyes for safety).
-
Holiday Ornament: Add a hanging loop perfect for trees or garlands.
-
Personalized Gift: Match mane colors to school/team palettes or the recipient’s favorite shades.
-
Party Favors & Craft Fairs: Batch-make in a rainbow of colors label with a tiny care card.
Benefits of Creating a Crochet Cute Own Unicorn Keychain
-
Relaxation & Mindfulness: Repetitive stitches soothe the mind perfect for evening wind-downs.
-
Stress Relief: Small, achievable projects provide quick wins and uplift mood.
-
Accomplishment & Joy: Seeing a character emerge from yarn is pure happiness.
-
Sustainable Gifting: Handmade beats mass-produced trinkets thoughtful, lasting, and low-waste.
-
Emotional Connection: A handmade unicorn carries your time, care, and intention—treasured by recipients.
-
Skills Growth: Practice shaping, invisible decreases, assembly, and neat finishing on a low-risk canvas.
-
Community & Sharing: Perfect for swaps, charity drives, or teaching young crafters.
Photography & Social Media Tips
-
Natural Light: Shoot near a window; cloudy days give soft, even light.
-
Clean Backgrounds: Linen, wood, or pastel poster board makes colors pop.
-
Story Props: Add balls of yarn, hooks, scissors, and a cup of tea for cozy vibes.
-
Angles & Close-Ups: Capture the horn, mane texture, embroidered details, and a full 360° shot.
-
Consistent Style: Use similar backgrounds and framing for a cohesive feed.
-
Edit Lightly: Increase brightness and a touch of contrast; avoid over-saturation.
-
Short Clips: Time-lapse of assembly or a “before stuff / after stuff” reveal plays beautifully on Reels and TikTok.
Conclusion
From the first magic ring to the last woven tail, the Crochet Cute Own Unicorn Keychain is a tiny celebration of creativity. It’s quick to make, delightful to gift, and endlessly customizable an ideal project when you want something heartfelt without committing to weeks of work. You’ll love the moment the horn goes on and the mane falls just right; that’s when your unicorn’s personality shines.
So pick your happiest colors, curl up with your hook, and let your imagination gallop. In a handful of stitches, you’ll turn yarn into a keepsake that makes every day a little more magical one mini unicorn at a time.