
Yarn, a hook, and a little magic
There’s a special kind of joy that happens when yarn slips through your fingers and takes shape. The quiet rhythm of pulling up loops, the gentle stretch of stitches, and the moment a simple ball of yarn becomes something you can hold that’s the kind of everyday magic crochet gives us. It’s soothing, satisfying, and a beautiful way to turn creativity into something tangible and heartwarming.
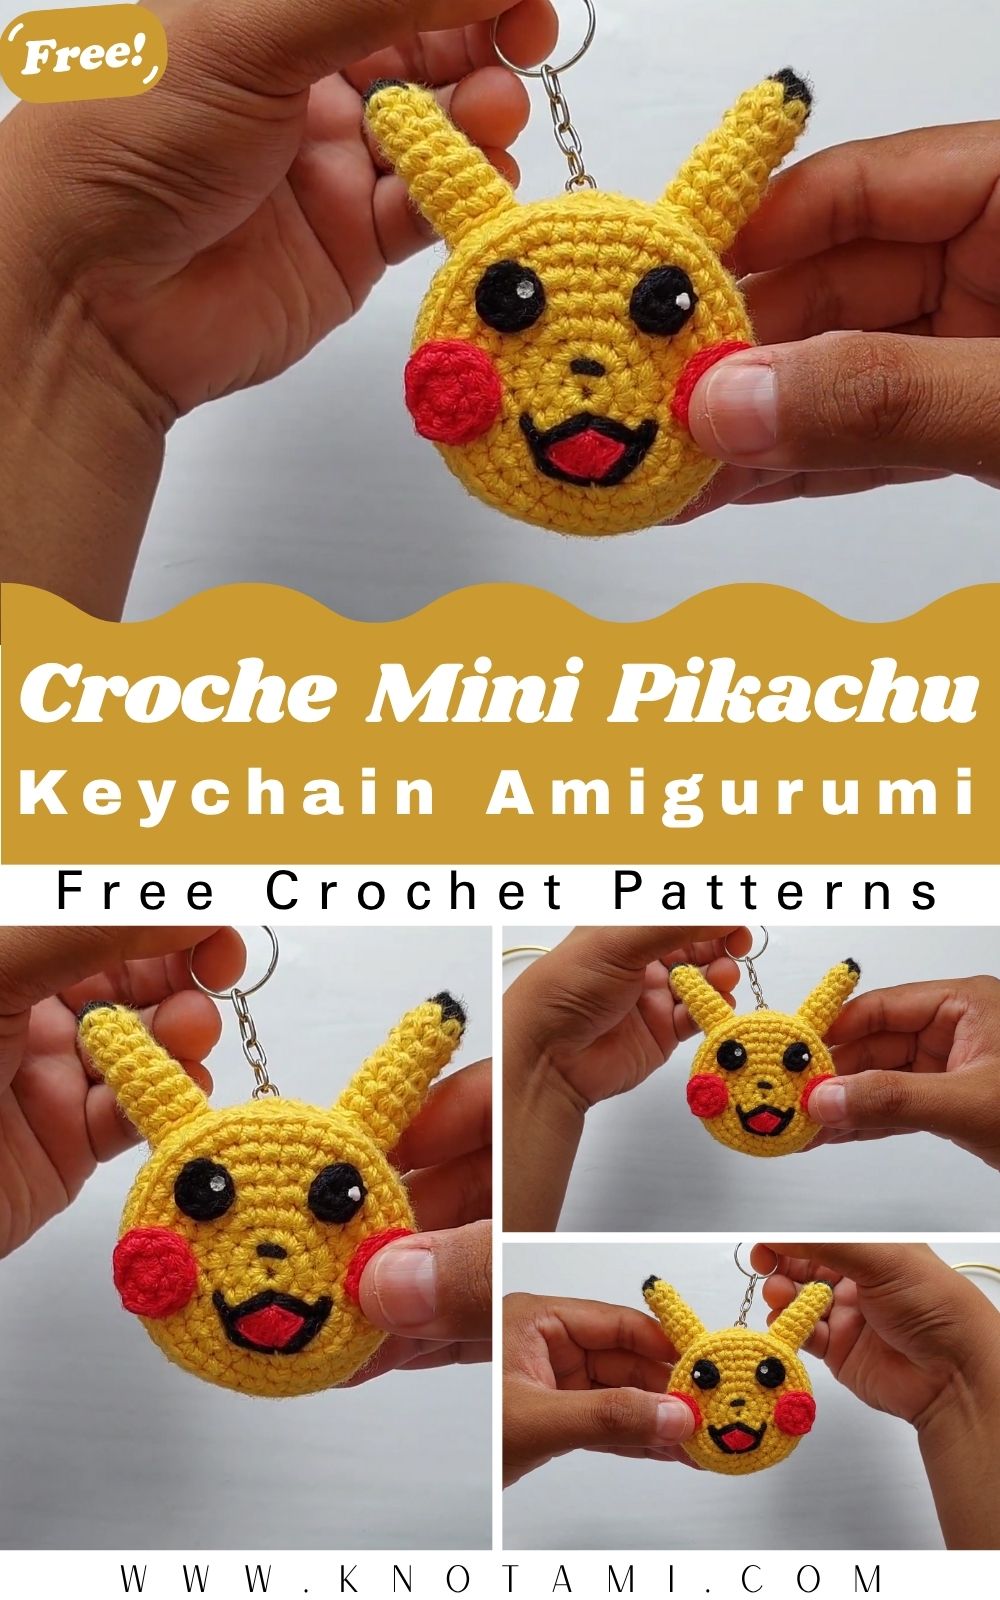
Meet the Croche Mini Pikachu Keychain
Today’s project is the Croche Mini Pikachu Keychain a pocket-sized amigurumi that delivers huge amounts of charm. Tiny cheeks, pointy ears with dark tips, a rounded body, and the iconic lightning-bolt tail make this miniature plush instantly recognizable and irresistibly cute. Because it’s small and quick to make, you can turn it into a zipper pull, bag charm, or a cheerful companion for your keys.
Perfect for all skill levels
This project is friendly for beginners yet still fun for seasoned crocheters. If you’re new, you’ll practice foundational amigurumi skills like working in continuous rounds, increasing and decreasing, adding safety eyes, and simple assembly. If you’re experienced, you can speed through the core shaping and have fun with texture swaps, colorwork tweaks, and polished finishing touches. It’s a fast make with big personality.
Slow crafting, big smiles
Crocheting a mini keychain is the definition of mindful, slow craft: short rounds, soft stitches, and a soothing pace. You’ll feel that little rush of accomplishment as the head becomes a face and the body becomes a character. Whether you keep it for yourself or gift it to a friend, this tiny amigurumi captures the simple delight of handmade art portable, personal, and full of love.
Materials & Tools
Yarn (choose one):
-
DK / Light Worsted (Category 3) cotton or cotton-blend, for crisp stitch definition (recommended for very neat, tiny keychains).
-
Worsted (Category 4) acrylic, for a slightly larger, plush feel that’s still lightweight for a keychain.
Recommended colors:
-
Body: Bright yellow
-
Cheek appliqués/embroidery: Red
-
Ear tips, eyes, mouth detail: Black or deep brown
-
Tail accent (optional): Brown
Hook size:
-
2.25–3.0 mm for DK yarn, or 3.0–3.25 mm for worsted yarn. Choose the smallest size that still lets you work comfortably; tighter fabric prevents stuffing from peeking through.
Notions:
-
Stuffing: Polyester fiberfill
-
Safety eyes: 6–8 mm (or embroider eyes for child-safe gifts)
-
Tapestry needle for sewing parts and weaving in ends
-
Sharp scissors
-
Stitch marker (essential for tracking rounds)
-
Keychain hardware: Jump ring + lobster clasp or split ring
-
A small length of sturdy thread or yarn to create a hanging loop
Choosing yarn & colors (quick advice):
-
Cotton = sleek, defined stitches and a compact keychain.
-
Acrylic = slightly squishier body and a softer look.
-
Chenille/velvet = super cute plush, but harder to see stitches best for intermediate crafters.
-
Use colorfast yarn for yellow and red to prevent bleeding if the keychain gets damp.
-
Keep contrast strong (deep brown/black for ear tips and facial details) so the mini face reads clearly at a glance.
Step-by-Step Crochet Instructions
Pattern notes:
• Work in continuous rounds unless stated.
• Use a stitch marker to mark the first stitch of each round.
• Standard abbreviations: ch (chain), sc (single crochet), inc (increase = 2 sc in one st), dec (invisible decrease), st(s) (stitch[es]).
• Lightly stuff as you go to control shape and avoid lumps.
1) Head (worked from top to bottom)
-
Round 1: Magic ring, 6 sc (6).
-
Round 2: inc in each st (12).
-
Round 3: sc, inc repeat around (18).
-
Round 4: 2 sc, inc repeat around (24).
-
Round 5: 3 sc, inc repeat around (30).
-
Rounds 6–9: sc around (30) to build a smooth dome.
Add the face:
-
Insert safety eyes between Rounds 7–8, about 6–7 sts apart.
-
With black thread, embroider a tiny smiling mouth 1–2 rounds below the eyes.
-
With red yarn or felt dots, add small cheek circles just outside/below each eye (embroider securely if gifting to kids).
-
Round 10: 3 sc, dec repeat (24).
-
Round 11: 2 sc, dec repeat (18). Stuff the head evenly firm but not rigid.
-
Round 12: sc, dec repeat (12).
-
Round 13: dec around (6). Fasten off and close the hole invisibly.
Head shaping pro tip: Massage the stuffed head gently while holding the eye area to keep the roundness symmetrical. If using acrylic, a light steam from a distance (don’t touch!) can help relax fibers.
2) Neck & Upper Body (worked as one piece)
Neck ring (optional for stability):
-
Join yellow yarn to the base of the head where you closed. Pick up 12 sts evenly around the base and sc one round snugly to create a neat neck foundation.
Upper body:
-
Round 1: From the neck ring, inc around evenly to 18 sts.
-
Round 2: 2 sc, inc repeat (24).
-
Rounds 3–5: sc around (24). Begin light stuffing—slightly firmer near the neck so the head doesn’t wobble.
Balance note: Don’t overstuff the neck. Slight compression helps the head sit naturally without tilting.
3) Main Body (rounded capsule)
-
Round 6: 3 sc, inc repeat (30).
-
Rounds 7–10: sc around (30).
-
Round 11: 3 sc, dec repeat (24).
-
Round 12: 2 sc, dec repeat (18).
-
Round 13: sc, dec repeat (12).
-
Round 14: dec around (6). Fasten off, weave end. Finish stuffing before fully closing.
Size check: Your mini should be ~6–8 cm (2.5–3.25 in) tall depending on yarn/hook. For a daintier keychain, stop at 24 sts as the maximum body width.
4) Base & Feet (stability options)
Option A: No separate base (super tiny)
-
The closed bottom from the body is enough. Add two small embroidered ovals (brown) to imply tiny feet.
Option B: Mini feet (sewn on)
Make 2 feet (yellow):
-
MR, 4 sc (4).
-
inc around (8).
-
sc around (8).
-
Lightly stuff, sl st, fasten off with a long tail.
Sew the feet at the very bottom front edge so Pikachu “sits” securely. A few anchor stitches into the body help it balance.
5) Ears (make 2)
Ear tip (black or dark brown):
-
MR, 4 sc (4).
-
sc, inc around (6). Switch to yellow.
-
Rounds 3–5: sc around (6).
-
Flatten and leave a long tail for sewing.
Sew ears to the top of the head, slightly angled outward for that instantly recognizable silhouette. Make sure the dark tips are crisp and symmetrical.
6) Arms (make 2)
-
MR, 5 sc (5).
-
Rounds 2–4: sc around (5).
-
Lightly stuff only the lower half.
-
Flatten top and sew to the sides of the upper body, about one round below the neck line.
Positioning tip: Angle the arms forward, just a touch this makes the tiny plush look like it’s reaching for a hug.
7) Tail (lightning bolt)
Simple mini lightning tail:
-
Chart-free approach: ch 7; starting in 2nd ch from hook, sl st, sc, sc, ch 3, turn, working down the new chain: sl st, sc, then continue across the original chain with sc, sc to end.
-
Edge with a round of sc to firm up the zig.
-
Switch to brown for the base (a tiny rectangle 2–3 sts wide worked for 2 rows). Sew brown base to body’s lower back; sew the yellow bolt securely to the brown.
You can also cut a tiny tail from felt, blanket-stitching the edges for a clean cartoon look great for very small keychains.
8) Cheeks & Facial Details
-
Cheeks: Crochet two tiny circles (MR, 6 sc) with red yarn; sew near the eyes. Or embroider filled circles with satin stitches.
-
Mouth: With black thread/yarn, embroider a small smile. Add a tiny pink stitch inside if you like.
-
Nose (optional): One tiny black stitch between eyes.
-
Eye sparkle (optional): A single white stitch at the upper edge of each eye adds adorable life.
9) Hanging Loop & Hardware
-
At the top center of the head (between ears), sew a tight, reinforced yarn loop (chain 6–8, reattach firmly).
-
Slip a jump ring through the loop, then attach a keyring or lobster clasp.
-
Make sure the loop is stitched through multiple rounds so it withstands daily use.
10) Finishing & Polish
-
Weave in all ends securely inside the body.
-
Roll the plush gently between your palms to even out stuffing.
-
If you used acrylic, steam from a distance to relax fibers (never touch the iron to the yarn).
-
Tug the tail gently to ensure it’s anchored well.
-
Check symmetry: ears, cheeks, and arms should mirror each other for the cutest look.
Customization Ideas
-
Pastel Pikachu: Soft butter yellow body, blush-pink cheeks, chocolate ear tips.
-
Holiday Pikachu: Add a mini Santa hat or scarf; swap cheeks for tiny embroidered snowflakes.
-
Rainbow Accents: Keep the body classic yellow but make the tail edging or scarf rainbow.
-
Textured Body: Try a lightly fuzzy yarn for plush vibes (use cotton for small parts like ears and tail to keep shapes crisp).
-
Cosplay Themes: Witch hat for Halloween, flower crown for spring, mini graduation cap for gifting.
-
Kawaii Expressions: Sleepy eyes (downward arcs), surprised O mouth, or tiny winks embroidery changes the entire mood.
-
Micro Size: Use sport or crochet thread + a 1.75–2.0 mm hook for super-mini keychains.
Advanced Tips & Troubleshooting
-
Invisible decreases: Insert hook under the front loops only of the next two sts, yarn over, pull through both front loops, yarn over, pull through 2. This keeps the fabric smooth and avoids bumps.
-
Even tension: If your stitches widen on the hook, gently choke up your grip and slow your pull-throughs. Consistency over tightness is key.
-
Prevent twisted rounds: Always place a stitch marker in the first stitch of the round. If counts drift, rip back to the last accurate round.
-
No stuffing lumps: Add fiberfill in pea-sized tufts, not big wads. Use the back of your hook to position filling at edges.
-
Seamless joins: For parts like ears and arms, stitch into the post of body stitches as well as the top loops this locks pieces in without visible gaps.
-
Fixing gaps at color changes: When switching colors (ear tips/tail), work a yarn under instead of yarn over on the last stitch of the old color to tighten the transition.
-
Reading abbreviations accurately: Keep a tiny key nearby: sc (single crochet), inc (increase), dec (decrease), MR (magic ring), st(s) (stitches), sl st (slip stitch), FO (fasten off).
-
Symmetry check: Pin parts first. Photograph the pinned doll your phone camera makes asymmetry obvious.
-
Child-safe option: Replace safety eyes with embroidered eyes (French knots + a tiny white stitch highlight).
-
Hardware durability: Reinforce the hanging loop with several passes of sewing through multiple rounds; consider a little dot of fabric glue inside the loop.
Care Instructions
-
Wash: Gentle hand wash only, cool water with mild detergent.
-
Rinse: Press between towels; avoid wringing to keep shape.
-
Dry: Air dry flat, reshape ears and tail while damp.
-
Sunlight: Avoid prolonged direct sun to prevent color fade (especially yellow and red).
-
Storage: Hang on a hook or store in a breathable pouch to prevent dust and snags.
-
Hardware: If metal tarnishes, polish the ring off the plush to avoid residue on yarn.
Display & Gift Ideas
-
Home décor: Hang on a pegboard by your craft desk or on a hallway key rack for a pop of cheer.
-
Kid’s room accessory: Attach to backpacks or pencil pouches (embroidered features for little ones).
-
Desk companion: Clip to your work bag or monitor arm instant happiness during long days.
-
Holiday ornament: Add a longer loop and hang on the tree; make a matching set for family.
-
Personalized gifts: Pair with a handwritten tag or mini crochet heart; color-match scarves to school or team colors.
Benefits of Making the Croche Mini Pikachu Keychain
-
Relaxation & mindfulness: Repetitive rounds encourage calm focus and present-moment attention.
-
Stress relief: A compact, fast project delivers a quick win and a mood lift.
-
Accomplishment & joy: Watching a tiny face emerge from your stitches is pure magic.
-
Eco-friendly gifting: Handmade beats mass-produced trinkets less waste, more love.
-
Emotional connection: A crocheted gift carries time, intention, and care people feel that.
-
Skill growth: Practice shaping, color changes, embroidery, and neat assembly on a small canvas.
-
Community & sharing: Post your makes, trade patterns, and inspire others to create.
Photography & Social Media Tips
-
Light: Use natural daylight near a window; avoid harsh overhead light.
-
Backdrop: Soft neutrals (linen, kraft paper, a pale cutting mat) let yellow pop.
-
Props: A hook, a small ball of yellow yarn, and a keyring tell the story without clutter.
-
Angles: Shoot three ways front portrait, 45° side angle, and a close-up of the face/ears.
-
Scale: Show it in your palm or clipped to keys so viewers grasp the size.
-
Edit lightly: Brighten, add a touch of contrast, and sharpen just enough to reveal stitch texture.
Conclusion
A tiny keychain can carry an outsized amount of joy and this Croche Mini Pikachu proves it. With a few rounds, some soft stuffing, and thoughtful details, you bring a cheerful little companion to life. It’s quick enough for an afternoon project, thoughtful enough to gift, and charming enough to make in a rainbow of variations.
Pick your favorite yellow, thread your needle, and let your hook dance. Round by round, you’ll feel creativity settle into something you can hold a bright, friendly spark you made with your own hands. Whether it dangles from your keys or smiles from a backpack, this mini amigurumi spreads the kind of happiness only handmade pieces can. Happy crocheting and may your stitches be even, your decreases invisible, and your tiny lightning tail perfectly zig-zagged.