
The Beauty of Handmade Crochet
There’s something incredibly magical about watching a ball of yarn transform into a charming little creature through the rhythm of crochet. Each stitch carries a spark of creativity, patience, and love weaving together a story of craftsmanship and imagination. The satisfaction of turning soft yarn into something tangible, beautiful, and meaningful is what makes crochet such a heartwarming art. It’s not just about making toys; it’s about creating joy with your own hands.
Introducing the Little Fox Keychain
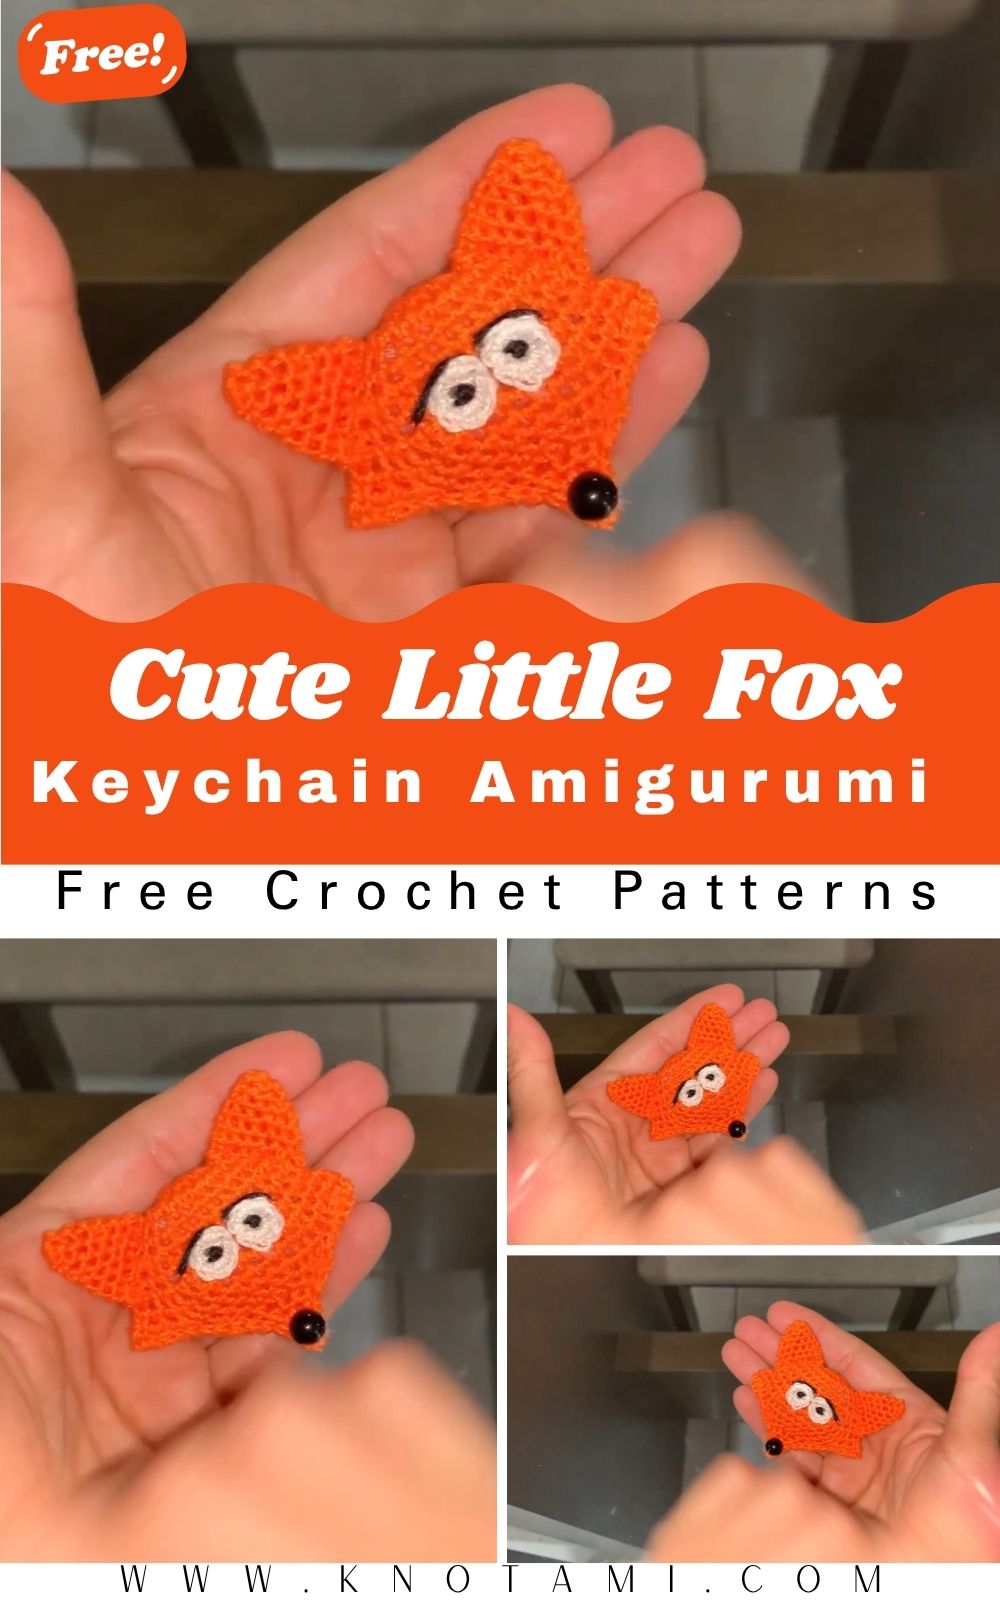
In this project, we’ll craft the Mini Crochet Cute Little Fox Keychain Amigurumi a tiny, irresistible friend that fits perfectly in your palm! With its bright orange fur, fluffy white-tipped tail, and expressive little eyes, this fox brings the magic of nature into your everyday life. It’s playful, adorable, and versatile ideal for hanging on your bag, keys, or even gifting to a loved one who adores handmade treasures.
Perfect for All Skill Levels
Whether you’re a complete beginner or an experienced crocheter, this project offers just the right mix of simplicity and creativity. The small size makes it quick to finish, while the shaping techniques give you a chance to refine your amigurumi skills. You’ll enjoy the process of forming each round, attaching details, and watching the little fox take shape one tiny stitch at a time.
The Calm of Slow Crafting
Crocheting this fox keychain is more than just crafting it’s therapy in disguise. The gentle rhythm of hook and yarn soothes the mind and helps you focus on the present moment. As you complete your handmade fox, you’ll feel a deep sense of accomplishment and peace. This project is perfect for slow crafting sessions, gifting, or simply filling your creative evenings with purpose and joy.
Materials & Tools
Before starting your crochet fox, gather all the essentials to make the process smooth and enjoyable:
-
Yarn: Medium-weight (DK or sport-weight) acrylic or cotton yarn in orange, white, and black. Choose soft yarn with a tight twist to achieve a clean finish.
-
Hook: 2.5 mm or 3.0 mm crochet hook (depending on your tension).
-
Stuffing: Polyester fiberfill or cotton stuffing for a soft and plump shape.
-
Safety Eyes: 6 mm or 8 mm black safety eyes for an expressive look.
-
Scissors: Small sharp scissors for trimming yarn neatly.
-
Tapestry Needle: For sewing pieces together and weaving in ends.
-
Stitch Marker: To mark your rounds and maintain even counting.
Choosing the Right Yarn
If you want a soft, plush finish, go for acrylic yarn. For more structure and durability, cotton yarn works beautifully. To make your fox stand out, use classic orange for the body, white for the snout and tail tip, and a small touch of black for details like ears or paws. Experiment with pastel tones for a dreamy look or earthy browns for a realistic woodland fox.
Step-by-Step Crochet Instructions
1. Making the Head
Start with a magic ring using orange yarn.
-
Round 1: 6 single crochets (sc) into the ring.
-
Round 2: Increase around (12 sc).
-
Round 3–6: Continue increasing gradually until the sphere forms (around 24 sc).
-
Rounds 7–10: Maintain even stitches for the round head shape.
Tip: Keep your tension consistent to avoid a lumpy head. Use a stitch marker to track the first stitch of each round.
Add the safety eyes between rounds 6–7, approximately 4–5 stitches apart. Begin to stuff the head firmly but evenly before closing.
2. Forming the Neck and Upper Body
Once the head is shaped, reduce stitches gradually to form a narrow neck.
-
Round 11: Decrease slightly (around 18 sc).
-
Round 12–13: Maintain stitches for a defined neck base.
This transition helps the fox look natural and gives stability when attaching the body later.
3. Building the Main Body
Attach yarn at the neck’s base and start crocheting the body in continuous rounds.
-
Round 1: 18 sc (continuing from neck).
-
Round 2–5: Work evenly to elongate the torso.
-
Round 6–8: Gradually decrease to create the rounded base.
Stuff as you go firm but not overfilled. You want the fox to stay cuddly and flexible enough for keychain use.
Pro Tip: Shape gently with your fingers as you stuff to maintain balance between top and bottom.
4. Shaping or Attaching the Base
For a polished bottom, you can either close it flat with invisible decreases or crochet a small circle base and sew it to the body.
-
Add a few tiny pellets or extra stuffing at the bottom to keep the shape rounded.
-
Fasten off and weave the tail end securely.
5. Creating the Tail
Switch to white yarn for the tip and orange for the rest of the tail.
-
Start with white: 6 sc in a magic ring.
-
Round 2–3: Increase to 12 sc.
-
Switch to orange and continue 4–5 rounds evenly.
-
Slightly stuff the tail before closing.
Attach the tail to the back of the body at an upward angle for a lively pose.
6. Making the Ears
Using orange yarn:
-
Chain 2, make 3 sc in the second chain from hook, turn, and decrease back.
-
Make two identical pieces.
Attach the ears symmetrically near the top of the head. Optionally, embroider a small black outline for extra detail.
7. Final Assembly and Finishing Touches
Sew the head and body together securely using a tapestry needle. Attach the tail and ears neatly.
Add small black embroidery for the nose and mouth using a few simple stitches.
Now, connect a metal keychain ring or small carabiner at the top. You can insert a string loop before closing the head or sew one afterward.
Finish by gently adjusting the stuffing, smoothing the stitches, and brushing the surface lightly with your fingers to perfect its shape.
Customization Ideas
The fun doesn’t stop at one design! Here are creative ways to personalize your mini fox:
-
Color Play: Try soft cream and grey for an arctic fox version, or brown and gold for an autumn look.
-
Fantasy Foxes: Create pastel versions like baby pink, lavender, or mint for a dreamy fairy style.
-
Holiday Themes: Red-and-green fox for Christmas, black-and-orange for Halloween, or baby blue for winter gifts.
-
Textural Fun: Use velvet or chenille yarn for a plush feel, or cotton for crisp details.
-
Tiny Accessories: Add a small scarf, bow tie, or mini hat to make your fox stand out.
-
Embroidered Expressions: Change up the face with sleepy eyes, winks, or blush for extra personality.
These ideas allow you to put your own creative signature on each fox keychain perfect for gifts or craft fairs.
Advanced Tips & Troubleshooting
Even a small project benefits from professional touches. Here are 10 expert tips to make your fox look store-bought quality:
-
Invisible Decreases: Insert hook through the front loops only of the next two stitches and pull through this hides the seam.
-
Consistent Tension: Relax your grip; avoid pulling yarn too tight to keep stitches even.
-
Avoid Twists: When working in rounds, always mark the first stitch to prevent spirals or skipped rows.
-
Fixing Uneven Shapes: Gently roll the stuffed piece between your palms to even it out.
-
Perfect Stuffing Balance: Add small amounts gradually; overstuffing can distort the shape.
-
Joining Parts Seamlessly: Use the whip stitch or invisible seam method; match stitch-to-stitch alignment.
-
Neat Color Changes: Switch yarns at the last yarn-over of the previous stitch for clean transitions.
-
Reading Abbreviations: Familiarize yourself with key crochet terms (sc = single crochet, inc = increase, dec = decrease).
-
Avoid Loose Ends: Always weave ends inside the stuffing area to prevent unraveling.
-
Blocking (Optional): Lightly steam or shape pieces for an even, professional look.
Care Instructions
To keep your adorable fox keychain looking new and fluffy:
-
Hand Wash Only: Gently soak in lukewarm water with mild detergent.
-
Do Not Rub: Squeeze softly to remove dirt no wringing.
-
Air Dry Flat: Place on a towel and reshape while damp.
-
Avoid Direct Sunlight: Prevent fading of vibrant orange yarn.
-
Storage: Keep in a dry place, away from pets or rough objects.
If gifting, consider adding a light spritz of lavender or vanilla fabric mist for a fresh touch.
Display & Gift Ideas
Your handmade fox deserves to be shown off! Here are some creative ways to use or gift it:
-
Bag Charm: Attach it to your tote or backpack for a cute, crafty accent.
-
Car Rearview Ornament: Add it as a travel buddy on your car mirror.
-
Desk Companion: A cheerful friend to brighten your workspace.
-
Holiday Ornament: Hang it on Christmas trees or festive garlands.
-
Gift Idea: Pair it with a handwritten note for birthdays, graduations, or “just because surprises.
This mini fox makes a thoughtful, handmade token that spreads happiness wherever it goes.
Benefits of Crocheting the Cute Little Fox
Crafting this fox isn’t just about yarn it’s about the experience. Here’s what makes it so rewarding:
-
Relaxation & Mindfulness: The repetitive motion of crochet promotes calm and focus.
-
Stress Relief: It’s the perfect escape from screens and daily noise.
-
Accomplishment & Pride: Finishing a handmade piece gives a sense of fulfillment.
-
Eco-Friendly Crafting: Yarn projects are sustainable, reusable, and waste-free.
-
Emotional Connection: Handmade gifts carry personal warmth that store-bought items can’t match.
Each stitch becomes a memory a reminder of creativity, patience, and love.
Photography & Social Media Tips
Want your little fox to shine online? Here’s how to capture it beautifully:
-
Natural Light: Shoot near a window or outdoors for soft, even lighting.
-
Clean Background: Use white, beige, or pastel fabric to highlight colors.
-
Props: Add spools of yarn, crochet hooks, or wooden trays for context.
-
Close-ups: Zoom in on the fox’s face, tail, and stitches for texture shots.
-
Angles: Try top-down for flat lays and eye-level shots for personality.
-
Consistency: Keep your feed cohesive with warm or soft filters.
-
Engagement: Share progress shots or time-lapses to connect with fellow crafters.
A beautiful photo not only celebrates your work but also inspires others to start crocheting too.
Conclusion
The Mini Crochet Cute Little Fox Keychain Amigurumi Pattern is a small project that delivers big joy. From the first loop to the final stitch, you’re not just making a toy you’re crafting a story filled with creativity, warmth, and love. This tiny fox captures everything beautiful about crochet: patience, color, and the charm of handmade art.
So grab your hook, pick your favorite yarn, and let your imagination run wild. Whether you keep it for yourself or gift it to someone special, your little fox will carry a piece of your heart wherever it goes a reminder that magic truly happens when yarn meets creativity.