
Crocheting small, adorable characters is a hobby that brings immense joy and a sense of accomplishment. If you are a fan of classic animation, you will love learning how to create a Crochet Doremi Keychain Amigurumi. This project is perfect for beginners and seasoned crafters alike because it uses simple stitches to create a recognizable and beloved figure. By following this guide, you will be able to turn a few skeins of yarn into a charming accessory that you can hang on your keys or gift to a friend. The process is meditative and rewarding, allowing you to see a character come to life right in your hands.
When you start your journey with this Crochet Doremi Keychain Amigurumi, you are not just making a toy; you are crafting a miniature piece of art. Using the magic ring technique and basic single crochet increases, you will build the foundation of the head and body. This tutorial is designed to be easy to follow, ensuring that your final product looks professional and neat. Whether you are looking for a quick weekend project or a way to use up your scrap yarn, this amigurumi pattern is the ideal choice.

Watching a video tutorial is undoubtedly the best way to visualize the movements needed for this Crochet Doremi eychain Amigurumi. Once you have seen the stitches in action, you can follow the written steps below to perfect your technique. This project is specifically designed to be portable and quick. Furthermore, because it is keychain-sized, you do not need to commit weeks of your time to finish it. Additionally, the color changes taught in this lesson are fundamental skills that will help you tackle more complex amigurumi projects in the future.
Materials Needed
Before you begin your Crochet Doremi Keychain Amigurumi, you must gather the right tools. Having everything ready will make the process much smoother and more enjoyable for you. Consequently, you won’t have to pause your creative flow to search for a missing needle or the right shade of blue.
-
-
-
Yarn: You will need cotton or acrylic yarn in blue, white, and a tiny bit of red for the nose. Specifically, a DK weight yarn works beautifully for this scale.
-
-
node=”0″>Stuffing: High-quality polyester fiberfill is essential for giving your doll a soft yet firm shape.
-
Stitch Markers: These are vital for keeping track of your rounds, especially when working in a continuous spiral.
-
node=”0″>Yarn Needle: Use this for sewing the limbs together and closing the final gaps seamlessly.
-
Safety Eyes or Black Thread: This will give your character its expressive face.
-
Keychain Ring: To turn your finished doll into a functional accessory.
Step-by-Step Guide: Crafting the Head and Body
The head and body are worked as one piece in this specific design to keep things sturdy. Follow these rounds carefully to ensure the proportions are just right.
Starting the Foundation
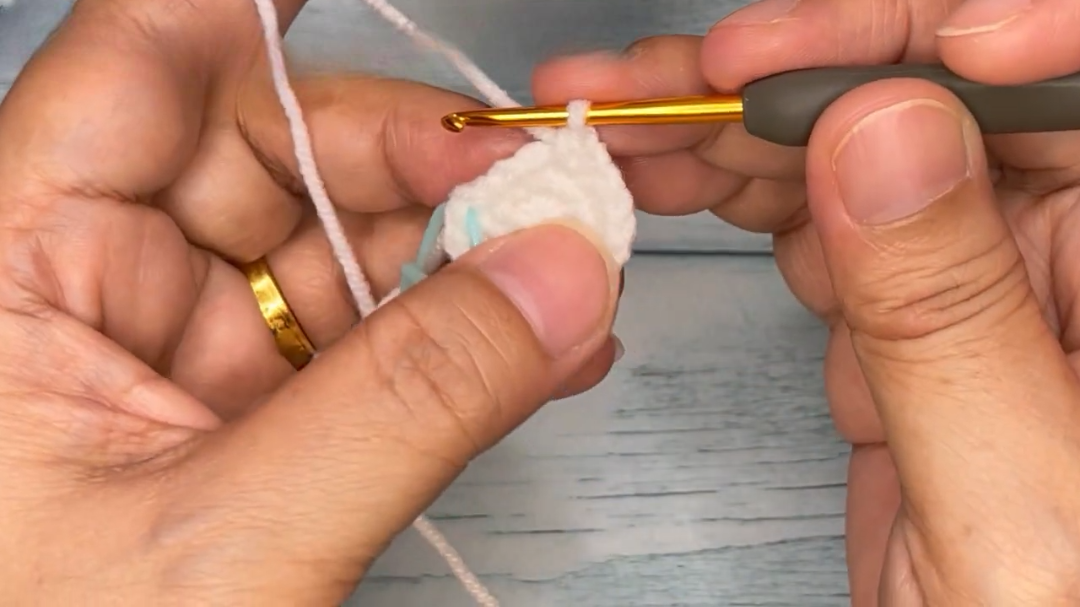
First, you need to create a magic ring with your blue yarn. This technique is superior because it ensures there is no hole at the top of the head. Into the ring, crochet 6 single crochets. Afterward, pull the tail tight to close the circle. For the second round, you will perform an increase in every stitch. An increase simply means putting two single crochets into one stitch. Therefore, by the end of this round, you will have 12 stitches. This expansion is exactly what creates the round shape of the head.
-to-node=”10″>Expanding the Sphere
In round three, you will follow a pattern of one single crochet followed by an increase. Repeat this six times around to reach 18 stitches. For round four, the pattern changes slightly to maintain a perfect circle. You will crochet one single crochet, then an increase, and then another single crochet. Repeating this helps prevent the piece from appearing hexagonal. By round five, you should be doing three single crochets followed by an increase. As a result, your Crochet Doremi Keychain Amigurumi is now starting to take shape.</p>
Adding the Face Details
Round six is a simple round of single crochets all the way around. However, in round seven, things get interesting. You will crochet 12 stitches in blue, then switch to white yarn for 7 stitches to create the face mask, and finally switch back to blue for the remaining 11 stitches. This color work is what makes the Crochet Doremi Keychain Amigurumi look authentic. Always remember to carry your yarn or join carefully to keep the inside neat. Moreover, ensure your tension remains even during these transitions so the face doesn’t pucker.
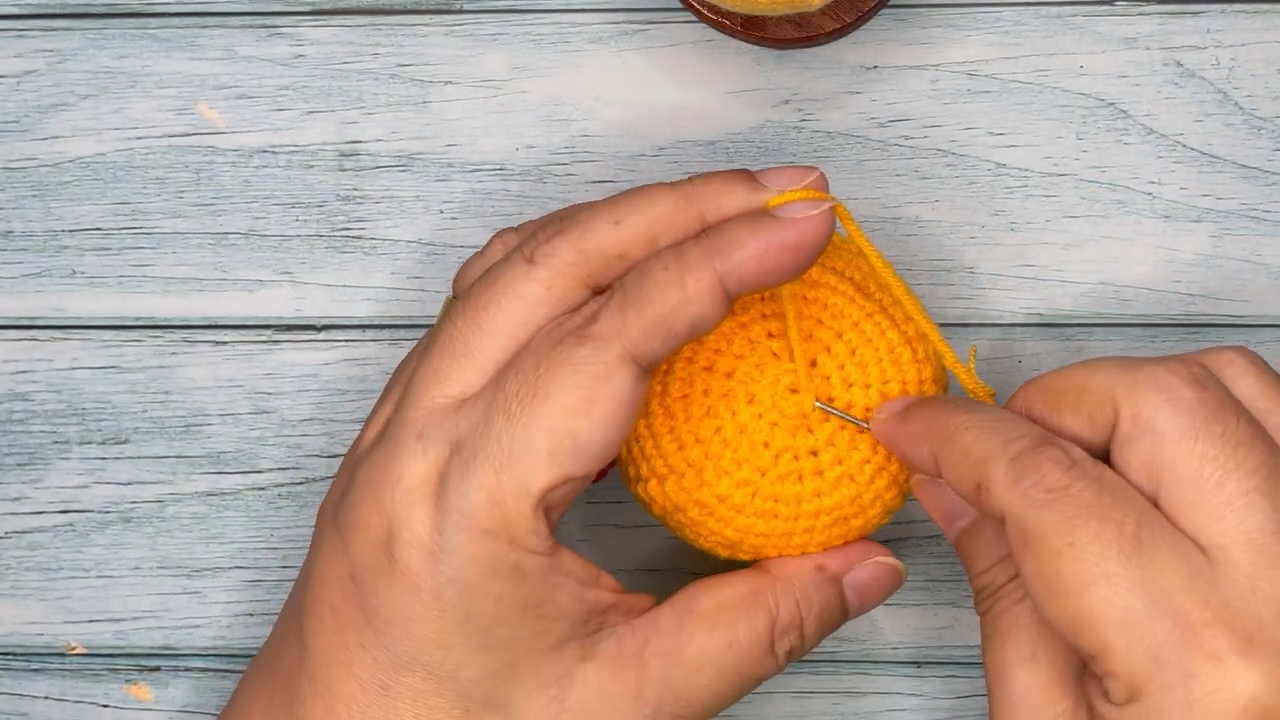
Continuing the Body
From rounds eight to eleven, you will continue this color-blocking technique. Consequently, the white section will slightly expand and then stabilize. This creates the chest and face area. By round twelve, you will start the decreasing process. Decreasing is the opposite of increasing; you will pull a loop through two stitches and crochet them together as one. This starts to draw the doll’s bottom inward, forming the neck and lower body. Subsequently, you should begin adding stuffing now, as the opening will soon become too small.
Crafting the Limbs and Final Assembly
-to-node=”18″>Your Crochet Doremi Keychain Amigurumi needs arms and legs to look complete. These are small pieces; therefore, you must be patient while working with them.
<h3 data-path-to-node=”19″>Making the Legs
To make
the legs, start again with a magic ring and 6 single crochets using blue yarn. For the second round, just crochet one single crochet in each stitch. This creates a tiny cup shape. Once you finish two of these, you can set them aside. Notably, you do not need to stuff the legs heavily because they are so small. Instead, a tiny scrap of yarn tucked inside is usually sufficient.
to-node=”21″>Creating the Arms
The ar
ms start with white yarn to represent the hands. Start with a magic ring and 6 single crochets. After the first round, switch to blue yarn for the sleeves. For the final round of the arm, you will flatten the piece and crochet through both layers to close it. This makes it much easier for you to sew the arms onto the body later. In addition, it provides a cleaner finish where the limb meets the torso.
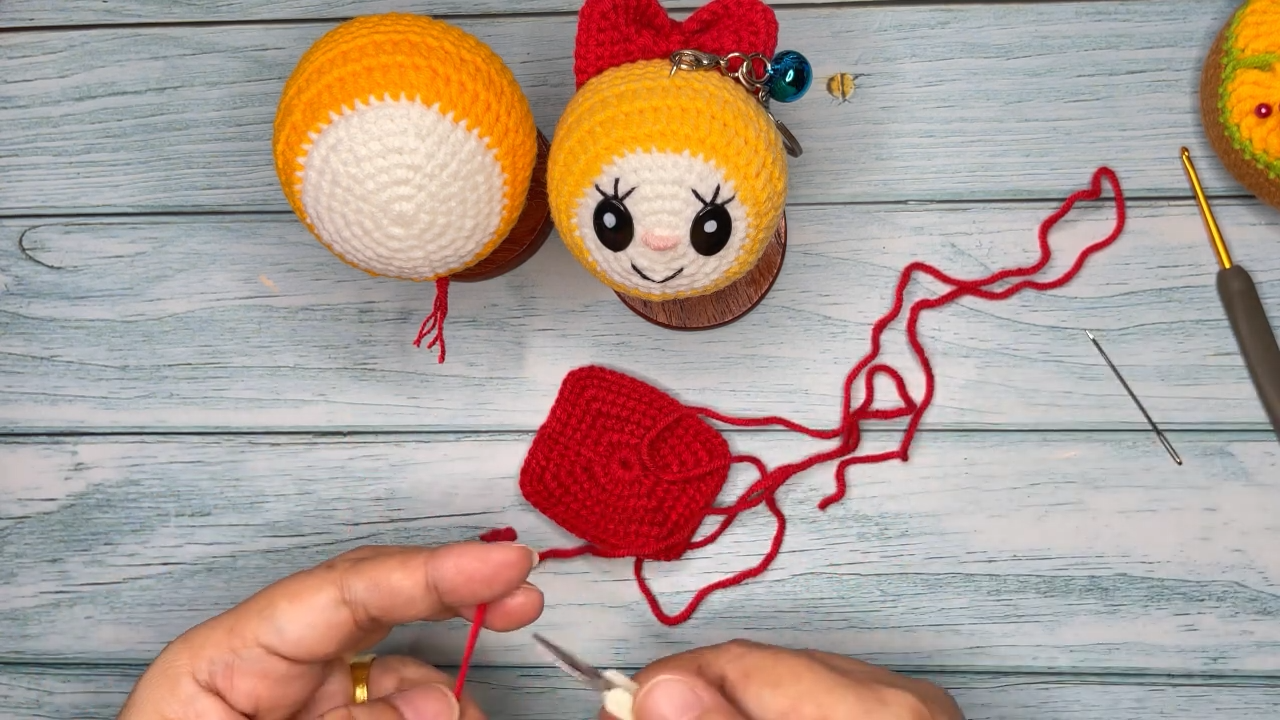
a-path-to-node=”23″>Putting It All Together
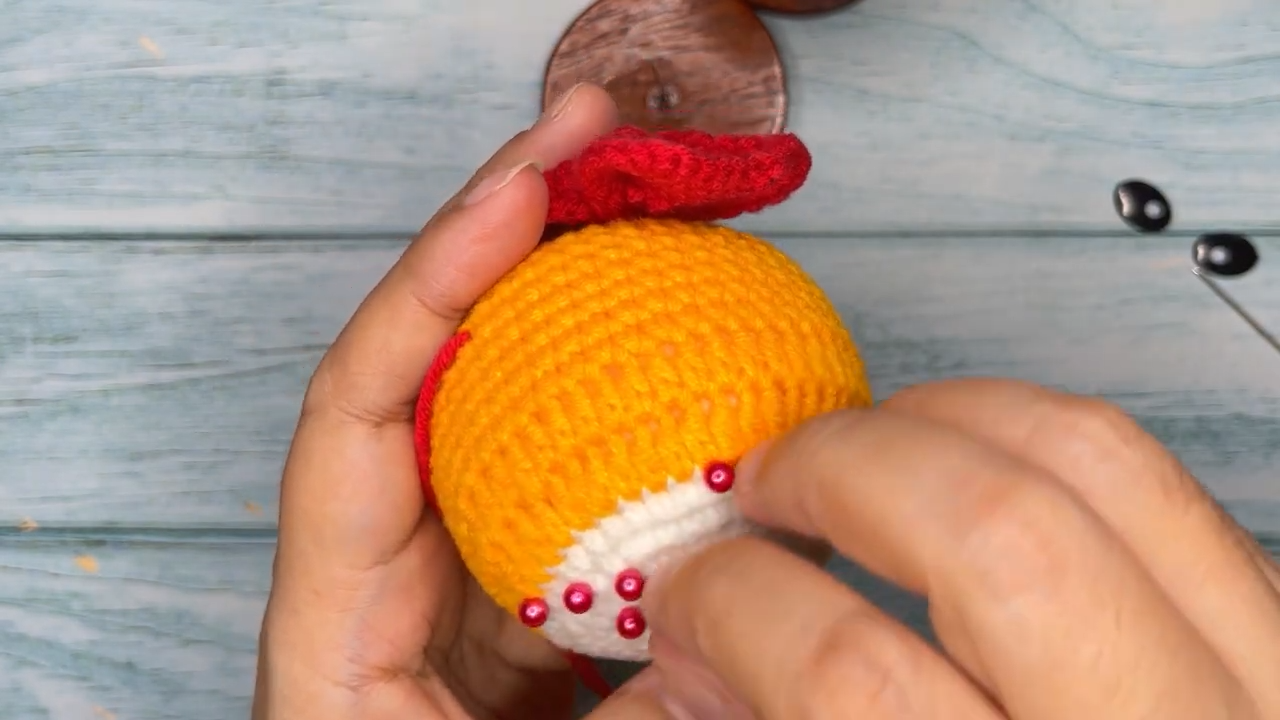
Now comes the most exciting part of the process. Use your yarn needle to sew the legs to the bottom of the body. Make sure they are centered so the doll can sit or hang straight. Next, attach the arms to the sides of the body, just below the head area. Use black thread to embroider the eyes and a small red bead or yarn for the nose. Finally, attach your keychain ring to the top of the head. To ensure durability, sew the ring through several stitches rather than just one.</p>
Advanced Tips for Professional Results
h-to-node=”27″>If you want your keychain to look like it came from a high-end boutique, consider these extra steps. First, try the “invisible decrease” method. Instead of a standard decrease, you work only in the front loops of the two stitches you are joining. This results in a much smoother surface. Second, when you are switching colors, change to the new color on the last “pull through” of the previous stitch. This creates a sharp, clean line between the blue and white sections.
h-to-node=”28″>Furthermore, pay attention to the “right side” of your work. In amigurumi, the side facing you as you crochet is usually the side that should be on the outside. If your work starts to curl inward, flip it out so the “V” shapes of the stitches are visible on the exterior.
Common Mistakes to Avoid
While making your Croc
het Doremi Keychain Amigurumi, you might encounter a few hurdles. One common error is losing track of your stitches. If you do not use a stitch marker, your rounds might become uneven. Consequently, the face mask could end up on the back of the head. Always count your stitches at the end of every round to stay on track.
th-to-node=”31″>Another mistake is stuffing the doll too lightly. If you do not add enough fiberfill, your keychain will look wrinkly and lose its shape over time. However, be careful not to overstuff, as this can stretch the stitches and show the white fluff inside. Lastly, ensure your tension is consistent. If you crochet too loosely, the keychain will not be durable enough for daily use on your bag or keys.
The Beauty of Handmade Amigurumi
ode=”34″>There is a unique charm in a Crochet Doremi Keychain Amigurumi that factory-made toys simply cannot match. Every stitch you make carries your effort and creativity. In a world of mass production, having a handmade item is a statement of individuality. Furthermore, you can customize the colors to make a “shiny” version or add a little bell to make it jingle.
As you finish your project, take a moment to appreciate
the texture of the yarn and the cute expression on the character’s face. This keychain is a testament to your growing skills as a crafter. Whether you are in the busy streets of Lahore or a quiet town elsewhere, the language of crochet connects you to a global community of makers. In addition to being a hobby, this craft can be a form of meditation, helping you unwind after a long day. Keep practicing, and soon you will be designing your own patterns!
to-node=”36″>Frequently Asked Questions
1. What is the best yarn for a Crochet Doremi Keychain Amigurumi?
For a keychain, it is best to use a mercerized cotton yarn. This is because it is strong, does not pill easily, and gives the project a very clean and defined look that lasts a long time.
2. Ho
w long does it take to finish this project?
Since this is a mini version, most people can finish it in about two to three hours. Therefore, it is an excellent project for a single evening of relaxing craft time.</p>
3. Do
I need to be an expert to make this?
Not at all! This guide is written specifically for beginners. As long as you know how to do a single crochet and a magic ring, you can successfully complete this.
4. Can I wash my crochet keychain?
Yes, you can. If you use cotton yarn, you can gently hand wash it in cold water with mild soap. Afterward, let it air dry completely to maintain its shape.
=”41″>5. How do I attach the keychain securely?
The best way is to sew a small loop of yarn onto the top of the head very tightly, then thread the metal ring through that loop. This ensures your creation won’t fall off your keys during daily use.