Mini Cactus Crochet Amigurumi Pattern Step by Step Guide
Four simple pieces come together into a realistic little succulent in this mini cactus crochet amigurumi pattern. The finished cactus stands about 8 cm (roughly 3 inches) tall and never needs watering, which makes it a sweet desk or shelf companion.
The pieces are worked in a magic ring and spiral rounds for a neat, seamless look, and the stitches stay simple enough for a first amigurumi project. Because it’s so small, the whole cactus can come together in a relaxed afternoon. It also makes a thoughtful, low-maintenance gift for any plant lover.

A video tutorial is linked after the written steps. Watching the hand movements, especially how the magic ring is tightened and how the increases round out the shape, can help a lot if you learn best by seeing. Then use the written instructions to work at your own pace.
Materials Needed
- Green yarn: Pick a shade that looks like a real cactus, in a thickness that suits your hooks.
- Crochet hooks: A 4 mm hook and a 3 mm hook. The pattern uses both to create different tensions and piece sizes.
- Stuffing: Polyester fiberfill or cotton to give the cactus its shape.
- Tapestry needle and scissors: For sewing the pieces together and making clean cuts.
- Stitch marker: For keeping track of your rounds while working in a spiral.
- Small pot: A tiny pot to “plant” your finished cactus in.
- Optional: A little brown yarn to mimic soil at the base.
Abbreviations (US Terms)
- MR – magic ring
- sc – single crochet
- inc – increase (2 sc in the same stitch)
- dec – decrease (single crochet 2 stitches together)
- sl st – slip stitch
- st(s) – stitch(es)
How to Crochet a Mini Cactus Amigurumi
Part 1: The Large Cactus Piece
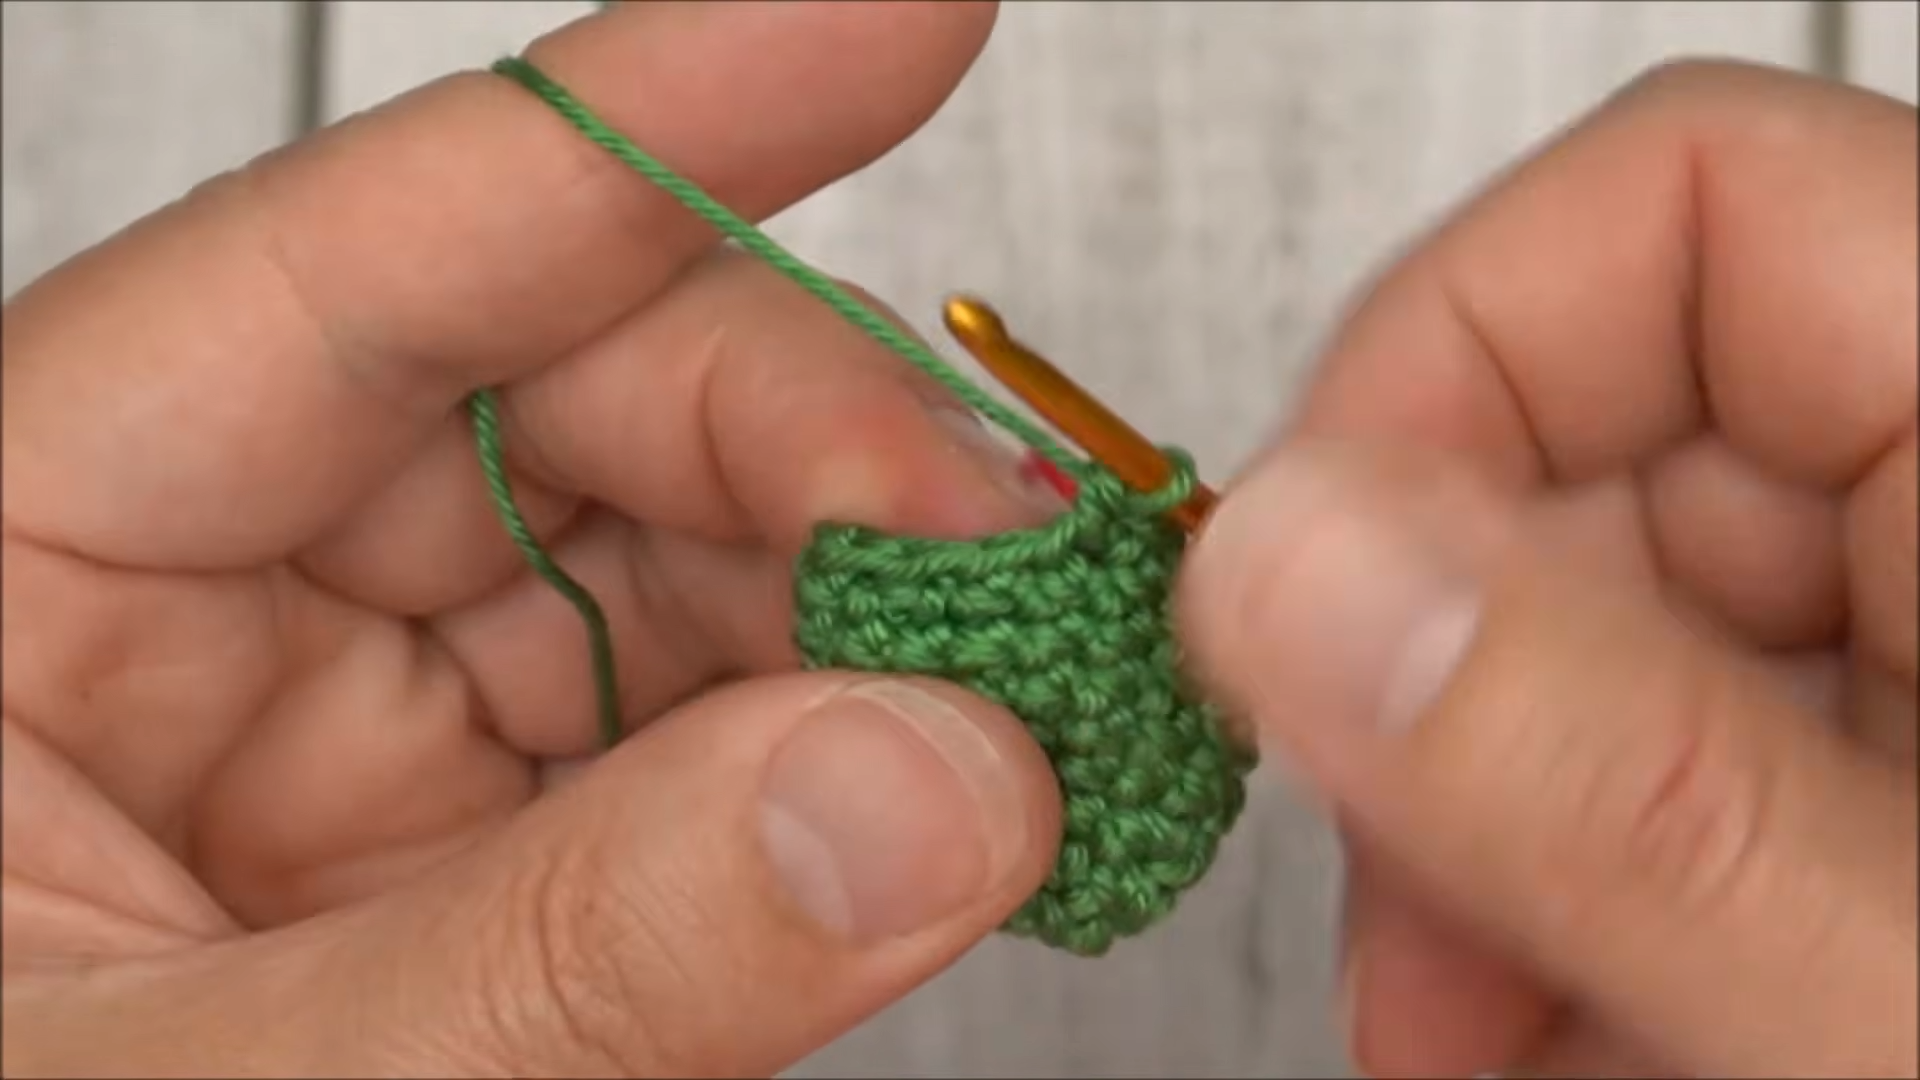
Start with the largest piece, which forms the main body of the cactus.
- Round 1: Make a magic ring and work 6 sc into it. Pull it tight so no stuffing can escape through the center. (6 sts)
- Round 2: Inc in every stitch around. (12 sts)
- Round 3: *3 sc, inc* 3 times. (15 sts)
- Rounds 4–7: Sc in each stitch around for four rounds. These rounds build the height of the cactus. (15 sts)
- Round 8: Begin shaping the bottom: *3 sc, dec* 3 times. (12 sts)
- Round 9: *2 sc, dec* 3 times. (9 sts) Finish with a slip stitch and leave a long tail for sewing.
Part 2: The Medium Cactus Piece

The medium piece gives the cactus more character. Work it with the 3 mm hook.
- Round 1: Work 6 sc into a magic ring. (6 sts)
- Round 2: *1 sc, inc* 3 times. (9 sts)
- Round 3: *2 sc, inc* 3 times. (12 sts)
- Rounds 4–6: Sc in each stitch around for three rounds with no increases. (12 sts)
- Round 7: *2 sc, dec* 3 times. (9 sts)
- Round 8: *1 sc, dec* 3 times. (6 sts) Finish with a slip stitch and cut the yarn, leaving a long tail.
Part 3: The Small Cactus Pieces (Make 2)
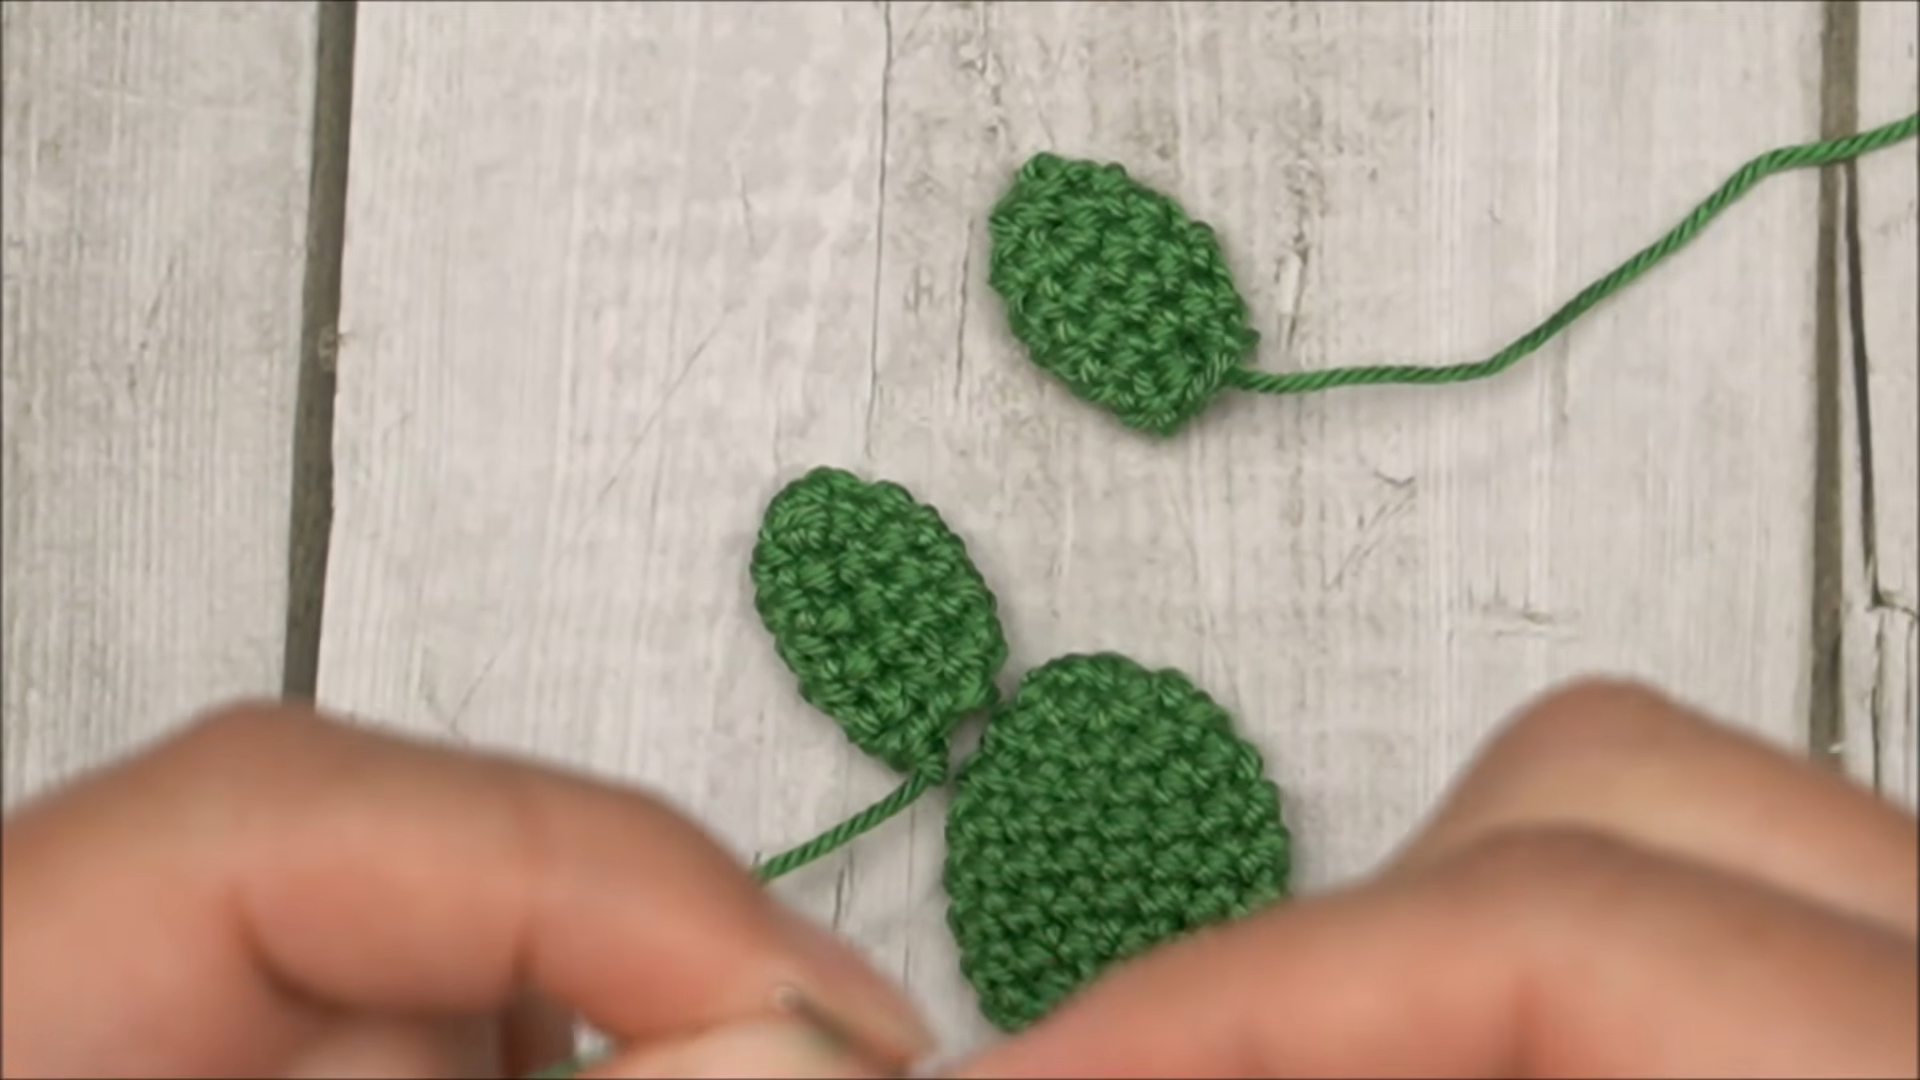
Make two of these small pieces to complete the look.
- Round 1: Work 6 sc into a magic ring. (6 sts)
- Round 2: *1 sc, inc* 3 times. (9 sts)
- Rounds 3–5: Sc in each stitch around for three rounds. These rounds give each cactus “arm” its length. (9 sts)
- Round 6: *1 sc, dec* 3 times. (6 sts) Slip stitch and leave a tail for assembly.
Part 4: Assembly and Finishing

- Stuff each of the four pieces firmly.
- Using your tapestry needle, sew the medium piece onto the side of the large body.
- Attach the two small pieces at different heights for a natural, uneven look.
- Sew the base of the large piece into your tiny pot.
- If you like, add some brown yarn around the base to look like soil.
Your mini cactus is now ready to display.
Video Tutorial
Watch the mini cactus amigurumi video tutorial to see each piece worked from start to finish.
Tension and Technique Tips
Tension makes a big difference on a piece this small. If you crochet too loosely, stuffing will show through the gaps between stitches. If you crochet too tightly, your hands tire quickly and the piece can look distorted. Aim for firm, even tension throughout.
Keep a stitch marker in the first stitch of every round. Since the pieces are worked in a spiral, it’s easy to lose your starting point, and the marker keeps your increases and decreases in the right places.
For a smoother surface, try the invisible decrease: insert your hook through the front loops only of the next two stitches, then finish the single crochet as usual. It’s much less noticeable than a standard decrease. If a round looks off, don’t hesitate to pull it out and redo it. It’s far easier to fix now than after the pieces are sewn together.
Common Mistakes to Avoid
- Not counting stitches: Ending a round with 14 stitches instead of 15 can make the cactus lean or look lopsided. Check your count at the end of every round.
- Short yarn tails: You need plenty of yarn to sew the pieces on securely. A tail that’s too short can leave the arms loose.
- Overstuffing or understuffing: Too much stuffing stretches the stitches open, while too little makes the cactus look wrinkled. Aim for a piece that feels firm while the stitches stay closed.
- The wrong hook size: A hook that’s too large for your yarn leaves visible holes, which you want to avoid in any amigurumi.
Love plant-themed makes? The crochet sloth planter pattern is another fun project for plant lovers.
Frequently Asked Questions
What kind of yarn is best for this project?
Cotton or a cotton blend gives excellent stitch definition, so your cactus looks neat and clean. Acrylic also works, though it can look a little fuzzier.
Can I make the cactus bigger?
Yes. Use a thicker yarn with a larger hook and follow the same pattern. The bigger stitches will produce a larger plant.
Do I really need a magic ring?
It’s highly recommended. A magic ring lets you pull the center completely closed. A chain start can leave a small hole at the top where stuffing might peek out.
How do I clean my crochet cactus?
Spot clean it with a damp cloth and mild soap. Skip the washing machine, since the cactus can lose its shape or the stuffing can clump.
Is this a good pattern for kids or teens learning to crochet?
It’s a good choice for older kids and teens who know the basics. It uses only single crochet, simple increases, and decreases, and the quick results help keep new crocheters motivated.
Final Notes
This mini cactus crochet amigurumi is a small, satisfying project with clear stitch counts and a simple assembly. Once you’ve made one, try different shades of green or a painted pot to build a whole little cactus garden. Happy crocheting!