
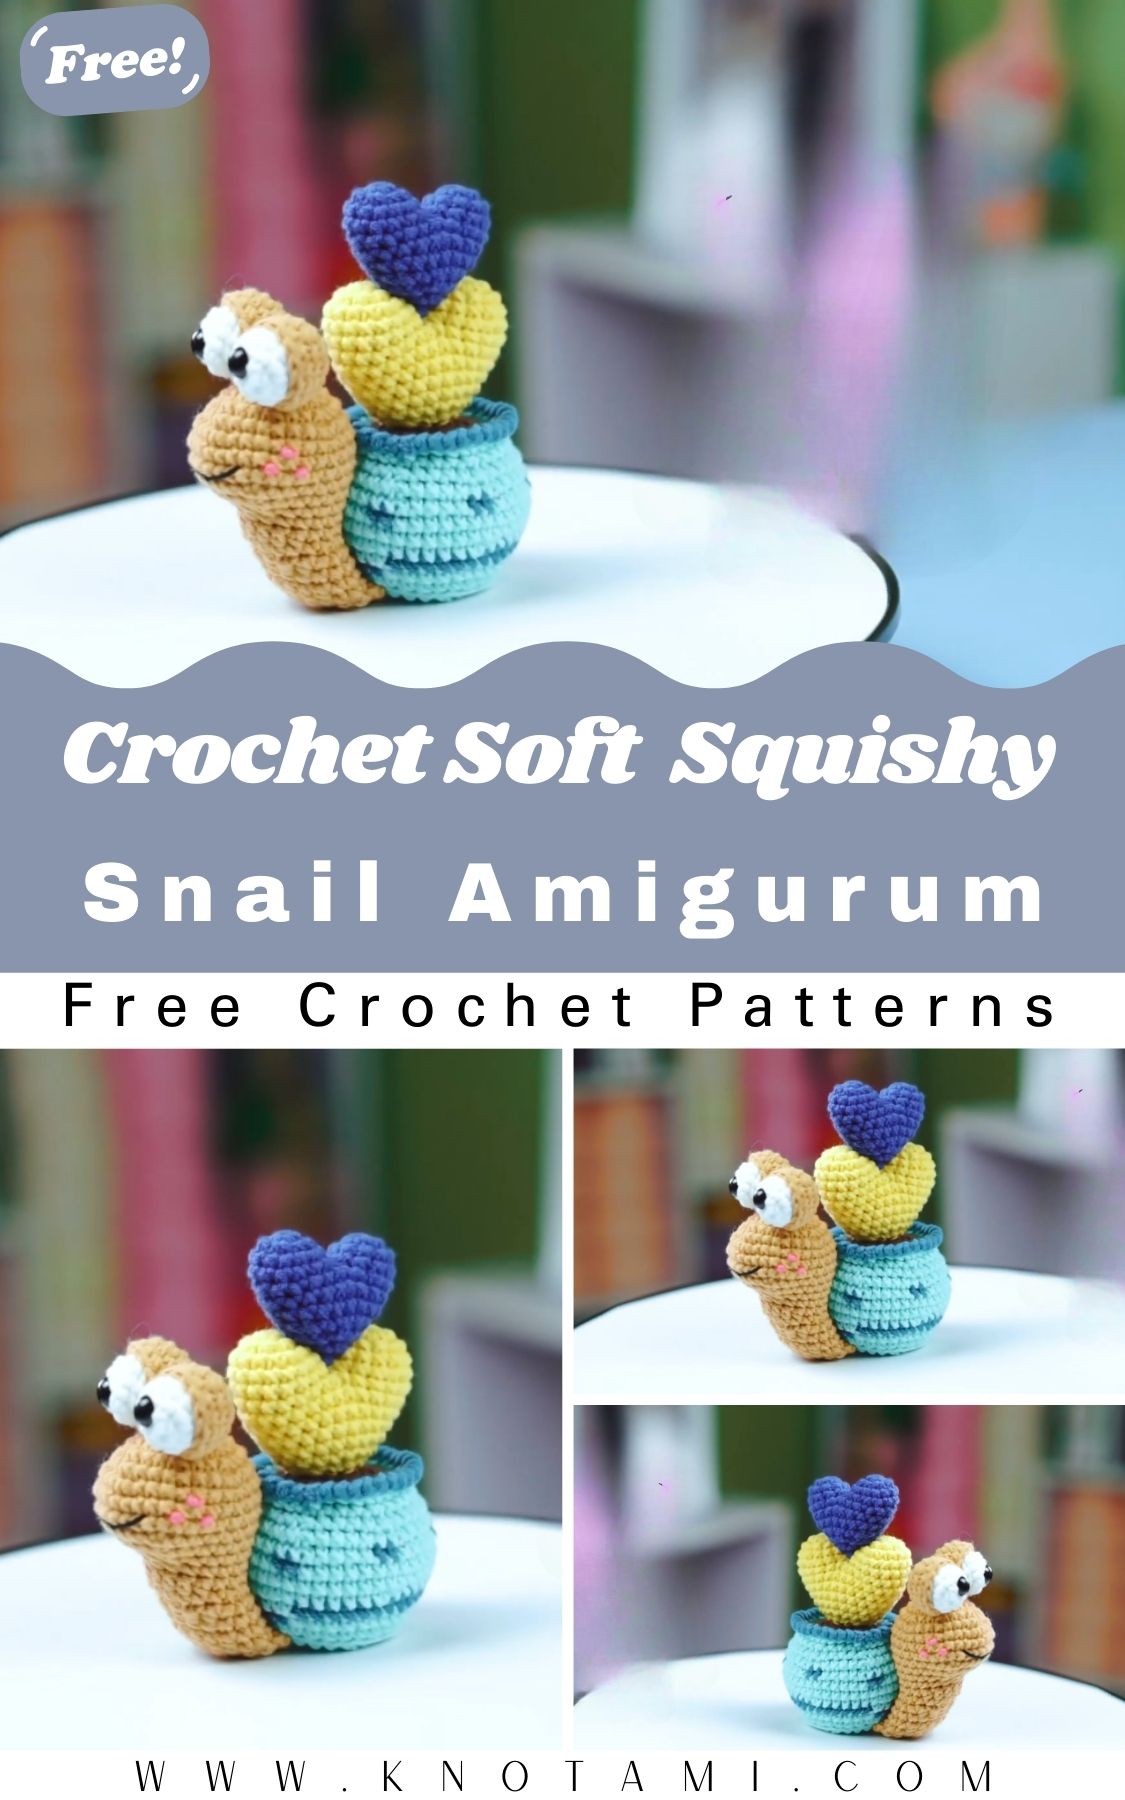
Welcome to the wonderful world of yarn crafting! If you have been looking for a charming new project, this Crochet Snail Amigurumi Pattern is the perfect choice for you. Creating your own little garden friend is not only a relaxing way to spend an afternoon, but it also results in a delightful toy that everyone will love. Amigurumi, the Japanese art of knitting or crocheting small stuffed yarn creatures, has become a global sensation because of how cute the finished products look. In this guide, you will find everything you need to know to transform a simple ball of yarn into a whimsical snail.
Moreover, working on this Crochet Snail Amigurumi Pattern allows you to practice essential stitches while creating something truly unique. Whether you are an experienced crafter or someone just starting out, this pattern is designed to be approachable and fun. You will enjoy the process of watching the snail’s shell spiral into shape and seeing its little eyes come to life. Consequently, this project is a fantastic way to use up leftover yarn from your previous crafts. Let us dive into the details and get your crochet hooks ready for this adorable adventure.
The video embedded above provides a visual walkthrough that perfectly complements our written guide. While you watch the video, pay close attention to how the creator handles the tension of the yarn and the placement of the stitches. Seeing the movements in real-time can be incredibly helpful for understanding the more intricate parts of the Crochet Snail Amigurumi Pattern. Furthermore, the video serves as a great companion if you are a visual learner who prefers to see the hand movements clearly. You can pause, rewind, and replay specific sections to ensure your snail looks exactly how you want it to.
Skill Level / Level of Difficulty
We categorize this project as an Easy to Intermediate level. If you are familiar with the basic stitches like single crochet, increases, and decreases, you will find this Crochet Snail Amigurumi Pattern very manageable. However, the assembly and the spiraling of the shell require a bit of patience and steady hands. Therefore, it is a great “level-up” project for beginners who want to move beyond simple scarves and hats into the realm of 3D stuffed animals.
Tutor’s Suggestions
Before you begin, I suggest that you choose high-quality cotton or acrylic yarn to ensure your snail holds its shape over time. Additionally, using a slightly smaller hook than what is recommended on the yarn label will help keep your stitches tight, preventing the stuffing from showing through. I also recommend using stitch markers religiously. Because amigurumi is worked in continuous rounds, it is very easy to lose your place. Lastly, do not rush the stuffing process; add it gradually to avoid lumps and ensure a smooth, rounded finish for your snail’s body and shell.
Materials Needed and Step-by-Step Guide
To start your Crochet Snail Amigurumi Pattern, gather the following materials:
-
Cotton or Acrylic Yarn in two contrasting colors (one for the body, one for the shell)
-
A 2.5mm or 3.0mm crochet hook
-
Safety eyes (6mm or 8mm)
-
Fiberfill stuffing
-
Tapestry needle for sewing
-
Stitch markers and scissors
Step 1: The Snail Body
First, you will start with the body using your primary color. Create a magic ring and work 6 single crochets into it. In the second round, you will increase in every stitch to reach 12. Continue working in rounds, following a standard increase pattern until the base of the head is wide enough. After that, you will work several rounds even to create the length of the body. Remember to place your safety eyes before you start narrowing the neck area.
Step 2: The Spiraled Shell
Next, switch to your second color to begin the shell of the Crochet Snail Amigurumi Pattern. The shell is essentially a long, stuffed tube that you will later roll up. Start with a magic ring of 6 stitches and increase to 12 or 18 stitches depending on how thick you want the shell. Crochet in a long spiral for about 10 to 12 inches. Consequently, as you go, stuff the tube lightly so it remains flexible enough to roll.
Step 3: Creating the Antennas
For the little antennas, you will attach your yarn to the top of the head. Chain 4 or 5, then work slip stitches back down the chain. This simple technique gives the snail its characteristic look. Repeat this for the second antenna, ensuring they are spaced evenly apart.
Step 4: Assembly and Finishing
Finally, it is time to assemble your snail. Roll the long tube you made for the shell into a tight spiral. Use your tapestry needle and a length of yarn to sew through the layers of the spiral so it stays in place. Once the shell is secure, sew it onto the back of the snail’s body. Make sure the stitching is tight so the shell doesn’t wobble. Hide all your yarn tails inside the body for a professional finish.
Where Can We Use It?
This finished Crochet Snail Amigurumi Pattern is incredibly versatile. You can use it as a charming nursery decoration or a soft toy for a child. Because of its small size, it also makes a wonderful keychain or a backpack charm if you use thinner yarn. Furthermore, these snails are perfect for “random acts of crochet kindness,” where you leave a small handmade gift in a public place for a stranger to find. They also look lovely sitting on a bookshelf or as part of a fairy garden display in your home.
Tips and Tricks
One of the best tips for a successful Crochet Snail Amigurumi Pattern is to use the “invisible decrease” method. This technique makes your decreases almost impossible to see, which results in a much smoother surface for your toy. Additionally, if you find that your shell is too stiff to roll, try using less stuffing in the next one. Another trick is to use a pipe cleaner inside the antennas if you want them to be poseable. However, please omit the pipe cleaner and safety eyes if the toy is intended for a very young child; instead, embroider the eyes with black thread for safety.
Common Mistakes
A frequent mistake when working on this Crochet Snail Amigurumi Pattern is losing track of the start of the round. Without a stitch marker, your increases will be misaligned, and the snail might look lopsided. Another common error is stuffing the body too firmly, which can stretch the stitches and reveal the stuffing inside. Furthermore, many beginners forget to leave a long enough “tail” of yarn when finishing pieces. Having a long tail is essential for sewing the parts together securely. Finally, ensure you are not crocheting “inside out,” which is a common hurdle for new amigurumi crafters.
Frequently Asked Questions (FAQs)
1. What is the best yarn for this Crochet Snail Amigurumi Pattern?
I recommend using mercerized cotton yarn because it has great stitch definition and doesn’t pill easily. However, acrylic yarn is a budget-friendly alternative that also works well for beginners.
2. How long does it take to finish one snail?
Typically, an intermediate crocheter can finish this project in about 2 to 3 hours. Beginners might take a bit longer as they get used to working in small rounds.
3. Can I wash my amigurumi snail?
Yes, if you use washable yarn and secure your stitches well, you can hand wash the snail in cool water and let it air dry. Avoid using a dryer as it might misshape the stuffing.
4. Do I have to use safety eyes?
No, you do not have to use plastic safety eyes. Embroidering the eyes with black yarn or embroidery floss is a safer option for infants and gives the snail a very classic look.
5. How do I make the snail larger?
To make a larger snail, you simply need to use a thicker yarn and a larger hook. The pattern remains the same, but the resulting toy will be significantly bigger.