Free Crochet Octopus Amigurumi Pattern With Instructions
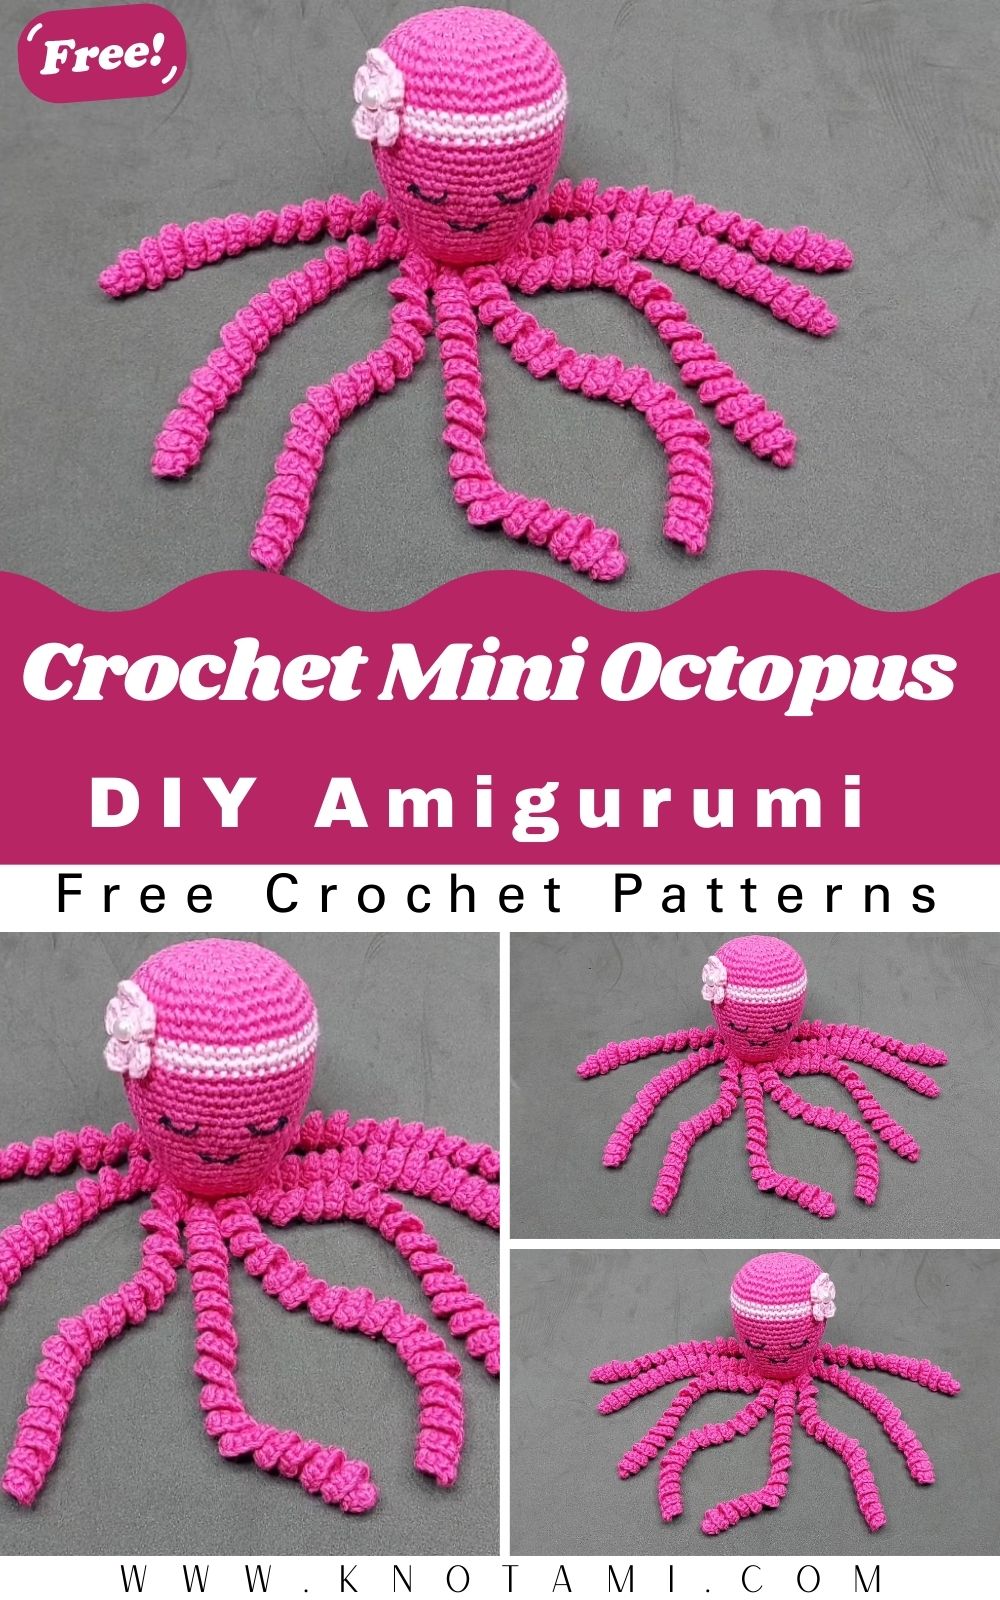
Curly tentacles and a soft rounded head bring this free crochet octopus amigurumi pattern with simple instructions to life. It makes a gentle companion for a new baby or a quirky gift for a friend and watching the tentacles twist into spirals is oddly satisfying.
Soft cotton yarn keeps it durable and gentle on little hands and basic stitches like single crochet increases and decreases make the whole project easy for newcomers. A pink stripe a cheerful face and optional tiny flowers add the kind of personality store-bought toys rarely have. Since it only costs a little yarn, it’s fun to make in lots of color combinations.
Pattern Overview
- Skill level: Beginner-friendly
- Time: About 2 to 4 hours, spread over one or two sittings
- Construction: The head is worked in continuous spiral rounds, stuffed and closed. The eight curly tentacles are then crocheted straight onto the base, with no sewing.
Materials
- Yarn: Soft cotton (or cotton blend) in fuchsia for the main color and light pink for the stripe
- Hook: One size smaller than your yarn label suggests, for a tight fabric that hides the stuffing
- Eyes: Small safety eyes, or black yarn to embroider them for babies and toddlers
- Stuffing: Polyester fiberfill
- Notions: Stitch markers, yarn needle, scissors
- Optional: Small scraps in white or yellow for tiny flowers, and a rattle or crinkle insert
Abbreviations
- MR – magic ring
- ch – chain
- sc – single crochet
- inc – increase (2 sc in the same stitch)
- dec – decrease
- sl st – slip stitch
- rnd – round
Before You Start
Place a stitch marker at the start of every round on the head, and count your stitches after each round so mistakes don’t carry forward. Keep your stitches tight and even. Good lighting helps you see where each round begins, especially with darker pinks.
Step-by-Step Octopus Pattern
Step 1: Start the Head
With fuchsia yarn, make a magic ring.
- Rnd 1: 8 sc in MR, pull closed (8)
- Rnd 2: inc in each st (16)
- Rnd 3: (1 sc, inc) 8 times (24)
- Rnd 4: (2 sc, inc) 8 times (32)
- Rnd 5: (3 sc, inc) 8 times (40)
- Rnd 6: (4 sc, inc) 8 times (48)
- Rnds 7–8: sc in each st (48)
Step 2: Add the Stripe and the Face Area
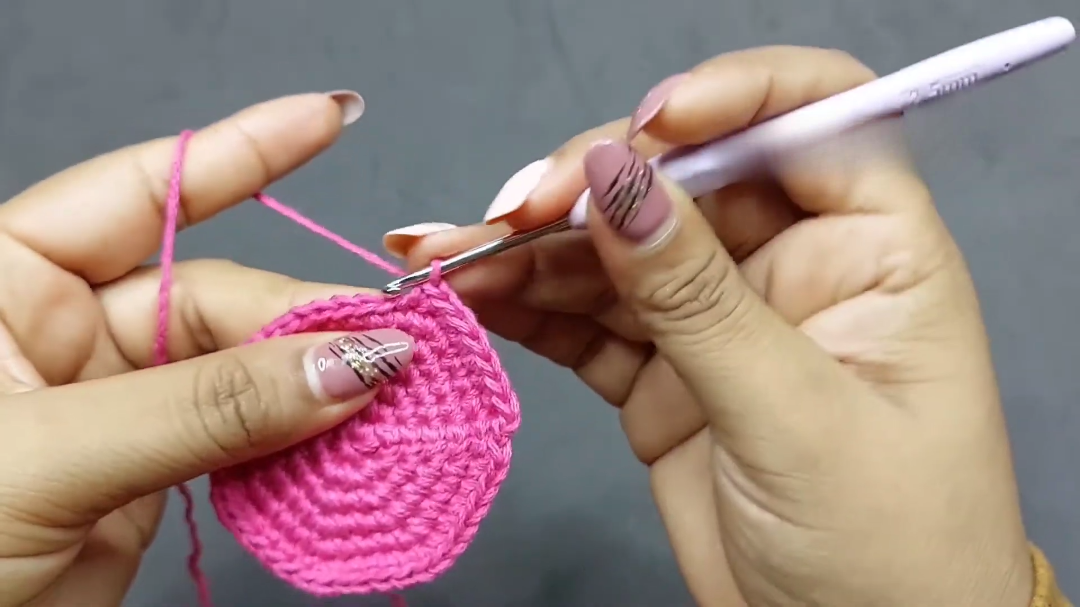
- Rnds 9–10: Switch to light pink and sc in each st (48)
- Rnds 11–16: Switch back to fuchsia and sc in each st (48)
These fuchsia rounds below the stripe form the octopus’s face. If you’re using safety eyes, insert them here, a few stitches apart. Check the placement from the front before fastening the backs. Once the head starts closing, you can’t reach inside.
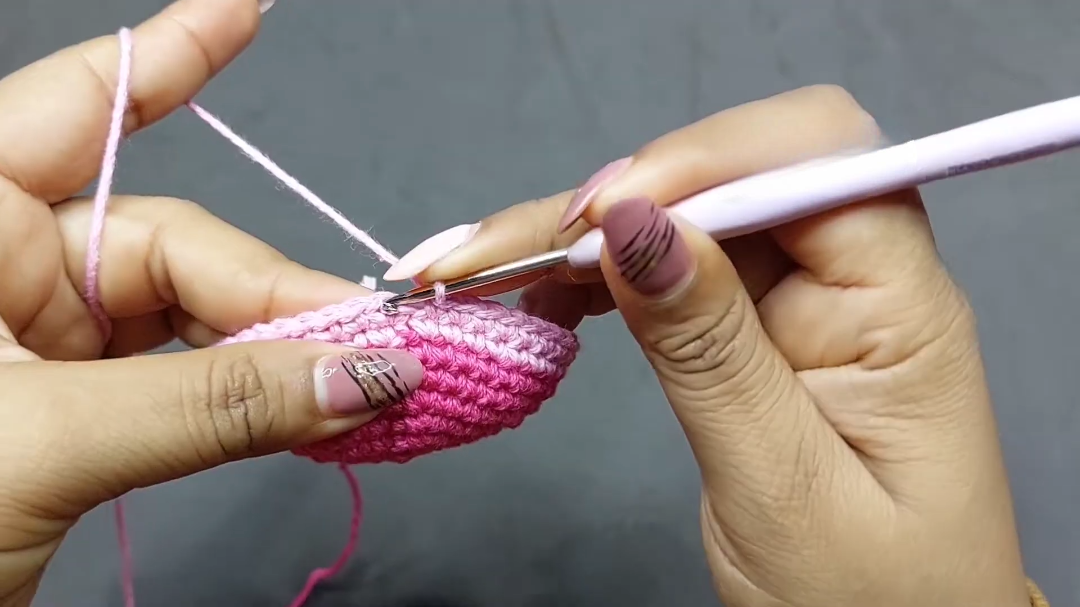
Step 3: Shape the Bottom of the Head
Now decrease gradually, with two plain rounds between each decrease round so the head stays smooth and round.
- (4 sc, dec) 8 times (40), then 2 rounds of sc (40)
- (3 sc, dec) 8 times (32), then 2 rounds of sc (32)
- (2 sc, dec) 8 times (24), then 2 rounds of sc (24)
- (1 sc, dec) 8 times (16)
Step 4: Stuff and Close
Before the opening gets too small, stuff the head firmly. Push the fiberfill into the sides with your fingers or the end of your hook for a nice round shape. If you’re adding a rattle or crinkle insert, tuck it into the center of the stuffing now.
Work one final round of dec 8 times (8). Cut the yarn, leaving a long tail, then weave it through the front loops of the last stitches and pull tight to close.
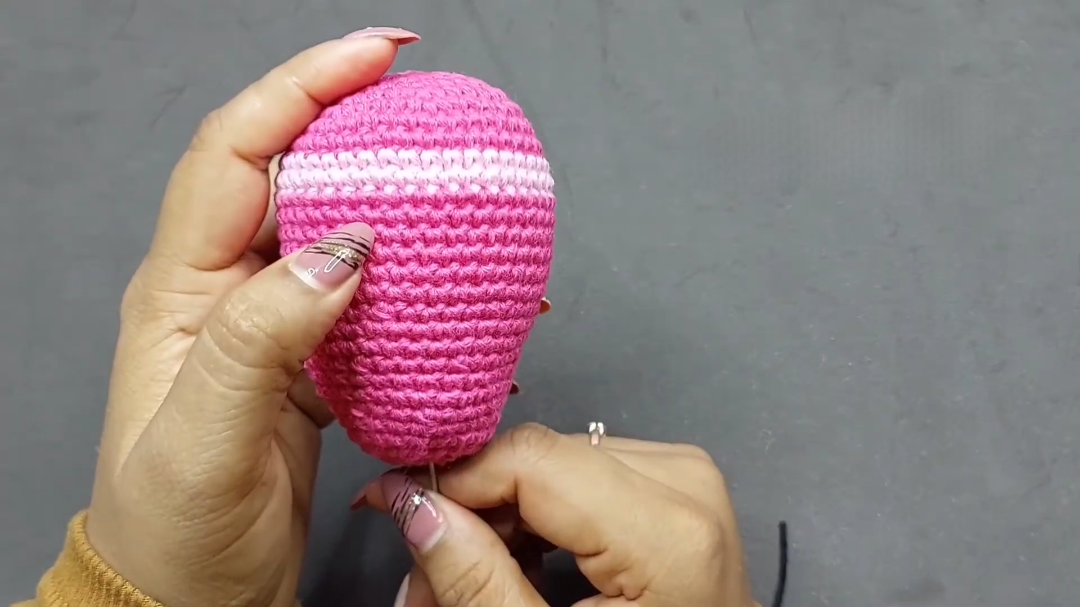
Step 5: Crochet the Curly Tentacles
Join fuchsia yarn to a stitch near the bottom of the head. Follow the video for the exact round the tentacles are worked into.
- Ch 60.
- Starting in the 2nd ch from the hook, work 3 sc in every chain back along the chain. With so many stitches packed into each chain, the tentacle twists into a tight spiral by itself.
- Sl st into the body, then sl st across to the spot for the next tentacle.
- Repeat until you have 8 tentacles spaced evenly around the base, without cutting the yarn between them.
To space them evenly, divide the stitches around the base into 8 equal sections before you start, and mark each starting point with a stitch marker. After the last tentacle, fasten off and weave the tail into the body.
Tip: Keep your slip stitches into the body firm. A loose join lets the base of each tentacle droop.
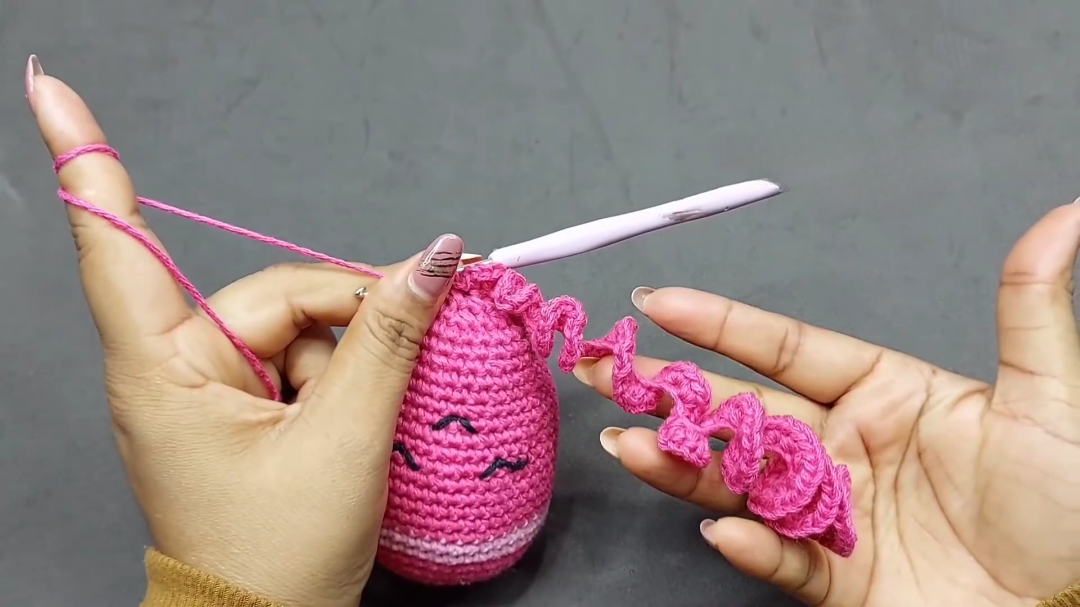
Step 6: Finish the Face
If you didn’t use safety eyes, embroider two eyes in the face area with black yarn. Stitch a small smile between them. For the tiny flowers, make a magic ring, work (ch 2, sl st) 5 times into it, pull it closed and sew it beside one eye or on top of the head.
Watch the Video Tutorial
To see how the tentacles curl and exactly where they join the body, follow the crochet octopus amigurumi video tutorial along with these steps.
Common Mistakes
- Chaining tentacles of different lengths, which makes the octopus look lopsided
- Working only 1 sc per chain, which gives flat tentacles instead of curls
- Adding safety eyes after the head is closed
- Spacing the tentacles by eye instead of counting
Troubleshooting
- The tentacles are too tightly wound: Loosen your tension a little as you work back along the chain.
- The tentacles are too loose or straight: Check that you’re working 3 sc in every chain. Missing even a few flattens the spiral.
- The head is lumpy: Add stuffing in small pieces and push it outward toward the sides.
- Stuffing shows through: Your hook is too big. Go down a size next time.
Yarn Choices and Sizing
Cotton gives crisp stitches and holds the curl well, while acrylic is softer and a bit more forgiving for beginners. To make a bigger or smaller octopus, switch to a heavier or lighter yarn with a matching hook, and lengthen or shorten the tentacle chains to keep everything in proportion. Different colors for the head and tentacles, or slightly varied tentacle lengths, make for a fun, playful look.
Turn It Into a Sensory Baby Toy
Octopus toys are a favorite for babies because the curly tentacles are so easy to grab. A few small changes make this one even more engaging.
- Sound: Hide a securely sealed rattle insert in the center of the head while stuffing.
- Crinkle: Slip a small crinkle paper insert into the head for a satisfying rustle when squeezed.
- Contrast colors: Make every other tentacle in a bright contrast shade, since high-contrast colors catch a baby’s attention.
- Mixed textures: Work two of the tentacles in a soft chenille or velvet yarn for a different feel.
- Safe face: Always embroider the eyes, and skip the flowers or sew them on very firmly.
For more ocean friends, add the crochet crab amigurumi and the turtle amigurumi to your sea-life collection. If you’re making gifts for a new arrival, the unisex baby crochet pattern pairs nicely with this octopus.
FAQs
How do I space the 8 tentacles evenly?
Count the stitches around the base, divide by 8, and mark each starting point with a stitch marker before you begin.
Can I make the octopus bigger or smaller?
Yes. Change to a heavier or lighter yarn with a matching hook, and adjust the tentacle chain length to match.
What yarn works best?
Soft cotton is ideal, especially for a baby toy. Acrylic works too and feels a little softer.
Is this safe for babies?
Use embroidered eyes instead of safety eyes, sew any flowers on securely, and check that every tentacle end is woven in firmly.
Eight Curls of Pure Joy
One simple trick, three stitches in every chain, turns plain chains into bouncy spirals that little hands love to tug. Add a round pink head and a sweet smile, and you have a toy that looks far more special than the basic stitches behind it. Make one in fuchsia first, then try ocean blue or sunny yellow for the next.