
Crochet is more than just the art of weaving yarn; it’s a gentle meditation that turns creativity into something beautifully tangible. Every stitch, loop, and pull connects your imagination to your fingertips, crafting not just a figure but a feeling. It’s the joy of transforming something as simple as yarn into a soft piece of art that carries warmth, intention, and emotion. When you create something with your own hands, you’re weaving love into every fiber and that’s the true magic of crochet.
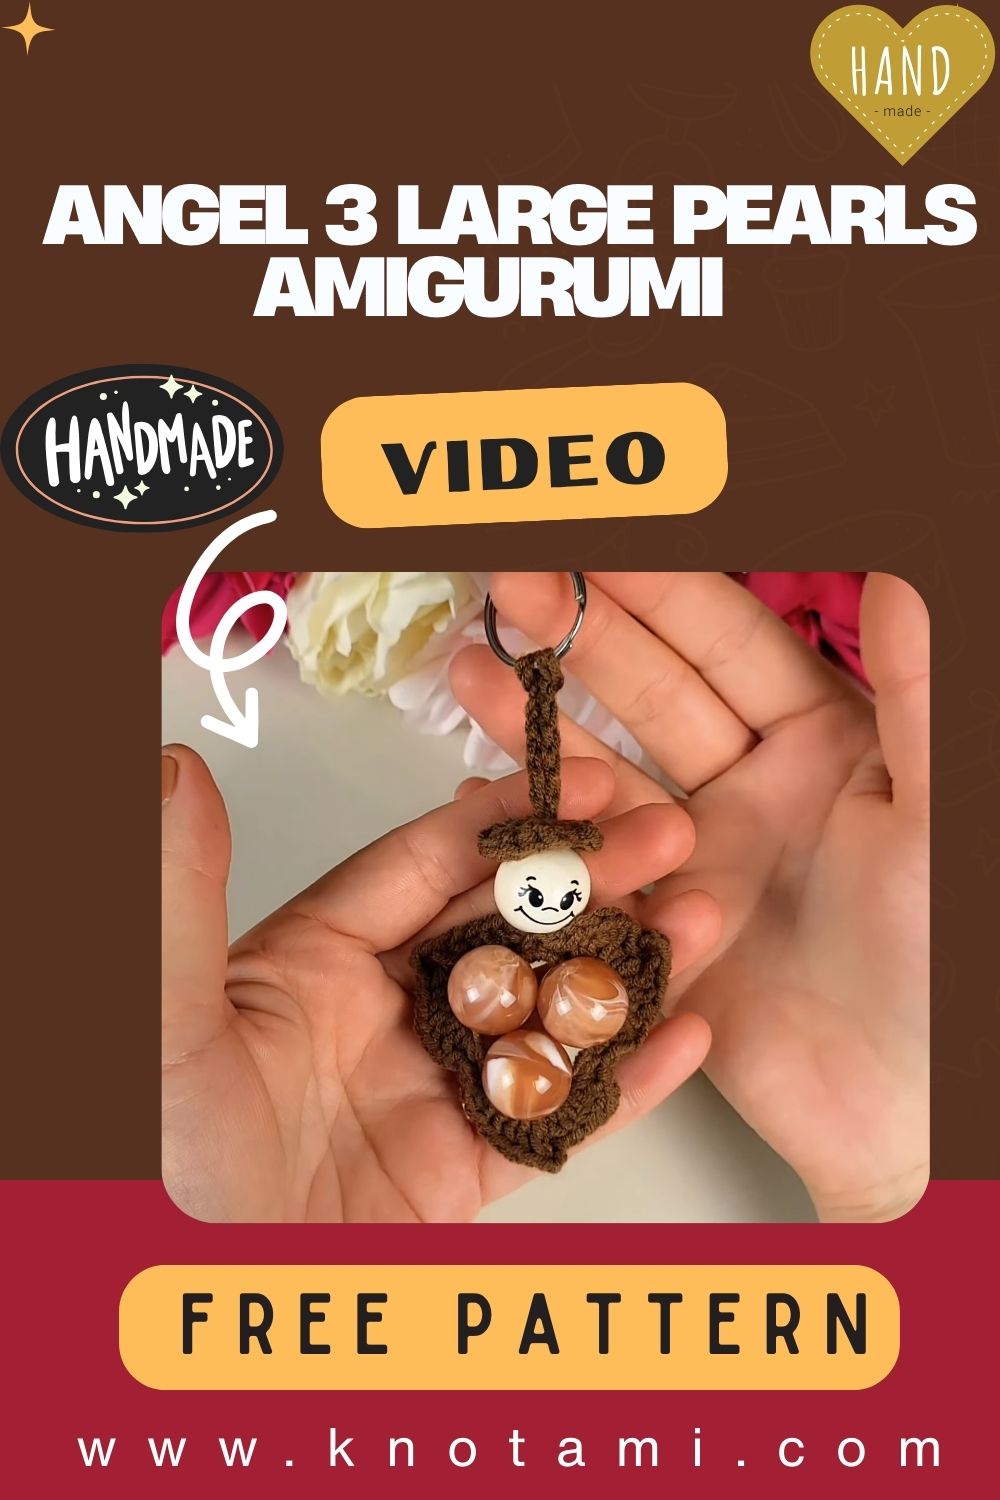
The DIY Crochet Angel 3 Large Pearls Amigurumi Pattern perfectly embodies that magic. This project combines the elegance of crochet craftsmanship with the purity of angelic symbolism. Its delicate wings, graceful flow, and signature three pearls make it a timeless decorative piece perfect for Christmas, weddings, christenings, or as a heartfelt gift. The pearls symbolize faith, hope, and love, making this angel not just a crochet toy but a spiritual keepsake that brings serenity wherever it’s placed.

This pattern is ideal for all skill levels simple enough for beginners to follow with confidence, yet detailed enough for experienced crocheters to enjoy the artistry of shaping, assembly, and embellishment. You’ll explore gentle shaping techniques, minimal sewing, and creative detailing that make this angel both easy and deeply satisfying to craft.
Crocheting this angel feels like a form of peaceful reflection. The soft rhythm of stitching calms your mind while the figure gradually takes form in your hands. When you finally sew on those three radiant pearls and hold your finished angel, you’ll feel that quiet joy only handmade art can bring a reminder that beauty often blooms in patience and care.
Materials & Tools
Before you begin, let’s gather everything you need to create your elegant crochet angel. The materials are simple but the result divine.
Materials List
-
Yarn: 100% cotton or mercerized cotton yarn (sport or DK weight)
-
Colors: White (main body and wings), gold or cream (halo and trims)
-
Hook Size: 2.0 mm – 2.5 mm crochet hook
-
Stuffing: Polyester fiberfill (light stuffing for head and body)
-
Beads: 3 large pearls (8 mm or 10 mm, depending on size preference)
-
Tapestry Needle: For sewing and weaving ends
-
Scissors: For trimming excess yarn
-
Stitch Marker: To keep track of rounds
-
Optional: Gold metallic thread for accent lines or embroidery
Yarn & Color Advice
-
Use white cotton yarn for a crisp, angelic finish that holds its shape beautifully.
-
For a more ethereal look, blend white and soft gold strands together.
-
Pearlized or metallic yarn adds shimmer and a divine glow to your project.
-
If you prefer a rustic charm, use cream or linen tones paired with wooden pearls instead.
Step-by-Step Crochet Instructions
Let’s begin crafting your Crochet Angel 3 Large Pearls Amigurumi. Follow each step with patience and joy this little angel deserves gentle hands and a calm heart.
Step 1: Crochet the Head
-
Start with a Magic Ring.
Make 6 single crochets (sc) into the ring. (6) -
Round 2: Increase in each stitch (12).
-
Round 3: (1 sc, inc) repeat around (18).
-
Round 4–7: Work even (18).
-
Round 8: (1 sc, dec) repeat (12).
-
Round 9: Dec around (6).
Stuff the head gently firm enough to hold shape but soft for a smooth finish. Fasten off and leave a long tail for sewing later.
Pro Tip: Before closing the head, insert one small pearl bead inside to subtly symbolize the angel’s heart it’s a hidden touch that adds meaning.
Step 2: Form the Neck and Upper Body
-
Round 1: Attach yarn to the base of the head, ch 1, work 8 sc evenly around the neck base.
-
Round 2: Increase every other stitch (12).
-
Round 3–4: Work evenly (12).
This forms a small but defined neck that transitions into the torso. Lightly stuff as you go, keeping the shape balanced.
Step 3: Building the Angel’s Main Body
-
Round 5: (1 sc, inc) around (18).
-
Round 6: (2 sc, inc) around (24).
-
Round 7–12: Work evenly (24).
-
Round 13: (2 sc, dec) around (18).
-
Round 14: (1 sc, dec) around (12).
Stuff lightly before closing off. You should have a conical body representing the angel’s flowing robe. Adjust stuffing to ensure it stands upright on a flat surface.
Expert Tip: To make the angel stable, you can insert a small circle of felt or cardboard at the base before closing the body.
Step 4: Shaping or Attaching the Base
To create a flared base (robe effect):
-
Attach yarn to the last round of the body.
-
Work 2 dc in each stitch around (total doubles).
-
Next round: (1 dc, ch 1, skip 1) to form a delicate lace edge.
-
Fasten off and weave in ends neatly.
This gives your angel a flowing, elegant robe that looks beautifully delicate.
Step 5: Creating the Wings
Option 1: Simple Curved Wings
-
Chain 12.
-
Row 1: In second chain, work sc, hdc, dc, tr, dc, hdc, sc.
-
Turn and repeat for the opposite side.
-
Fasten off, leaving a tail for sewing.
Option 2: Layered Feathery Wings
-
Chain 8.
-
Work 2 sc, 2 hdc, 2 dc, 2 tr in sequence.
-
Turn, repeat to create feathered texture.
-
Make 2 identical wings.
Sew wings symmetrically to the back of the body. Adjust positioning slightly upward for balance.
Optional: You can lightly starch the wings or use a fine wire outline to help them hold shape if you prefer a more structured appearance.
Step 6: Adding the 3 Large Pearls
Now comes the signature feature the three pearls that give this angel its celestial identity.
-
Sew or glue three large pearls vertically along the front of the angel’s robe, centered.
-
Alternatively, string them together with gold thread and attach as a hanging pendant around the neck area.
-
The three pearls represent Faith, Hope, and Love a meaningful detail that makes this design spiritually rich.
Creative Twist: Use gold or pastel pearls for variation or even glass beads for an elegant shimmer under light.
Step 7: Assembly & Final Details
-
Attach the Head: Sew securely onto the body.
-
Add Halo: Crochet a simple chain of 25–30, join into a ring, and sew above the head. Use gold or metallic thread for glow.
-
Embellish: Add trims using gold embroidery thread around the hem or wings.
-
Face: Embroider two small closed eyes with black or brown yarn and a soft smile.
-
Optional: Add blush with soft fabric paint or pink yarn for a sweet touch.
When assembled, your angel should look serene, balanced, and radiant standing proudly with her three pearls gleaming softly.
Customization Ideas
Make your angel uniquely yours by experimenting with colors, textures, and accessories.
-
Color Variations: Try cream and gold for classic elegance or silver and white for a winter wonderland theme.
-
Spring Angel: Use pastel yarns soft pink wings and lavender dress.
-
Christmas Angel: Red or emerald robe with white pearls and gold halo.
-
Rainbow Angel: Crochet each row of the dress in a different pastel hue for a cheerful, modern take.
-
Heirloom Version: Use luxury thread like silk-cotton blend and real pearls for an everlasting keepsake.
-
Accessories: Add mini flowers, lace ribbons, or tiny crochet stars for personalized charm.
Every variation tells a story make one for each season or as gifts symbolizing different blessings.
Advanced Tips & Troubleshooting
To make your Crochet Angel 3 Large Pearls Amigurumi flawless and professional-looking, follow these expert techniques:
-
Invisible Decrease: Insert hook into front loops of next 2 stitches, yarn over, pull through both, yarn over again cleaner shape, no visible gap.
-
Tension Control: Keep your yarn flow consistent this ensures uniform stitches and prevents lopsided shaping.
-
Even Rounds: Always use a stitch marker to mark the start of each round.
-
Stuffing Balance: Add stuffing gradually to avoid bulges. Distribute evenly with a chopstick or pen tip.
-
Joining Parts Seamlessly: Use a ladder stitch when attaching head and wings for invisible joins.
-
Fix Uneven Shapes: Steam lightly with an iron (no direct contact) to reshape.
-
Prevent Twisting: Keep counting rounds carefully twisting while joining can distort your angel’s form.
-
Pearl Placement: Align pearls vertically down the front symmetry enhances elegance.
-
Reading Abbreviations: Familiarize yourself with sc (single crochet), inc (increase), dec (decrease), sl st (slip stitch), dc (double crochet), tr (treble crochet).
-
Halo Reinforcement: To keep the halo upright, insert thin wire or use a metallic cord for durability.
Care Instructions
Your handmade angel deserves gentle care to stay beautiful for years.
-
Hand Wash Only: Use cool water with a mild soap.
-
Rinse Gently: Avoid wringing to prevent distortion.
-
Dry Flat: On a towel in shade.
-
Avoid Direct Sunlight: Prevents fading and yellowing.
-
Do Not Iron Directly: Use low steam from a safe distance if reshaping.
-
Storage: Keep in a soft cloth bag or glass display case.
-
Dust Occasionally: Use a soft brush to clean delicate parts like wings and pearls.
If gifting, wrap it in sheer organza or a small gift box lined with white tissue for a heavenly presentation.
Display & Gift Ideas
Your angel isn’t just a crochet piece it’s a token of love, peace, and creativity. Here are beautiful ways to display or gift it:
-
Home Décor: Place it on mantels, shelves, or near candles for a cozy, spiritual glow.
-
Nursery Ornament: Perfect as a guardian angel decor piece for babies.
-
Christmas Ornament: Hang from your tree or centerpiece for a radiant holiday look.
-
Wedding Keepsake: Use as table décor or give as symbolic wedding favors.
-
Gift of Comfort: Send it to someone who needs peace and reassurance it’s a gentle handmade hug.
-
Spiritual Symbol: Add to meditation or prayer spaces as a handmade reminder of serenity and hope.
Benefits of Making Crochet Angel 3 Large Pearls Amigurumi
This crochet project brings far more than just a finished piece it brings healing, mindfulness, and joy.
-
Relaxation & Mindfulness: The repetitive motion of crochet calms the mind, reduces anxiety, and promotes focus.
-
Stress Relief: Watching your angel come to life releases endorphins a natural stress reliever.
-
Sense of Accomplishment: Completing this symbolic piece boosts creative confidence.
-
Eco-Friendly Craft: Handmade gifts reduce waste and promote sustainability.
-
Emotional Healing: Crocheting an angel can be a form of emotional expression or tribute to loved ones.
-
Gift of Meaning: Unlike store-bought décor, handmade angels carry intention, energy, and love.
-
Timeless Art: This pattern blends traditional crochet with spiritual symbolism a rare and beautiful mix.
Photography & Social Media Tips
If you love sharing your creations online, this angel will make your feed shine with elegance and charm. Here’s how to capture it beautifully:
-
Natural Light: Photograph near a window in morning light for soft, glowing effects.
-
Backdrop: Use white fabric, lace, or wooden surfaces for a clean, angelic background.
-
Props: Add pearls, candles, or floral wreaths for ethereal vibes.
-
Angles: Capture from slightly above to highlight the wings and pearls.
-
Macro Shots: Zoom in on pearl details, lace base, or halo for texture highlights.
-
Consistency: Use warm filters or natural tones for a cohesive look across posts.
Conclusion
Crocheting the DIY Crochet Angel 3 Large Pearls Amigurumi is more than crafting it’s a journey of peace, beauty, and emotion. Each stitch you make is a whisper of intention, each pearl you attach adds a symbol of grace. As you hold your finished angel, you’re not just admiring yarn and thread you’re holding hours of care, patience, and love woven into a single creation.
Whether it’s placed on your shelf, gifted to someone dear, or hung as a spiritual ornament, this angel reminds us of one simple truth: handmade things carry the energy of the hands that made them. So pick up your hook, embrace the rhythm of yarn, and let your creativity take flight because your angel is waiting to be born.