Create a Crochet Egg Waffle Pendant Amigurumi Pattern
Think of a golden egg waffle fresh from a street cart, shrunk down small enough to hang from your keys or bag. That’s the idea behind this crochet egg waffle pendant amigurumi pattern, a playful little charm that swings along with you wherever you go.
Mini food amigurumi is a fun way to turn everyday treats into small keepsakes, and this one pairs a raised waffle texture with a soft, rounded egg shape. It works as a pendant or a keychain on a backpack, purse, or phone. The project uses only a small amount of yarn and works up quickly, so it’s a nice pick for newer crocheters.

Time and Skill Level
- Time: About 1 to 2 hours for the complete pendant
- Skill level: Beginner to confident beginner
- Stitches used: Single crochet, increases, and front post double crochet for texture
- Finished size: About 2 to 3 inches tall
Materials Needed
- Worsted-weight yarn in golden yellow for the waffle body and creamy white for the egg details
- 3.5 mm or 4 mm crochet hook (go down a size if your stitches look loose)
- Polyester fiberfill stuffing
- Keychain ring or lobster clasp with chain
- Yarn needle for sewing
- Small black beads or safety eyes (optional, for a face)
- Scissors and stitch markers
- A small amount of contrasting yarn for embroidery details
Yarn and Tool Tips
- Cotton or acrylic worsted yarn gives the pendant good structure and holds up to daily use. Cotton shows crisp stitch definition, while acrylic feels softer.
- A 4 mm aluminum hook slides smoothly through post stitches without splitting the yarn.
- A sharp yarn needle makes neat, secure seams easier.
- Warm golds and soft pastels give the waffle a fresh-baked look.
Abbreviations (US Terms)
- sc – single crochet
- inc – increase (2 stitches in the same stitch)
- FPdc – front post double crochet
- MR – magic ring
How to Crochet the Egg Waffle Pendant
Step 1: Start the Magic Ring
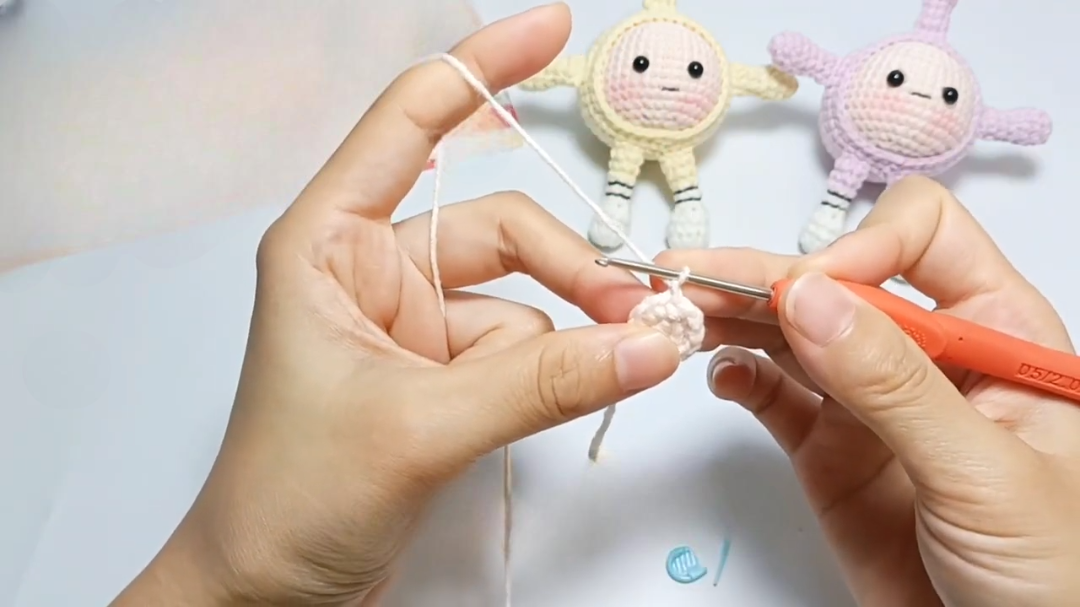
Make a magic ring and work 6 single crochets into it. Pull the ring tight and place a stitch marker. This forms the center base of the egg waffle shape.
Step 2: Build the Waffle Texture
Increase around using front post stitches to create the raised waffle grid, working 2 stitches into each stitch for the first round of raised squares.
Step 3: Crochet the Face Rounds
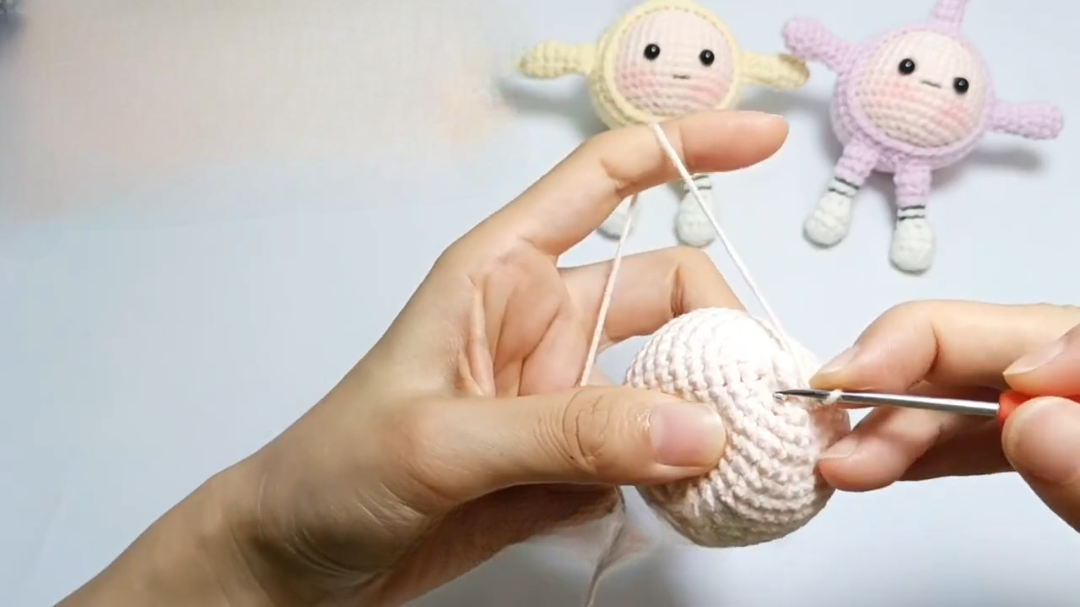
Switch to the lighter yarn and shape the rounded egg top with gradual increases. Keep your tension even so the dome stays smooth and puffy.
Step 4: Stuff, Close, and Attach the Ring
Stuff the pendant lightly, then close the opening with whip stitches for a neat edge. Attach the keychain ring at the top.
Step 5: Embroider the Details and Finish
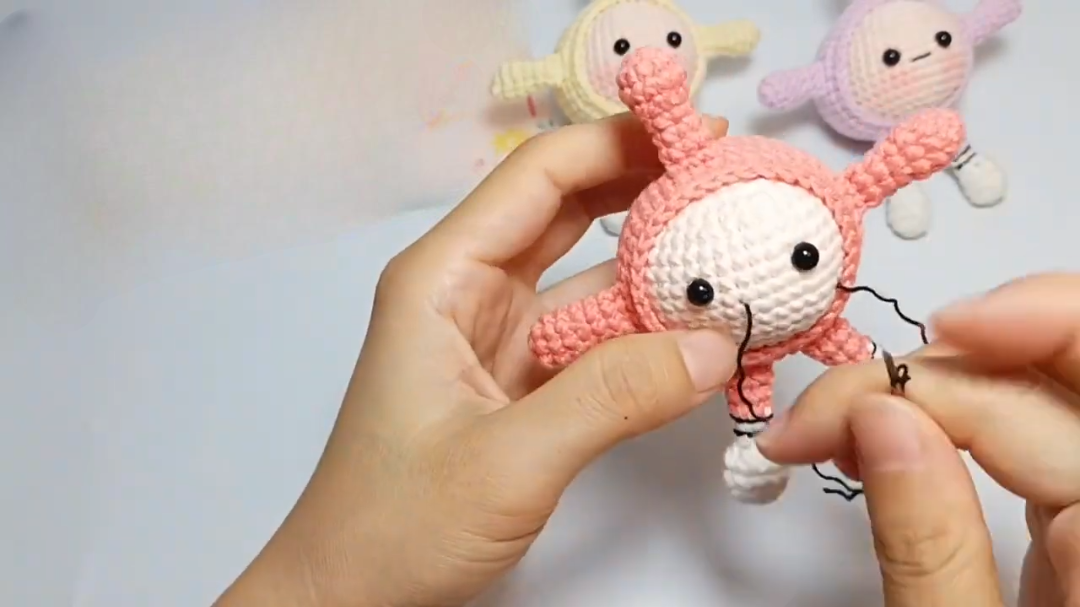
Add the final embroidery, including any face details and the crispy edge effect, then securely weave in all ends. Block the pendant gently to set its shape.
Video Tutorial
The texture rounds are easier to follow when you can see them worked. Watch the egg waffle pendant video tutorial for step-by-step visual guidance.
Design Highlights
- A deep waffle texture made with post stitches
- A soft, egg-shaped silhouette with rounded edges
- A compact pendant size of about 2 to 3 inches tall
- A kawaii food look that pairs well with other mini treats
The raised squares give the pendant depth, while the overall piece stays light enough to hang comfortably from a bag or key ring. If you’d like to build a mini food collection, the crochet crazy donut keychain and crochet coffee cup keychain make good companions.
Ways to Use Your Egg Waffle Pendant
- Clip it to a backpack zipper for school or travel.
- Hook it onto a purse handle or bag charm loop.
- Use it to brighten up a plain set of keys.
- Tie it onto gift packaging for a handmade touch.
- Give it as a small handmade gift to a friend who loves quirky accessories.
- Display it on a small stand as desk decor when you’re not carrying it.
It’s also a relaxed way to practice texture stitches, since the piece is small and quick to redo if something goes wrong.
Common Mistakes to Avoid
- Loose post stitches: Loose tension flattens the waffle grid. Keep the post stitches snug but not tight.
- Overstuffing: Too much fiberfill makes the egg shape bulge. Add small amounts and check the shape as you go.
- Weak attachment points: A single pass of stitching can pull out. Double-stitch the area around the ring.
- Skipping stitch markers: Without a marker, it’s easy to lose your place and end up with uneven rounds.
Customization Ideas
- Use chocolate brown yarn for a cocoa waffle.
- Add more post-stitch rounds for a deeper waffle texture.
- Embroider sprinkles or fruit toppings onto the egg.
- Use thicker yarn and a larger hook for a bigger version.
For another bright, fruity charm, try this crochet blueberry keychain.
Care Instructions
- Spot clean gently with mild soap and a damp cloth.
- Avoid machine washing to protect the texture.
- Store it out of direct sunlight to prevent fading.
- Reshape it by hand if it gets squished.
Safety Tips
- Stitch everything securely, especially around the attachment ring.
- Use sturdy metal rings made for jewelry or keychains.
- If you’re making one for a young child, embroider the face instead of using beads or safety eyes, since small parts can come loose.
- Check your knots before trimming yarn tails.
Frequently Asked Questions
How long does it take to crochet an egg waffle pendant?
Most makers can finish it in one relaxed evening, around 1 to 2 hours including sewing.
What yarn works best for food amigurumi?
Worsted-weight cotton or acrylic gives good stitch definition for texture details like the waffle grid.
Can I make this without front post stitches?
You can simplify it with basic single crochet, but the raised waffle grid depends on the post stitches.
Is this suitable for complete beginners?
Yes. The steps are short, and the repeated texture gives you plenty of practice in a small space.
How do I attach the pendant hardware securely?
Sew through several layers at the top of the pendant and reinforce the spot with extra stitches. A small fabric patch inside can add strength.
Final Notes
This crochet egg waffle pendant is a quick, low-yarn project with a lot of personality. The post-stitch texture is the only part that needs a little attention, and once it’s done, you’ll have a cute charm ready for your keys, bag, or a friend’s gift. Happy crocheting!