
Are you tired of losing your glasses or finding them scratched on the nightstand? If you love crafting, then creating a Crochet Eyeglass Holder Amigurumi is the perfect weekend project for you. This adorable and functional accessory not only protects your eyewear but also adds a touch of handmade charm to your home decor. In this detailed guide, we will explore how to craft two delightful animal versions: a clever fox and a loyal dog.
Using the popular Amigurumi technique, these holders feature a sturdy base that keeps your glasses upright and secure. Whether you are a seasoned pro or a beginner looking for a fun challenge, this project uses simple stitches to achieve a professional result. By the end of this tutorial, you will have a whimsical companion sitting on your desk, smiling and holding your glasses.

The video tutorial provided above is your best companion for this project. It offers a visual breakdown of the stitch placements and the color changes that bring the fox and dog to life. I recommend watching the video through once to understand the flow, and then following along with the written steps below. This combination of visual and written instruction ensures you won’t miss a single detail, especially when we get to the tricky parts like the “slip stitch” transitions on the base.
Materials Needed
To achieve the best results, you should use materials that provide good structure. Here is what you will need for your Crochet Eyeglass Holder Amigurumi:
-
Yarn: Alize Cotton Gold (Tan, Beige, Cream, and Brown). This yarn is a cotton-acrylic blend which is perfect for amigurumi because it doesn’t pill easily.
-
Crochet Hooks: 3.0 mm hook for the main body (using double-layered yarn for extra firmness).
-
2.5 mm hook for the smaller details like the eyes, nose, and ears.
-
-
Fiberfill Stuffing: To give the nose and head structure.
-
Tapestry Needle: For sewing the pieces together and hiding yarn tails.
-
Stitch Markers: Essential for keeping track of your rounds.
-
Scissors: For clean cuts.
Step-by-Step Guide to the Crochet Eyeglass Holder Amigurumi
Phase 1: Creating the Sturdy Base
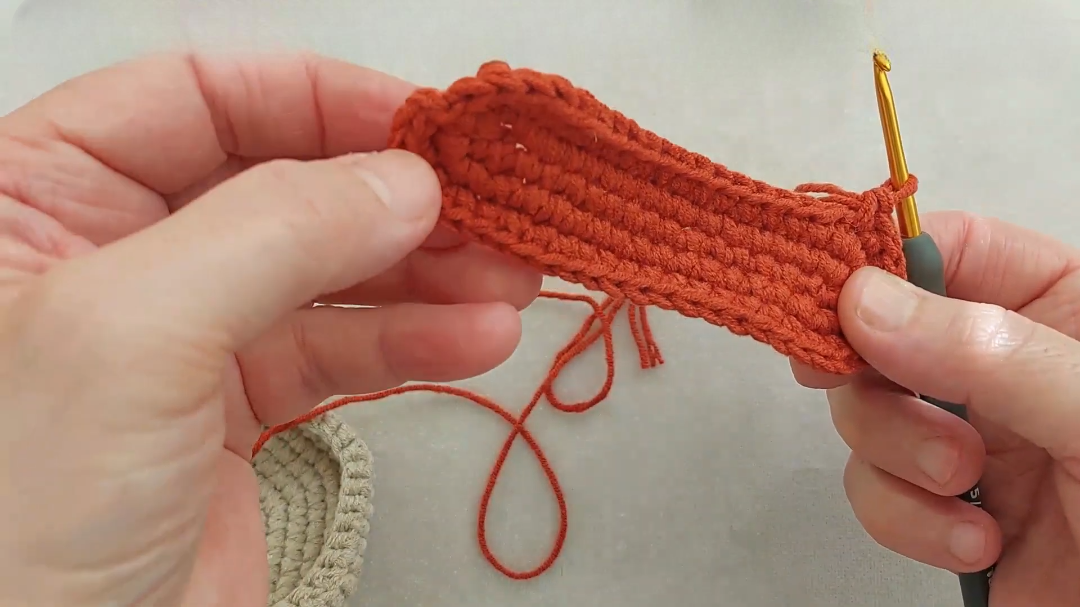
The base is the most important part of your Crochet Eyeglass Holder Amigurumi because it provides the weight and balance needed to hold the glasses. We use two strands of yarn held together to make it extra tough.
-
Starting Chain: Begin by pulling 17 chains. Ensure they are not too tight so you can work back into them easily.
-
Round 1: Starting from the 2nd chain from the hook, make a double crochet (two stitches in one). Then, work 14 single crochets down the side. In the last chain, work 4 single crochets to turn the corner. Continue on the other side of the chain with 14 more single crochets.
-
Increasing: In the following rounds, you will follow a specific increase pattern (one single, one double) to expand the oval shape. By the end of round 2, you should have 44 stitches.
-
Building Height: Continue increasing until your stitch count reaches 92. This provides a wide, stable bottom. Once you reach 92 stitches, you will stop increasing and start building the walls of the holder.
Phase 2: Color Transitions for the Fox and Dog
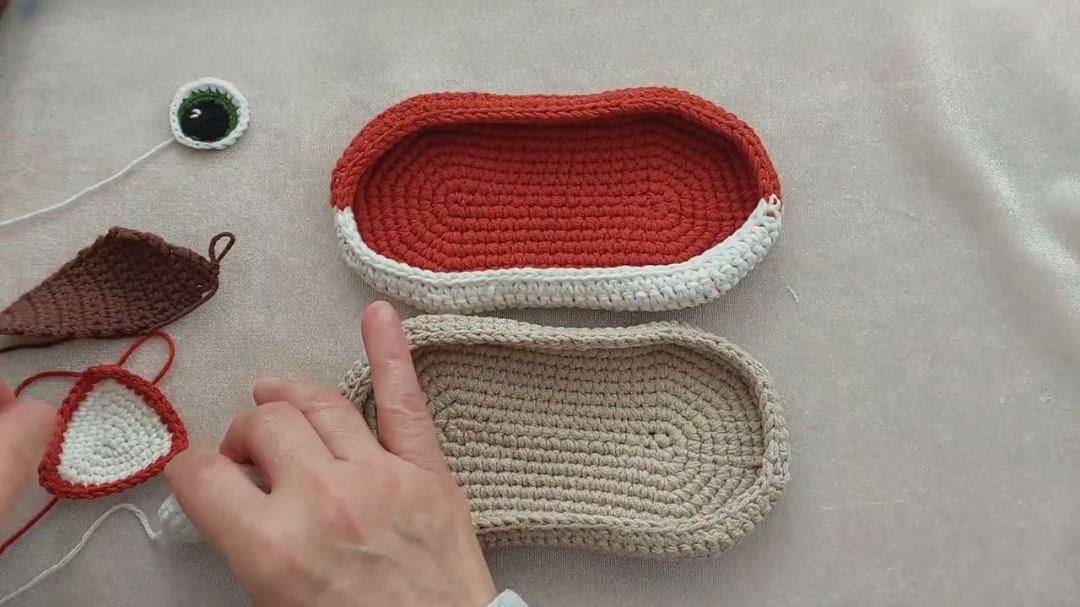
If you are making the fox, you will need to introduce a cream-colored yarn to create the “chest” and “face” area.
-
For the Fox: At stitch 47, switch to your cream yarn. You must “walk” the orange thread underneath your cream stitches (tapestry crochet technique) so it is ready to be picked up again on the other side.
-
For the Dog: You can choose to keep the dog a solid color or use a different shade for a spotted effect. The video shows how to keep the tension even so the color transitions look seamless and professional.
Phase 3: Crafting the Eyes and Nose
The eyes and nose are what give your Crochet Eyeglass Holder Amigurumi its sweet expression.
-
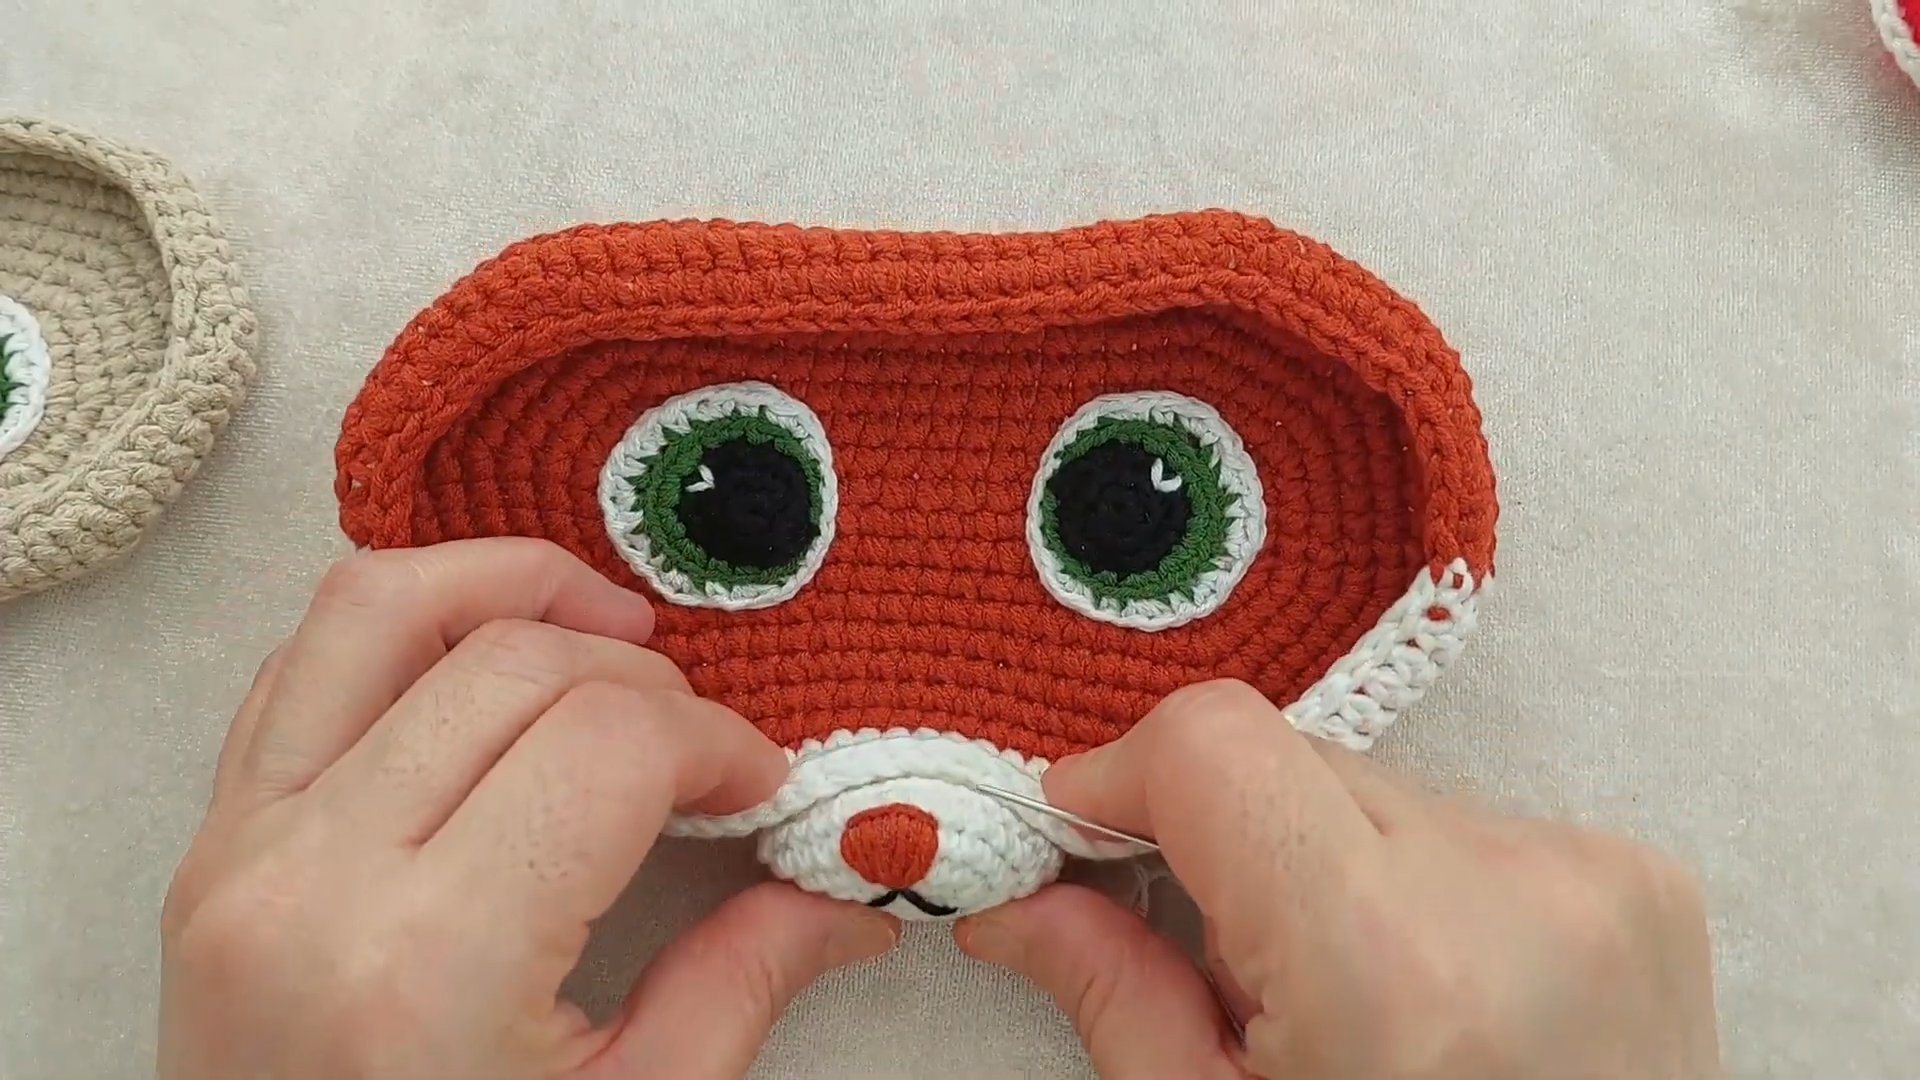
The Eyes: Using your 2.5 mm hook, start with a magic ring. Work 5 single crochets in black, then increase to 10. Switch to green for a thin iris layer, and finish with a white border. Don’t forget to add a tiny white “sparkle” stitch with your needle at the end!
-
The Nose: The nose is worked in an oval. After stuffing it lightly with fiberfill, you will use a tapestry needle and black yarn to embroider the “V” shape of the mouth and the nostrils.
Phase 4: The Ears (Fox vs. Dog)
This is where the two models truly diverge.
-
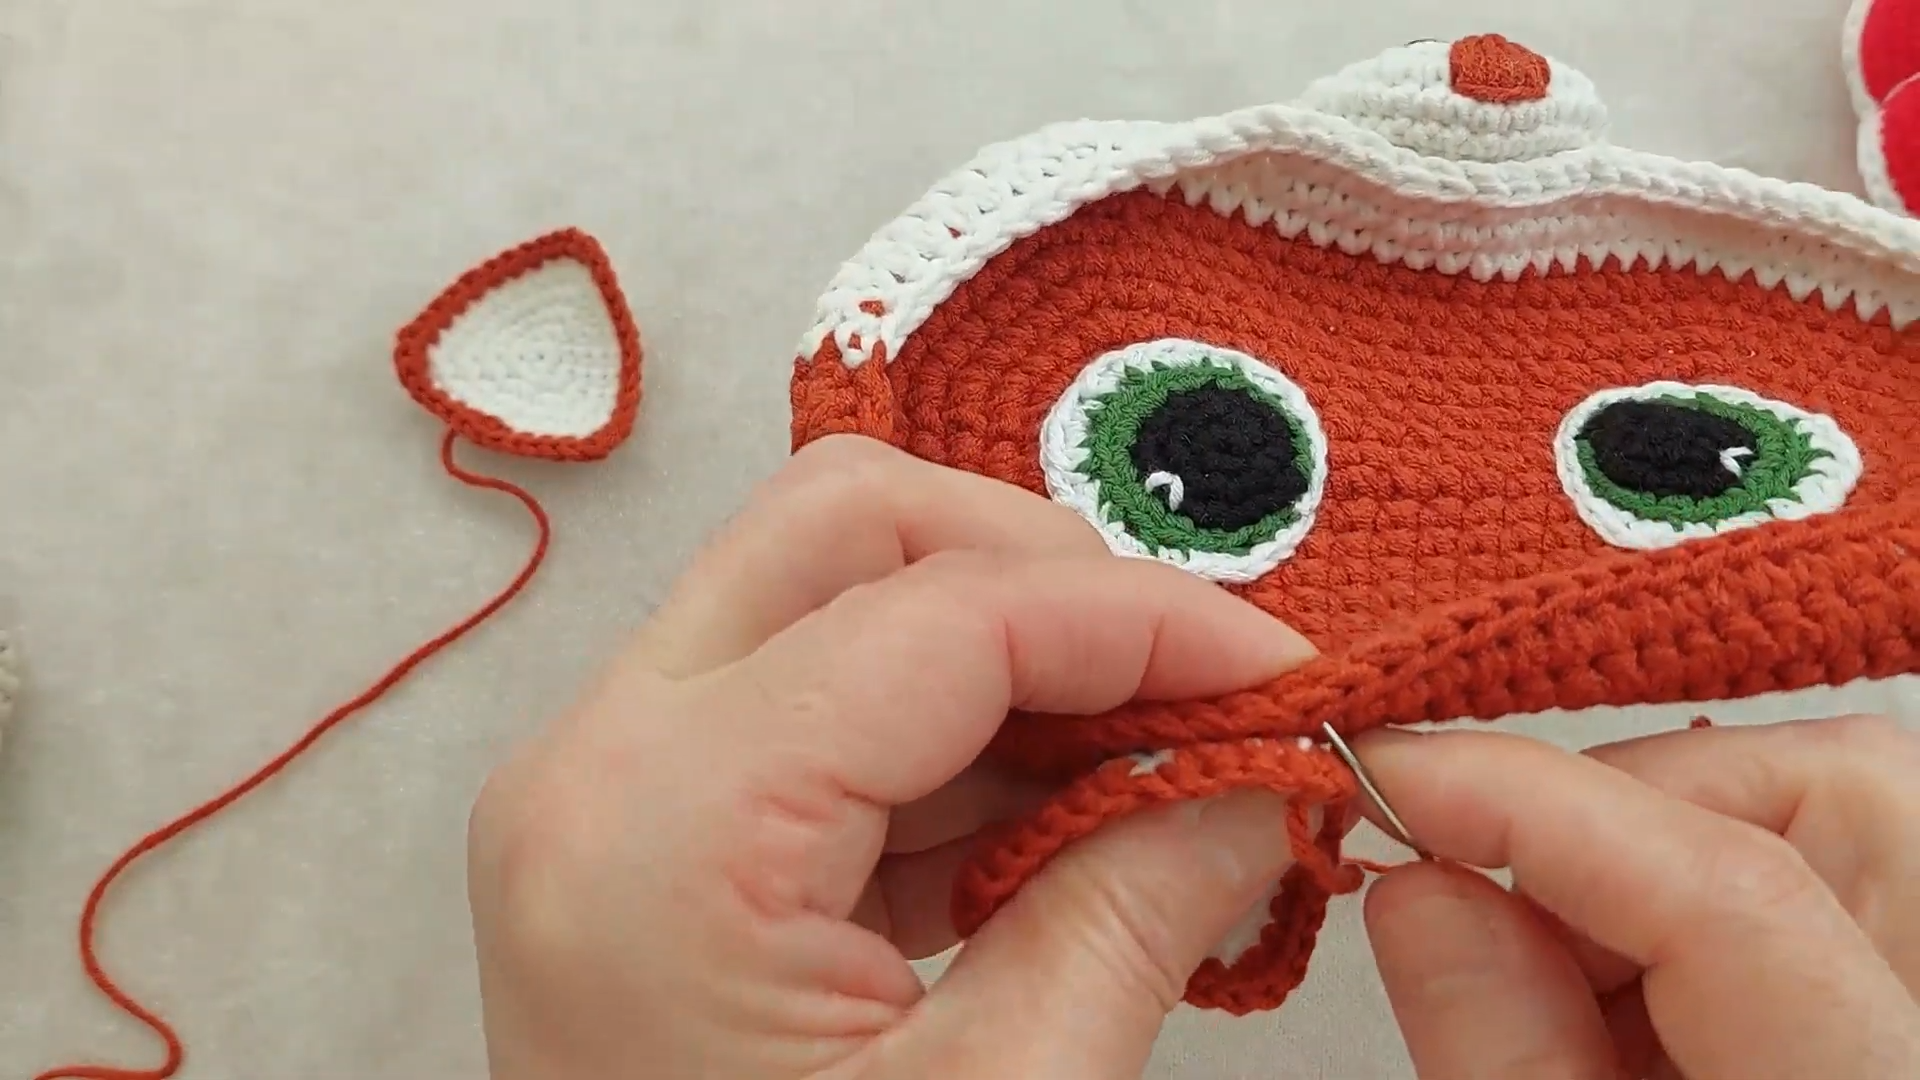
Fox Ears: These are pointy. You will work in rounds, starting with 5 stitches and increasing at the edges to create a triangle. Finish the edges with a row of orange to match the body.
-
Dog Ears: These are floppy and long. You will work in rows rather than rounds, creating a flat piece that hangs down the side of the holder.
[Image showing the difference between pointy fox ears and floppy dog ears in crochet]
Phase 5: Assembly and Finishing Touches
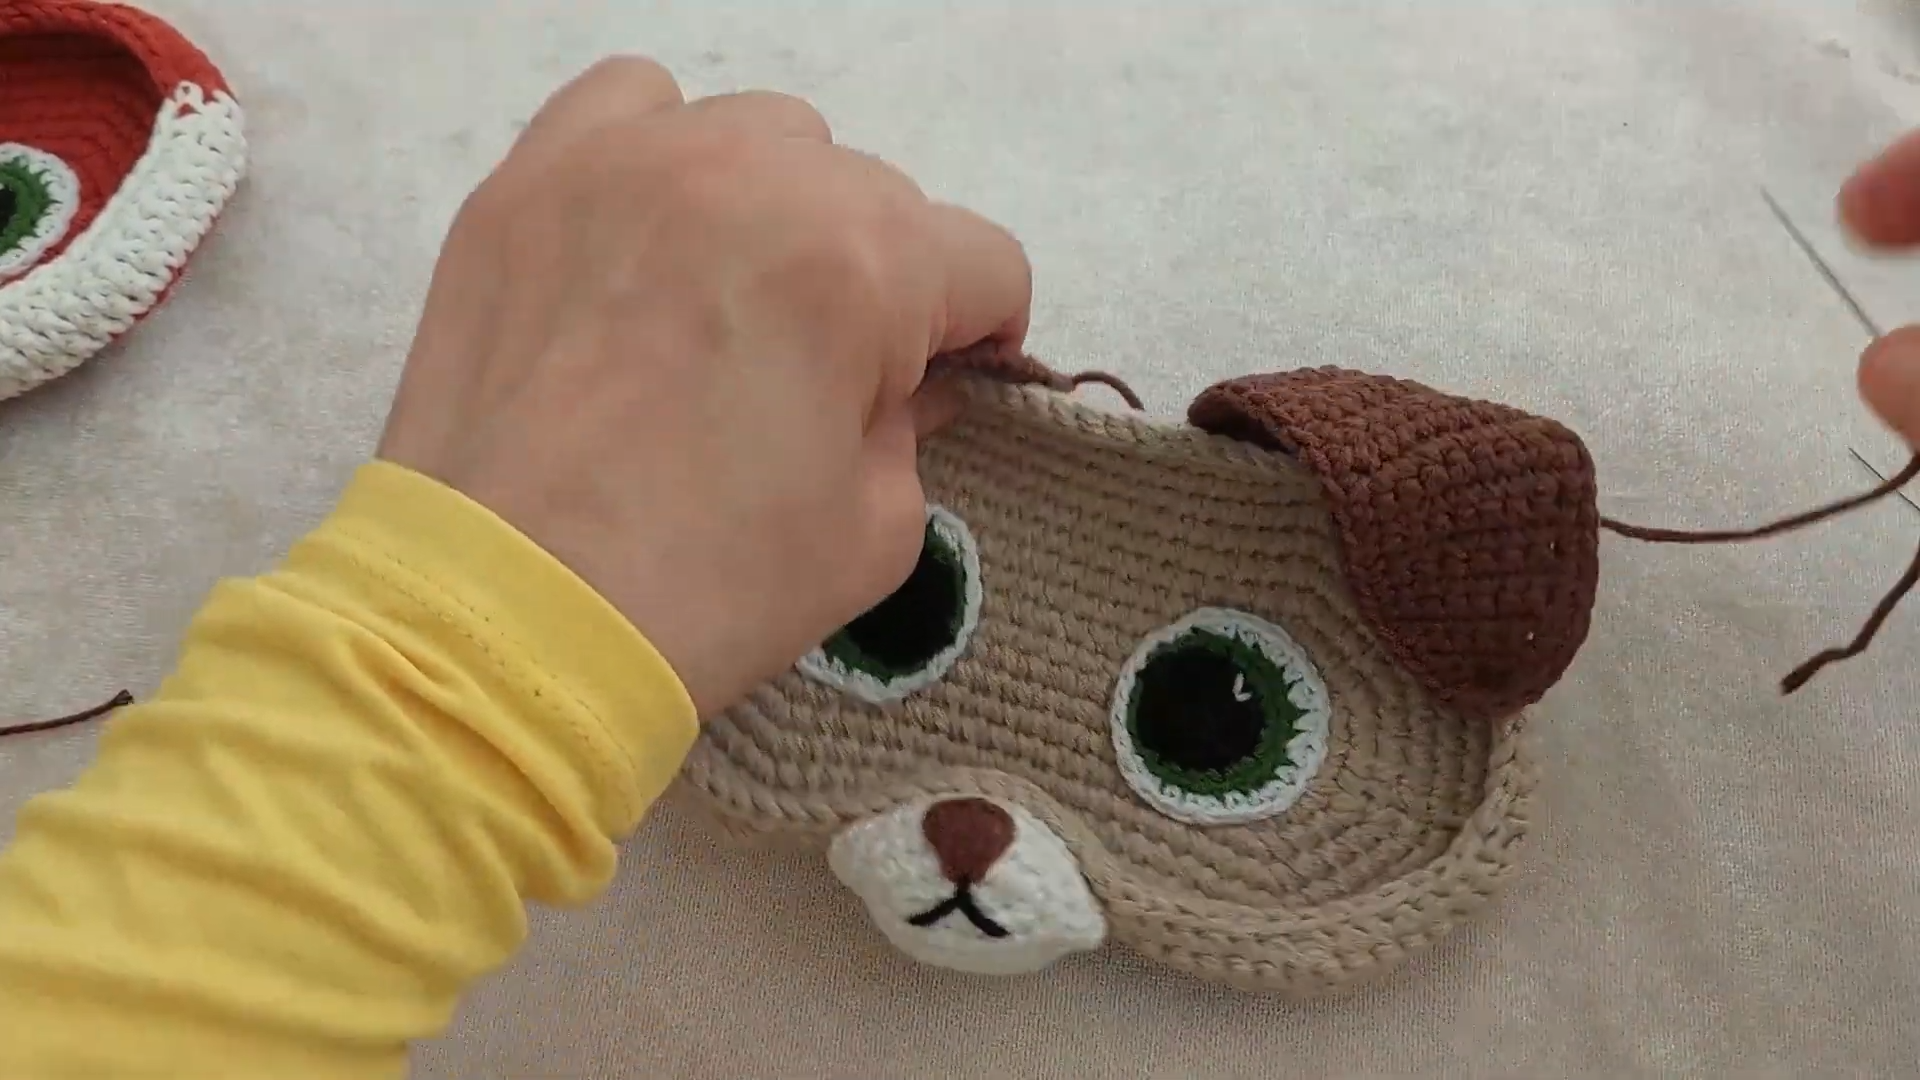
Now that all your pieces are ready, it is time to put them together. Position the nose in the center of the cream section. Sew the eyes just above the nose, slightly tilted for a “kawaii” look. Finally, attach the ears to the top. When you place your glasses on the holder, the bridge of the glasses should rest right on the animal’s nose.
Why You Will Love This Project
Creating a Crochet Eyeglass Holder Amigurumi is a rewarding experience because the results are immediate and useful. It is a fantastic gift idea for parents, grandparents, or even teachers who are always misplacing their readers. Because you are using the Alize Cotton Gold yarn, the finished product feels premium and holds its shape for years. Plus, you can customize the colors to match any room’s decor.
Furthermore, this project teaches you valuable skills like color carrying and working with different hook sizes for detail. You are not just making a case; you are creating a piece of art that serves a purpose. It is a great way to use up leftover yarn from larger projects while making something that brings a smile to your face every time you look at your desk.
Common Mistakes to Avoid
When working on your Crochet Eyeglass Holder Amigurumi, keep these tips in mind to avoid frustration:
-
Loose Tension: If your stitches are too loose, the stuffing will show through, and the holder might not be sturdy enough to support the weight of heavy frames.
-
Forgetting Stitch Markers: Since we work in continuous rounds for the base, it is very easy to lose your place. Always mark the first stitch of every round.
-
Tight Chains: If your starting chain is too tight, the base will curl upward instead of lying flat.
-
Twisting the Yarn: When “walking” the yarn during color changes, make sure you don’t twist the two strands too tightly, or the fabric will become distorted.
-
Incorrect Hook Size: Using a hook that is too large for the details (eyes/ears) will make them look bulky. Stick to the 2.5 mm hook for those parts.
Frequently Asked Questions (FAQs)
1. Can I use 100% cotton yarn for this project?
Yes, you certainly can! However, 100% cotton can be a bit stiff on the hands. A blend like the Alize Cotton Gold used in the video offers a bit more flexibility while still being very durable.
2. How do I make the holder heavier so it doesn’t tip over?
If you have very heavy glasses, you can place a flat, clean stone or a small bag of plastic pellets at the bottom of the base before you finish the crochet walls. This adds extra stability.
3. Is this pattern suitable for complete beginners?
If you know the basic stitches like single crochet, increase, and decrease, you can do this! The color switching might take a little practice, but the video tutorial makes it very clear.
4. How long does it take to finish one holder?
For an intermediate crocheter, one Crochet Eyeglass Holder Amigurumi can be completed in about 3 to 4 hours. It is a perfect one-day project!
5. Can I wash my eyeglass holder?
Yes, but I recommend hand washing. Since it contains fiberfill and delicate embroidery, a gentle soak in cool water with mild soap will keep it looking brand new without ruining the shape.
By following this guide, you have transformed simple yarn into a functional friend. Your Crochet Eyeglass Holder Amigurumi is now ready to guard your glasses! Happy crocheting, and don’t forget to share your finished fox and dog models with the community.