
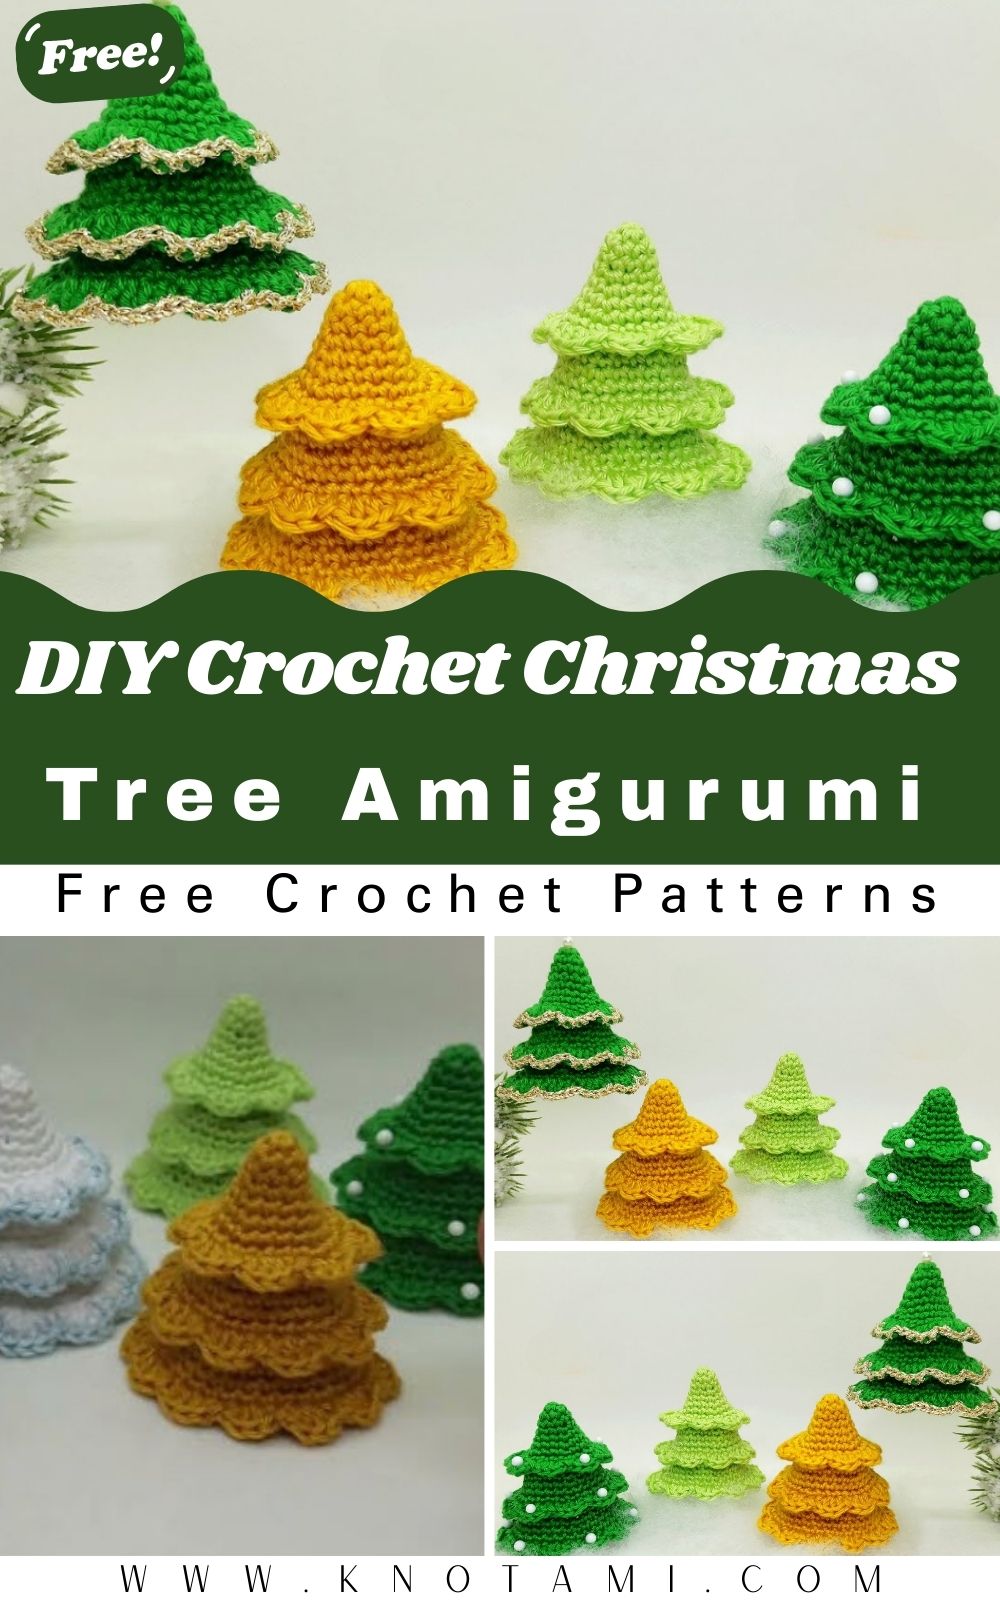
Welcome to the most wonderful time of the year for crafters! If you are looking for a quick and charming project to brighten up your home, you have come to the right place. Today, I am going to show you how to master a beautiful Crochet Christmas Tree Amigurumi Pattern. This project is specifically designed for those who love holiday crafting but want something that is both simple and visually stunning. Because this tree is worked in sections, it has a lovely layered look that mimics a real evergreen, making it a perfect addition to your seasonal display.
In addition to being a great decoration, this Crochet Christmas Tree Amigurumi Pattern is an excellent way to use up your scrap cotton yarn. We often find ourselves with small amounts of green or white yarn left over from bigger projects, and this is the ideal way to turn those scraps into treasure. Consequently, you will find that making these little trees becomes quite addictive! You can make a whole forest of them in different shades of green or even modern whites and blues. Let us dive into the details and get your crochet hooks ready for some festive magic.
As you can see in the embedded video above, the process is very visual and straightforward. Watching the tutorial alongside reading these instructions will help you visualize exactly where to place your hook, especially when we transition between the front and back loops. Although the video provides a great real-time guide, the written steps below will offer you the specific stitch counts and technical details you need to ensure your tree turns out perfectly symmetrical. Therefore, I recommend keeping this page open while you work so you can cross-reference the rounds as you go.
Skill Level: Beginner Friendly
The difficulty level for this Crochet Christmas Tree Amigurumi Pattern is definitely “Easy.” If you know how to make a magic ring, work a single crochet, and perform basic increases, you are already halfway there! The most “complex” part involves working in the front loops and back loops to create the tiered effect, but I will explain that clearly. Thus, even if this is your first amigurumi project, you should feel confident. It is a fantastic way to practice your tension and learn how to create three-dimensional shapes without the stress of a massive, long-term project.
Tutor’s Suggestions
To get the best result for your Crochet Christmas Tree Amigurumi Pattern, I suggest using a high-quality cotton yarn. Cotton provides excellent stitch definition, which is vital for seeing the “waves” on the branches. Also, try to maintain a consistently tight tension. If your stitches are too loose, the stuffing might show through, and the tree might lose its sturdy conical shape. Another tip is to use a stitch marker religiously. Since we are working in spiral rounds for certain sections, it is very easy to lose your place. Finally, do not be afraid to experiment with colors! While traditional green is lovely, a snowy white tree with silver metallic edges looks incredibly elegant on a mantlepiece.
Materials and Step by Step Guide
Materials Needed
Before you start your Crochet Christmas Tree Amigurumi Pattern, gather these supplies:
-
Cotton Yarn: High-quality green or white (e.g., Schachenmayr Catania).
-
Metallic Yarn: For the decorative “wave” edges.
-
Crochet Hooks: 2.5 mm for the main body and 3.0 mm for the decorative border.
-
Stuffing: Polyester fiberfill to give your tree shape.
-
Tools: Scissors, a sewing needle, and a stitch marker.
Step by Step Instructions
1: The Top of the Tree
-
Round 1: Start with a magic ring. Crochet 6 single crochet (sc) into the ring. Pull the tail to close.
-
Round 2: (1 sc in the next stitch, 2 sc in the following stitch) repeat 3 times. You will have 9 stitches.
-
Round 3: Simply crochet 1 sc in every stitch around (9 stitches).
-
Round 4: (1 sc in the next 2 stitches, 2 sc in the following) repeat around. Total: 12 stitches.
-
Round 5: (1 sc in the next 3 stitches, 2 sc in the following) repeat around. Total: 15 stitches.
-
Round 6: (1 sc in the next 4 stitches, 2 sc in the following) repeat around. Total: 18 stitches.
-
Round 7: (1 sc in the next 5 stitches, 2 sc in the following) repeat around. Total: 21 stitches.
-
Round 8: Now, work only in the front loops. (1 sc in 3 stitches, 2 sc in 1, 1 sc in 6, 2 sc in 1, 1 sc in 6, 2 sc in 1, 1 sc in 3). Total: 24 stitches.
-
The Waves: Slip stitch (sl st) in the next stitch. In the next stitch, work (1 half double crochet (hdc), 1 double crochet (dc)). In the next stitch, work (1 dc, 1 hdc). Sl st in the next stitch. Repeat this wave pattern around.
2: The Middle Tier
-
Round 1: Locate the back loops from Round 7 of the first section. Attach your yarn and crochet 21 sc around.
-
Round 2: (1 sc in next 6 stitches, 2 sc in the next) repeat around. Total: 24 stitches.
-
Round 3: 1 sc in every stitch.
-
Round 4: (1 sc in next 7 stitches, 2 sc in the next) repeat around. Total: 27 stitches.
-
Round 5: 1 sc in every stitch.
-
Round 6: Front loops only. Increase your count to 30 stitches following a similar increase pattern as before.
-
Round 7: Create the waves using the (hdc, dc) and (dc, hdc) sequence used in Section One.
3: The Bottom Tier
-
Round 1: Attach yarn to the back loops of the previous section. Crochet 27 sc around.
-
Round 2: (1 sc in 8 stitches, 2 sc in next) repeat around. Total: 30 stitches.
-
Round 3: 1 sc in every stitch.
-
Round 4: (1 sc in 9 stitches, 2 sc in next) repeat around. Total: 33 stitches.
-
Round 5: 1 sc in every stitch.
-
Round 6: Front loops only. Increase to 36 stitches.
-
Round 7: Complete the final set of decorative waves. Fasten off and weave in your ends.
Communication with You
I want you to feel empowered as you create this project. Remember, you are the artist here! If you find that your stitches are a bit tight, just relax your hands and take a breath. You are doing a great job, and the fact that you are making something handmade for the holidays is wonderful. You should be proud of every stitch you make. If you get confused about the front loop versus back loop, just look at the top of your stitch; the loop closest to you is the front, and the one further away is the back. You have got this!
Where to Use Your Tree
There are so many ways you can use this Crochet Christmas Tree Amigurumi Pattern! Firstly, they make incredible ornaments for your actual Christmas tree. You simply need to add a small loop of golden thread to the top. Secondly, you can use them as table place card holders for your holiday dinner. Just attach a small name tag to the peak. Furthermore, they are perfect for creating a “winter wonderland” scene on your windowsill or mantle. If you make them in various sizes by changing the yarn weight, you can create a beautiful tiered display. Lastly, they make heartwarming gifts for teachers, coworkers, or neighbors who appreciate handmade charms.
Tips and Tricks
-
Stitch Definition: Use a smaller hook than the yarn label suggests. This ensures your Crochet Christmas Tree Amigurumi Pattern stays firm and upright.
-
Metallic Yarn Secret: When using metallic yarn for the edges, use a slightly larger hook (3.0 mm) to keep the waves flowing and prevent them from curling too tightly.
-
Invisible Fasten Off: When you finish the waves, use a sewing needle to mimic the shape of a stitch. This makes the join almost invisible to the naked eye.
-
Color Transitions: If you want a “snow-capped” look, change to white yarn only for the wave rounds. This creates a stunning contrast against a green tree body.
-
Weighting the Base: If you want your tree to stand very tall and steady, you can insert a small circle of plastic or cardboard at the bottom before closing it up.
Common Mistakes to Avoid
One common mistake is skipping the “front loop only” instruction. If you work through both loops on the increase rounds, you will not have the leftover back loops needed to start the next section of the tree. Consequently, your tree will not have those distinctive layers. Another error is over-stuffing the top section. Because the top is quite narrow, too much stuffing can distort the point of the tree. Additionally, make sure you do not lose count during the wave rounds. If you miss a stitch, the waves will not line up correctly, and the symmetry will be off. Finally, ensure you are weaving in your ends securely on the inside so they do not poke out later.
FAQs
Q1: Can I make this tree bigger using the same pattern?
Yes, you certainly can! To make a larger version of this Crochet Christmas Tree Amigurumi Pattern, you simply need to use a thicker yarn, like bulky wool, and a larger hook. The proportions will remain the same, but the overall size will increase significantly.
Q2: What is the best stuffing for amigurumi?
I recommend using high-quality polyester fiberfill. It is lightweight, washable, and holds its shape well over time. Make sure to pull the fiberfill apart into small pieces before stuffing to avoid lumps inside your tree.
Q3: How do I clean my crochet Christmas tree?
Since this pattern uses cotton yarn, you can gently hand wash it in cool water with a mild detergent. Afterward, reshape it while damp and let it air dry completely. Do not put it in a dryer, as it might lose its shape.
Q4: My waves are curling upwards, how can I fix this?
If your waves are curling, it usually means your tension is too tight or your hook is too small. Switch to a 3.0 mm hook for the wave round. Additionally, you can “block” the waves by lightly steaming them with an iron (do not touch the yarn with the iron!) to flatten them out.
Q5: Is metallic yarn hard to work with?
Metallic yarn can be a bit slippery or prone to splitting. However, since we only use it for the decorative edges in this Crochet Christmas Tree Amigurumi Pattern, it is very manageable. Just take your time and ensure you catch all the strands of the yarn in each stitch.
Conclusion
In conclusion, crafting this Crochet Christmas Tree Amigurumi Pattern is a joyful way to spend an afternoon. Not only do you end up with a cute decoration, but you also gain the satisfaction of creating something with your own two hands. Because the design is modular, you can customize it endlessly with different colors and textures. Moreover, the transition between sections keeps the project interesting and prevents it from becoming repetitive. I hope you enjoy every moment of your holiday crafting. Please share your finished trees with the community, and do not forget to subscribe for more festive patterns! Happy crocheting, and may your holidays be filled with handmade warmth and happiness. Through your dedication and creativity, you have turned a simple ball of yarn into a holiday heirloom. Well done!