
Welcome to the wonderful world of handmade crafts where you can bring adorable sea creatures to life with just a hook and some yarn. If you have been looking for a fun project, then learning how to make a crochet crab amigurumi is the perfect way to spend your afternoon. This project is specifically designed to be approachable and rewarding. We will guide you through every single step to ensure your finished toy looks professional and charming.
In addition to being a great hobby, crafting a crochet crab amigurumi allows you to create personalized gifts for your friends and family. Many crafters enjoy making a whole family of these crabs in various colors. Therefore, grab your favorite red yarn and a 2mm hook, because we are about to dive deep into the details of this delightful underwater friend. By the end of this guide, you will have a sturdy, squishy, and absolutely cute crab sitting on your desk.
After watching the embedded video above, you should have a clear visual understanding of how the stitches come together to form the body. However, sometimes it is helpful to have the written instructions right in front of you so that you can go at your own pace. Therefore, we have broken down the entire process into detailed sections below. While the video shows the fluid motion of the hook, the text will help you keep track of your stitch counts. Moreover, you can refer back to the video at any time if you find a particular part of the claw or the legs a bit tricky. Let us continue with the written guide to perfect your crochet crab amigurumi.
Skill Level: Beginner Friendly
The difficulty level for this crochet crab amigurumi is officially rated as easy or beginner. Even though it involves multiple parts like legs and claws, the stitches remain very basic. Specifically, you only need to know how to make a magic ring, a single crochet, and a decrease. Furthermore, the small size of the project means you can finish it quickly without losing motivation. Thus, it is a fantastic “confidence booster” project for anyone who has just learned the basics of crochet.
Tutor’s Suggestions
To get the best results for your crochet crab amigurumi, I highly suggest using a stitch marker. Because we are working in continuous rounds, it is very easy to lose track of where a new row begins. Additionally, make sure you pull your stitches fairly tight. This is important because you do not want the fiberfill stuffing to peek through the holes of your fabric. If you find your stitches are too loose, try using a slightly smaller hook. Lastly, always leave a long tail of yarn when you finish a piece. This makes the sewing process much easier when you are ready to attach the eyes and legs to the body.
Materials Needed and Step-by-Step Guide
Materials You Will Need
-
Red Yarn: Cotton or acrylic yarn works best for a crisp look.
-
White Yarn: Small amount for the base of the eyes.
-
Crochet Hook: A 2mm hook is recommended for tight stitches.
-
Fiberfill: To make your crab soft and squishy.
-
Wire: For the legs to make them poseable.
-
Safety Pins: To hold parts in place before sewing.
-
Yarn Needle: To weave in ends and join pieces.
Step 1: The Main Body
To start your crochet crab amigurumi, begin with a magic center and work six single crochet stitches into it. For the second row, you must make two single crochets in every stitch, giving you a total of 12. In the third row, follow the pattern of one single crochet then an increase to reach 18 stitches. Consequently, you will continue increasing in row four until you have 24 stitches. Rows seven through nine are simple because you just work even rounds of 30 stitches to give the crab its height. Finally, you will begin decreasing in row 10 and 14 to close the body. Remember to stuff the body firmly with fiberfill before you close the final six stitches.
Step 2: Crafting the Claws
The claws are the most iconic part of the crochet crab amigurumi. You will start by making a small circle of eight single crochets. Work several rows of even stitches to create the “arm” part of the claw. For the pincers, you will use chains and slip stitches to create that distinct “V” shape. It is vital to make two of these so your crab looks symmetrical. Even though the claws are small, they require careful stuffing so they hold their shape properly.
Step 3: The Tiny Legs
For the legs, you will need to make five or six small tubes. Each leg starts with five single crochets in a magic ring. You will then work from row two to row nine with just simple single crochets. Because these legs are quite thin, using a wire inside is a great idea. This allows you to bend the legs so the crab can “stand” on its own. Moreover, it gives your crochet crab amigurumi a more realistic and playful appearance.
Step 4: The Expressive Eyes
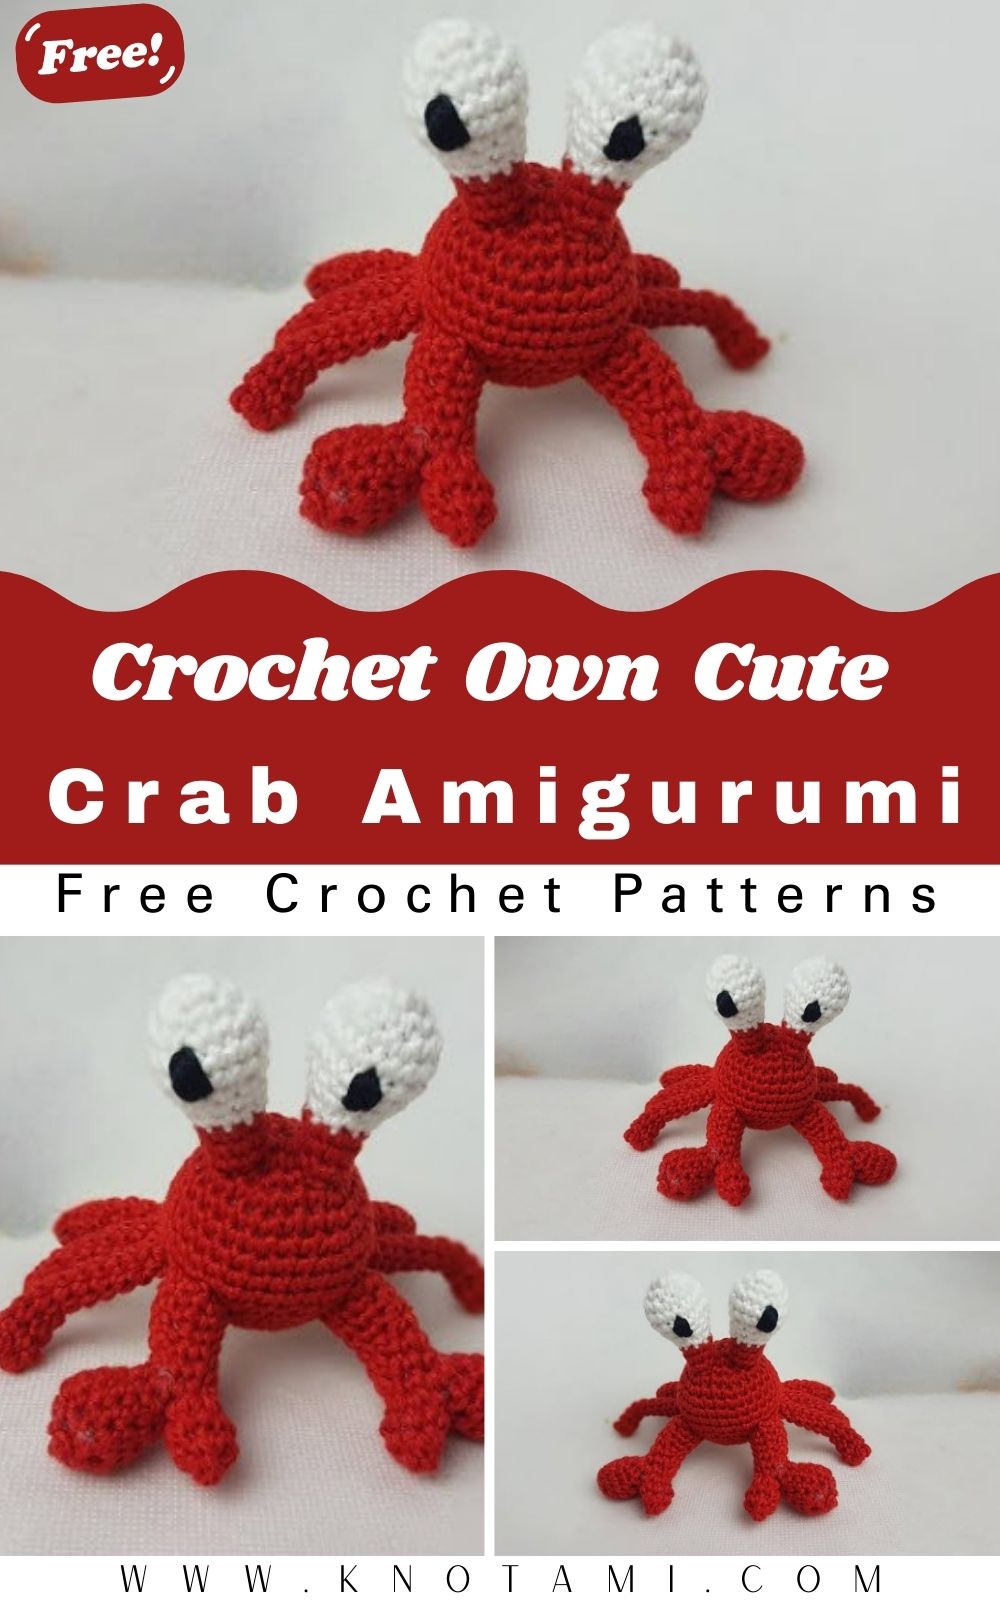
The eyes are made in two colors. Start with white yarn to create the large eyeball shape, following a similar increase pattern as the body but on a smaller scale. After you reach 18 stitches and work a few rows, you will switch to red yarn for the “stalks” of the eyes. This color change is a key detail in making your crochet crab amigurumi look like the one in the tutorial. Once finished, stuff them lightly and prepare to sew them to the top of the body.
Step 5: Assembly
This is where your crochet crab amigurumi truly comes to life. First, use your safety pins to position the eyes on the top of the body. Once you are happy with the look, sew them down securely. Next, attach the claws to the front sides and space the legs evenly along the bottom. Because you left long yarn tails earlier, the sewing should be straightforward. Finally, hide all your loose ends inside the body of the crab.
Where Can You Use Your Crab?
Once you have finished your crochet crab amigurumi, there are so many ways to use it. Firstly, it makes an adorable keychain if you attach a metal ring to the top. Secondly, it is a perfect addition to a nursery or a beach themed room as a decorative plush. Furthermore, these crabs are excellent for craft fairs because they are small and quick to make. You can also use them as educational toys for children to learn about sea life. Because they are handmade, they carry a special value that store bought toys simply cannot match.
Tips and Tricks
One of the best tips for a perfect crochet crab amigurumi is to use “invisible decreases.” Instead of a standard decrease, you only use the front loops of the stitches. This makes the finished surface much smoother. Additionally, if you want your crab to be extra colorful, try using variegated yarn for a “tropical” look. Another trick is to use a metal pet brush to slightly fuzz up the yarn if you want a softer texture. Moreover, always ensure your stuffing is distributed evenly so there are no lumps in the body.
Common Mistakes to Avoid
A very common mistake when making a crochet crab amigurumi is stuffing the piece too early. If you stuff while you are still increasing, the fiberfill can get caught in your stitches. Therefore, wait until you are almost finished with the piece. Another error is not counting stitches. If you miss a single increase, the crab might look lopsided. Furthermore, avoid using safety eyes for children under three years old; instead, embroider the eyes with black yarn for safety. Lastly, do not forget to use the 2mm hook as recommended, as a larger hook will make the stitches too loose.
Frequently Asked Questions (FAQs)
Q1: What is the best yarn for this crochet crab amigurumi?
A: Most crafters prefer 100 percent cotton yarn because it provides great stitch definition. However, acrylic yarn is also a good choice if you want something softer and more affordable.
Q2: How long does it take to finish this project?
A: Since this is an easy pattern, most people can finish the entire crab in about two to three hours. Of course, this depends on your personal speed and how much experience you have.
Q3: Can I make the crab bigger?
A: Yes, you can. To make a larger crochet crab amigurumi, simply use a thicker yarn and a larger hook. The pattern remains the same, but the final size will increase significantly.
Q4: Do I really need wire for the legs?
A: While wire is not strictly necessary, it is highly recommended if you want the legs to be poseable. If the crab is for a small child, you should skip the wire for safety reasons.
Q5: My crab’s claws are falling off, what should I do?
A: This usually happens if the sewing is too loose. Make sure you use a sturdy yarn needle and go through both the claw and the body multiple times to ensure a tight connection.
Final Thoughts on Your Craft
In conclusion, making a crochet crab amigurumi is a delightful journey into the world of amigurumi. We have covered everything from the basic body shape to the intricate claws and legs. Moreover, by following the tips provided, you can avoid common pitfalls and create a high quality handmade toy. Remember that practice makes perfect, so do not be discouraged if your first leg looks a bit different from the second. Ultimately, the charm of handmade crafts lies in their unique character. Consequently, your new crab friend is sure to bring a smile to anyone who sees it. Happy crocheting, and enjoy your new underwater companion!