
There’s nothing more satisfying than watching a ball of yarn become a tiny work of art, and today I’m sharing my Crochet Princess Baby Agojie Amigurumi Pattern to guide you there. Each stitch builds quietly on the last, bringing a sweet character to life while giving you a peaceful, creative pause in your day. Whether you’re making it for yourself or someone special, this project blends the calm of crochet with the joy of creating something heartfelt and handmade.
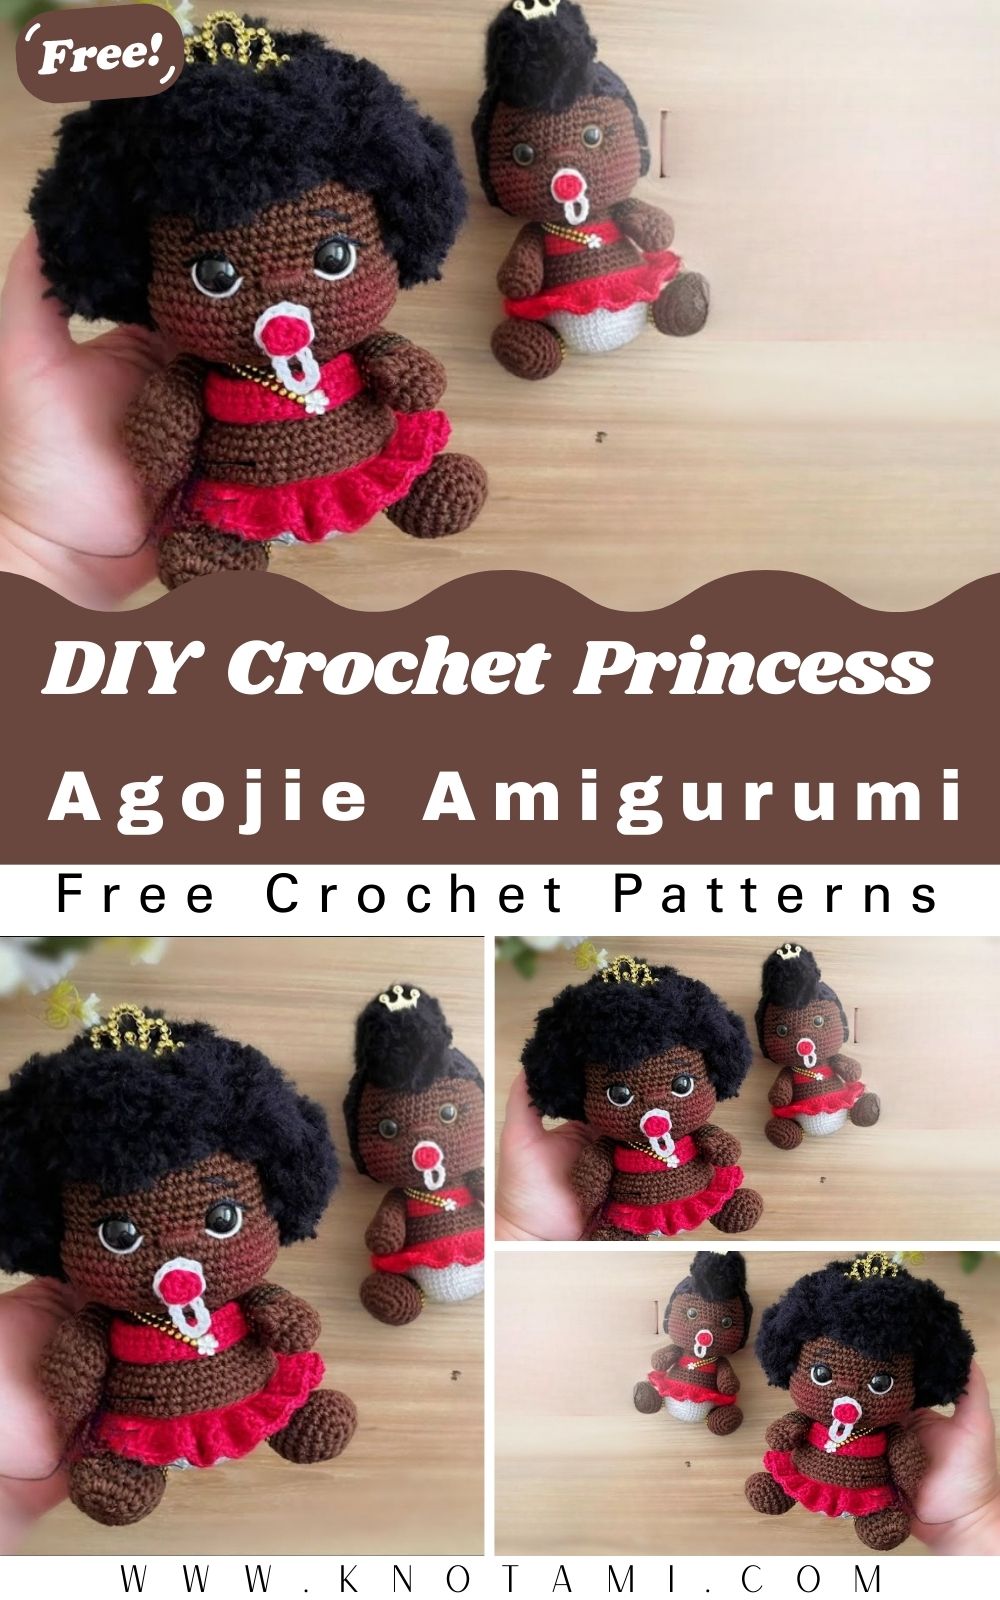
Meet Baby Agojie, a petite warrior princess with soft, friendly features, a dainty crown, and a twirl-worthy dress. She strikes that lovely balance between adorable and brave, making her a standout gift, a charming nursery accent, or a treasured piece for your collection. Inspired by grace and courage, she celebrates creativity, culture, and the stories we weave into our craft.
This pattern is designed for every skill level. New crocheters will find clear, forgiving steps that cover essentials like working in the round, shaping, and joining pieces. If you’re more advanced, have fun adding your own flair—embroidered details, textured hair, color play, or tiny accessories. She’s not just another doll; she’s a canvas for your imagination.
Materials & Tools
Before you begin, let’s gather everything you’ll need to bring this sweet Princess Baby Agojie to life.
Supplies List
-
Yarn Type: Cotton or soft acrylic yarn Category 3 – DK weight
-
Colors:
-
Skin tone: Light brown, beige, or your choice of complexion.
-
Dress: Royal purple, pink, white, or pastel.
-
Hair: Black, dark brown, or golden.
-
Crown/Accessories: Gold or yellow.
-
Detail accents: Small bits of white, blush, or red yarn.
-
-
Crochet Hook: 2.5 mm or 3.0 mm (depending on yarn thickness).
-
Stuffing: Polyester fiberfill for a soft, full shape.
-
Safety Eyes: 6 mm or 8 mm (optional, can also embroider).
-
Tapestry Needle: For joining parts and weaving ends.
-
Scissors: Small and sharp for clean cuts.
-
Stitch Markers: To mark round beginnings.
Yarn & Color Advice
Choose high-quality yarn with a smooth texture to make your stitches defined and consistent. Cotton yarn is best for crisp detail, while acrylic is softer and slightly more flexible, perfect for cuddly dolls. Combine contrasting colors like soft pink with gold or deep purple with cream to make your princess stand out.
Step-by-Step Crochet Instructions
Now comes the fun part, let’s crochet your own Princess Baby Agojie Amigurumi step by step!
Step 1: Making the Head
-
Start with a Magic Ring.
-
Work 6 single crochets (sc) into the ring. (6 sts)
-
-
Round 2: Increase in each stitch (12 sts).
-
Round 3: 1 sc, inc around (18 sts).
-
Round 4: 2 sc, inc around (24 sts).
-
Round 5–8: Work even (24 sts).
-
Round 9: 2 sc, dec around (18 sts).
-
Round 10: 1 sc, dec around (12 sts).
-
Add safety eyes between rounds 6–7 (6 stitches apart).
-
Round 11: Dec around (6 sts).
-
Fasten off, stuff firmly, and close neatly.
Pro Tip: Stuff the head gradually, shaping it with your fingers to maintain smooth curves. Avoid overfilling, as this can stretch stitches.
Step 2: Crochet the Hair
-
Using dark brown or black yarn, crochet a circle that matches the head’s top diameter.
-
Attach strands of yarn individually by looping them through stitches for a realistic hair effect.
-
Style as desire, try short curls, braids, or a top bun for royal flair.
Expert Suggestion: Use a metal comb or yarn brush to separate strands for a fuller hairstyle. Lightly trim the ends for a neat look.
Step 3: Creating the Neck & Upper Body
-
Join the skin-tone yarn to the base of the head.
-
Round 1: 12 sc around.
-
Round 2: 1 sc, inc (18 sts).
-
Switch to dress color yarn.
-
Round 3–5: Work even (18 sts).
-
Stuff lightly to give structure to the neck and chest.
Tip: Keep your stitches tight. Thisprevents visible gaps when stuffing the body later.
Step 4: Building the Main Body
-
Continue from the upper body using the same yarn color.
-
Round 6: 2 sc, inc around (24 sts).
-
Rounds 7–10: Work even.
-
Round 11: 2 sc, dec around (18 sts).
-
Round 12: 1 sc, dec around (12 sts).
-
Stuff firmly before closing.
If you want your doll to sit upright, flatten the bottom slightly before finishing off.
Step 5: Making the Legs
Make 2 Legs (Skin tone):
-
Magic ring, 6 sc.
-
Round 2: 1 sc, inc around (9 sts).
-
Round 3–6: Work even (9 sts).
-
Stuff lightly.
-
Flatten the ends and sew to the body.
Optional: Add small golden or black “shoes” by switching colors after Round 3.
Step 6: Making the Arms
Make 2 Arms (Skin tone):
-
Magic ring, 6 sc.
-
Round 2–4: Work even (6 sts).
-
Stuff lightly and close.
-
Sew onto each side of the body below the neckline.
Decoration Idea: Wrap a fine gold or white yarn strand around the wrist area for an elegant bracelet effect.
Step 7: Crocheting the Princess Dress
Switch to your dress color yarn.
Dress Base:
-
Attach yarn to the body’s waistline.
-
Chain 2, double crochet (dc) around (24 sts).
-
Round 2: 1 dc, inc dc around for flare.
-
Round 3–5: Work evenly.
-
For a ruffle: sc, chain 3, sc repeat around the last round.
Belt or Waistband:
Use gold yarn to embroider or crochet a small belt between the dress and upper body for a regal touch.
Pro Tip: Use contrasting yarn for the belt, metallic gold or silver adds instant luxury
Step 8: Adding a Cape or Shoulder Scarf Optional
-
Chain 25 using matching or contrasting yarn.
-
Row 1: Sc across, ch 1, turn.
-
Row 2–3: Repeat to make a small capelet.
-
Attach at the back neckline with a few stitches.
Add tiny tassels or beads at the edges for flair!
Step 9: Making the Crown
-
Chain 25 and join into a ring.
-
Round 1: Sc around.
-
Round 2: Skip 1, dc 3 in next, skip 1, sl st repeat for crown points.
-
Fasten off, leaving a long tail for sewing.
-
Sew or glue the crown on top of the head.
For sparkle, you can stitch a small bead at the center of each point.
Step 10: Assembly & Positioning
-
Pin all body parts (head, arms, legs) before sewing to ensure balance.
-
Sew the head to the body using wa hip stitch.
-
Attach arms symmetrically under the shoulder line.
-
Add crown and accessories last.
-
Embroider facial features: a small smile, subtle eyebrows, or blush with yarn or pastel powder.
Professional Tip: Hide knots inside the body by pulling yarn through with your needle. Thiskeeps the outside perfectly smooth.
Customization Ideas
Crochet patterns are just the beginning. Let’s make your Princess Baby Agojie truly yours!
Color Inspiration
-
Classic Royal: Purple dress, gold crown, brown hair.
-
Winter Princess: White dress, silver crown, blue accessories.
-
Tropical Princess: Coral dress, golden hair, sun-kissed skin tone.
-
Fantasy Fairy: Rainbow yarn dress with sparkly thread.
Different Yarn Options
-
Cotton yarn: Clean stitches and structured look.
-
Velvet yarn: Soft, plush finish (ideal for gifts).
-
Metallic thread accents: Add shine to the crown or dress trim.
Accessory Ideas
-
Tiny crochet spear or staff for a warrior vibe.
-
Micro crochet flowers or a bow for softness.
-
Mini sandals, anklets, or a beaded necklace.
Themed Versions
-
Holiday Edition: Red and white outfit with a Santa-style cape.
-
Cultural Princess: Use African-inspired colors and bead details.
-
Mini Version: Use thinner yarn and a smaller hook for keychains.
Advanced Tips & Troubleshooting
Here are expert secrets to achieve a professional, seamless result:
-
Invisible Decrease: Use front loops only for cleaner shaping.
-
Even Stitch Tension: Keep a consistent grip; loose stitches can distort the doll’s shape.
-
Round Tracking: Use a stitch marker to mark the first stitch of each round.
-
Smooth Stuffing: Add fiberfill gradually with a small stick or chopstick.
-
Seamless Joins: Use ladder stitch to connect parts invisibly.
-
Avoid Yarn Splitting: Use a hook size that complements your yarn thickness.
-
Avoid Twists in Rounds: Always check your chain base before joining.
-
Color Changes: Carry the old yarn inside stitches to avoid visible knots.
-
Fixing Loose Parts: Re-stitch weak joins with matching yarn.
-
Finishing Touch: Lightly steam-block cotton yarn to smooth wrinkles.
Care Instructions
Keep your Princess Baby Agojie looking new with these simple care steps:
-
Hand Wash Gently: Use cold water and mild detergent.
-
Do Not Twist or Wring: Gently press water out with a towel.
-
Air Dry Flat: Reshape while damp to retain form.
-
Avoid Sunlight: Protect colors from fading.
-
Storage: Keep in a dust-free box or display cabinet.
Gifting Tip: Add a little “handmade with love” tag or care card; it makes your gift extra special.
Display & Gift Ideas
Your crochet Princess Baby Agojie deserves to be admired!
Home Décor
Display her on bookshelves, nursery tables, or your craft corner as a reminder of your handmade passion.
Handmade Gift
Perfect for birthdays, baby showers, or holidays, this meaningful keepsake shows thoughtfulness and skill.
Desk Companion
Let her brighten your workspace as your guardian of creativity.
Holiday Ornament
Add a hanging loop for festive displays or Christmas trees.
Collectible Set
Create multiple versions in different color palettes for a princess collection!
Benefits of Crocheting Baby Agojie
Crocheting isn’t just an art form; it’s a form of self-care, mindfulness, and creative expression.
Relaxation & Mindfulness
The repetitive rhythm of crochet reduces anxiety and promotes calm focus.
Creative Satisfaction
Designing your own doll gives you full artistic control overcolors toandccessories.
Emotional Fulfillment
Every finished project builds pride and confidence. Handmade creations carry emotional value that no store-bought toy can match.
Sustainable Gifting
Crocheted toys are eco-friendly alternatives to plastic, promoting slow, sustainable creation.
Emotional Connection
When gifted, a handmade doll becomes a symbol of love, effort, and memory, something deeply personal and treasured.
Photography & Social Media Tips
Want to show off your creation online? Here’s how to make it shine:
-
Natural Light: Shoot near a window during daytime for soft, bright photos.
-
Props: Include yarn skeins, crochet hooks, or flowers for aesthetic storytelling.
-
Backgrounds: Use plain white, pastel, or wooden surfaces for a cozy vibe.
-
Angles: Capture close-ups of facial features, crown details, and texture.
-
Editing: Slightly enhance brightness and contrast, and void filters that alter yarn colors.
-
Hashtags: Use CrochetPrincess, AmigurumiAr,t BabyAgojie, CrochetDolls, HandmadeMagic to boost reach.
Pinterest Tip: Post step-by-step progress photos; they attract crochet lovers searching for tutorials and patterns.
Conclusion
The DIY Crochet Princess Baby Agojie Amigurumi Pattern is more than just a crochet project; it’s a heartfelt journey from yarn to art. Each loop and stitch shapes not only a beautiful doll but also a sense of joy, mindfulness, and accomplishment. Watching this tiny royal come to life in your hands is an experience every crocheter deserves to enjoy.
Whether you’re a beginner looking for a magical project or an experienced maker adding to your handmade collection, Baby Agojie brings elegance, creativity, and meaning to every moment spent crafting. So grab your favorite yarn, settle into your cozy corner, and let your hook weave magic one royal stitch at a time.