
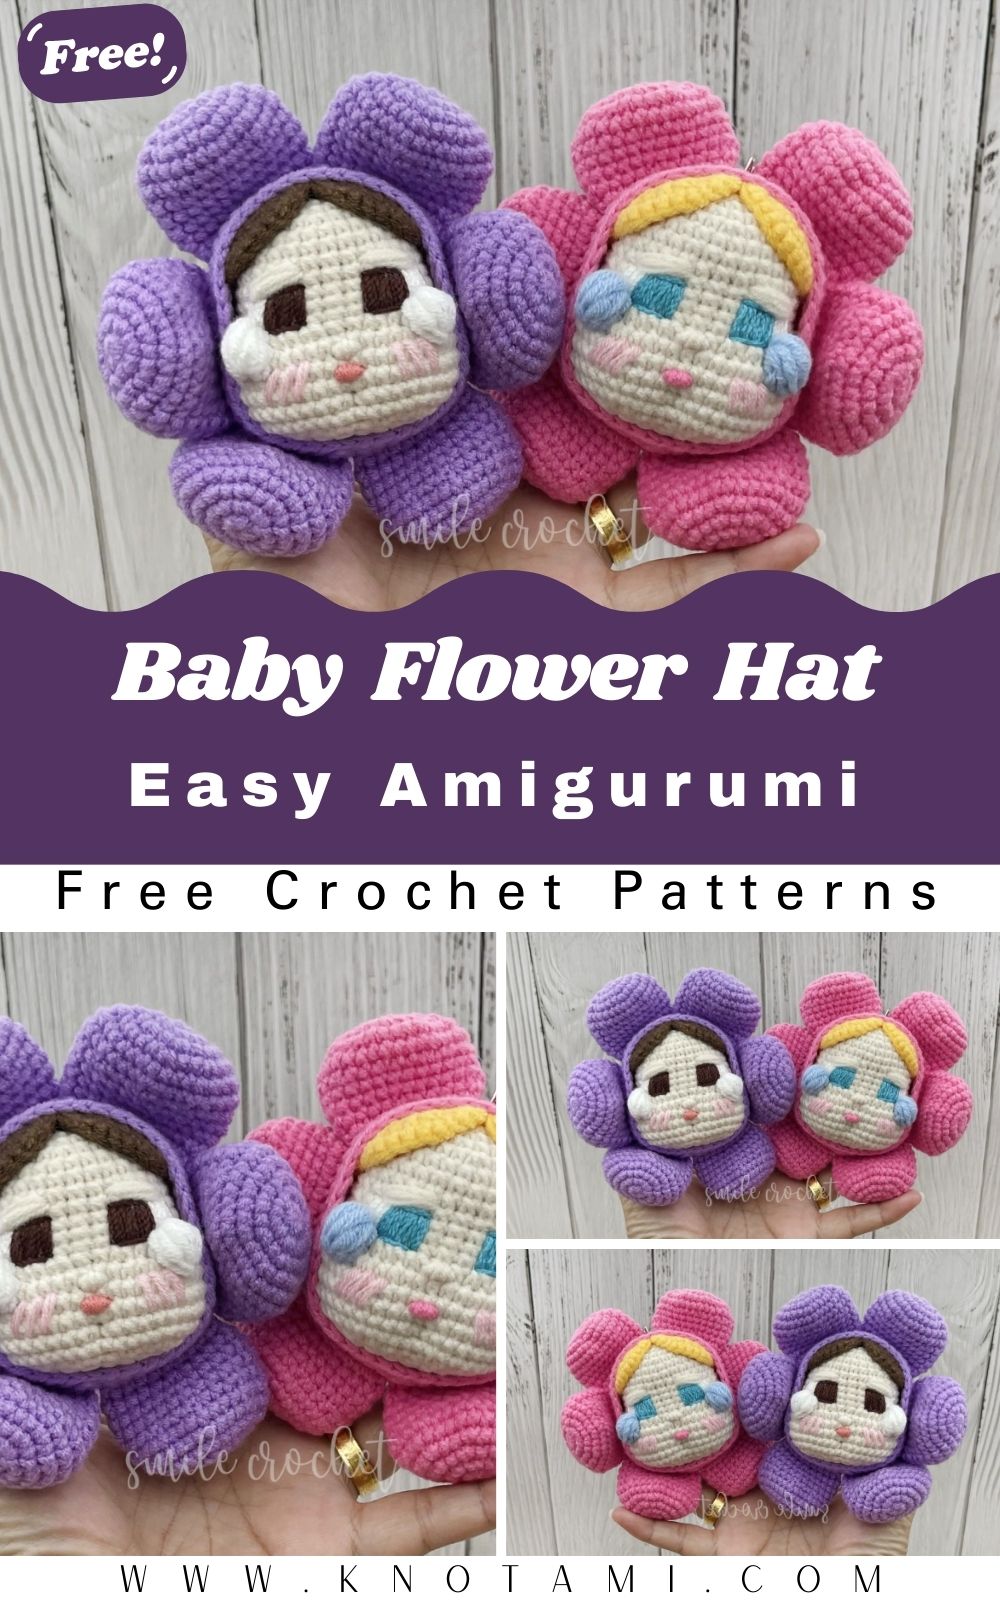
At first glance, this tiny bloom is pure joy, even with its endearing little pout. The design wraps a baby’s cheeks in plush petals and features a gently droopy expression that gives the hat tons of character. It’s whimsical, expressive, and irresistibly cute for anyone who loves crochet projects with personality.
What makes this pattern shine is the balance of humor and heart. Those cheerful petals paired with a slightly sulky face are impossible to resist. It’s a wonderful pick for newborn photos, a sweet accent for the nursery, or a thoughtful handmade gift for parents who adore unique keepsakes.
Beginners can treat it as a fun skill-building project, while more experienced crocheters will enjoy playing with soft shaping and expressive facial embroidery to nail that little pout. Whether you size it for a baby, pop it on a favorite doll, or add it to your amigurumi display, this sad-sweet flower is sure to spark smiles and conversation.
Materials Needed
You’ll only need a few basic supplies to make your Crochet Baby Sad Sad Flower Hat Amigurumi:
-
Yarn: Soft DK or worsted-weight yarn in three main colors: kin tone (for the baby’s face), petal color (pink, yellow, or lavender), and green (for the stem or leaf detail). Around 60–80 yards total.
-
Crochet Hook: Size 3.0 mm–3.5 mm for a tight, neat stitch.
-
Stuffing: Polyester fiberfill (for the head or if you’re turning it into a plush).
-
Safety Eyes or Embroidery Thread: For the sad eyes and facial expression.
-
Tapestry or Yarn Needle: For sewing pieces together and weaving in ends.
-
Scissors: For trimming yarn.
-
Stitch Markers: To keep track of rounds, especially for the face and petals.
-
Optional: Blush or fabric paint to tint the cheeks, or a ribbon for decorative finishing.
Yarn and Color Tips
For the best results, choose soft, non-scratchy yarns, cotton blends, or baby-safe acrylics are perfect. You’ll want something smooth so that the facial embroidery stands out neatly.
As for colors, you can never go wrong with cheerful petals like sunny yellow, pastel pink, or lilac. For something more unique, try white petals with a light blue center or even multicolor variegated yarn for a dreamy, watercolor-like effect. If it’s for photography, pick high-contrast colors so the expression is visible in pictures.
Level of Difficulty
This pattern is easy to intermediate. The basic shape uses simple stitches such as single crochet (sc), increase (inc), decrease (dec), and slip stitch (sl st), all worked in rounds. The slightly trickier parts include shaping the petals evenly and embroidering the sad facial expression, but with patience and a bit of creativity, even beginners can manage beautifully.
If you’re newer to amigurumi, this project is a wonderful introduction to shaping and assembling different components while keeping things small and manageable. The tutorial linked for reference also demonstrates the process clearly, so you’ll feel guided every step of the way.
Step-by-Step Overview
1. Starting the Baby Face
Begin by crocheting a flat circle using your skin-tone yarn. This forms the baby’s face, round, soft, and slightly domed. You’ll start with a magic ring, and the work increases until the face reaches your desired diameter (around 3–4 inches wide for a baby size).
At this stage, make sure your stitches are snug and even. If the circle starts curling, gently flatten it by hand; that’s normal for tight stitches. The face should feel slightly firm but not stiff.
2. Adding the Petals
Once the base is ready, switch to your petal color. You’ll crochet several individual petals around the face, usually 6–8, depending on the size you want. Each petal is worked by creating small, rounded shapes around the edge of the circle.
The key here is to keep the spacing consistent. You can mark each section before starting to ensure the petals look evenly placed. The petals give the project its distinctive flower baby shape, and you’ll instantly see its personality start to appear!
3. Forming the Hat Rim
The hat rim (or the back side of the petals) helps the piece hold its shape and gives a clean edge. You can work a few rounds behind the petals to form a slight brim that wraps around the head area.
At this point, you can decide whether to keep the piece as a flat accessory or to stuff it slightly to turn it into a small amigurumi doll head. If you plan to use it as a baby hat prop, leave it open and flexible.
4. Embroidering the Sad Expression
Now comes the most delightful part, giving your baby flower its expressive sad face. Use black embroidery thread or thin yarn to create downturned eyes and a little pouty mouth.
For an extra cute touch, add a touch of blush on the cheeks using a dab of pink fabric paint or even a soft makeup brush. This step gives the amigurumi its Sad Sad Flower charm that makes it stand out.
5. Assembling and Joining (Optional for Amigurumi Version)
If you’re turning this into a stuffed toy, sew the back of the head closed after lightly stuffing it. Then, attach any extra details, such as a small green leaf at the top or sides.
If you’re making it purely as a hat for a doll or baby, weave in your ends neatly and make sure the edges are soft and comfortable to wear.
6. Adding Finishing Touches
The final step is all about creativity. You can sew a tiny bow near one petal, attach a leaf to the side, or add a small tag that says “Handmade with Love.” This is where you make it uniquely yours.
Take a moment to step back and admire your work. That expressive little face, surrounded by soft petals,s will make anyone smile!
Special Features of This Pattern
What makes the Crochet Baby Sad Sad Flower Hat Amigurumi pattern stand out is how expressive and versatile it is.
-
The tutorial uses clear, close-up shots and slow demonstrations, perfect for visual learners.
-
The design combines simplicity (basic stitches) with creativity (expressive embroidery).
-
Minimal sewing, ng most of the parts are worked continuously in the round.
-
Adaptable, make it a photo prop, plush, or display decor.
-
Offers a great opportunity to practice color changes and shaping without frustration.
Unlike many standard flower hat designs, this one captures a mood that makes it feel more alive and special.
Tips for Best Results
Here are some helpful tips to make your project go smoothly:
-
Keep a steady tension so the petals and face stay symmetrical.
-
Mark your first stitch of each round to avoid miscounting.
-
Use soft yarn if it’s meant for a baby, and avoid scratchy textures.
-
Stuff gradually when making an amigurumi version; don’t overfill or it will lose its shape.
-
Use safety eyes only for display pieces for baby ites, ;embroidered eyes are safest.
-
Block the petals slightly by hand to give them a rounded, blooming look.
-
Check the alignment of the eyes and mouth before securing the threads tightly.
-
Experiment with petal count:fewerr petals look minimalist; more petals make it fuller and plusher.
-
Add finishing touches like small bows or tiny buttons for extra cuteness.
-
Relax and enjoy the process. This is meant to be a fun, creative make!
How to Use or Gift Your Crochet Baby Sad Sad Flower Hat Amigurumi
This project has endless uses, depending on how you finish it. You can:
-
Use it as a baby photo pro;, it looks incredibly adorable in themed photoshoots.
-
Make it a toy or a keepsake for nurseries and kids’ rooms.
-
Turn it into a decorative amigurumi piece to display on a shelf or workspace.
-
Create a mini version for keychains or bag charms.
It also makes a heartfelt handmade gift for baby showers, birthdays, or expecting parents. If you’re gifting it, wrap it in a kraft box or soft tissue paper, and add a cute handmade tag. Simple details like these make the gift feel extra personal.
Customization Ideas
There’s so much room to play with creativity in this pattern. Try changing:
-
Colors: Instead of traditional pink petals, go bold with sunflower yellow, deep red, or pastel blue. You can even make a rainbow version where each petal is a different color!
-
Yarn Texture: Cotton yarn will give you clean stitch definition, while velvet or chenille yarn will make the flower look plush and ultra-soft, perfect for baby props.
-
Size: Use a smaller hook for a mini desk buddy or a larger one for a plushy-style decoration. The pattern adapts well to size changes.
-
Add-ons: You can attach leaves, a small stem, or a flower pot base to turn it into a standing amigurumi. Embroider a few teardrops for extra “sad” charm, or even add little arms for character!
The key is to make it reflect your style, happy or sad, bold or subtle. Each version will have its own unique personality.
Conclusion
Making the Crochet Baby Sad Sad Flower Hat Amigurumi is one of those projects that reminds you why crocheting is so much fun. It’s creative, expressive, and just the right mix of simple and rewarding. Whether you’re crafting for a baby, decorating a room, or adding to your amigurumi collection, this pattern is sure to bring joy and a few giggles to anyone who sees it.
Once you finish your own Crochet Baby Sad Sad Flower Hat Amigurumi, you’ll realize how much personality and emotion a few stitches and some yarn can create. That’sthe real beauty of handmade art.