
Creating your own Crochet Bear Teddy Amigurumi is one of the most rewarding projects you can undertake as a crafter. Whether you are looking to make a personalized gift for a loved one or you want to add a charming piece to your own collection, this guide provides everything you need. You will find that working on this project allows you to practice essential stitches while producing a high-quality handmade plushie. Because this pattern focuses on simple shapes, it is perfect for those who are just starting their journey into the world of amigurumi.
Furthermore, the beauty of the Crochet Bear Teddy Amigurumi lies in its versatility. You can choose different yarn textures, such as velvet or classic cotton, to change the look and feel of your bear entirely. Since you are in control of the process, you can adjust the size by simply changing your hook or yarn weight. Throughout this article, we will ensure you have the best transition words and clear instructions so that your experience is smooth and successful. Let’s get your yarn and hooks ready because we are about to dive into the wonderful world of crochet.

The video is above for you to follow along visually. Watching the video will help you understand the specific hand movements and stitch placements that might be tricky to visualize just by reading. Since the video is above, you can pause it at any time to catch up with each step of the Crochet Bear Teddy Amigurumi process.

Skill Level / Level of Difficulty
The skill level for this project is Easy to Intermediate. If you know how to make a magic ring and perform a single crochet, you are already halfway there. However, it requires a bit of patience when it comes to sewing the pieces together. Consequently, even a beginner can finish this bear if they follow the guide closely.
Tutor’s Suggestions
When you start your Crochet Bear Teddy Amigurumi, I highly suggest using a stitch marker. Because you will be working in continuous rounds, it is very easy to lose track of where your row starts. Additionally, try to keep your tension consistent. If your stitches are too loose, the stuffing might peek through the holes. Therefore, choosing a hook slightly smaller than what the yarn label recommends is a great way to ensure a tight, professional finish.
Materials Needed
To create a high-quality Crochet Bear Teddy Amigurumi, you will need the following items:
-
Brown plush or worsted weight yarn (Primary color)
-
Cream or white yarn (For the snout)
-
A 3.5mm or 4.0mm crochet hook
-
Safety eyes (10mm or 12mm)
-
Polyester fiberfill stuffing
-
Yarn needle and scissors
-
Stitch markers
Step-by-Step Guide
Step 1: The Head
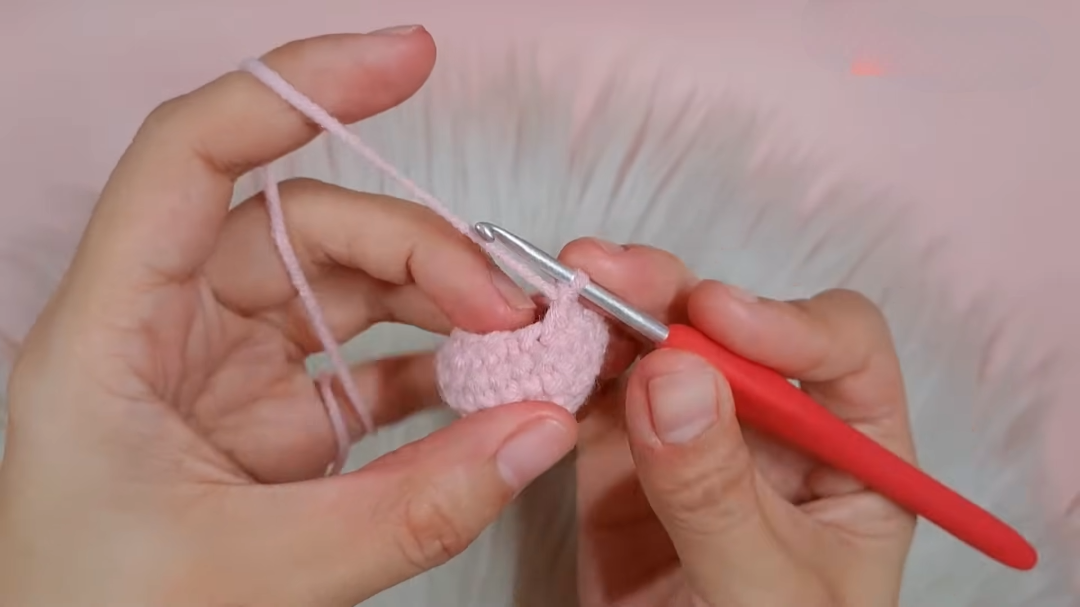
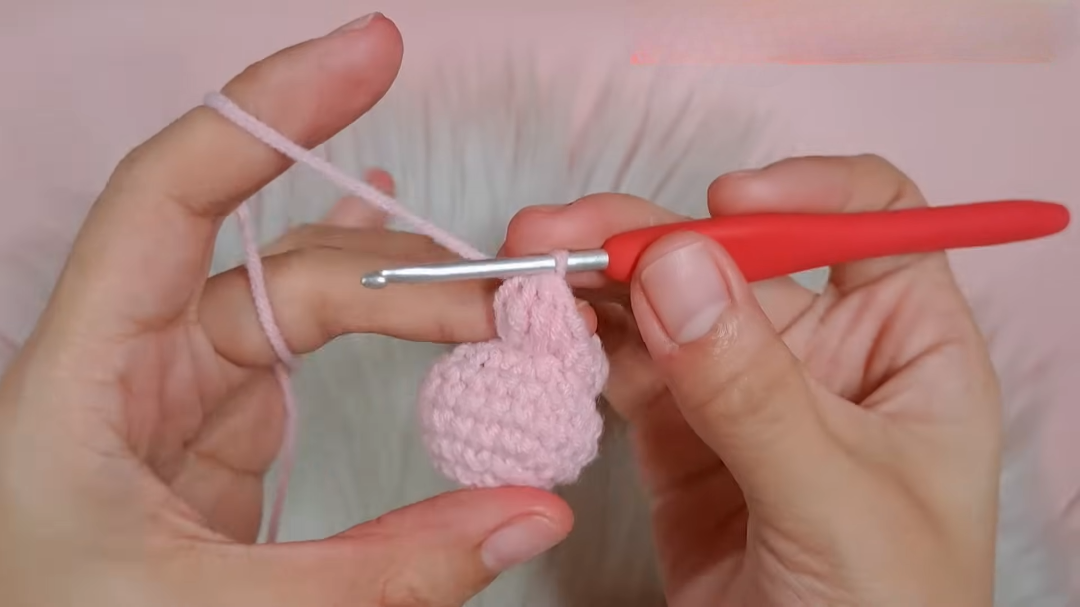
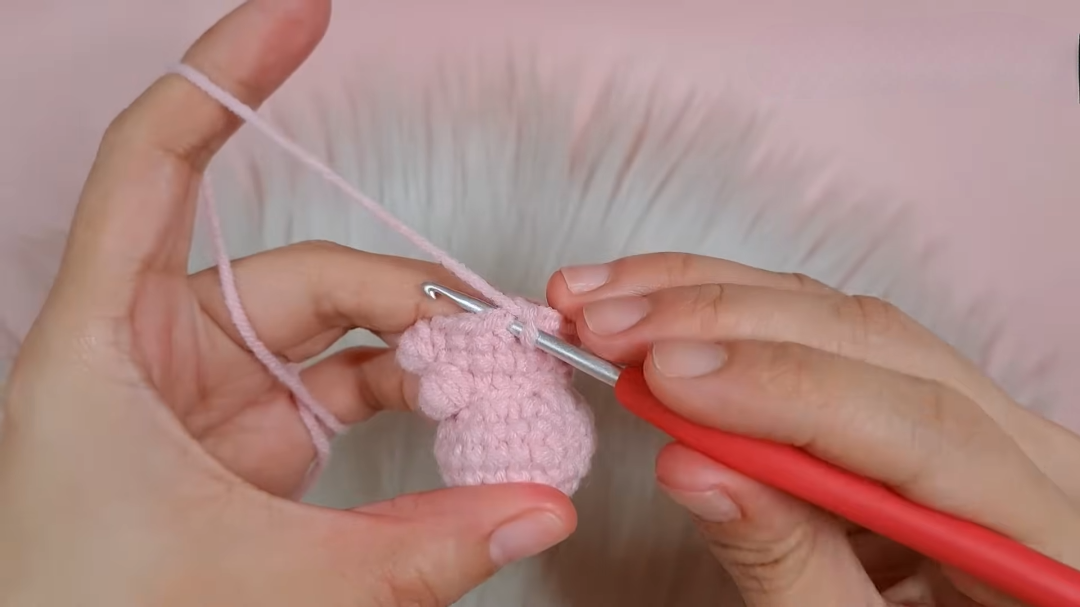
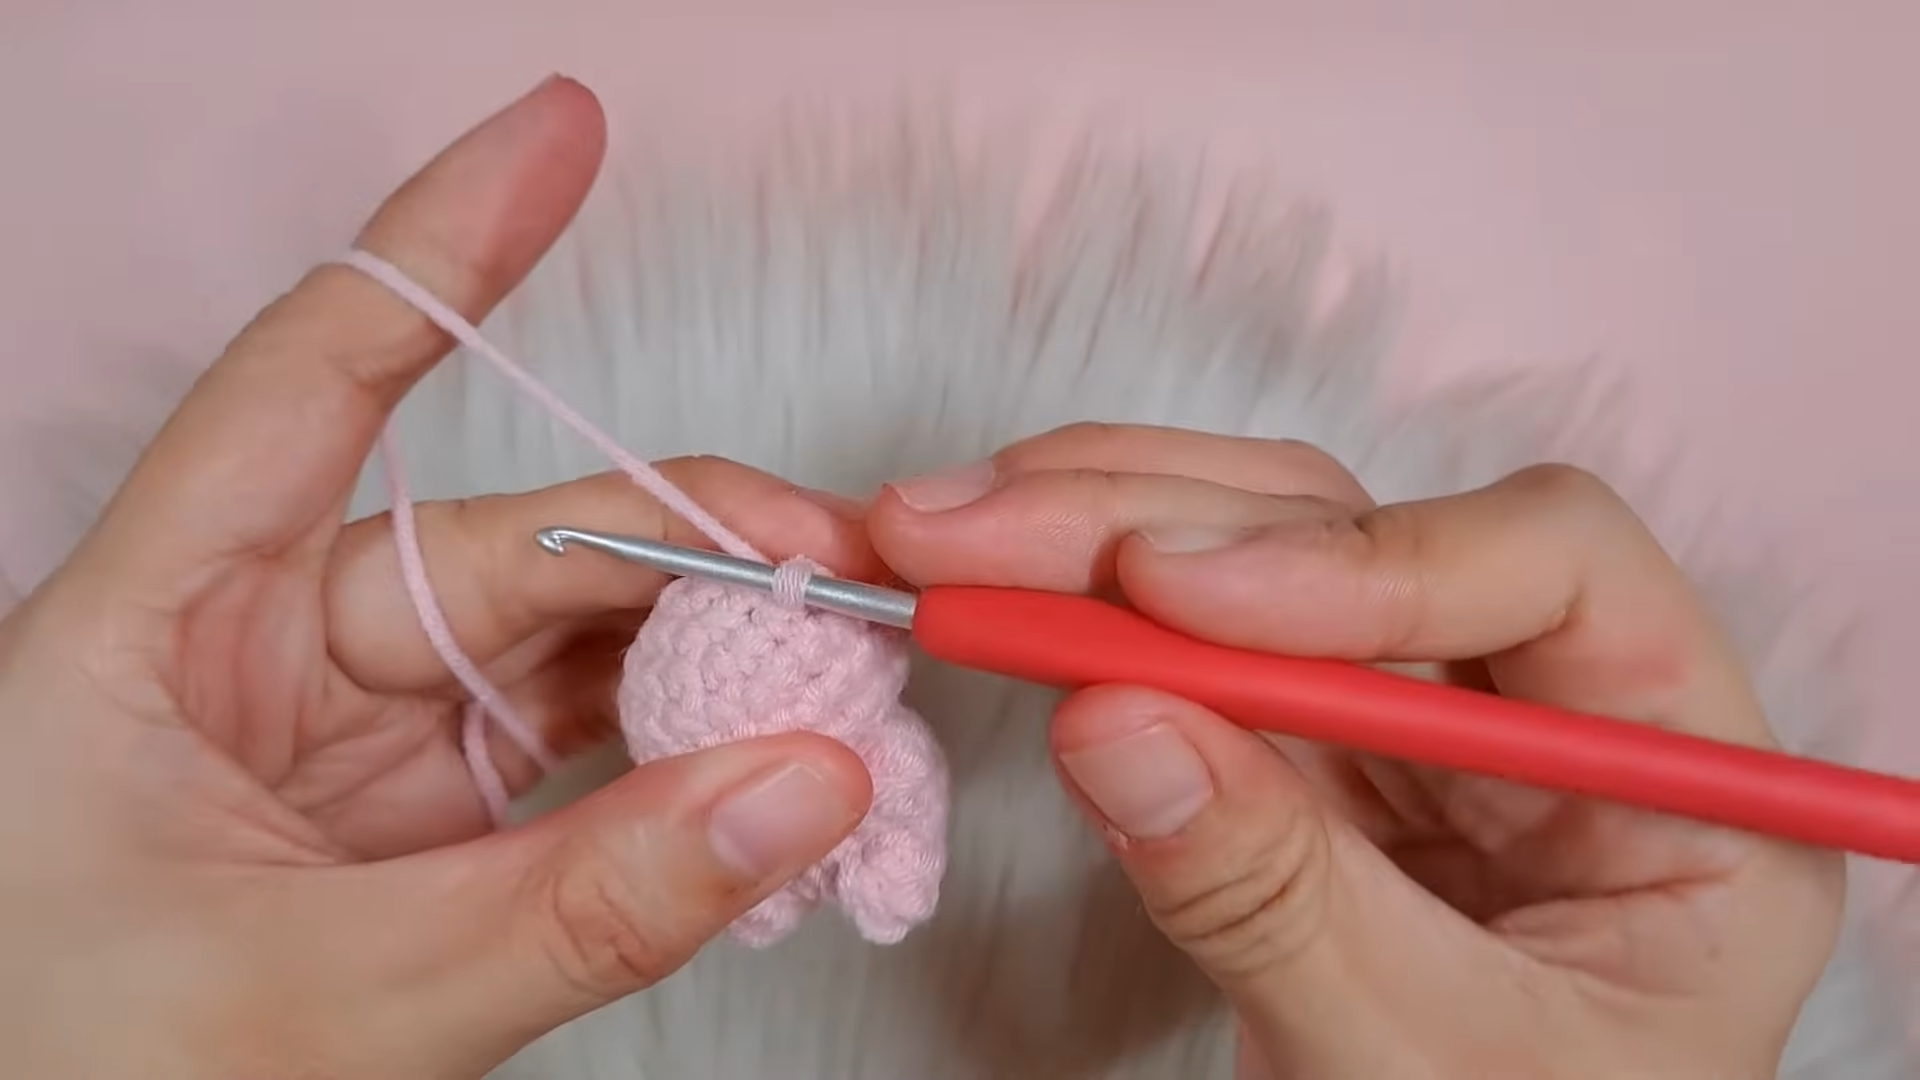
Start your Crochet Bear Teddy Amigurumi by creating a magic ring. Work 6 single crochets into the ring. In the second round, you should increase in every stitch to reach 12 stitches. Continue increasing according to the pattern until the head reaches the desired width. After that, work several rounds of even single crochets to build height. Before you close the head, remember to insert the safety eyes between the appropriate rounds.
Step 2: The Body
The body of your Crochet Bear Teddy Amigurumi usually starts similarly to the head but often grows slightly wider. Start with a magic ring and increase until you have a sturdy base. Proceed to work straight rounds to give the bear its belly. As you reach the top, you will begin to decrease. Consequently, the neck area will become narrower, making it easier to attach to the head later. Fill the body firmly with stuffing before finishing.
Step 3: Arms and Legs
For the limbs of the Crochet Bear Teddy Amigurumi, you will make four tube-like pieces. The legs are generally shorter and wider, while the arms can be slightly thinner. Because these are small parts, they can be a bit fiddly. However, make sure you don’t overstuff the very top of the limbs, as this allows them to sit or move more naturally when sewn to the body.
Step 4: Ears and Snout
The ears are small semicircles. You will not need to stuff these. Simply fold them and sew them to the top of the head. For the snout, use your cream yarn to create a small oval or circle. Sew this onto the face between the eyes to give your Crochet Bear Teddy Amigurumi its classic look. Finally, use black yarn to embroider a small nose and mouth.
Where to Use It
You can use your finished Crochet Bear Teddy Amigurumi in many ways. It makes an excellent nursery decoration or a soft toy for children. Furthermore, because it is handmade, it serves as a thoughtful gift for birthdays or baby showers. Some people even use smaller versions as keychains or bag charms. Because the design is so classic, it fits perfectly in any home setting as a piece of decor.
Tips and Tricks
One great tip for your Crochet Bear Teddy Amigurumi is to use “invisible decreases” instead of standard ones. This technique prevents gaps from forming in your work. Additionally, when you are sewing the parts together, use pins to hold the ears and limbs in place before you start stitching. This ensures everything is symmetrical. Moreover, if you want a fuzzier look, you can gently brush the finished bear with a clean pet brush to pull up the yarn fibers.
Common Mistakes
A common mistake when making a Crochet Bear Teddy Amigurumi is stuffing the piece too lightly. If the bear isn’t firm, it may lose its shape over time. Another error is placing the eyes too high or too low, which can change the entire expression of the bear. Furthermore, many beginners forget to count their stitches. If you miss a stitch, your bear might end up lopsided. Therefore, always double-check your count at the end of every round.
FAQs
1. What is the best yarn for amigurumi? Cotton or acrylic blends are usually best because they hold their shape well and show great stitch definition.
2. How do I clean my crochet bear?
If you used safety eyes and polyester stuffing, you can usually hand wash the bear with mild soap and let it air dry.
3. Can I make this bear bigger?
Yes, you can use a thicker yarn like chenille or “blanket” yarn with a larger hook to create a giant version.
4. Why is my stuffing showing through?
This usually happens if your hook is too large for your yarn. Try switching to a smaller hook to tighten the stitches.
5. How long does it take to make?
For most crafters, a standard-sized bear takes about 3 to 6 hours depending on your speed.
Conclusion
In conclusion, making a Crochet Bear Teddy Amigurumi is a delightful project that combines creativity with technical skill. By following this guide and paying attention to the video above, you can create a professional-looking plushie from scratch. Remember to keep your tension tight and use your transition words to stay organized during the process. We hope you enjoyed this tutorial and feel inspired to create an entire family of bears. Happy crafting and enjoy your new handmade friend!