
Whether you are an experienced crafter or just starting your journey, this project is perfect for anyone who enjoys handmade crafts and wants to create something truly special. Thus guide will help you master the art of making a tiny feline friend. Creating a Crochet Cat Keychain Amigurumi is not just about the final product; it is about the joy of seeing a simple ball of yarn transform into a cute character.
In this tutorial, we will explore everything you need to know to finish your project successfully. You will find that this Crochet Cat Keychain Amigurumi is a fantastic gift idea for friends and family who adore cats. Transitioning from basic stitches to a full 3D shape is a rewarding experience that builds your confidence. Let us dive into the details and start crafting your very own Crochet Cat Keychain Amigurumi today.

Once you watch the embed video above, you will see how easy it is to follow the visual movements of the hook. While the video provides a great visual aid, reading the instructions below will help you understand the stitch counts and technical details. This combination ensures that you do not miss any important steps while working on your Crochet Cat Keychain Amigurumi. You can pause the video whenever you need a moment to catch up or review a specific technique.
Skill Level/Level of Difficulty:
This project is rated as Beginner Friendly. If you know how to do a single crochet and a magic ring, you are ready to go. Even if you are new, the simple steps make it very manageable for everyone.
Tutor’s Suggestions:
I highly suggest that you keep your tension consistent throughout the project. If you crochet too loosely, the stuffing might show through the stitches. On the other hand, if you crochet too tightly, it might be hard to insert your hook. Also, use a stitch marker to keep track of your rounds so you never lose your place.
Materials and Step by Step Guide:
To create your Crochet Cat Keychain Amigurumi, you will need the following materials. Please gather 4 ply milk cotton yarn in your favorite color, a 2.5 mm crochet hook, safety eyes, a tapestry needle, fiberfill stuffing, and a metal keychain ring.
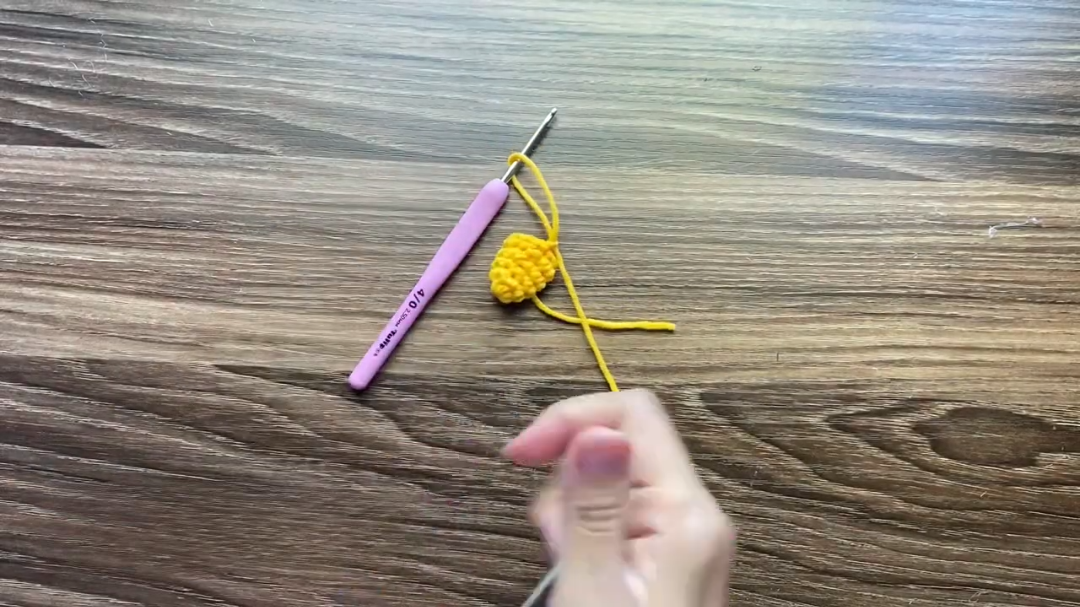
Step 1: The Head and Body
Start by making a magic ring and work 6 single crochet stitches into it. For the second round, you should increase in every stitch to reach 12 stitches. Continue increasing according to the pattern until the head reaches the desired size. Because this is a Crochet Cat Keychain Amigurumi, we usually work the head and body as one piece or join them later.
Step 2: Adding the Ears
To make the ears, you will create two small triangles. Start with a small magic ring or a chain of two. Work single crochets and increases to give the ears a pointed shape. Once you finish them, sew them securely to the top of the head.
Step 3: Stuffing and Closing
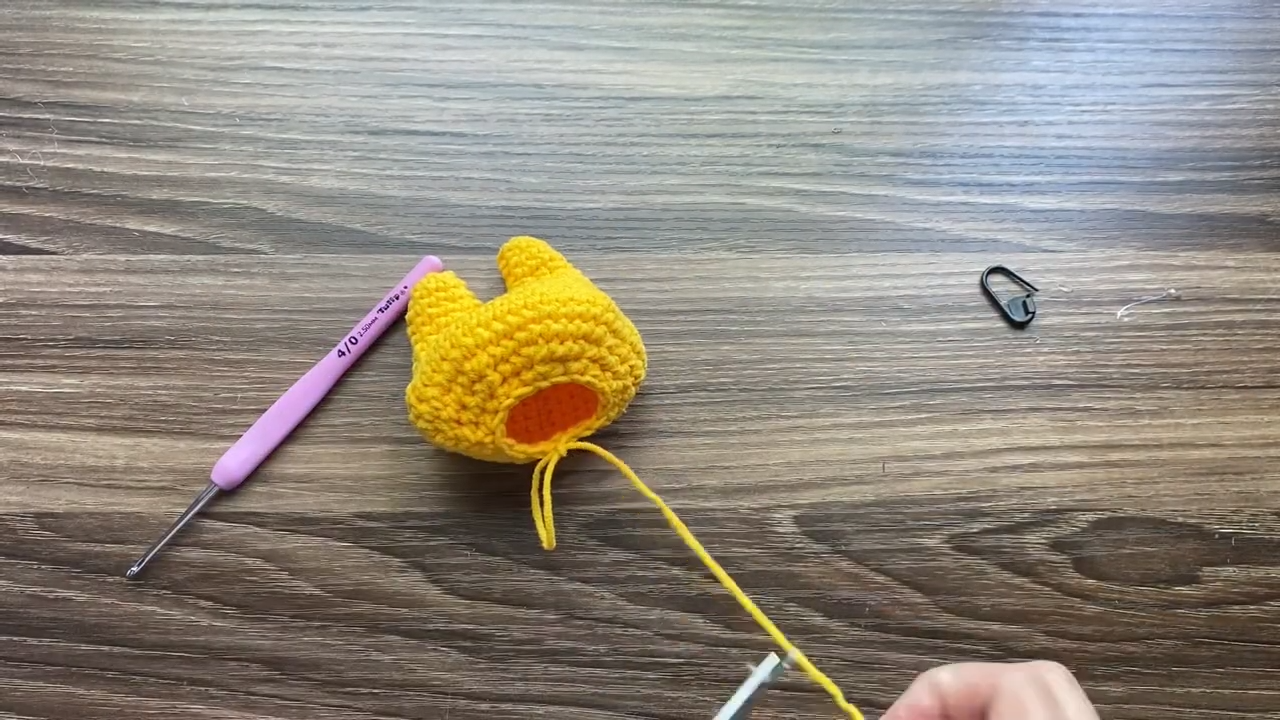
Before you close the body, you must add the fiberfill. Make sure to stuff it firmly so your Crochet Cat Keychain Amigurumi holds its shape well. Use your tapestry needle to weave the yarn through the final stitches and pull it tight to close the gap.
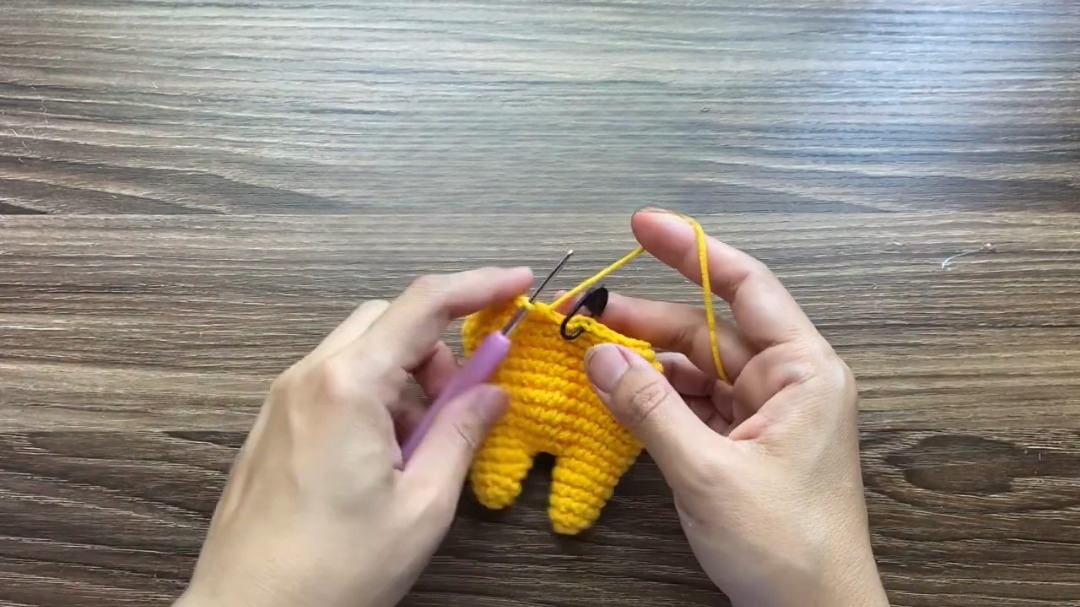
Step 4: Facial Details
Now you can add the personality. Attach the safety eyes between the rounds suggested in the video. Use a small piece of pink yarn to embroider a nose. These small touches make your Crochet Cat Keychain Amigurumi come to life.
Step 5: Attaching the Keychain
Finally, take your metal keychain ring and attach it to the top of the cat’s head. You can use a jump ring or simply sew it on with a strong thread. Now your Crochet Cat Keychain Amigurumi is ready to travel with you.
Note on Communication:
As you work through these steps, you will see how quickly the project comes together. You should feel proud of every stitch you make.
Where Can We Use It?
You can use this adorable charm in many different ways. It looks wonderful when attached to a set of keys, making them much easier to find in your bag. Additionally, you can hang your Crochet Cat Keychain Amigurumi on a backpack or a purse as a stylish accessory. Many people also use them as decorative ornaments for their cars or even as cute zipper pulls on jackets. Since it is so lightweight, it is the perfect addition to almost any item you carry daily.
Tips and Tricks:
One great tip is to use a smaller hook than the yarn label recommends. This creates tighter stitches which are essential for amigurumi. Another trick is to use embroidery floss for the whiskers to give them a delicate look. If you want a fuzzy cat, you can gently brush the finished Crochet Cat Keychain Amigurumi with a clean toothbrush to tease out the fibers. Always remember to leave a long tail of yarn when you finish a piece, as this makes sewing much easier later on.
Common Mistakes:
A common mistake is forgetting to count the stitches at the end of each round. This can lead to a lopsided cat. Another error is placing the eyes too high or too low, which changes the character’s expression entirely. Moreover, some beginners forget to secure the yarn ends properly inside the body. If you do not hide the tails well, they might pop out later. Lastly, avoid overstuffing the neck area, as it might make the head tilt in an awkward direction.
FAQs:
Can I wash my crochet cat keychain?
Yes, you can hand wash it gently with mild soap and let it air dry completely.
What yarn is best for this project?
Cotton or acrylic yarn works best because they have great stitch definition and do not stretch too much.
How long does it take to finish?
Most people can finish a Crochet Cat Keychain Amigurumi in about one to two hours.
Do I need to use safety eyes?
If the keychain is for a small child, it is safer to embroider the eyes with black yarn instead.
Can I make it bigger?
Yes, you can simply use a thicker yarn and a larger hook to increase the size.
Conclusion:
In conclusion, making a Crochet Cat Keychain Amigurumi is a delightful project that offers endless possibilities for customization. By following these steps and practicing your stitches, you can create a whole family of colorful cats. This hobby is a wonderful way to relax and express your personality through yarn. We hope you enjoyed this guide and feel inspired to keep crafting. Thank you for following along and happy crocheting.