
Are you looking for a magical way to brighten up your holiday decor or find the perfect handmade gift? You are in the right place because today we are learning how to make a beautiful Snow Fairy Crochet Pouch. This project is inspired by the festive spirit and is incredibly versatile for any home. Whether you want to use it as a decorative cover for your plants or a sweet candy holder for your friends, this pouch is a delightful addition to your crochet collection. You will find that using thick t-shirt yarn makes this project work up very quickly, which is perfect for last-minute gifting.
In this tutorial, we will explore the simple stitches and techniques needed to create a sturdy, stylish basket. If you are a beginner, do not worry at all. This Snow Fairy Crochet Pouch is designed to be customizable, so you can adjust the size to fit a wine bottle or a tiny succulent. Let us get our hooks ready and dive into this cozy winter project that will surely bring a smile to anyone who receives it.
After watching the video tutorial provided above, you will have a much clearer vision of how the stitches come together to form the base and the walls of your Snow Fairy Crochet Pouch. Seeing the hand movements in the video helps clarify how to handle the thick t-shirt yarn, which can be a bit different from working with standard wool. Once you have seen the visual flow, the written instructions below will serve as your perfect companion guide to ensure your tension and stitch counts are exactly where they need to be for a professional finish.
Skill Level: Beginner Friendly
This project is rated as Easy. If you know how to make a magic ring and work a single crochet, you are already halfway there. Because we are using a large hook and thick yarn, the stitches are very easy to see. This makes it a fantastic project for students or anyone new to the craft who wants to see fast results without complicated shaping.
Tutor’s Helpful Suggestions
Before you start your Snow Fairy Crochet Pouch, I have a few tips to make your experience smoother. First, ensure you are using a high quality t-shirt yarn that has a bit of stretch but is firm enough to hold its shape. If your yarn is too soft, the walls of the pouch might flop over. Additionally, I highly recommend using a stitch marker. When working in continuous rounds, it is very easy to lose track of where your new row begins. Finally, do not be afraid to experiment with colors. While the red is perfect for a festive theme, a snowy white or a soft silver would look equally stunning for a true “Snow Fairy” aesthetic.
Materials Needed for Your Snow Fairy Crochet Pouch
To get started on this lovely project, gather the following supplies:
-
T-shirt Yarn (Trapillo): Approximately 2.5 to 3 cm in width. We are using red, but you can choose any color.
-
Crochet Hook: 8.0 mm size to accommodate the thick yarn.
-
Stitch Marker: To keep track of your rounds.
-
Decorative Ribbon: A black ribbon for the “Santa belt” look.
-
Buckle or Ring: A small metallic or plastic ring for the belt detail.
-
Scissors and Hot Glue: For finishing and securing the ribbon.
-
Tapestry Needle: To weave in those thick ends.
Step-by-Step Guide to Creating Your Pouch
Step 1: Starting the Base
![]()
To begin your Snow Fairy Crochet Pouch, you must create a magic ring. This allows you to pull the center tight so there is no hole at the bottom of your basket. Once you have your ring, chain one to secure it. Now, work six single crochet stitches into the magic ring. Pull the tail of the yarn to close the circle tightly. You now have a small circle that serves as the foundation for your pouch.
Step 2: Increasing the Rounds
![]()
For the second round, you will perform an increase in every stitch. This means you put two single crochets into every stitch from the previous row. By the end of this round, you should have twelve stitches. Remember to place your stitch marker in the first stitch so you do not get lost. In round three, the pattern changes to one single crochet in the first stitch and an increase in the next. Repeat this all the way around.
Step 3: Expanding the Diameter
![]()
To make the Snow Fairy Crochet Pouch wider, continue the increase pattern. In round four, work one single crochet in the next two stitches, then an increase in the third. In round five, work one single crochet in the next three stitches, then an increase in the fourth. If you want a much larger basket, you can keep adding rounds following this logic. However, for a standard pouch, stopping at round five provides a great size for a small plant or candy.
Step 4: Growing the Walls
![]()
Now we stop increasing so the sides can grow upward. To create a nice “edge” between the bottom and the sides, work the next round in the back loops only. This creates a decorative ridge. From here on, simply work one single crochet in every stitch around using both loops. Continue this for about six rows, or until the Snow Fairy Crochet Pouch reaches your desired height. You will see the basket shape forming beautifully as you go.
Step 5: Finishing the Top
![]()
Once you are happy with the height, work a slip stitch into the next stitch to level off the edge. Cut your yarn, leaving a small tail. Pull the tail through the loop and use your tapestry needle to hide the end inside the stitches. For extra security, a tiny drop of glue on the inside will ensure the t-shirt yarn never unravels, especially if the pouch will be handled frequently.
Step 6: Decorative Details
![]()
Now it is time to turn this into a festive masterpiece. Take your black ribbon and thread it through your metallic ring to create a buckle. Wrap the ribbon around the center of your Snow Fairy Crochet Pouch and secure it with a bit of hot glue at the back. This gives it that iconic holiday look that everyone loves.
Where Can We Use This Pouch?
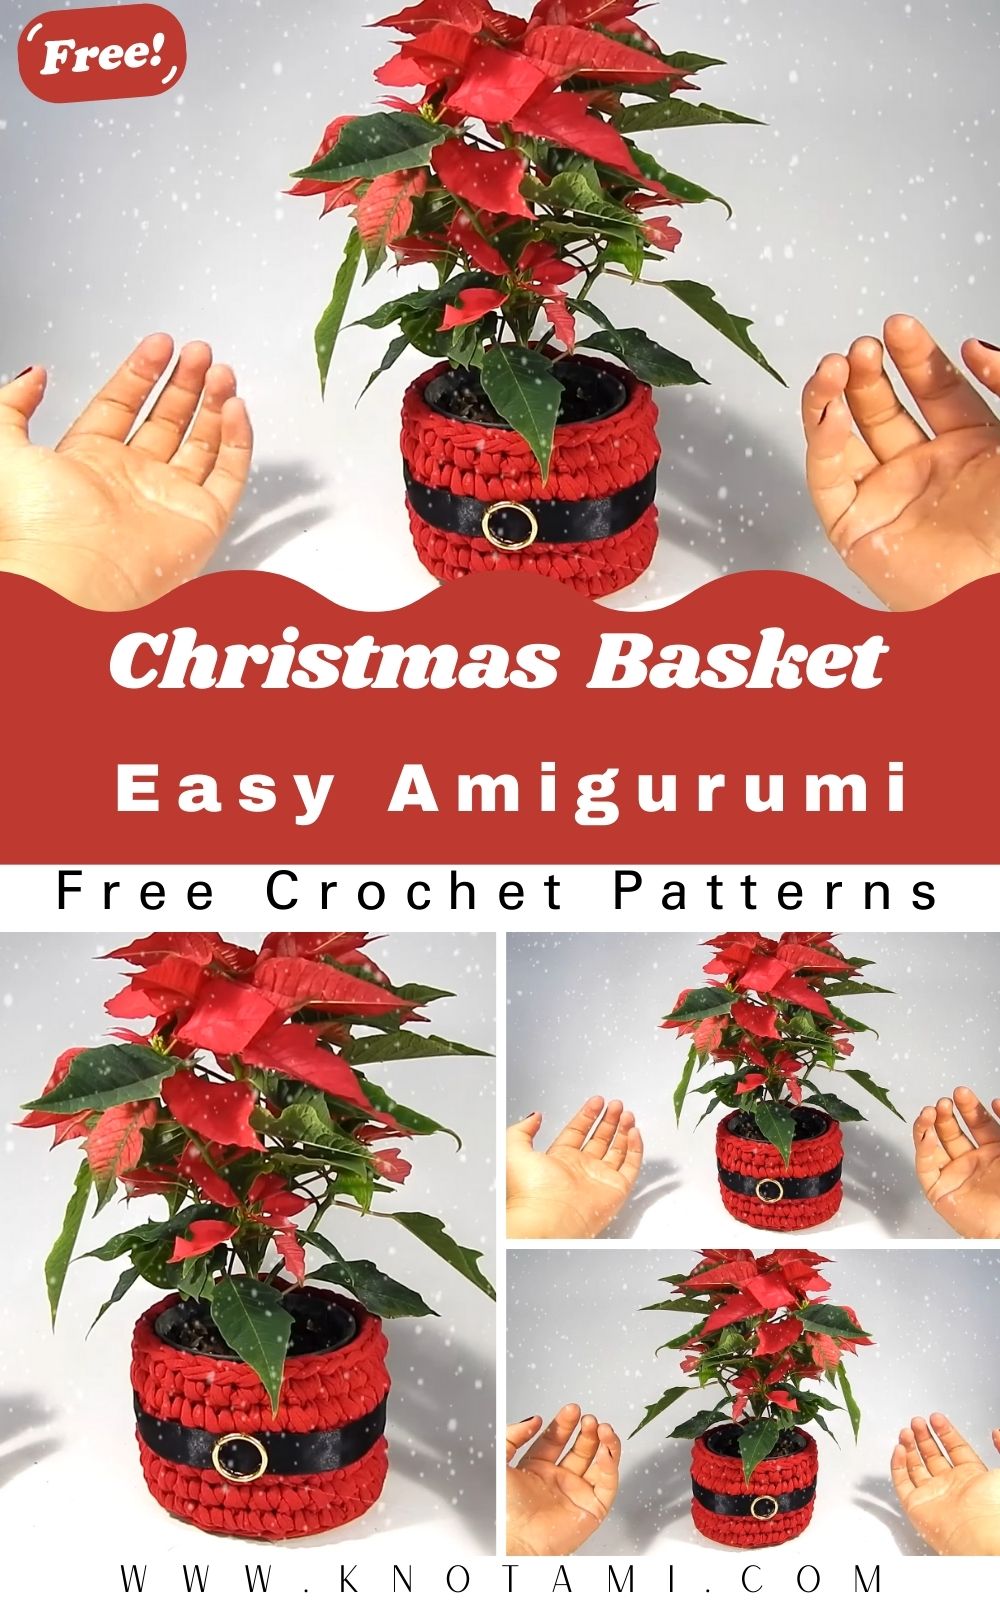
The beauty of the Snow Fairy Crochet Pouch lies in its many uses. You can place a small Poinsettia inside to use it as a festive plant cover. It also works perfectly as a “dulcero” or candy holder. Just fill it with chocolates, wrap it in transparent cellophane, and tie it with a bow for a wonderful gift. You can even make it taller to act as a decorative sleeve for a wine bottle. It is a fantastic way to organize small items on your desk or vanity while adding a touch of handmade warmth to your room.
Tips and Tricks for Success
-
Tension is Key: Try to keep your tension consistent. Since the yarn is thick, pulling too tight can make your hands tired, but being too loose will make the pouch flimsy.
-
Yarn Substitutions: If you cannot find t-shirt yarn, you can use three strands of bulky wool held together to get a similar thickness for your Snow Fairy Crochet Pouch.
-
Invisible Join: If you want a perfectly smooth top edge, look up the “invisible join” technique for a seamless finish.
-
Size Adjustments: To make a narrower, taller pouch, start with fewer stitches in the magic ring or stop increasing the base early.
Common Mistakes to Avoid
One common mistake is forgetting to use a stitch marker. Because t-shirt yarn is bulky, the start of the row can blend in, leading to an accidental extra stitch or a lopsided basket. Another error is not pulling the magic ring tight enough at the start, which leaves a hole where small candies might fall out. Lastly, make sure you do not skip the “back loop only” row when starting the walls, as this row is what gives your Snow Fairy Crochet Pouch its professional, flat bottom.
Frequently Asked Questions
Can I wash my Snow Fairy Crochet Pouch?
Yes, most t-shirt yarn is made of cotton and polyester, which is machine washable. However, you should remove the ribbon and buckle first, or hand wash the pouch gently to keep the shape intact.
How much yarn do I need for one pouch?
Usually, one small roll of t-shirt yarn is more than enough to complete a standard sized Snow Fairy Crochet Pouch. If you plan to make a very tall one for wine, you might need a bit more.
Is this project suitable for kids?
Absolutely. Since the hook is large and the project is small, it is a great way for teenagers or older children to learn the basics of crochet without getting frustrated by thin threads.
What if my basket is leaning to one side?
This often happens if your tension changes midway through. Try to relax your hands and ensure you are inserting the hook into the center of the stitches if you want a stiffer, more upright wall.
Can I use a smaller hook?
Using a smaller hook with thick yarn will make the fabric very stiff and difficult to work with. It is best to stick to an 8.0 mm or 9.0 mm hook for the best results with your Snow Fairy Crochet Pouch.