
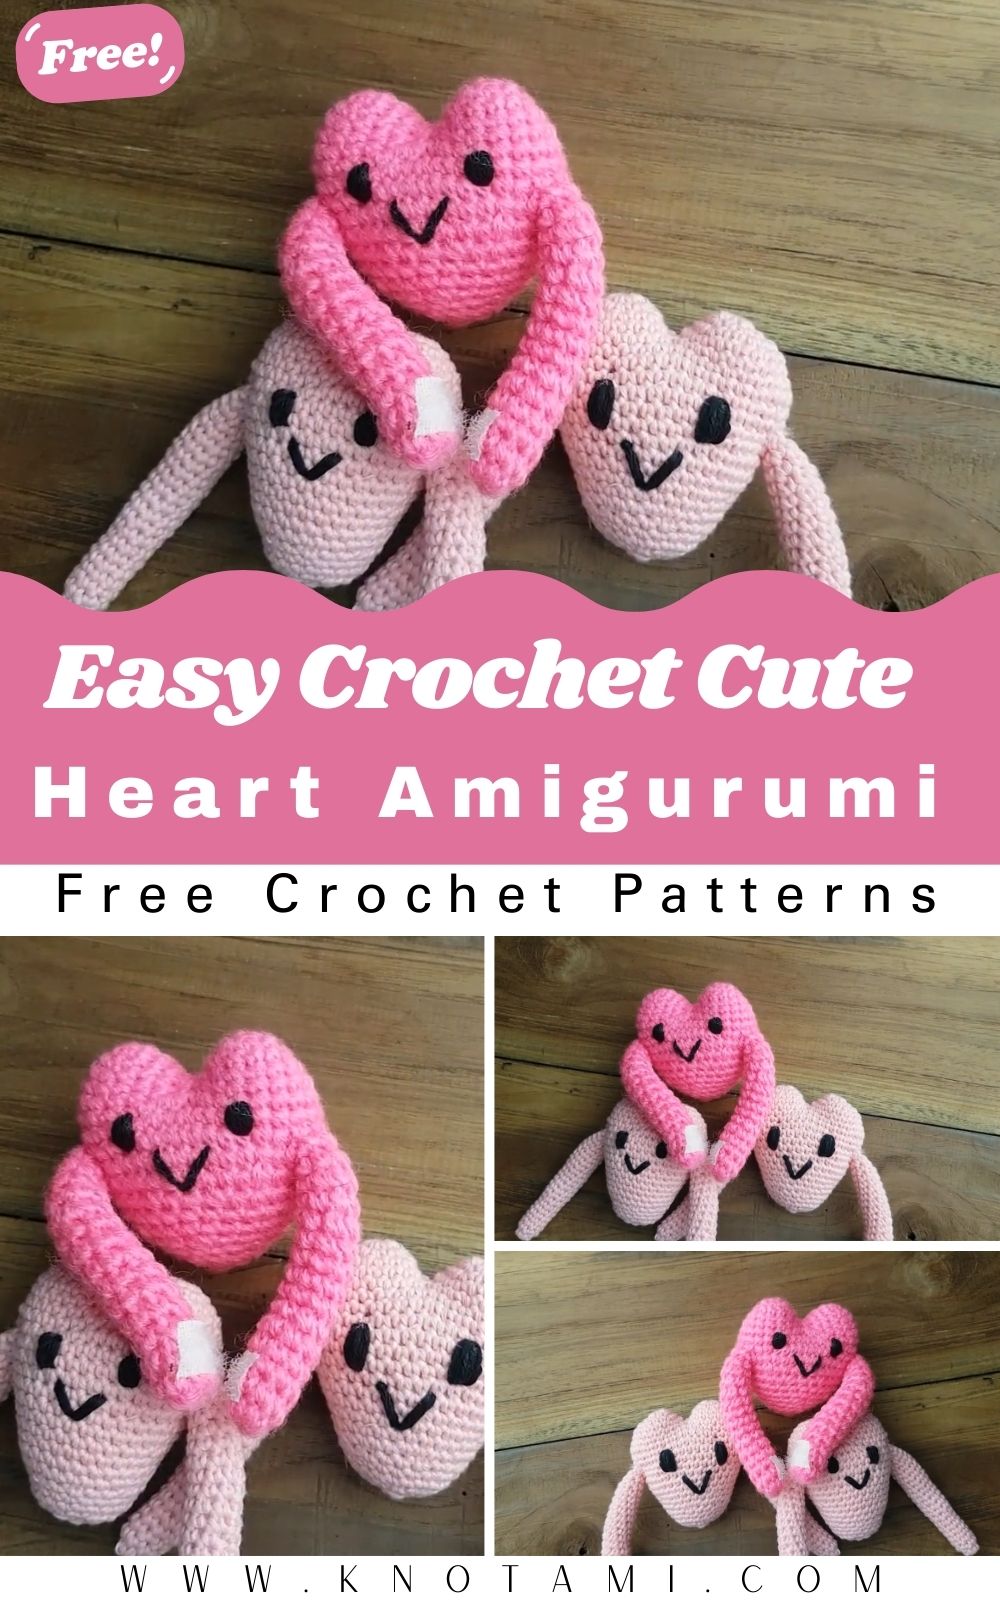
Welcome to the ultimate guide on how to create a Crochet Heart Amigurumi. If you are looking for a project that is both adorable and full of emotion, then making a DIY love doll is the perfect choice for you. This tutorial is specifically designed for those who want to master the art of amigurumi while creating something meaningful. Whether you want to gift it to a soulmate or keep it as a cute desk companion, this Crochet Heart Amigurumi project will surely brighten anyone’s day.
Crocheting is a relaxing hobby, and starting with a Crochet Heart Amigurumi is a fantastic way for beginners to practice essential stitches. In this blog post, we will walk through every single step, from the very first magic ring to the final sewing details. We have structured this guide to ensure that your stitching is neat and your finished doll looks professional. By the end of this journey, you will feel confident in your ability to craft a beautiful, plush heart that looks like it came straight from a boutique.
The video above provides a visual walkthrough of the entire process. While the written instructions below are very detailed, watching the video will help you understand the specific hand movements and the “invisible decrease” technique. Seeing the project come to life in real-time ensures that you don’t miss any critical turns or stitch counts. Make sure to refer back to the video whenever you feel stuck on a particular row.
Skill Level: Beginner Friendly
This Crochet Heart Amigurumi is rated as a beginner project. Even though it looks complex because of its 3D shape, it primarily uses basic stitches. If you know how to do a single crochet and an increase, you are already halfway there. The most “advanced” part is joining the two top bumps of the heart, but we will explain that in a way that is very easy to follow.
Tutor’s Suggestions
Before you grab your hook, I have a few personal tips to make your Crochet Heart Amigurumi look amazing. First, always use a hook that is slightly smaller than what the yarn label recommends. This keeps your stitches tight so the fiber fill doesn’t peek through. Second, pay close attention to your tension. If you pull too hard, the heart might look stiff; if you are too loose, it won’t hold its shape. Lastly, take your time with the face embroidery. The placement of the eyes and mouth is what gives your DIY love doll its unique personality.
Materials Needed
To create the perfect Crochet Heart Amigurumi, you will need the following supplies:
-
Milk Cotton Yarn: Red or pink is traditional, but feel free to get creative.
-
Crochet Hook: A 2.5mm or 3.0mm hook works best for a tight finish.
-
Fiber Fill: High-quality stuffing to make your heart plush.
-
Safety Eyes: 6mm or 8mm eyes for that cute look.
-
Yarn Needle: For sewing the pieces together and hiding ends.
-
Stitch Markers: Very important for keeping track of your rows.
-
Scissors: To trim your yarn.
-
Velcro: Optional, if you want your heart to hold hands!
Step by Step Guide to Your Crochet Heart Amigurumi
Phase 1: Creating the Top Bumps
To start your Crochet Heart Amigurumi, you must first create two separate domes which will become the top of the heart.
-
Row 1: Create a magic ring and place 6 single crochets (sc) into it. Pull tight.
-
Row 2: Work an increase (inc) in every stitch. You will now have 12 stitches.
-
Row 3: 1 sc, 1 inc around. This brings your total to 18 stitches.
-
Row 4: Simply sc in every stitch around (18 stitches total).
-
Finish: Fasten off the first piece. Repeat steps 1 through 4 for the second piece, but do not cut the yarn on the second one.
Phase 2: Joining the Pieces
Now we will join the two parts to form the width of the heart.
-
Row 5: Insert your hook into the first piece and join with a slip stitch. Work 18 sc around the first piece, then move directly to the second piece and work 18 sc around it. You now have a large circle of 36 stitches.
-
Row 6: We want the heart to widen slightly. Work 6 sc, then an increase, then 16 sc, then another increase, and finish with 6 sc. You should have 40 stitches now.
-
Row 7: Work 1 sc in every stitch around (40 stitches).
Phase 3: Shaping the Body
This is where your Crochet Heart Amigurumi starts to taper down.
-
Row 8: We begin the decreases. Work 7 sc, then an invisible decrease, then another sc, then another invisible decrease. Continue with 16 sc and repeat the decrease pattern on the other side. Total: 36 stitches.
-
Row 9: Work a single crochet in every stitch around (36 stitches).
-
Row 10: Work 8 sc, then an invisible decrease, followed by 17 sc, another decrease, and 7 sc. Total: 34 stitches.
-
Rows 11-12: Maintain the shape by working 34 sc around for both rows.
-
Row 13: Work 9 sc, an invisible decrease, 15 sc, another decrease, and 6 sc. Total: 32 stitches.
-
Row 14: Work 32 sc around.
Phase 4: The Final Taper and Stuffing
-
Row 15: Work 7 sc, then an invisible decrease, followed by another decrease, then 12 sc, and two more decreases. Total: 28 stitches.
-
Rows 16-17: Work 28 sc around. Pro Tip: Start stuffing your heart now! Make sure the fiber fill reaches the top bumps so they look plump.
-
Row 18: 2 sc, 1 inv dec around. Total: 21 stitches.
-
Rows 19-20: Work 21 sc around. Add more stuffing as you go.
-
Row 21: 1 sc, 1 inv dec around. Total: 14 stitches.
-
Row 22: Decrease in every stitch until the hole is small enough to sew shut.
Where Can We Use This Heart?
The Crochet Heart Amigurumi is incredibly versatile. Because it is a DIY love doll, it makes an excellent gift for Valentine’s Day, anniversaries, or Mother’s Day. You can also add a keychain ring to the top and turn it into a bag charm. Many people use these as “worry hearts” to keep in their pockets for comfort. Furthermore, if you make a larger version with chunky yarn, it serves as a beautiful decorative pillow for a nursery or a bedroom. The possibilities are truly endless when you use your imagination.
Tips and Tricks for Success
When working on your Crochet Heart Amigurumi, always use a stitch marker. It is very easy to lose your place when working in rounds. If you want your heart to look extra professional, use the “invisible decrease” method instead of a standard decrease. This prevents gaps in the fabric. Additionally, when you are stuffing the heart, use the back of your crochet hook to push the fiber fill into the very corners of the top bumps. This ensures a smooth, rounded shape without any lumps.
Common Mistakes to Avoid
One common mistake in Crochet Heart Amigurumi is not stuffing enough. If the heart is under-stuffed, it will look wrinkled and lose its iconic shape over time. Another error is placing the eyes too high. For the cutest “kawaii” look, place the eyes near the middle or slightly lower part of the heart. Also, ensure you are not accidentally adding extra stitches when joining the two top pieces. Count your stitches at the end of every row to stay on track.
Frequently Asked Questions
1. What is the best yarn for a Crochet Heart Amigurumi?
Cotton yarn or a cotton blend is best because it provides great stitch definition and doesn’t stretch out too much when stuffed.
2. How do I make the heart bigger?
To make a larger Crochet Heart Amigurumi, simply use a thicker yarn (like velvet or bulky yarn) and a larger hook. The pattern remains the same.
3. Can I wash my amigurumi heart?
Yes, if you use cotton or acrylic yarn, you can gently hand wash it and let it air dry. Be careful if you used glue for the eyes.
4. Why is my heart leaning to one side?
This usually happens if your tension is uneven or if you missed a decrease on one side. Always count your stitches.
5. How do I attach the hands?
The hands are made separately as long tubes and then sewn onto the sides of the heart. Use the yarn needle and the same color yarn for a hidden seam.
Final Thoughts on Your DIY Project
Creating a Crochet Heart Amigurumi is a rewarding experience that combines skill and heart. This project teaches you how to manage shapes, join pieces, and add personality through embroidery. Because you are making this by hand, each doll will have its own unique charm. Moreover, the joy of giving a handmade gift is unmatched. We hope this guide has been helpful and that you enjoy every stitch of your new crochet journey.