
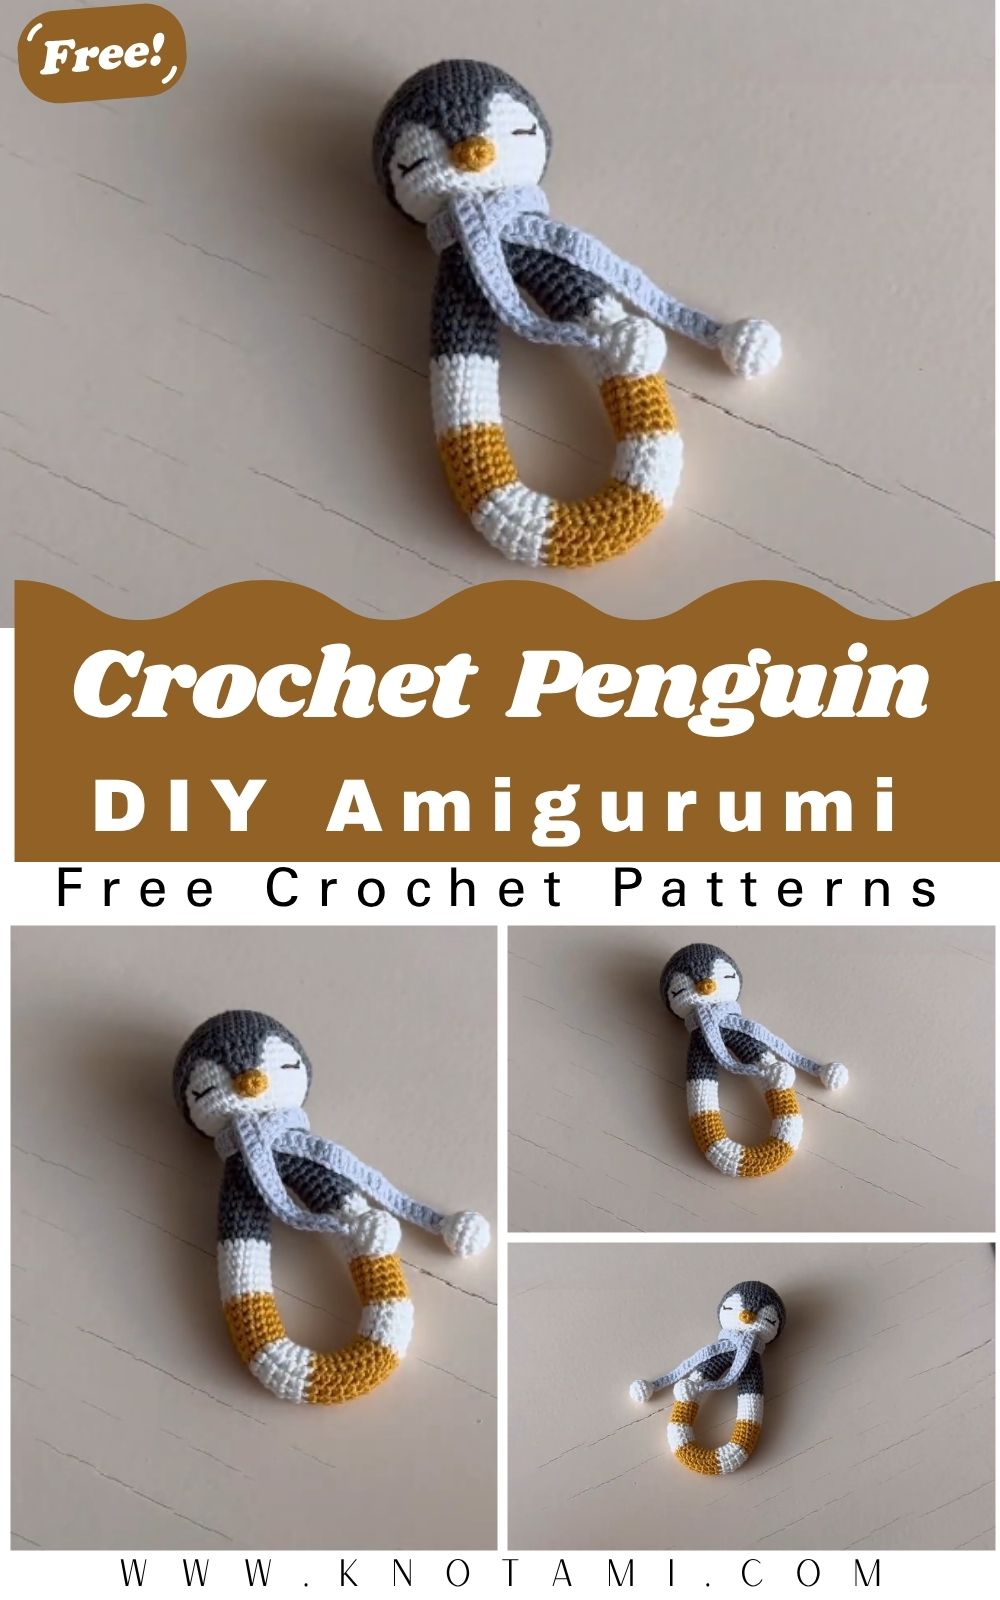
A soft little penguin that makes a gentle rattle with every shake, how adorable is that? This charming crochet baby penguin rattle amigurumi is lovingly handmade. It’s perfect as a baby gift, a baby shower present, or a fun way to improve your own crochet skills. With an easy pattern and beautiful details, it’s a super enjoyable project for beginners.
Imagine your little one smiling at a chubby, waddling baby penguin that makes a soft rattling sound with every shake. This graceful Crochet Baby Penguin Rattle Amigurumi combines cuteness with playfulness. Featuring a round body, tiny wings, bright beak, and stylish scarf, it’s handmade with love using soft yarn. Whether for your baby or as a heartfelt gift, this beginner-friendly pattern brings endless smiles and helps boost crochet skills.
Brief Overview of the Amigurumi Crochet Project
This amigurumi penguin rattle is a compact, handheld toy measuring around 4-5 inches tall – ideal for tiny hands. It’s worked in continuous rounds with classic amigurumi techniques, then assembled and finished with a rattle insert inside the body. The project boosts your crochet skills by practicing shaping, color changes, and neat sewing. Best of all, it’s beginner-friendly with room to grow into intermediate techniques like extended single crochets for texture.
Skill Level: Beginner to Intermediate. If you know basic stitches and can follow step-by-step instructions, you’ll succeed. The video tutorial by Lydia Shepel makes it even easier to follow along visually.
Materials and Supplies List
Gather these supplies before starting for a smooth crocheting session:
- Yarn Colors (Baby cotton or DK weight yarn, approx. 50g total):
- White (main body and head front)
- Black or dark gray (back/head panel and accents)
- Yellow or orange (beak and body stripes)
- Additional color for scarf (e.g., contrasting gray or red)
- Crochet Hook: 1.6mm or 2.0mm (adjust for tight gauge)
- Safety Eyes: 6-8mm pair (or embroider for younger babies)
- Stuffing: Polyester fiberfill
- Rattle Insert: Small plastic rattle bell or bell capsule (ensure it’s securely enclosed)
- Yarn Needle (for sewing parts)
- Scissors
- Stitch Markers
- Optional: Wooden teether ring for added grip and safety, keychain ring if making a hanging version
Choose soft, washable, hypoallergenic yarn suitable for babies. Cotton blends give a nice sturdy feel without being too fuzzy.
Crochet Techniques Used
This pattern relies on foundational amigurumi skills:
- Magic ring (MR)
- Single crochet (sc)
- Increase (inc) – 2 sc in one stitch
- Decrease (dec) – sc two stitches together
- Extended single crochet (esc) for textured stripes
- Chain (ch), slip stitch (sl st)
- Sewing parts together with whip stitch or ladder stitch
- Color changes for the striped body
Step-by-Step Crochet Pattern Instructions
Head Creation
White Head Front (Main Part):
- Round 1: 6 sc into magic ring (6)
- Round 2: 6 inc (12)
- Round 3: (1 sc, inc) × 6 (18)
- Round 4: (2 sc, inc) × 6 (24)
- Round 5: (3 sc, inc) × 6 (30)
- Round 6: (4 sc, inc) × 6 (36)
- Rounds 7-13: 36 sc (no changes)
- Round 14: (4 sc, dec) × 6 (30)
- Round 15: (3 sc, dec) × 6 (24)
- Round 16: (2 sc, dec) × 6 (18)
Stuff lightly as you go, insert rattle if desired in the lower head/body transition later. Leave a long tail for sewing.
Gray Back Panel:
- Follow similar increases to reach 36 stitches, then work 6-7 rounds even. This creates the darker “back of head” contrast.
Front White Belly Panel (small flap):
- Work a short row section: Start with 6 sc, then decrease over rows to shape a small white tummy area.
Beak:
- 6 sc in MR
- 6 sc Leave tail to sew on.
Body Making
The body is a fun striped tube with color changes:
- Start with a chain foundation or continue from head.
- Work multiple rounds alternating colors (gray, white, yellow) with sections of extended single crochets for a ribbed, sweater-like texture.
- Example stripe sequence (approx. 12 stitches around initially, increasing as joined):
- Gray base
- White and yellow alternating blocks
- Shape by decreasing at the bottom to close.
Join the two ends of the tube and continue decreasing to 18 stitches. Stuff firmly with rattle inside.
Wings, Tail, and Accessories
- Wings (make 2): Small oval shapes in black/gray – simple rounds or rows, sewn flat to sides.
- Tail: Small triangular or fan-shaped piece in black.
- Scarf:
- Make two small pom-pom-like ends: Start with MR, increase to 12, work even, decrease.
- Long chain strip in contrasting color with extended sc for fringe effect. Tie or sew around neck.
Facial Details
- Attach safety eyes between rounds 8-10 of the head, about 6-8 stitches apart.
- Sew on the yellow beak centered below eyes.
- Optional: Embroider cheeks with pink yarn for extra cuteness.
Assembly Process
- Sew the gray head panel to the white head, aligning edges neatly.
- Attach head to body using strong whip stitches.
- Position and sew wings on sides of body.
- Add tail to the back lower body.
- Wrap and secure the scarf.
- Ensure all parts are firmly attached – double-check for baby safety.
Finishing Touches
Weave in all ends securely. Give the toy a gentle roll between your hands to even out stuffing. If adding a teether ring, attach it firmly at the bottom or side.
Helpful Beginner Tips
- Tight Stitches for Amigurumi: Use a smaller hook than recommended to prevent stuffing from showing through. Aim for a firm fabric.
- Using Stitch Markers: Place one at the start of each round, it saves so much counting frustration!
- Proper Stuffing Techniques: Add small bits of fiberfill gradually. Use the back of your hook or a chopstick to push into corners without overstuffing (which can distort shape). For the rattle, encase it completely in stuffing.
- Count stitches religiously at the end of each round.
- Watch the video parts for visual guidance on color changes and assembly.
Design Customization Ideas
Make this penguin uniquely yours:
- Different Colors: Turn it into a blue “emperor” penguin, pink girl version, or rainbow-striped for fun.
- Cute Accessories: Add a tiny hat, bow, or embroidered heart. Attach a pacifier clip for practicality.
- Mini Size Variations: Use thinner yarn and a 1.0mm hook for a keychain version, or bulkier yarn for a larger cuddle buddy.
- Experiment with facial expressions – closed eyes for a sleepy penguin or bigger eyes for extra personality.
FAQ Section
What is the best yarn for amigurumi?
Soft baby cotton or acrylic-cotton blends. They’re durable, washable, and gentle on sensitive skin. Avoid wool if the baby has allergies.
How to make a crochet plush firm?
Tight tension, smaller hook, and careful stuffing. Stuff until it feels bouncy but not rock-hard. Consistent gauge across parts is key.
How long does the project take?
For beginners: 4-8 hours spread over a few sessions. Experienced crocheters can finish in 2-4 hours. Includes time for assembly and finishing.
Is it safe for babies?
Yes, when made with secure attachments, no loose parts, and baby-safe materials. Always supervise and check for wear.
Conclusion
Crocheting this graceful baby penguin rattle is more than just making a toy – it’s creating memories and a cherished heirloom. The combination of soft textures, gentle rattle sound, and adorable design makes it a hit with babies and parents alike. You’ll feel proud every time you see that little penguin bringing smiles.
Ready to start your own penguin adventure? Grab your hook and yarn, follow along with the tutorial, and share your finished creation in the comments or on social media. Tag a fellow crocheter who needs this pattern! Happy hooking, and may your stitches be even and your yarn never tangle.