
If you are a fan of the mysterious and heartwarming world of Pokemon, you probably know the story of the lonely ghost who just wants to make friends. Today, you are going to learn how to bring this character to life with our comprehensive Mimikyu amigurumi crochet pattern. This project is perfect for anyone who loves blending spooky vibes with cute aesthetics. Because this design is meant to look like a handmade disguise, it is very forgiving for those who are just starting their crochet journey. You will find that the slightly “imperfect” look of the character actually adds to its charm and authenticity.
Crafting your own toys allows you to customize every detail, from the shade of yellow to the expression on its face. In this guide, you will follow a path that turns simple yarn into a three dimensional companion. We have designed this Mimikyu amigurumi crochet pattern to be easy to follow while still providing a professional result. Whether you want to add to your own collection or create a unique gift for a fellow trainer, this project is a fantastic way to spend your afternoon. Grab your hooks and let us dive into the magical world of amigurumi.
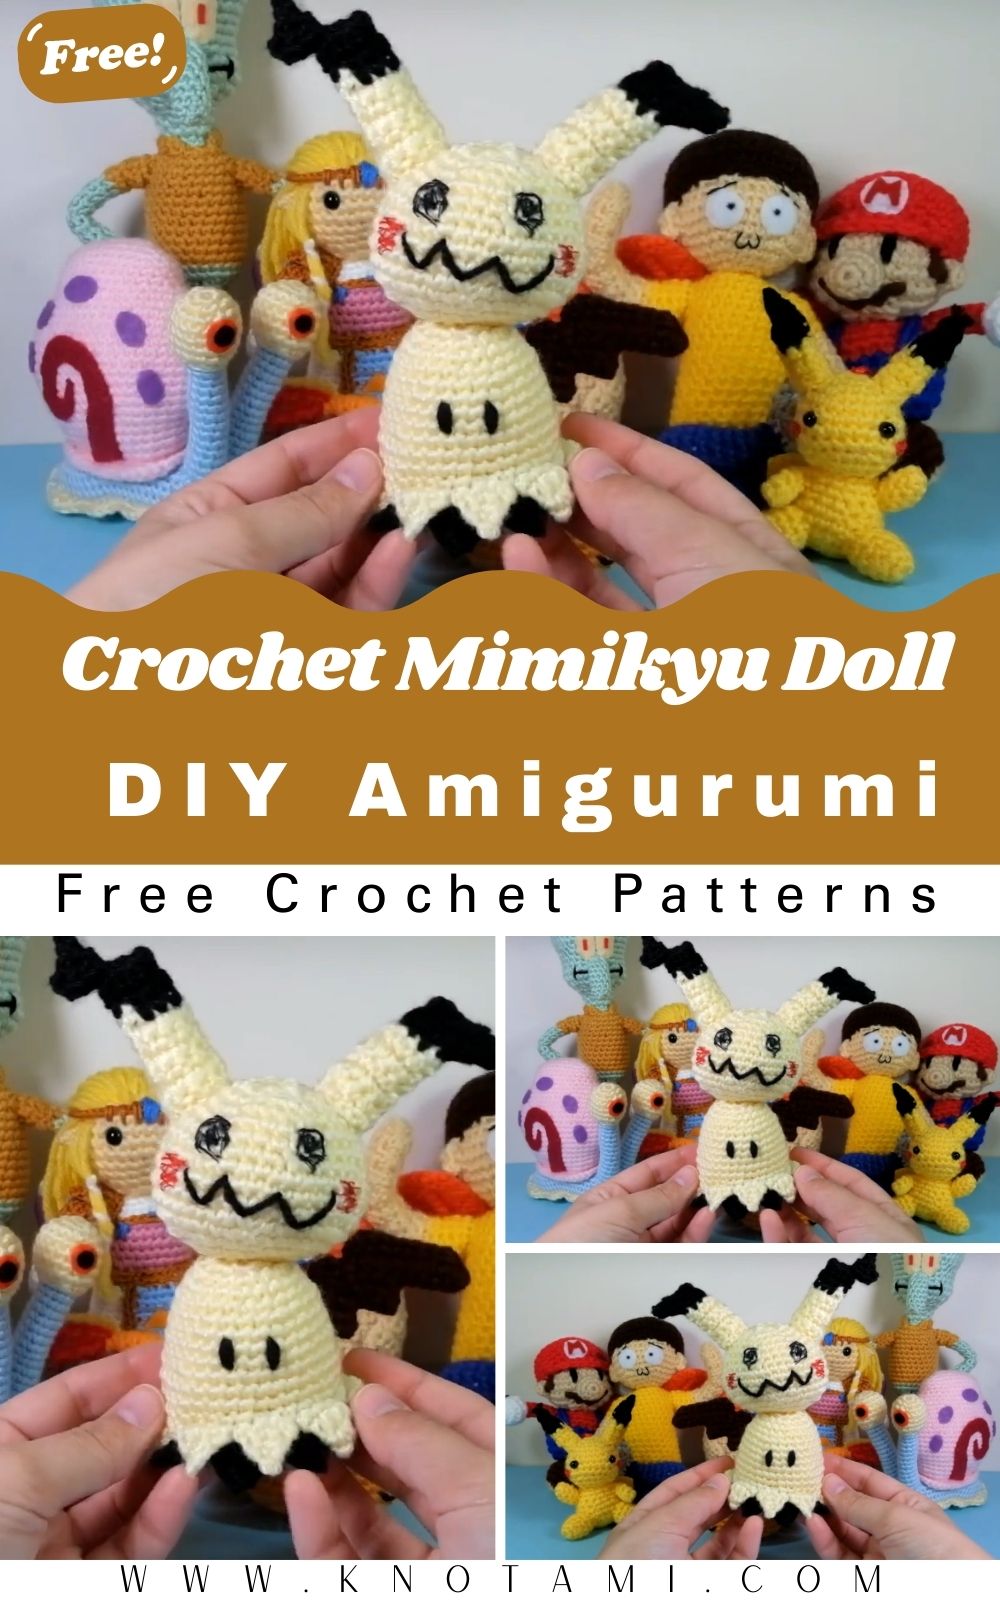
Once you have watched the tutorial video, you will notice how the pieces slowly come together to form the iconic silhouette. The video serves as a perfect companion to this written Mimikyu amigurumi crochet pattern. This is especially true when it comes to the trickier parts, such as the jagged bottom edge or the lopsided head. By combining the visual cues from the video with the detailed steps below, you will ensure your Mimikyu looks exactly like the one in the tutorial.
Skill Level: Level of Difficulty
We categorize this Mimikyu amigurumi crochet pattern as Easy to Intermediate. If you know how to make a magic ring, a single crochet, and basic increases or decreases, you are ready to go. While the assembly is the most challenging part, the “picos” (points) at the base of the body also require focus. However, we explain those clearly below so you can succeed without frustration.
Tutor’s Suggestions
To get the best results with your project, I suggest paying close attention to your stitch tension. For instance, if your stitches are too loose, the stuffing might peek through the black or yellow yarn. Furthermore, I recommend using pins to test the placement of the head before you sew it down permanently.
Since Mimikyu is known for having a tilted, “broken” neck look, finding that perfect angle is key to capturing its personality. Lastly, if you cannot find the exact thickness of yarn you want, do not be afraid to use multiple strands together as shown in the video.
Materials Needed
To complete this Mimikyu amigurumi crochet pattern, you will need to gather the following supplies:
-
Yarn: Light yellow (or pale yellow), brown, and black.
-
Crochet Hook: A 2.5 mm hook is recommended for a tight finish.
-
Stuffing: Soft synthetic fiberfill.
-
Tools: Scissors, a yarn needle, and pins for positioning.
-
Extra Details: Red and black embroidery thread for the facial features.
-
Optional: A stitch marker to keep track of your rounds.
Step-by-Step Guide
Part 1: The Head
You will start your Mimikyu amigurumi crochet pattern by creating the head. First, use the light yellow yarn to begin the rounds.
-
Round 1: Create a magic ring and work 6 single crochets (sc) into it.
-
Round 2: Work an increase (2 sc in each stitch) around. You will have 12 stitches.
-
Round 3: Repeat the pattern of 1 sc followed by 1 increase (18 stitches).
-
Round 4: Work 2 sc followed by an increase (24 stitches).
-
Round 5: Work 3 sc followed by an increase (30 stitches).
-
Round 6: Work 4 sc followed by an increase (36 stitches).
-
Round 7: Work 5 sc followed by an increase (42 stitches).
-
Rounds 8 to 10: Work even (42 sc in each round).
-
Round 11: Decrease every 5 stitches to return to 36.
-
Rounds 12 to 13: Work even with 36 sc.
-
Final Rounds: Continue decreasing (4 sc, then dec; 3 sc, then dec) until you can stuff the head and close it using your yarn needle.
Part 2: The Body and “Picos”
The body follows a similar logic to the head because you want it to be roughly the same size. Consequently, you should start with a magic ring of 6 sc and expand until you reach 36 stitches. After that, work several rounds even to create height.
To create the “picos” or the jagged bottom of the costume:
-
Work 4 sc, then turn your work.
-
Work 3 sc, turn again.
-
Work 2 sc, turn.
-
Work 1 sc and finish off. Repeat this process around the base to give the “rag” look that is essential for any Mimikyu pattern.
Part 3: The Black Base
Mimikyu has a dark shadow underneath its yellow cloth. Therefore, you should use black yarn to crochet a flat circle that matches the diameter of the body base (about 36 stitches). Additionally, add small black picos to this circle. When you sew this to the bottom of the yellow body, remember to offset the points so the black shows through the gaps.
Part 4: The Tail
The tail is made with brown yarn. Instead of rounds, you will work in rows to create a flat, jagged shape.
-
Step 1: Chain 9.
-
Step 2: Work 8 sc back across the chain.
-
Step 3: Continue adding rows and turning the work to create the “lightning bolt” effect. Finally, make two identical pieces and sew them together to give the tail more stability.
Part 5: Assembly
This is where your Mimikyu amigurumi crochet pattern truly comes together.
-
The Neck: Sew the head to the body at an angle. It should not be straight; instead, it should look a bit floppy.
-
The Ears: Crochet two long, tapered ears. Specifically, one should be slightly bent. Sew these to the top of the head.
-
The Face: Use your red and black thread to embroider the “fake” Pikachu eyes and cheeks on the body. Simultaneously, add the real Mimikyu eyes on the lower part of the face.
Source: Pattern
Tips, Tricks, and Common Mistakes
To make your work stand out, try these professional suggestions. First, use an “invisible decrease” when shaping the head to avoid gaps. Second, when you are changing colors, carry the yarn inside the piece to keep the outside looking clean. Third, if you want the tail to stand up, you can insert a small piece of craft wire inside.
Regarding common mistakes, many crafters forget to stuff the neck firmly. As a result, the head may flop down too much and hide the body. Another common error is sewing the black base too tightly, which can distort the shape. Finally, avoid using glue for the facial features; instead, use embroidery for a more professional look.
FAQs
-
Can I use a larger hook?
-
You can, but keep in mind that a larger hook results in a larger plushie with bigger gaps.
-
How do I make the eyes look authentic?
-
Since they are meant to look hand-drawn, use a thicker black yarn or a messy embroidery stitch.
-
Is this suitable for children?
-
Yes, provided that you sew all parts securely.
-
How long does it take?
-
On average, this pattern takes about 3 to 5 hours.
-
What if my “picos” are uneven?
-
That is actually a good thing! Because the disguise is supposed to look homemade, uneven points add realism.
Final Thoughts
In conclusion, creating something with your own hands is a rewarding experience. By following this Mimikyu amigurumi crochet pattern, you have mastered the art of shaping yarn into a character with a soul. Even though it might seem complex at first, your speed and accuracy will improve with practice. Happy crocheting!