
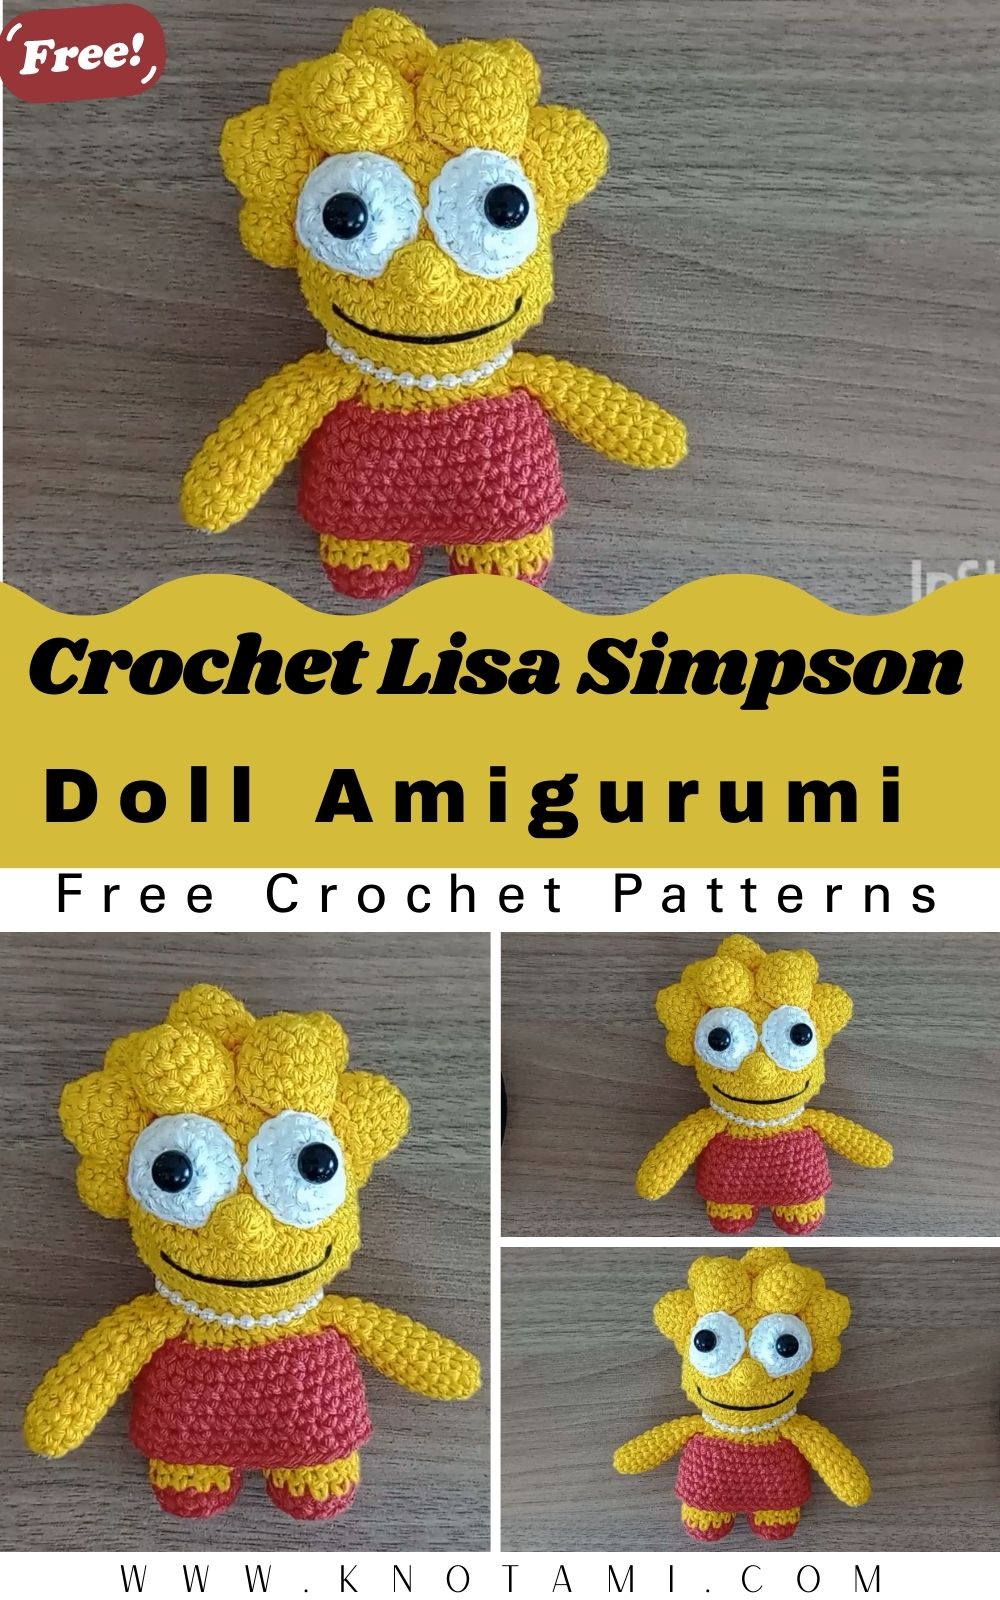
DIY crafts where we bring your favorite cartoon characters to life with just a hook and some yarn! A very special project: creating your very own Crochet Lisa Simpson Doll Amigurumi. Whether you are a die-hard fan of the iconic show or a passionate crafter looking for your next challenge, this guide is designed specifically for you. Lisa is known for her intelligence, her saxophone, and that unmistakable spiked hair, all of which we will recreate with soft, high-quality yarn.
In this tutorial, you will find everything you need to finish the Simpson family collection. We have already covered Bart, Homer, and Marge, so adding a handmade Lisa Simpson plush is the perfect way to complete the set. This project is not only fun but also a great way to practice your amigurumi skills like color switching and shaping. Furthermore, because we focus on a Lisa Simpson crochet pattern that is easy to follow, you will feel confident from the first stitch to the final assembly. Let’s get those hooks ready and start crafting some Springfield magic!
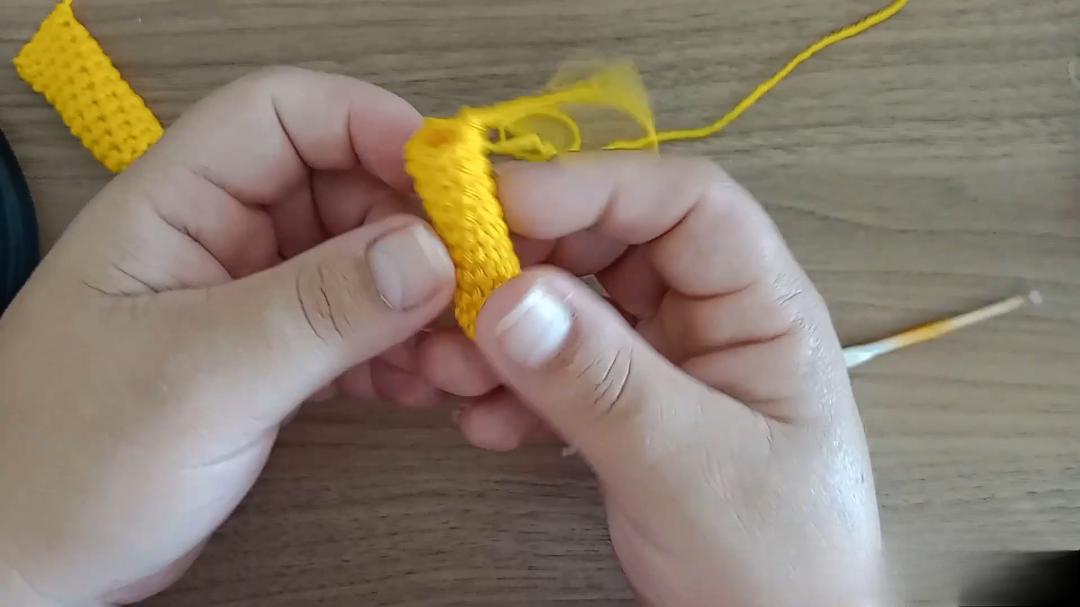
The video provided above is an excellent visual companion to this written guide. Sometimes, seeing the tension of the yarn or the exact placement of the hook makes a world of difference. By watching the embedded video, you can see exactly how the “canary” yellow yarn transforms into the recognizable shape of Lisa’s head and body. It serves as a real-time mentor, ensuring that your Crochet Lisa Simpson Doll Amigurumi looks professional and polished. Additionally, the video highlights specific techniques for the hair spikes that are much easier to understand when seen in motion.
Skill Level: Level of Difficulty
This project is classified as Intermediate. While the basic stitches are simple (single crochet, increases, and decreases), the shaping of the head and the specific construction of the spiked hair require a bit of patience. However, even if you are a beginner, do not be intimidated! If you follow the steps carefully and maintain consistent tension, you will successfully create a beautiful DIY amigurumi doll.
Tutor’s Suggestions
To get the best result for your Crochet Lisa Simpson Doll Amigurumi, I suggest focusing heavily on your “stuffing” technique. Amigurumi is all about the shape, so as you work through the body and head, add the filling gradually. Use the back of a crochet hook or a chopstick to push the stuffing into the corners, especially the nose and the feet. Another tip is to use a smaller hook than what is recommended on the yarn label. This ensures your stitches are tight enough so that the white stuffing doesn’t peek through the yellow stitches.
Materials Needed
Before you start your Lisa Simpson crochet pattern, gather these essential supplies:
-
Yellow Yarn: Specifically “Canary” color (e.g., Charme 1289) for the skin.
-
Red Yarn: For the iconic dress and shoes.
-
White Yarn: For the eyes (Amigurumi 8001).
-
Crochet Hook: 3 mm size is ideal for this yarn weight.
-
Safety Eyes or Black Embroidery Thread: For the pupils.
-
Stuffing: High-quality polyester fiberfill.
-
Tapestry Needle: For sewing the limbs and hiding yarn tails.
-
Pearls on a String: To create Lisa’s classic necklace.
-
Scissors and Glue: For finishing touches.
Step-by-Step Guide to Creating Lisa Simpson
The Feet and Legs

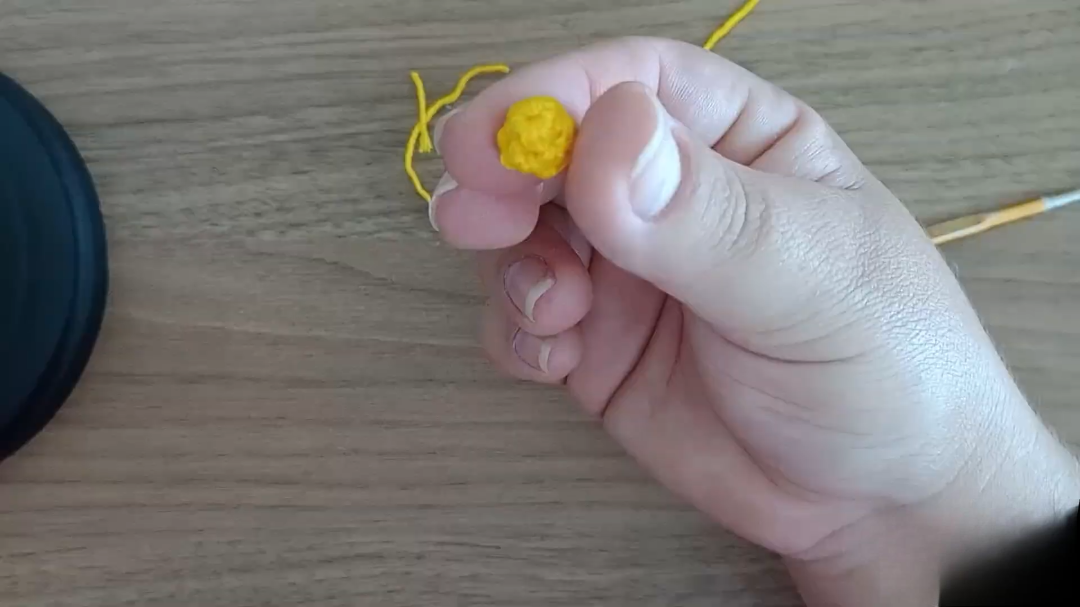
To begin your Crochet Lisa Simpson Doll Amigurumi, start with the red yarn for the shoes. Create a magic ring and place 6 single crochets inside. In the second round, do an increase in every stitch to reach 12. For the third round, work in the back loops only (BLO) to create a sharp edge that allows the foot to sit flat. Consequently, this helps the doll stand better. Switch to yellow yarn for the legs. You will work 12 stitches for three rounds. Repeat this to create two identical legs.
Joining the Body
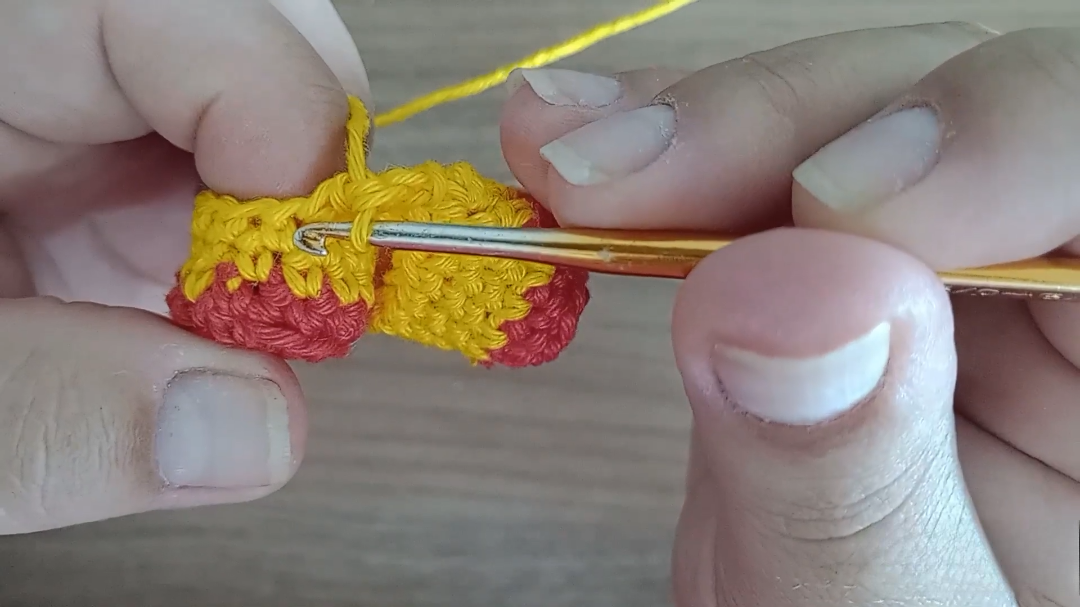
Once the legs are ready, you need to join them. Chain 2 and attach to the first leg with a single crochet. This creates the base of the torso. You should now have 28 stitches total around both legs and the chains. Continue working in rounds with red yarn to start the dress. It is important to note that you must switch back to the BLO technique for one round where the skirt will flare out later. This keeps the handmade Lisa Simpson plush looking authentic to her TV design.
The Head and Face
The head is the most important part of any crochet character patterns. Start with 14 stitches around the neck and increase gradually. Lisa has a very specific “muzzle” shape. To achieve this, the pattern uses a series of increases in one specific area to create a bulge for the mouth, followed by decreases. This is a clever trick in amigurumi for beginners to learn how to sculpt with yarn. Once the head is stuffed, you can sew on the white circular eyes and the small yellow nose.
The Spiked Hair
Lisa’s hair is her most defining feature. To create the spikes, you will work directly onto the head or create a separate wig piece. Each spike consists of a small cone. Therefore, you will chain 4, work back down the chain with a slip stitch, a single crochet, and a half-double crochet. Repeat this around the crown of the head. Because this part is repetitive, it is the perfect time to put on your favorite show and relax while you stitch.
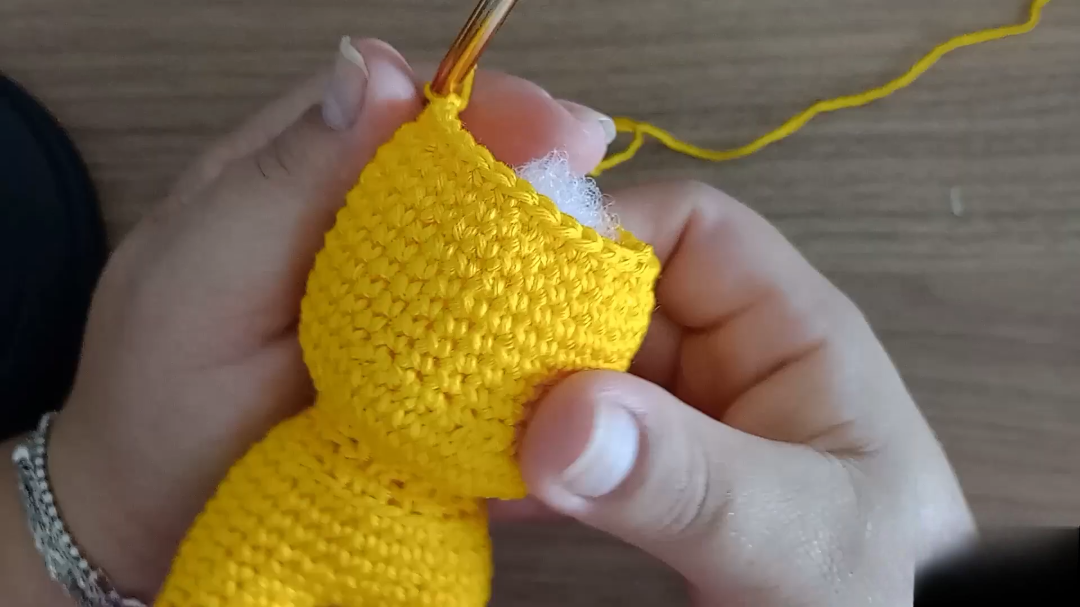
The Arms and Finishing
The arms are thin and simple. Create a magic ring with 6 stitches and work 11 rounds of yellow yarn. Do not overstuff the arms, as you want them to hang naturally at the side of the Crochet Lisa Simpson Doll Amigurumi. Finally, glue or sew the string of pearls around her neck. This small detail truly brings the character to life!
Where Can You Use It?
This Crochet Lisa Simpson Doll Amigurumi is incredibly versatile. It makes a wonderful gift for children who love cartoons or for adults who grew up watching the show. Because it is handmade, it carries a sentimental value that store-bought toys simply cannot match. You can also use it as a decorative piece on a bookshelf or a desk. If you make the entire family, they become a fantastic conversation starter in any room. Some crafters even add a keychain ring to the top of the head to turn it into a bag charm!
Tips and Tricks
-
Invisible Decrease: Always use the invisible decrease method for amigurumi. This prevents gaps in your work.
-
Stitch Markers: Use a piece of scrap yarn as a marker. It is easier to move than plastic clips.
-
Yarn Choice: Cotton yarn is best for this DIY amigurumi doll because it provides great stitch definition.
-
Pearl Placement: If you don’t have pearls, you can crochet a small chain in white yarn to represent the necklace.
-
Face Symmetry: Pin the eyes and nose in place before sewing to ensure she doesn’t look lopsided.
Common Mistakes to Avoid
One common error when following a Lisa Simpson crochet pattern is forgetting to count stitches. If you miss one increase, the face will look crooked. Another mistake is stuffing the doll too lightly. Over time, the fiberfill settles, and your doll might become “saggy.” Furthermore, make sure you don’t pull your color changes too tight, or it will cause the fabric to pucker. Lastly, ensure you are working on the “right side” of the crochet. The “V” shapes should be on the outside, not the “bars.”
Frequently Asked Questions
1. How long does it take to make this doll?
For an intermediate crafter, it usually takes about 4 to 6 hours. This includes the time for crocheting the parts and the final assembly.
2. Can I use a different yarn weight?
Yes, but remember that a thicker yarn will result in a much larger doll. You must adjust your hook size accordingly.
3. Is this pattern safe for babies?
If you are giving this to a baby, do not use glue or pearls. Instead, embroider the eyes and the necklace with yarn to avoid choking hazards.
4. How do I clean my amigurumi?
Hand wash it gently in cold water with mild soap and let it air dry. Do not put it in the dryer, as it might lose its shape.
5. Why does my Lisa look different from the video?
Every crafter has a different “tension.” If yours is looser, the doll will be bigger. Practice makes perfect, so keep going!
Conclusion
Creating a Crochet Lisa Simpson Doll Amigurumi is a rewarding journey that combines skill, creativity, and nostalgia. By following this 1500 word guide, you have learned the technical steps needed to bring a beloved character into the physical world. From the bright yellow skin to the classic red dress, every detail matters. Consequently, as you finish your project, you will feel a great sense of pride in your handmade Lisa Simpson plush.
Remember that the most important part of crafting is to enjoy the process. Do not worry if your first spike isn’t perfect or if the eyes are a little off-center. Each doll you make will be better than the last. Now that you have mastered Lisa, why not try making the rest of the Simpson family? The skills you have practiced here will serve you well in all your future crochet character patterns. Happy hooking, and enjoy your new little friend from Springfield!