

If you are looking for a project that is both adorable and functional, you have come to the right place. Today, we are diving deep into the process of making a Crochet Ladybug Charm Keychain Amigurumi. This little insect is not just a toy; it is a symbol of luck and childish wonder that you can carry with you wherever you go. Because this project is small, it serves as the perfect weekend activity for anyone who loves to create something tangible and beautiful with their own two hands.
Whether you are an experienced crafter or just starting out, this Crochet Ladybug Charm Keychain Amigurumi will capture your heart. We use soft milk cotton yarn to ensure the texture is cuddly and high quality. Consequently, the finished result is a sturdy yet soft charm that looks professional. In the following sections, we will break down every single stitch so that you can follow along easily. You will soon see how simple it is to transform a few balls of yarn into a vibrant, red and black lucky charm that everyone will admire.
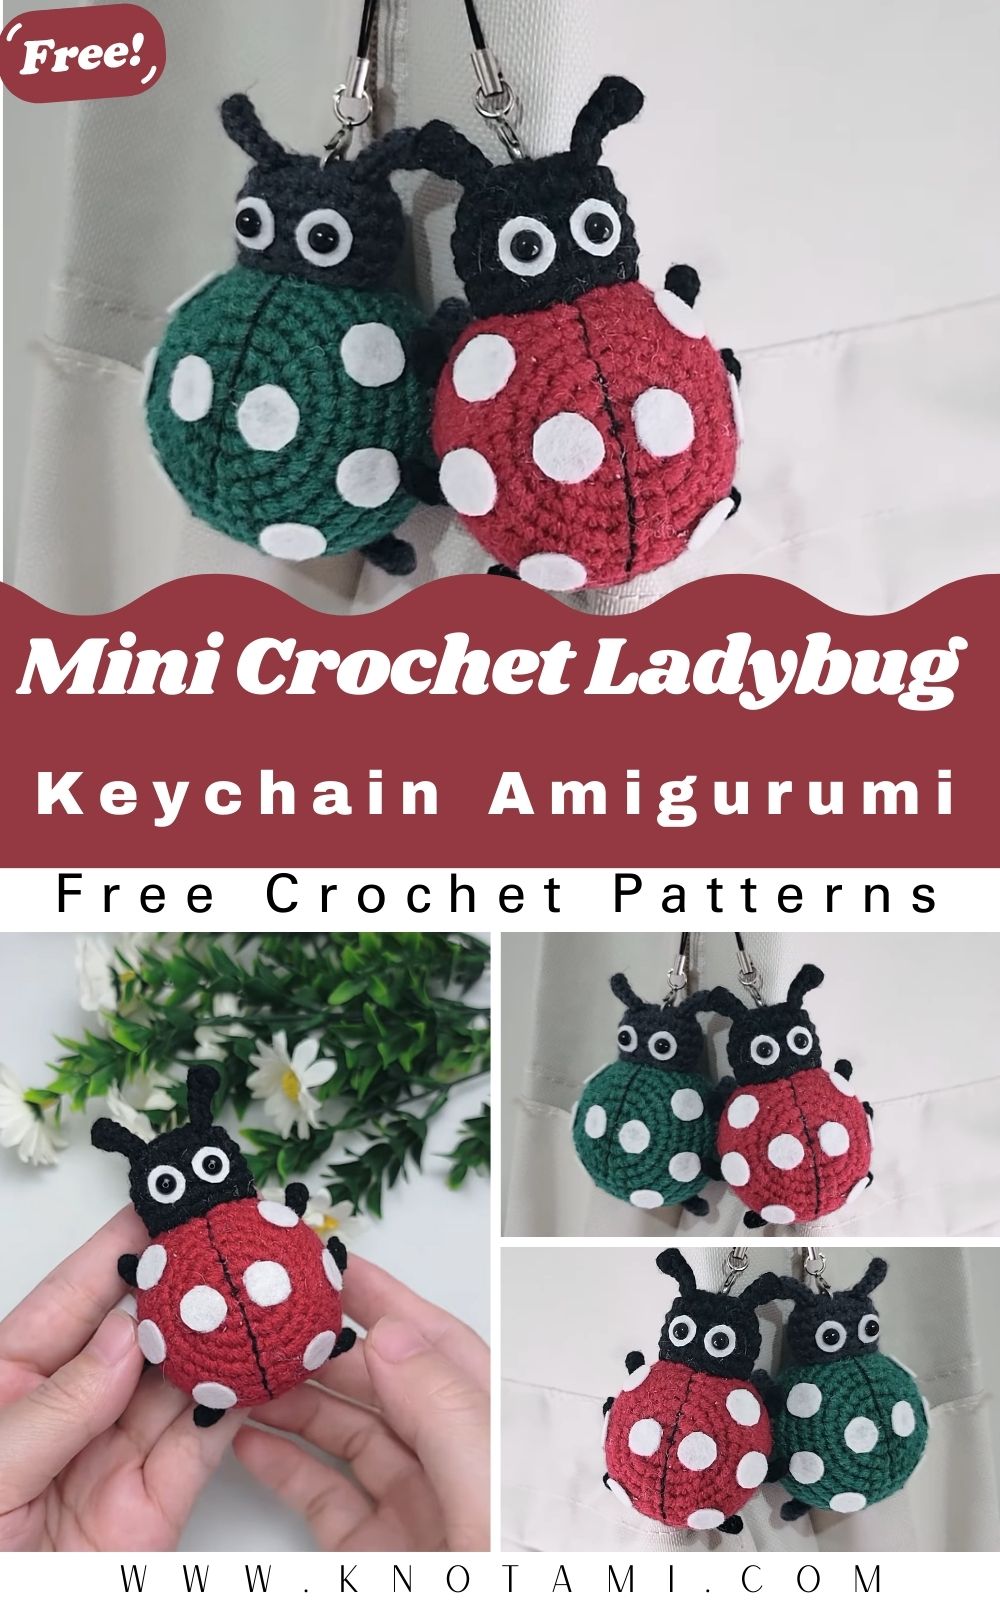
If you are a visual learner, you will find the embedded video above extremely helpful. It serves as a real time companion to this written guide. While the text provides the technical details and counts, the video allows you to see the exact hand movements and needle placements. Therefore, I highly recommend watching the video once through before you start your Crochet Ladybug Charm Keychain Amigurumi. This preparation ensures that you understand the flow of the project. Furthermore, you can pause and rewind the footage whenever you hit a tricky spot, making your crafting experience entirely stress free.
Skill Level: Beginner to Intermediate
This project is classified as an easy to intermediate level. If you know how to do a magic ring, a single crochet, and basic increases, you are ready to go. However, because we work with small parts like legs and antennae, you will need a bit of patience and fine motor coordination.
Tutor’s Suggestions
Before you pick up your hook, I have a few personal suggestions to make your journey smoother. First, always use a stitch marker at the beginning of every round. Since we are working in circles, it is very easy to lose your place. Second, keep your tension consistent. If you crochet too loosely, the stuffing might show through the gaps. On the other hand, if you crochet too tightly, your hands might get tired quickly. Lastly, make sure you leave long yarn tails when fastening off. These tails are vital because they make sewing the head, body, and legs together much easier and more secure.
Materials and Step by Step Guide
Materials Needed
-
Yarn: Four strands of Milk Cotton (Red, Black, and White).
-
Hook: 2.0mm crochet hook.
-
Eyes: 5mm safety eyes and 9mm white felt circles for the “whites.”
-
Stuffing: Polyester fiberfill.
-
Extras: 10mm black felt spots, lobster buckle/keychain ring, and a sewing needle.
Part 1: The Bottom Base
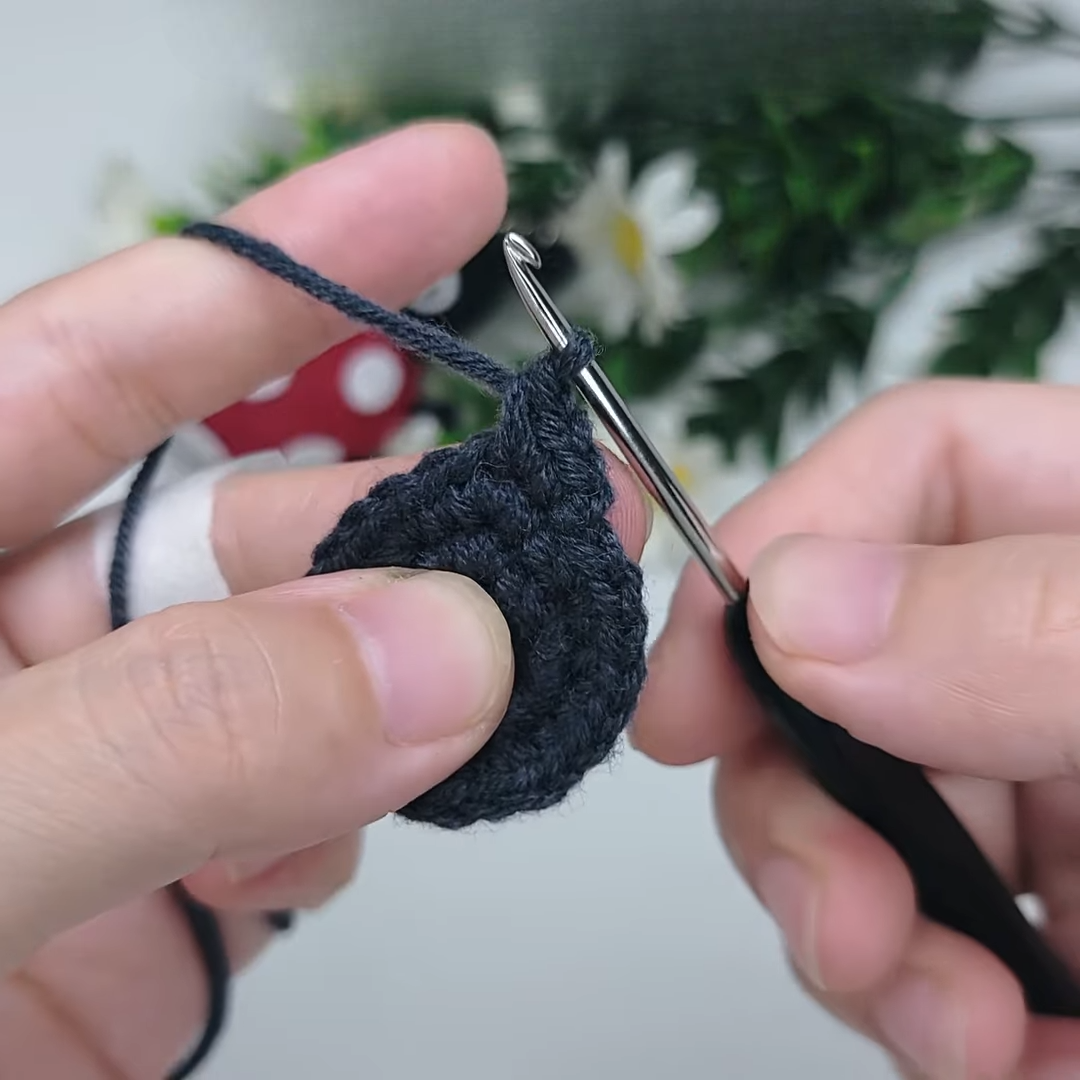
To begin your Crochet Ladybug Charm Keychain Amigurumi, we start with the flat bottom piece.
-
Round 1: Start with a magic ring. Work 8 short stitches (single crochet) into the loop. Tighten the loop and pull through the first stitch.
-
Round 2: Chain 1. Work an increase in every stitch around. You should have 16 stitches now.
-
Round 3: Chain 1. Follow a pattern of (1 short stitch, 1 increase) 8 times. Total: 24 stitches.
-
Round 4: Chain 1. Follow a pattern of (2 short stitches, 1 increase) 8 times. Total: 32 stitches.
-
Round 5: Chain 1. Follow a pattern of (3 short stitches, 1 increase) 8 times. Total: 40 stitches. Fasten off and break the thread.
Part 2: The Main Body
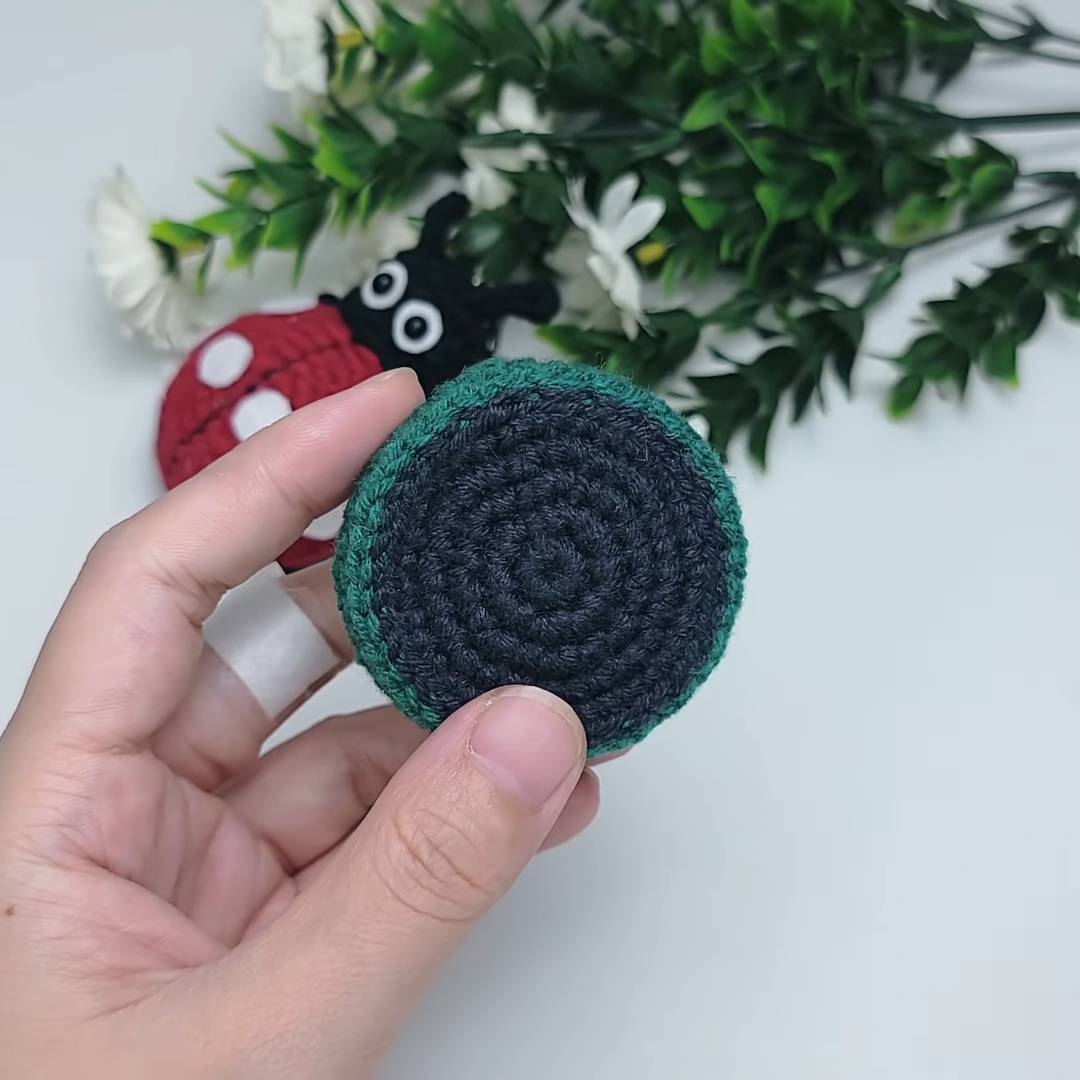
Now, let us create the round red shell of the ladybug.
-
Rounds 1-3: Repeat the same increasing pattern as the bottom until you reach 24 stitches.
-
Round 4: Work 24 short stitches without any increases.
-
Round 5: Work (2 short stitches, 1 increase) repeated to reach 32 stitches.
-
Round 6: Work 32 short stitches evenly.
-
Round 7: Work (3 short stitches, 1 increase) 8 times to reach 40 stitches.
-
Rounds 8-10: Work 40 short stitches in each round. This creates the height of the body.
-
Assembly: Align the body and bottom. Sew them together using the inner half needle of the body and outer half needle of the bottom. Remember to stuff it firmly before closing!
Part 3: The Head
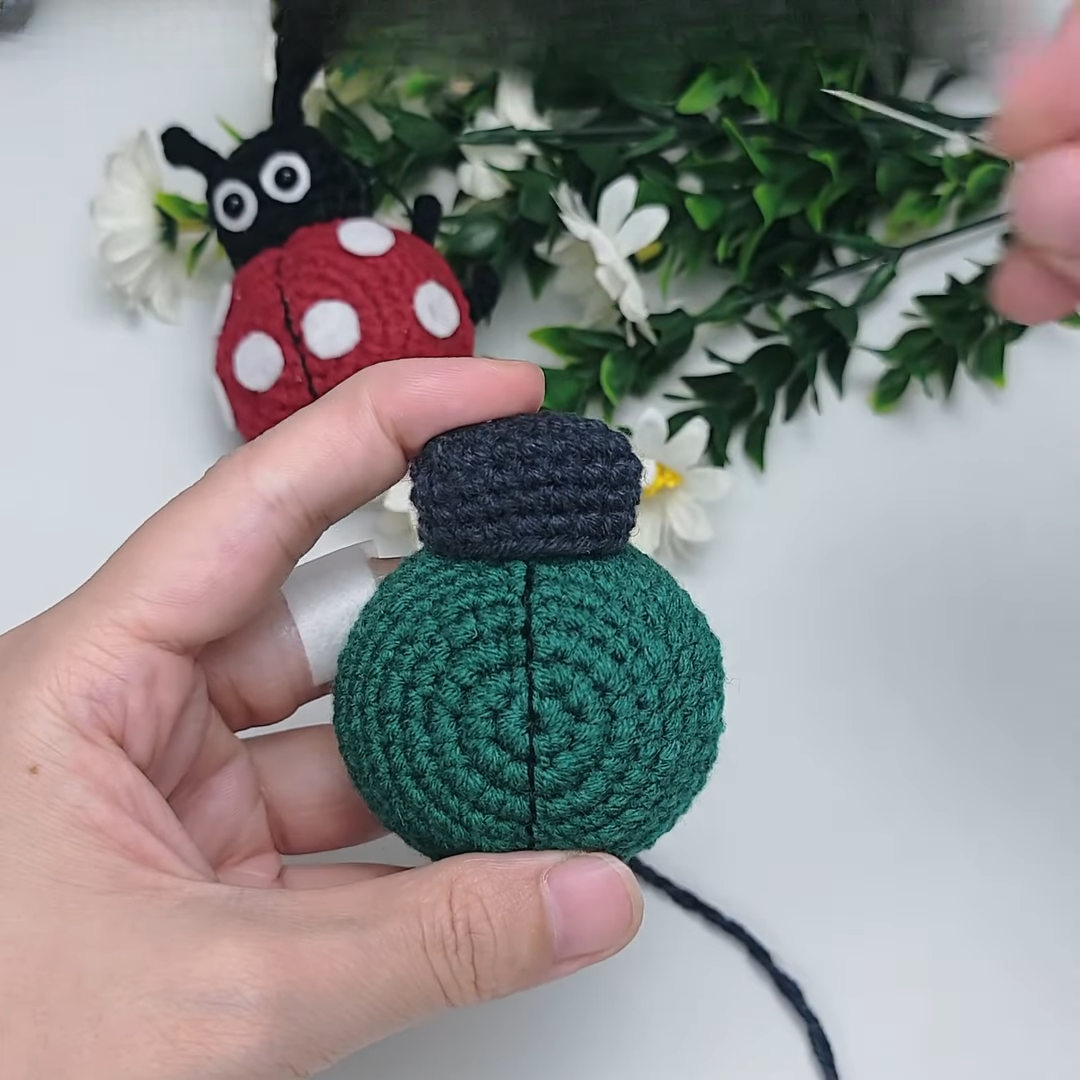
The head is worked in an oval shape rather than a perfect circle.
-
Round 1: Chain 6. Starting in the second chain from the hook, work around the chain: increase, 3 short stitches, 4 stitches in the last chain, 3 short stitches, and an increase. Total: 14 stitches.
-
Round 2: Increase in the first stitch, 5 short stitches, 2 increases, 5 short stitches, 1 increase. Total: 18 stitches.
-
Rounds 3-5: Work 18 stitches evenly. Stuff the head and sew it to the front of the body.
Part 4: Antennae and Legs
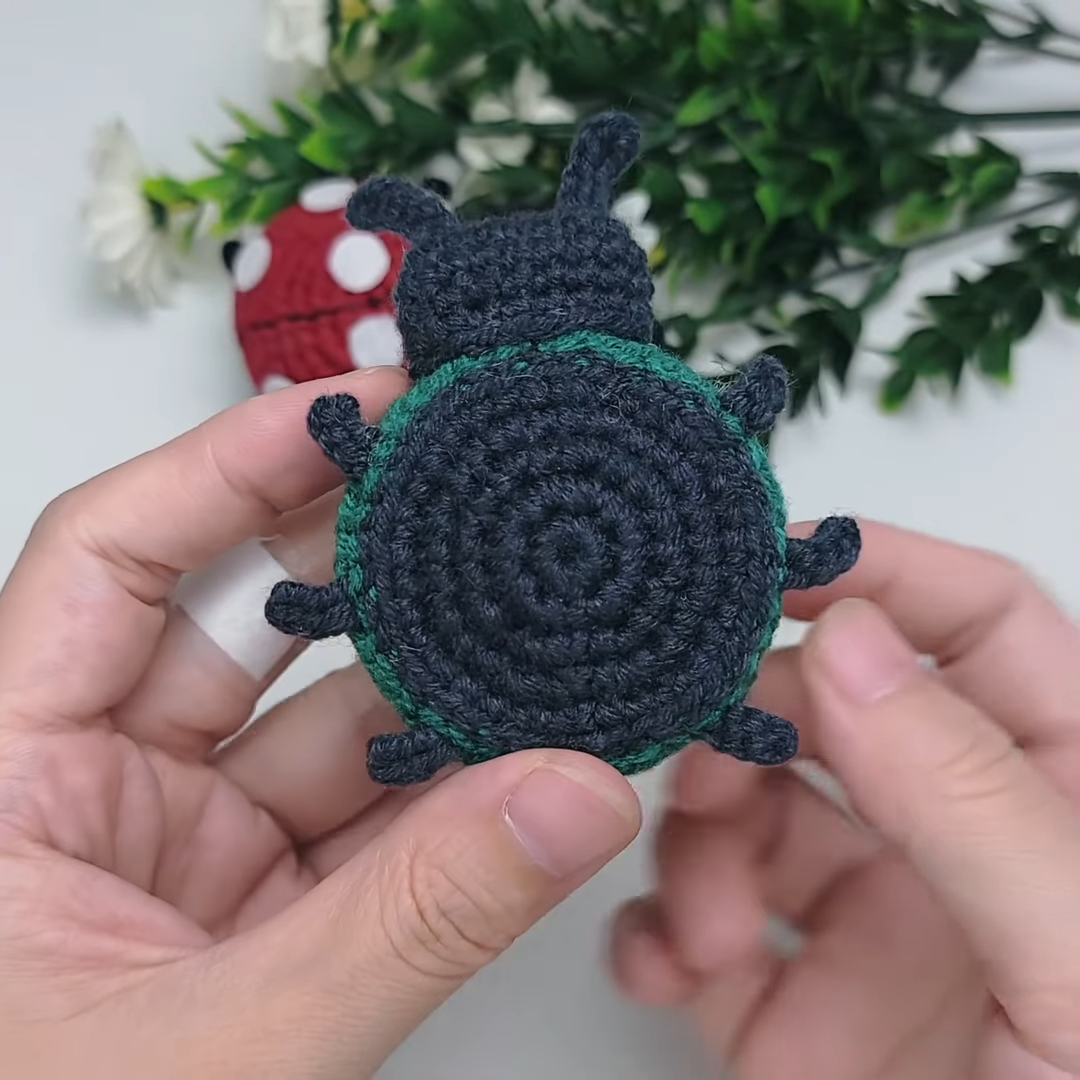
For the antennae, insert your hook into the head and chain 6. Work back down with medium-long stitches. For the six legs, insert the hook into the bottom/side area, chain 4, and work 3 slip stitches back. Repeat this for all six legs to give your ladybug a realistic look.
Where to Use Your Ladybug
You might wonder where you can show off your new creation. Firstly, it makes a brilliant Crochet Ladybug Charm Keychain Amigurumi for your car keys or house keys. Secondly, you can clip it onto a backpack or a purse as a “bag charm.” Because it is so lightweight, it won’t add bulk. Additionally, these make wonderful nursery decorations or small gifts for teachers and friends. Many people even use them as Christmas tree ornaments by simply adding a festive ribbon!
Tips and Tricks
To make your ladybug look professional, pay attention to the embroidery. When you sew the black line down the back, ensure it is perfectly centered. Moreover, when you glue the 10mm spots, space them out evenly so the body looks balanced. If you want the eyes to pop, place the 5mm black eyeball slightly off-center on the 9mm white felt. This gives the ladybug a funny, “staring” expression that adds a lot of personality.
Common Mistakes
One common mistake is forgetting to stuff the body enough. If the body is under-stuffed, the ladybug will look wrinkled or flat. Another error is sewing the legs on unevenly. To avoid this, use pins to mark the leg positions before you start crocheting them directly onto the body. Also, make sure you don’t skip the chain 1 at the start of each round, as this helps maintain the height of your stitches. Lastly, ensure your slip knots are tight so the work doesn’t unravel over time.
FAQs
Q1: What yarn is best for a ladybug keychain?
Actually, milk cotton is the best choice because it is soft and does not pill easily. This ensures your keychain stays looking new even after being handled frequently.
Q2: Can I use a larger hook?
If you use a larger hook, your ladybug will be bigger, but the stitches will have larger gaps. Consequently, the stuffing might leak out, so a 2.0mm hook is ideal.
Q3: How do I attach the spots?
You can either crochet small black circles or use felt. For this specific tutorial, we recommend 10mm felt circles attached with fabric glue for a clean, round look.
Q4: Is this project safe for toddlers?
If you are giving this to a small child, please sew the eyes on using black yarn instead of using plastic safety eyes. This prevents any potential choking hazards.
Q5: How long does it take to finish?
On average, a beginner can finish this Crochet Ladybug Charm Keychain Amigurumi in about two to three hours. As you get faster, you can make one in under an hour!
Conclusion
In conclusion, making your own Crochet Ladybug Charm Keychain Amigurumi is a rewarding and joyful experience. By following these steps, you have created a unique accessory that carries the warmth of a handmade gift. Not only have you learned how to shape amigurumi parts, but you have also mastered the art of assembling complex pieces into a cute character. Remember, practice makes perfect, so do not be afraid to make a second or third ladybug in different colors. Thank you for following along, and I hope your new ladybug brings you endless luck and smiles! Happy crocheting!