
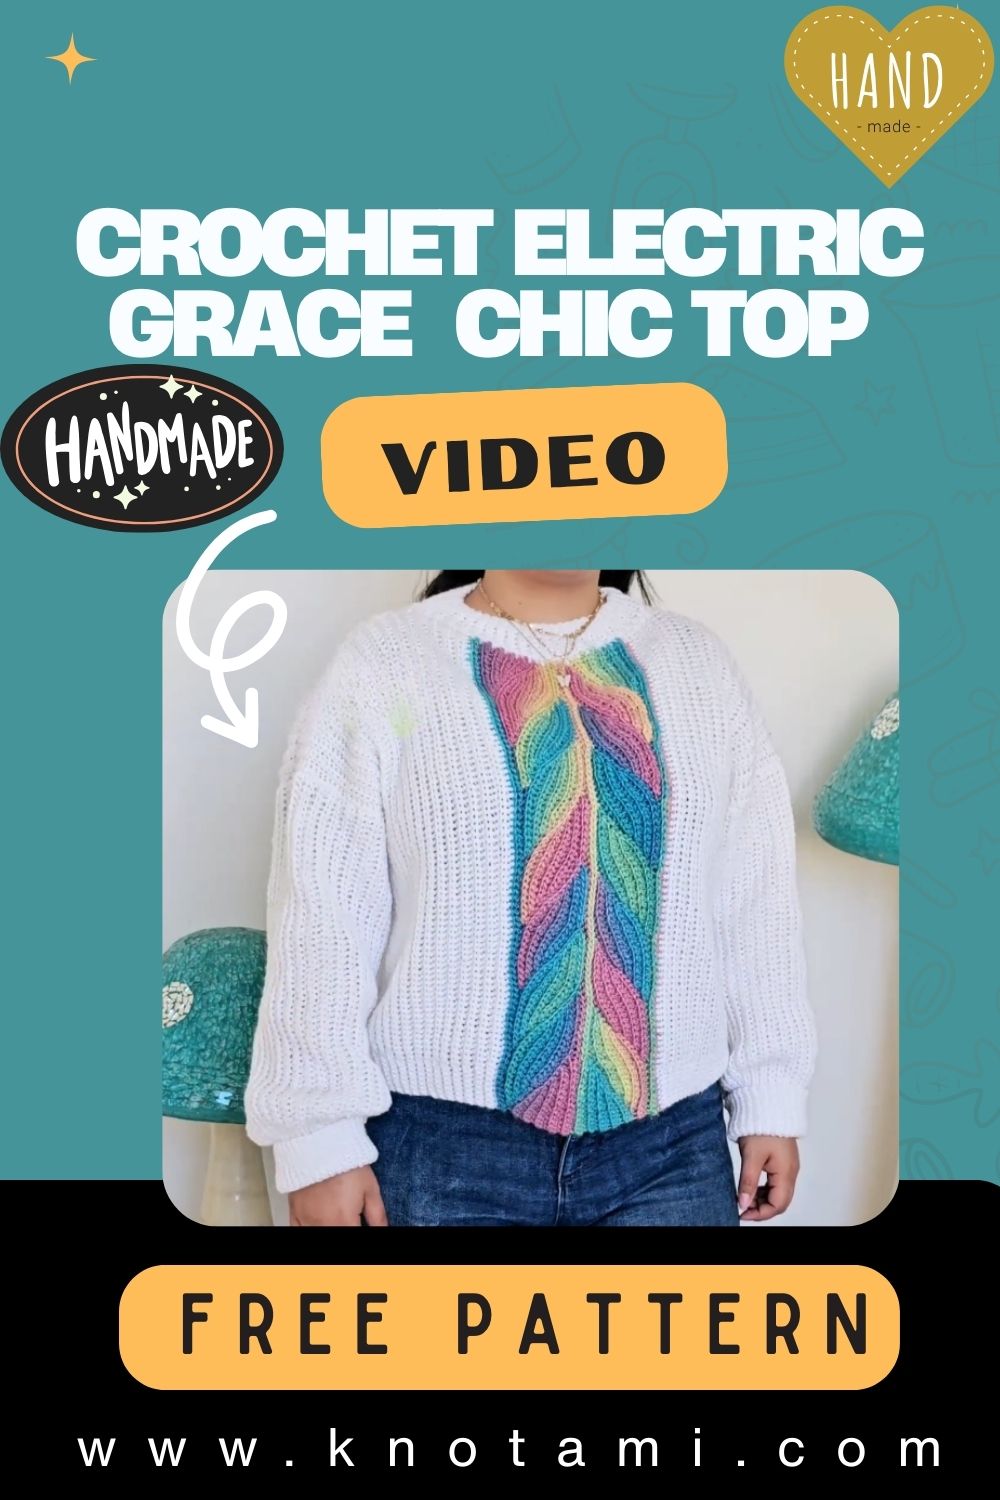
Discover the Wondrous Crochet Electric Grace Sleek & Chic Top Pattern, a stylish, easy project with clear steps, soft flow, and modern lines, perfect for beginners.
Step into effortless style with the Wondrous Crochet Electric Grace Sleek & Chic Top Pattern, a modern, lightweight tee designed for quick stitches and polished results. With simple repeats, a flattering straight body, and customizable length, it’s beginner-friendly yet satisfying for seasoned makers.

Moreover, the clean edges and soft drape create a luxe finish that pairs beautifully with your wardrobe. Choose your favorite yarn, follow the clear steps, and enjoy a confidence-boosting make that transitions from day to night with ease.
Uses:
- Everyday elegance with jeans, shorts, or skirts
- Layering over camis or turtlenecks across seasons
- Thoughtful handmade gift for fashion-loving friends
Introduction
Effortless, sleek, and delightfully beginner-friendly, the Wondrous Crochet Electric Grace Sleek & Chic Top Pattern delivers a modern crochet tee you can finish with confidence. Moreover, this stylish project balances clean lines with soft drape, making it a timeless wardrobe staple for every season. Consequently, the step-by-step plan below includes exact measurements, smooth sizing tips, clear instructions for the neckline, body, and finishing, and realistic time estimates. Therefore, you’ll enjoy a polished result that fits beautifully and looks truly chic.
SEO-friendly note woven in naturally.
Importantly, the Wondrous Crochet Electric Grace Sleek & Chic Top Pattern offers a beginner-friendly crochet top pattern with a sleek silhouette, elegant drape, and simple stitches that upgrade any handmade wardrobe.
Materials and Tools
- Yarn: DK-weight (Category 3) cotton or cotton-blend for breathable drape.
- XS (32-inch finished bust): 550–600 yards (503–549 m)
- S (36-inch): 650–700 yards (594–640 m)
- M (40-inch): 730–780 yards (668–713 m)
- L (44-inch): 820–880 yards (750–805 m)
- XL (48-inch): 920–980 yards (842–896 m)
- 2X (52-inch): 1020–1100 yards (933–1006 m)
- 3X (56-inch): 1120–1210 yards (1024–1107 m)
- 4X (60-inch): 1240–1340 yards (1134–1226 m)
- 5X (64-inch): 1380–1500 yards (1262–1372 m)
- Hook: 4.0 mm (US G-6) for body; 3.5 mm (US E-4) for neck/hem edging if desired.
- Notions: Stitch markers (at least 6), tapestry needle, scissors, measuring tape, blocking pins/mat, and an optional row counter.
- Gauge: 15 hdc x 12 rows = 4 x 4 in (10 x 10 cm) in half double crochet after light blocking.
- Finished garment bust circumference: 32 (36, 40, 44, 48, 52, 56, 60, 64) inches with 2–4 inches intended ease.
- Fit note: Choose a size 2–4 inches larger than your actual bust for relaxed drape.
Sizing and Fit Tips
- First, measure your full bust accurately while wearing a light layer. Then, add 2–4 inches for ease and select the closest finished bust from the size list.
- Next, decide your preferred length: cropped, classic (high-hip to mid-hip), or tunic. Additionally, add or subtract rows to match your goal.
- Furthermore, plan an armhole opening that feels comfortable:
- XS/S: 7.5–8 inches
- M/L: 8.5–9 inches
- XL/2X: 9–9.5 inches
- 3X/4X/5X: 9.5–10 inches
- Finally, remember that cotton relaxes; therefore, a light block after finishing will enhance drape without distorting fit.
Gauge and Swatching
- First, chain 22. Then, work Row 1: hdc in the second chain fromthe hook and across (21 stitches).
- Next, work Row 2: ch 1, turn, hdc across. Additionally, repeat Row 2 until you reach 16 rows.
- Afterwards, lightly block your swatch, let it dry, and measure 4 x 4 inches to confirm 15 hdc x 12 rows.
- If your swatch measures too large, go down a hook size; conversely, if it’s too small, go up a hook size. Consequently, your final garment will match the intended measurements.
Abbreviations (US Terms)
- ch = chain
- hdc = half double crochet
- sc = single crochet
- sl st = slip stitch
- hdc2tog = half double crochet two together (decrease)
- st(s) = stitch(es)
- RS/WS = right side/wrong side
Pattern Notes
- First, note that the top is worked flat in two rectangles (Front and Back) with simple neckline shaping only on the Front. Then, you seam shoulders and sides, add edging, and block.
- Additionally, the all-hdc fabric yields a sleek, chic surface with a gentle drape that is kind to beginners.
- Finally, you will follow exact stitch counts per size; therefore, you can relax and crochet without guesswork.
Exact Stitch Counts and Finished Widths
- Stitch gauge: approximately 3.75 stitches per inch (15 stitches per 4 inches).
- Row gauge: approximately 3 rows per inch (12 rows per 4 inches).
- Panel width per size (each panel equals half the bust circumference):
- XS 16 inches → 60 sts/row
- S 18 inches → 68 sts
- M 20 inches → 75 sts
- L 22 inches → 83 sts
- XL 24 inches → 90 sts
- 2X 26 inches → 98 sts
- 3X 28 inches → 105 sts
- 4X 30 inches → 113 sts
- 5X 32 inches → 120 sts
- Standard length from shoulder to hem (adjustable as desired):
- XS/S: 20 inches (about 60 rows)
- M/L: 21 inches (about 63 rows)
- XL/2X: 22 inches (about 66 rows)
- 3X/4X/5X: 23 inches (about 69 rows)
Neckline Planning (Front Panel)
- First, decide your neck width (center stitches left unworked at the very top of the Front):
- XS: 30 sts; S: 34 sts; M: 35 sts; L: 39 sts; XL: 42 sts; 2X: 46 sts; 3X: 49 sts; 4X: 53 sts; 5X: 56 sts
- Next, confirm shoulder stitches (each side after splitting at the neck):
- XS: 15 sts; S: 17 sts; M: 20 sts; L: 22 sts; XL: 24 sts; 2X: 26 sts; 3X: 28 sts; 4X: 30 sts; 5X: 32 sts
- Finally, plan your neck depth (before edging):
- XS/S: about 2.75 inches (8 rows)
- M/L: about 3 inches (9 rows)
- XL/2X: about 3.25 inches (10 rows)
- 3X/4X/5X: about 3.75 inches (11 rows)
Step-by-Step Instructions
Because structure and pacing reduce overwhelm, each step includes a realistic time estimate. Additionally, remember that your speed may vary slightly based on yarn, tension, and familiarity.
Back Panel (straight, no neckline shaping)
- First, make your foundation chain:
- XS: ch 61; S: ch 69; M: ch 76; L: ch 84; XL: ch 91; 2X: ch 99; 3X: ch 106; 4X: ch 114; 5X: ch 121.
- Then, work Row 1 (WS): hdc in the second chain from the hook and in each chain across to establish your stitch count.
- Next, work Row 2 (RS): ch 1, turn, hdc across.
- Afterwards, repeat Row 2 until you reach your length target by size:
- XS/S: 60 rows total; M/L: 63 rows; XL/2X: 66 rows; 3X/4X/5X: 69 rows.
- Finally, fasten off and leave a tail for seaming; consequently, your back panel is complete and ready for assembly.
Front Panel (with neckline shaping)
- First, create the foundation chain identical to the Back for your size, and work Row 1 as established in hdc.
- Next, continue even in hdc until your piece sits 2–4 inches shorter than the final length:
- XS/S: stop at Row 52; M/L: stop at Row 55; XL/2X: stop at Row 58; 3X/4X/5X: stop at Row 61.
- Afterwards, mark the center neck width according to your size, placing markers at the edges of the neck opening for clarity.
- Then, work the left shoulder:
- Row LS1 (RS): ch 1, turn, hdc across to the first neck marker; leave center stitches unworked.
- Rows LS2–LS4 (optional gentle curve): ch 1, turn, hdc2tog at neck edge, then hdc to end.
- Subsequently, continue straight until you reach the planned neck depth:
- XS/S: 8 rows after split; M/L: 9 rows; XL/2X: 10 rows; 3X/4X/5X: 11 rows.
- Finally, fasten off the left shoulder only.
- Next, mirror the right shoulder:
- Row RS1 (RS): reattach yarn at the opposite outer edge, then hdc across to the second neck marker; leave center stitches unworked.
- Rows RS2–RS4: ch 1, turn, hdc to last 2 sts, hdc2tog at neck edge to mirror the left.
- Afterwards, continue straight to match the left shoulder row count and fasten off.
- Consequently, your front panel now features a smooth and balanced neckline that feels comfortable and looks refined.
Shoulder Seaming
- First, align the Front and Back at the shoulders with right sides facing.
- Next, mattress stitch or whip stitch each shoulder seam, leaving the neckline gap open according to your marked width.
- Finally, weave in seaming tails neatly; consequently, the shoulder line will sit flat and sturdy.
Side Seaming and Armhole Opening
- First, decide on your armhole depth and place markers down from each shoulder seam:
- XS/S: 7.5–8 inches; M/L: 8.5–9 inches; XL/2X: 9–9.5 inches; 3X/4X/5X: 9.5–10 inches.
- Next, mattress stitch the side seams from the hem up to the markers, keeping edges aligned.
- Finally, secure and weave in tails; consequently, you’ll create a clean drop-shoulder armhole that moves easily with you.
Neckline Edging (clean and comfy)
- First, switch to the 3.5 mm hook and attach yarn at a shoulder seam with the RS facing.
- Next, work Round 1: evenly sc around the neckline, placing about 3 sc for every 2 rows along curves and 1 sc per stitch along straight edges; then sl st to the first sc to join.
- Afterwards, work Round 2: ch 1, sc around; optionally sc2tog once at each shoulder seam for a snugger fit; then sl st to join.
- Finally, add Round 3 (optional): ch 1, crab stitch (reverse sc) around for a polished corded edge; then sl st to join and fasten off. Consequently, the neckline will hug the body softly without feeling tight.
Armhole Edging (optional but polished)
- First, attach yarn at the underarm with the RS facing and your 3.5 mm hook.
- Next, work Round 1: evenly sc around the armhole; then sl st to join.
- Afterwards, work Round 2: ch 1, sc around; then sl st to join and fasten off.
- Alternatively, extend to a cap sleeve by adding 2–4 additional rounds of hdc. Consequently, you’ll gain a touch more coverage without altering the silhouette.
Hem Finishing
- First, attach yarn at the hem and work one round of sc evenly around (or one row before seaming if you prefer).
- Next, check that your tension remains relaxed to avoid flare or puckering.
- Finally, add a second round of loose slip stitches if you want extra structure. Consequently, the hem will sit crisp, flat, and chic.
Blocking and Final Touches
- First, soak or steam the block lightly to relax stitches and even out tension.
- Next, lay the garment flat on a blocking mat, then shape shoulders, neckline, and hem to precise measurements.
- Finally, let it dry fully and weave any remaining ends securely. Consequently, the drape will improve noticeably, and the fabric will look professionally finished.
Basic Tips for Success
- First, swatch and block before starting; consequently, you’ll lock in the correct size and prevent surprises.
- Next, use stitch markers generously to mark centers, edges, and measurement points; therefore, shaping stays symmetrical.
- Additionally, measure as you go at regular intervals; thus, width, length, and armholes match your plan.
- Moreover, keep a gentle, steady tension with cotton; meanwhile, relax your grip to reduce hand fatigue.
- Finally, take short stretch breaks every 30–45 minutes; consequently, your consistency and comfort will improve.
Common Mistakes (and how to avoid them)
- First, watch for inconsistent gauge: recount stitches at the end of each row for the first 10 rows, then every 10 rows; consequently, your panel width stays accurate.
- Next, avoid twisted seams: keep right sides facing and edges aligned during mattress stitch; otherwise, seams can torque.
- Additionally, don’t skip neck markers: precise neck width markers prevent uneven shoulders; therefore, place them before splitting.
- Moreover, watch edging tension: if the neckline or armhole pulls, size up the hook for edging or add a few stitches evenly; consequently, openings will relax.
- Finally, remember ease: choose a finished bust 2–4 inches larger than your actual bust; otherwise, the tee may feel snug rather than drapey.
Variations to Personalize Your Top
- First, crop it: stop 4–6 inches sooner and add a simple ribbed hem (sc in back loop only); consequently, you’ll get a modern cropped silhouette.
- Next, go tunic length: add 4–8 inches and split the hem sides for 2–3-inch vents; therefore, movement and style increase.
- Additionally, try a textured swap: replace hdc with linen/moss stitch (alternate sc and ch 1; then sc into each ch-space on the next row); consequently, the fabric gains subtle texture.
- Moreover, add bold stripes: change color every 4–6 rows and carry yarn neatly up the side; thus, you minimize ends.
- Alternatively, soften into a V-neck: decrease 1 stitch at each neck edge every RS row for 6–8 rows, then work straight; consequently, the neckline becomes a graceful V.
- Finally, explore sleeves: pick up stitches at the armhole and work hdc in the round, decreasing 2 stitches every 6 rounds to the wrist; therefore, you can create light, long sleeves with a simple finish.
Time Planning Overview (all sizes, average pace)
- First, swatch and block: 25–35 minutes.
- Next, back panel: 3–4.5 hours.
- Then, front panel to neckline split: 3–4 hours.
- Afterwards, front neckline shaping: 1–2 hours.
- Subsequently, shoulder seams: 25–35 minutes.
- Additionally, side seams: 30–45 minutes.
- Moreover, neckline and armhole edging: 1–1.5 hours total.
- Finally, blocking and final weaving: 30–45 minutes.
Consequently, you can plan a comfortable weekend project or spread it across several evenings.
Care Instructions
- First, wash by hand or machine on a gentle, cold cycle in a mesh bag; consequently, the fibers remain smooth.
- Next, lay flat to dry and reshape; therefore, the garment preserves its drape and size.
- Finally, store folded rather than hung; otherwise, shoulder stretch may occur over time.
Troubleshooting Fit
- First, if the body feels too wide, seam an extra 0.5–1 inch on each side; consequently, the bust reduces by 2–4 inches overall.
- Next, if it feels too narrow, add slim side gussets: crochet two strips 2–3 inches wide and seam between Front and Back; therefore, you’ll gain extra ease.
- Additionally, if the neck feels too open, add an extra round of sc and sprinkle a few sc2tog at the front center; consequently, the neckline will draw in.
- Finally, if the neck feels too tight, remove the edging and redo with a larger hook or add a ch-1 space every 5–6 stitches; therefore, the opening will relax comfortably.
Why This Pattern Works for Beginners
- First, the stitch choice is simple: hdc almost everywhere; consequently, you can focus on rhythm rather than complexity.
- Next, the counts are clear with size-by-size stitch totals; therefore, setup becomes straightforward.
- Finally, construction uses two rectangles and minimal shaping; thus, confidence grows while the results look refined.
Short, Warm Wrap-Up (with SEO keyword blended organically)
Ultimately, the Wondrous Crochet Electric Grace Sleek & Chic Top Pattern combines clean design, relaxed ease, and approachable techniques that flatter many body types. Additionally, its DK cotton fabric and straightforward seams create a sleek crochet top pattern that transitions from daytime casual to evening chic. Consequently, with a few hours of calm stitching, you’ll finish a polished, wearable tee that feels light, looks luxe, and showcases your handmade style.
Quick Reference: Uses
- First, enjoy everyday style with jeans, skirts, or tailored trousers.
- Next, layer over camis or fitted turtlenecks through shifting seasons.
- Finally, gift a thoughtful,l handmade piece in either neutrals or bold palettes.
Final Sizing Snapshot (choose 2–4 inches ease)
- Finished bust: 32 (36, 40, 44, 48, 52, 56, 60, 64) inches.
- Default length: approximately 20–23 inches by size group, adjustable as desired.
- Armhole opening: approximately 7.5–10 inches by size group.
Closing Encouragement For ( Crochet Sleek & Chic Top Pattern)
Finally, gather your DK yarn, choose your hook size confidently, and settle into soothing, rhythmic rows. Additionally, keep those transition-friendly check-ins, measure, mark, and adjust so every detail aligns. Consequently, your Electric Grace Sleek & Chic Top will emerge polished, wearable, and wonderfully you.