

There’s a quiet joy in watching a strand of yarn become something charming and full of personality. Crochet has always felt like a cozy pause in the day, each stitch a tiny moment of calm, a little act of creativity. By the time your piece comes together, it holds more than loops and knots; it carries your care, your rhythm, and that unmistakable handmade warmth.
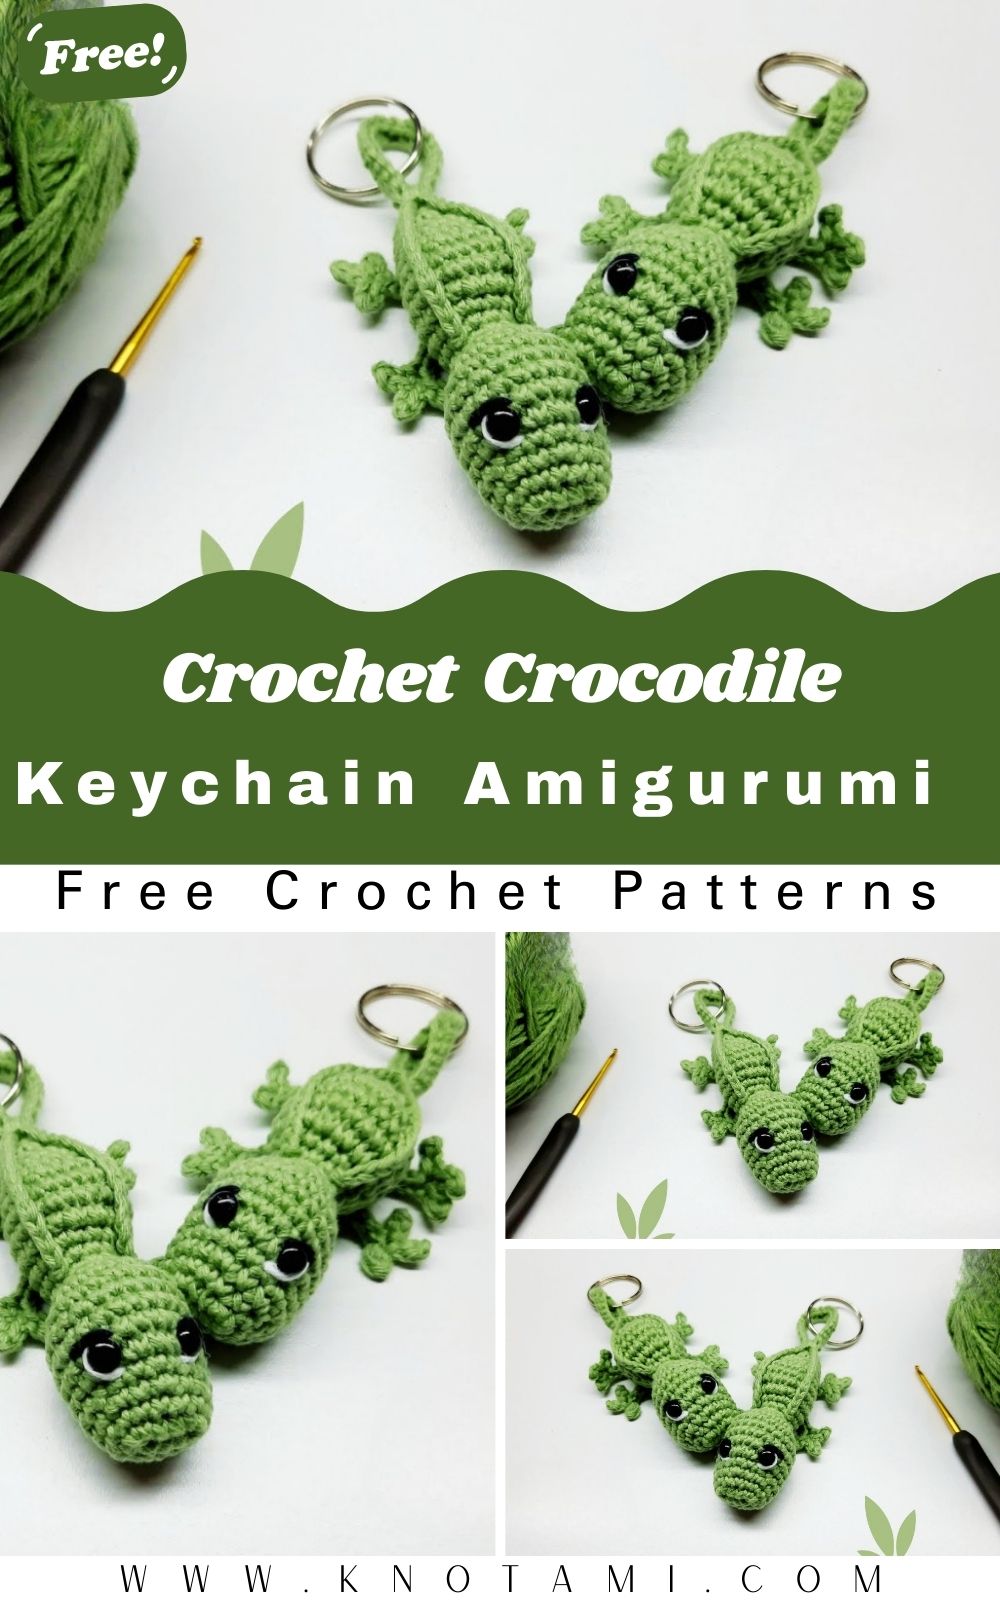
Today I’m sharing my Easy Crochet Crocodile Keychain Amigurumi Pattern,n a tiny, palm-sized plush that’s as adorable as it is approachable. This mini croc is designed with a plump silhouette and playful features that look darling on backpacks, key rings, tote bags, or even perched on your desk. It’s a quick make with big charm, and it’s bound to spark smiles wherever it goes.
This pattern keeps things simple for beginners think basic stitches and straightforward shaping, ng while still giving seasoned crocheters room to play with colors, textures, and little details. Whether you’re craving a relaxing evening project or a satisfying weekend finish, this bite-sized crocodile is the perfect blend of easy and delightful.
Materials & Tools You’ll Need
To create your adorable crochet crocodile keychain, gather the following supplies:
Choosing the Right Materi: s Quick Tips
-
Cotton yarn gives your keychain structure and crisp stitch definition.
-
A small hook keeps stuffing inside and prevents gaps.
-
Choose a vibrant green for a classic crocodile look, or experiment with pastel hues for a kawaii version.
-
If gifting to children, embroider eyes instead of safety eyes for safety.
Step-by-Step Crochet Instructions
Below is a full walkthrough of how to make your Easy Crochet Crocodile Keychain Amigurumi.
1. Making the Head
-
Begin with a magic ring.
-
Work single crochets around to form a rounded sphere.
-
Slowly increase each round to widen the head.
-
Insert safety eyes between rounds (usually round 5–6).
-
Add a small amount of stuffing as you shape the head.
-
Begin decreasing to close the head smoothly.
Expert Tip
Use firm but not over-packed stuffing so the head keeps its shape without bulging stitches.
2. Forming the Neck & Upper Body
-
After finishing the head, continue crocheting downward.
-
Create a slight decrease to form the neck.
-
Begin increasing again to widen the body.
-
Maintain even tension to keep the shape symmetrical.
Expert Tip
Pinch lightly as you stuff the neck; too much stuffing makes the head tilt.
3. Building the Main Body
-
Increase rounds until the body is slightly larger than the head.
-
Crochet even rounds to elongate the torso.
-
Switch to a lighter yarn shade if adding a belly color patch.
-
Gradually decrease to taper the base.
Expert Tip
To prevent a lumpy body, stuff gradually as you go, not all at once.
4. Shaping or Attaching the Base
Depending on your preferred style:
-
Flat base:
-
Add a final round of decreases and fasten off.
-
-
Rounded base:
-
Work with smaller increases and decreases to form a dome shape.
-
Expert Tip
Use a stitch marker to keep your decreases aligned for a clean finish.
5. Creating the Tail & Limbs
Tail
-
Chain a few stitches and work into the chain to form a small curved tail.
-
Attach firmly to prevent wobbling.
Front Legs
-
Create two tiny tubes using simple sc rounds.
-
Stuff lightly so they stay soft and flexible.
Back Legs
-
Make slightly larger tubes for balance.
-
Sew symmetrically for a polished look.
Expert Tip
When sewing small limbs, pin them first before stitching to avoid repositioning mistakes.
6. Assembly & Positioning
-
Position the legs evenly on both sides of the body.
-
Attach the tail to the lower back.
-
Add a tiny embroidered smile using black yarn.
-
Sew the belly patch if adding one.
-
Attach the head securely, tilt slightly for extra cuteness.
Expert Tip
Use the “invisible stitch method” to sew parts so seams blend seamlessly.
. Adding Final Touches & Accessories
-
Add small ridges down the back using chains or bobble stitches.
-
Create tiny nostrils with simple French knots.
-
Attach a metal keychain ring to the top of the head.
-
Add blush on cheeks using soft pink yarn or fabric paint.
Expert Tip
Choose lightweight accessories; heavy additions may pull the keychain downward.
Customization Ideas
Make your crocodile keychain uniquely yours with these fun variations:
Color Themes
-
Classic Green for a natural crocodile look.
-
Pastel Mint or L e iperfectct for kawaii style.
-
Rainbow Body is playful and eye-catching.
-
Dark Forest Green has a ore realistic vibe.
Different Yarn Types
-
Cotton: Best stitch definition.
-
Velvet yarn: Makes a plush and fluffy crocodile.
-
Acrylic: Lightweight and easy to wash.
Themed Versions
-
Halloween Crocodile (orange + black details)
-
Christmas Crocodile (red scarf + tiny Santa hat)
-
Valentine Crocodile (pink heart cheeks)
Cute Accessories
-
Bow tie
-
Mini scarf
-
Tiny hat
-
Embroidered belly patch
-
Sparkly safety eyes
Conclusion
Crocheting your own Easy Crochet Crocodile Keychain Amigurumi is more than just making a cute accessory; it’s an opportunity to express creativity, enjoy peaceful crafting moments, and create something that brings joy to everyone who sees it. With simple stitches, fun shaping, and endless customization options, this pattern is perfect for beginners and experienced crocheters alike.