
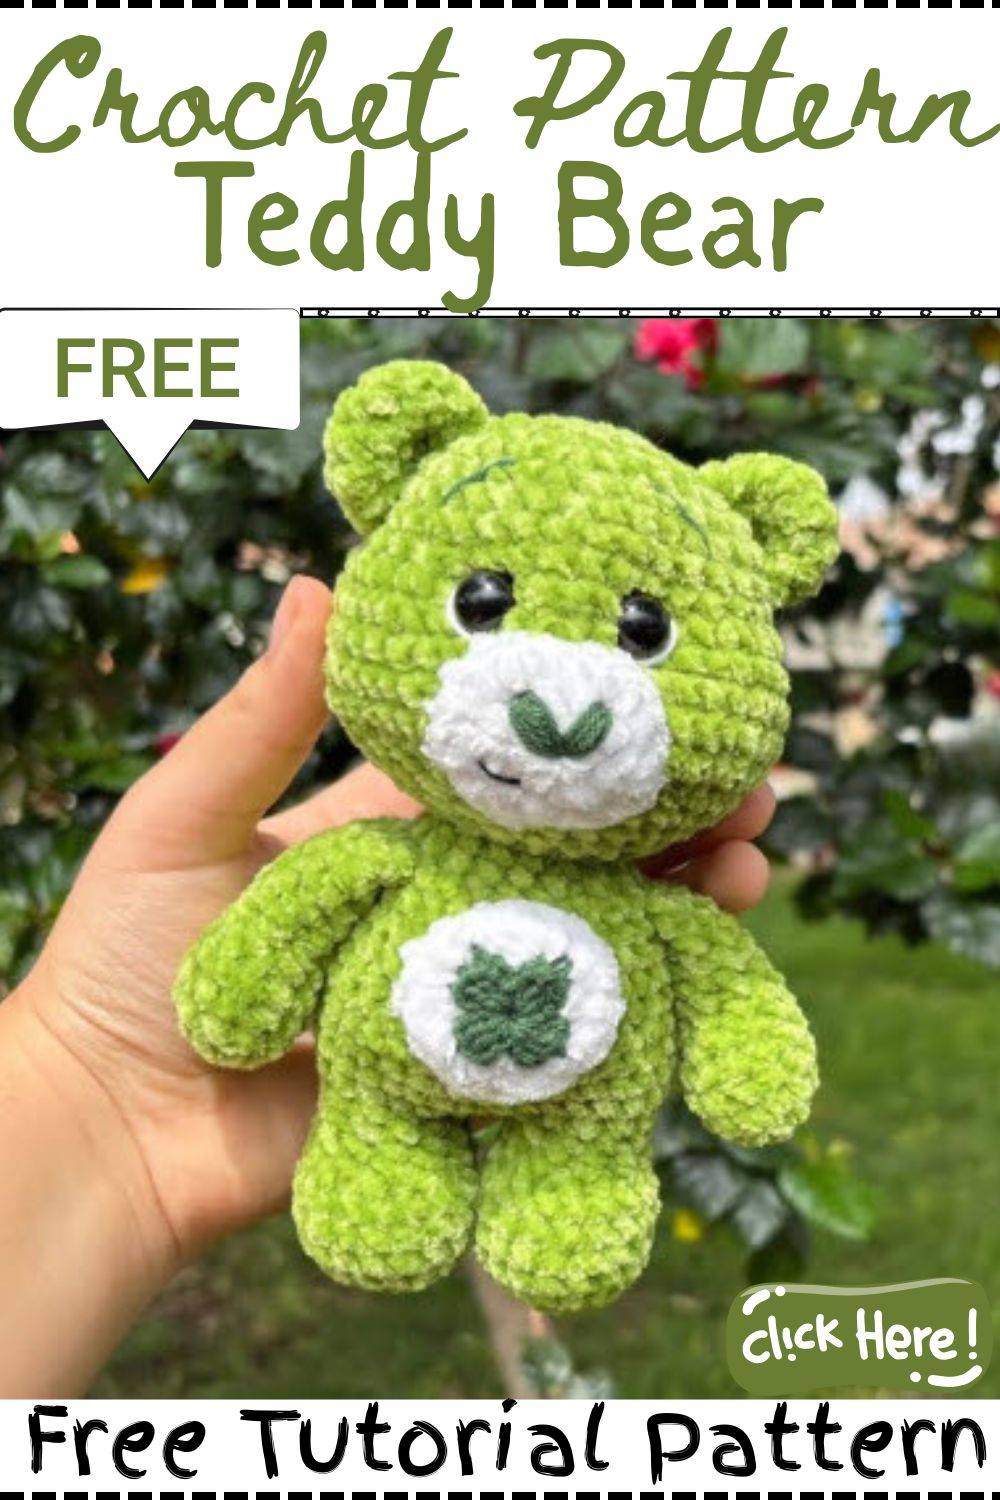
This crochet teddy bear pattern gives you a green chenille bear with a rounded head and a little four-leaf clover sewn onto its belly. All the parts are worked in rounds, so you simply make each piece and join them at the end.
It is a lovely handmade gift for someone who likes a plush toy with a meaning behind it. The chenille feels velvety and cuddly, and the dark green clover on a white circle stands for good luck. You will find the supply list, the full round-by-round instructions, assembly steps, ways to change the design, and quick fixes for the usual trouble spots below.
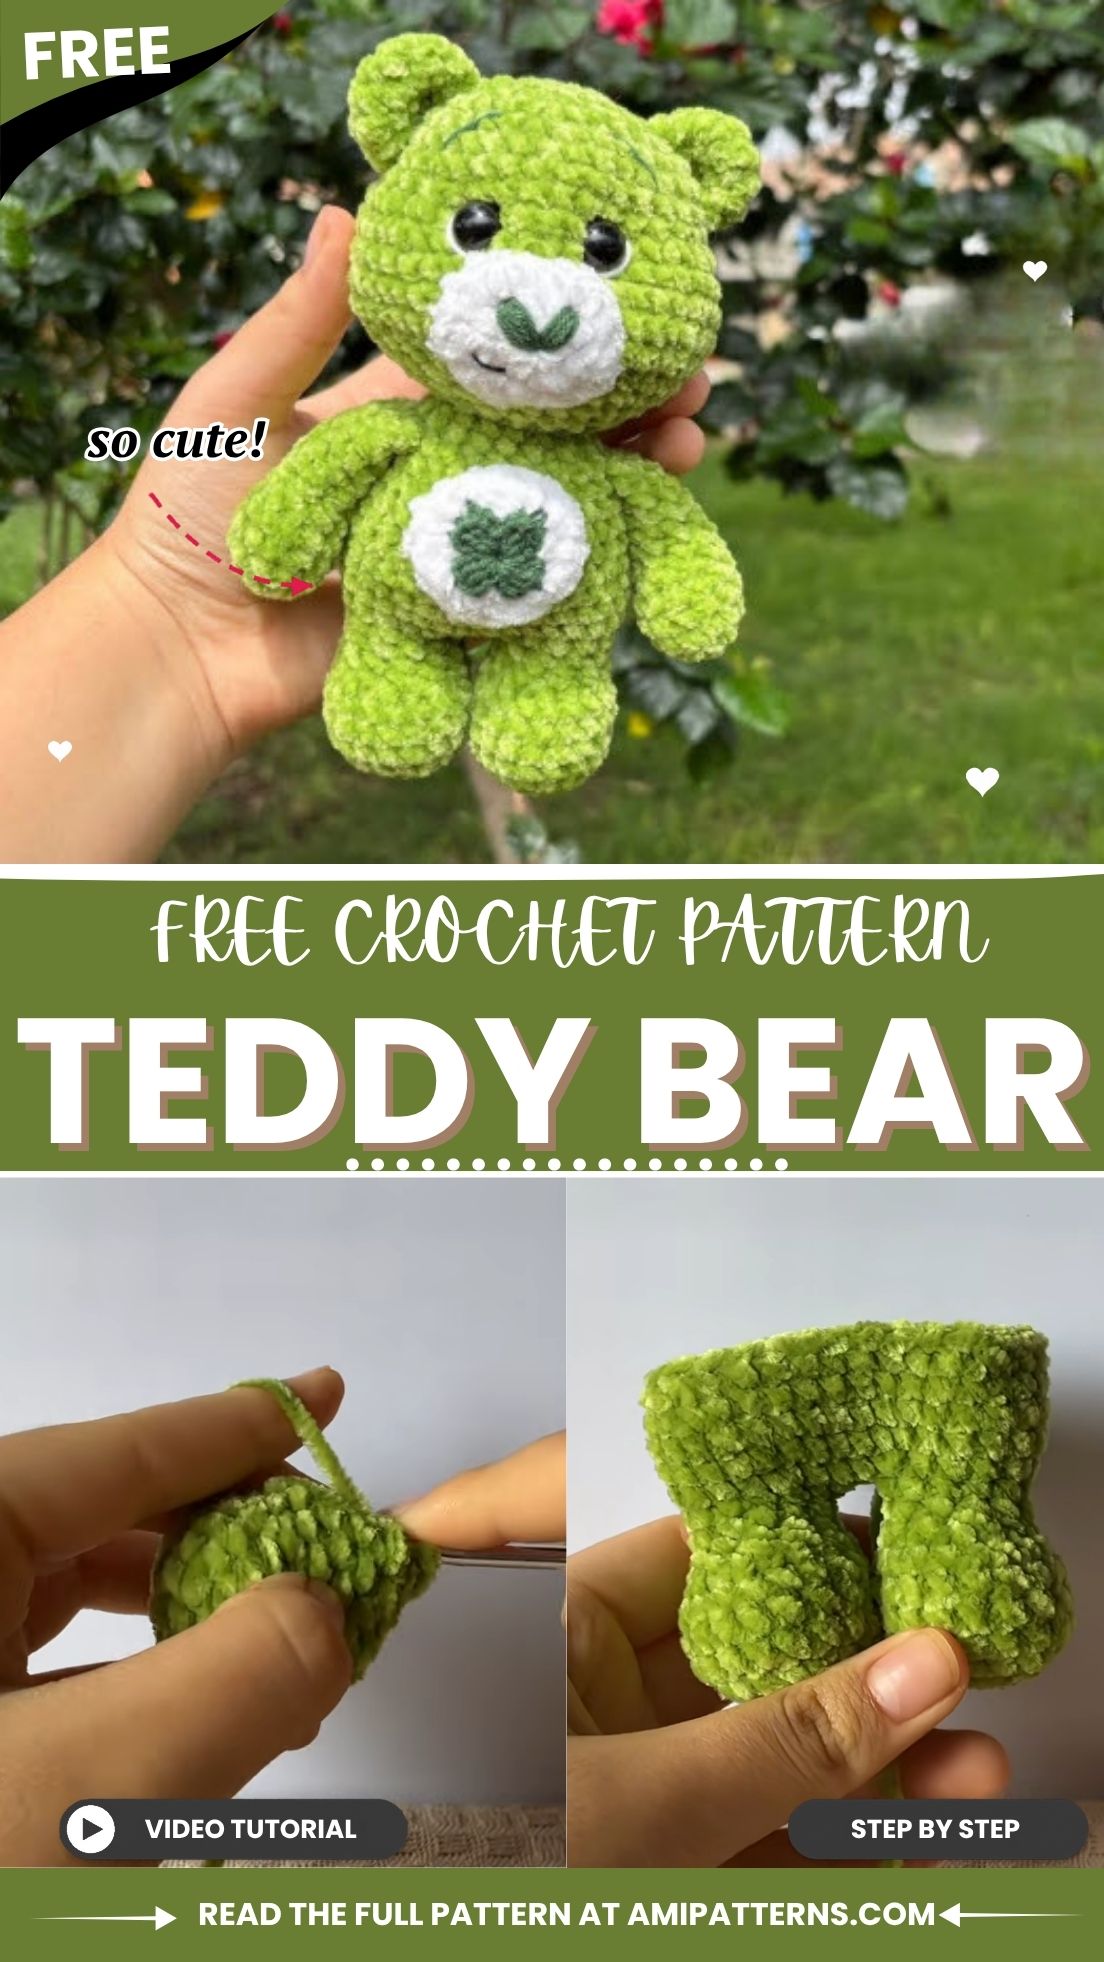
Crochet Teddy Bear Pattern Overview and Features
The bear is made of separate parts: two legs, one body, two arms, a head, two ears, and a small tail. Because the body grows directly out of the second leg, there is no seam where the legs meet the torso. The head has a few extra increases that shape the cheeks, and the 12 mm safety eyes finish off the face.
Here is what to expect:
- A plush chenille body worked with a 4 mm hook
- Legs that are joined with slip stitches and chains, then continued as a single piece
- A head of 50 stitches, with the cheek increases in round 10
- A cotton clover with four petals, set on a white circle
- Ears and a tail made from short, simple rounds
Some rounds in the source instructions give only a final stitch total. Those places are flagged in the steps so you know where to rely on your own counting.
Skill Level of This Crochet Teddy Bear Pattern
It works best for confident beginners and intermediate crocheters. Most of the work is single crochet with increases and decreases. Chenille makes it trickier, since the fluffy fibers cover the stitch openings, and joining the legs partway through takes some care.
If you have already made a small amigurumi or two, you should feel at ease. Newer crocheters can still manage it, though it helps to practice a flat circle first and to count after every round.
Materials for the Crochet Teddy Bear Pattern
Supplies
- Chenille yarn: green
- Cotton yarn: dark green, black, and white
- Crochet hooks: 4 mm for the chenille and 2 mm for the cotton
- Yarn needle
- Stitch marker
- 12 mm safety eyes
- Stuffing
Yarn Notes
The chenille makes up the main body parts. Paired with the 4 mm hook, it gives stitches tight enough to keep the stuffing from showing. The cotton and the 2 mm hook take care of the small details, and cotton keeps its shape well, so the clover looks sharp next to the fuzzy fabric.
No yarn weight or brand is named in the source. Pick a chenille that works comfortably with a 4 mm hook and a cotton that suits a 2 mm hook. The black cotton can also be used for small facial details.
Finished Size and Sizing Options
The source does not give finished measurements, so a height cannot be promised. The final size depends on your yarn, hook, and tension. A thicker chenille and a larger hook will produce a bigger bear from the same stitch counts, and a thinner yarn with a smaller hook will do the opposite. If you resize the bear, choose eyes to match and keep the gap of 6 stitches between them.
Stitches and Abbreviations
- ch: chain
- sl st: slip stitch
- sc: single crochet
- inc: increase (2 sc in the same stitch)
- dec: decrease (2 sc worked together)
- st(s): stitch(es)
- MR: magic ring
Gauge for the Crochet Teddy Bear Pattern
The source gives no official gauge. For stuffed toys, firm and even stitches matter more than exact measurements. To test yours, crochet the first three rounds of a leg and place the circle flat. A good fabric feels tight and shows no gaps.
If you see gaps, switch to a smaller hook. If the circle curls up or feels stiff, move up a little. In both cases, use the same hook on every piece so the parts stay matched.
Tips Before Starting the Crochet Teddy Bear Pattern
- Mark the first stitch of each round and move the marker up as you go.
- Count your stitches when each round ends, particularly in round 10 of the body and the head.
- Take your time, because chenille thins out and sheds when you rip it back.
- Keep the yarn attached after the second leg, since the body continues from it.
- Leave a long tail on the body and the head for sewing.
- Put the safety eyes in before you close the head, and lock the backs firmly.
Step-by-Step Crochet Teddy Bear Pattern Instructions
Legs for the Crochet Teddy Bear Pattern (Make 2)
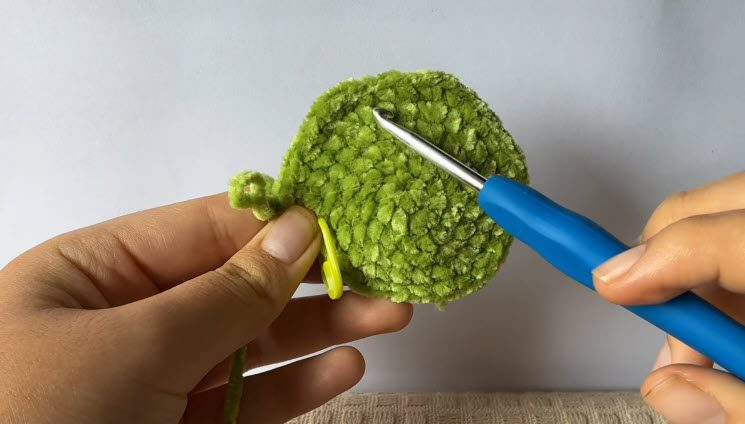
- Make a slip knot, chain 2, and work 6 sc into the first chain.
- Round 2: Work an increase in every stitch (12 sts).
- Round 3: (1 sc, inc) six times (18 sts).
- Rounds 4–6: 18 sc.
- Round 7: 3 sc, 6 dec, 3 sc (12 sts).
- Rounds 8–9: 12 sc.
Fasten off once the first leg is done. Repeat all the rounds for the second leg, but leave the yarn attached this time.
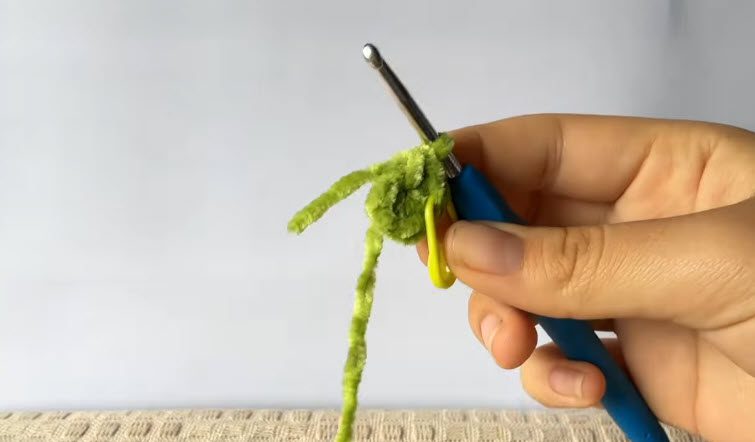
Body
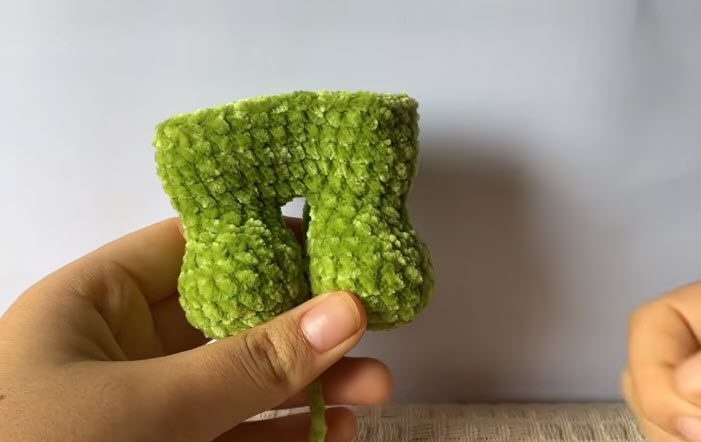
- Join the legs by working 3 sl st, chaining 2, and connecting to the other leg.
- Round 10: Crochet around both legs and the connecting chains until you have 35 sts.
- Rounds 11–14: Do whatever shaping is needed to land on 35 sts, then stay at 35 sts through rounds 12–14. The source does not say where the shaping stitches go, so just make sure each round ends on 35.
- Rounds 15–21: Decrease little by little until 18 sts are left. The per-round counts are not given, so space the decreases evenly around the body.
- Final round: 18 sc. Fasten off, leave a tail for sewing, and stuff the body.
Pro Tip: Before closing round 10, make sure both legs sit evenly. A twist in the join is simple to correct at this point and very hard to fix afterward.
Arms (Make 2)
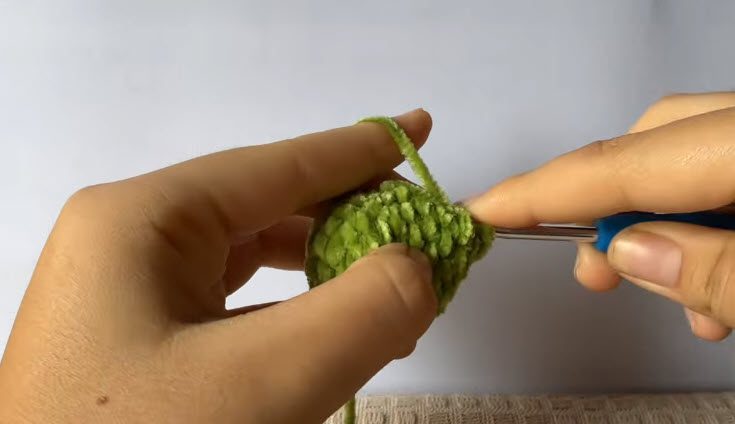
- Begin with 6 sc in a magic ring.
- Increase to 12 sts.
- Work even at 12 sts, then decrease to 9 sts.
- Rounds 7–11: 9 sc.
- Flatten the opening and close it with 4 sc across.
Head
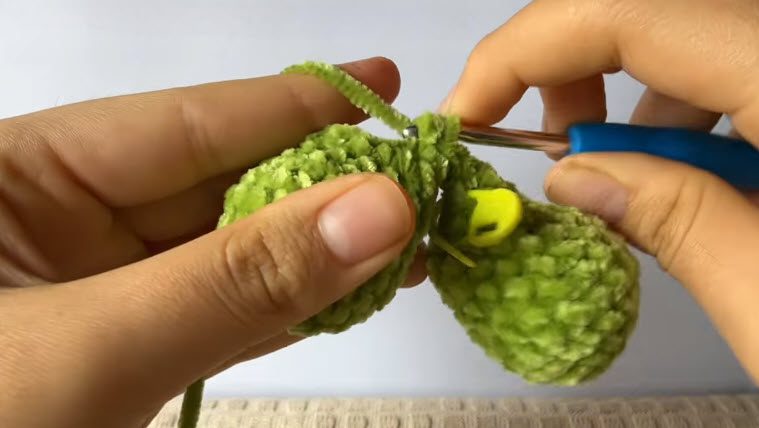
- Begin with 6 sc in a magic ring.
- Increase round by round until you reach 50 sts, and include the cheek increases in round 10. The source gives no totals for each round, so space the increases evenly.
- Rounds 11–14: 50 sc.
- Decrease down to 18 sc by round 18.
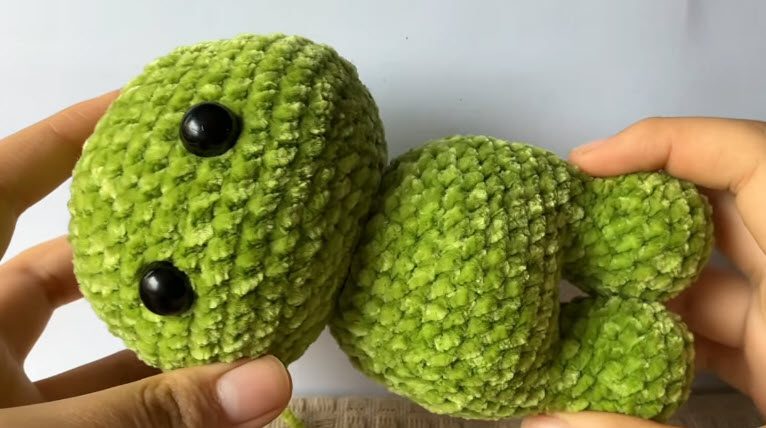
- Fix the 12 mm safety eyes at round 10, leaving 6 stitches between them.
- Stuff the head firmly and sew it onto the body.
Ears (Make 2) and Tail (Make 1)
Ears: Begin with 6 sc, increase to 12 sts, then work 2 rounds of 12 sc.
Tail: Begin with 5 sc and work a couple of even rounds. Then sew it to the back, between the legs.
Tummy Badge
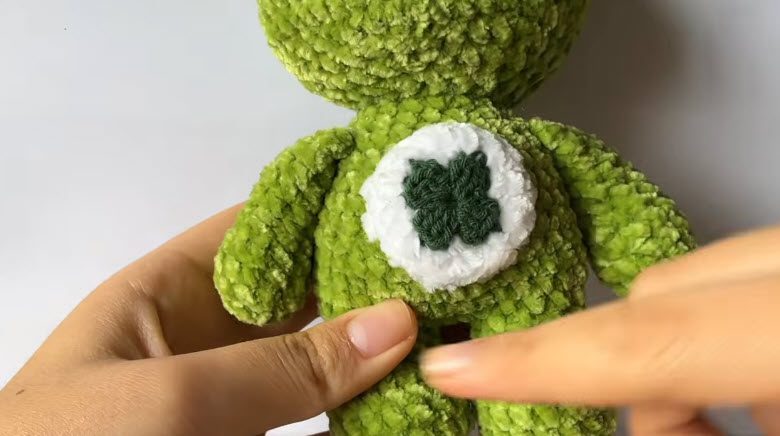
With the dark green cotton and the 2 mm hook, make a clover that has four petals, then attach it to a white cotton circle. The source does not give a size for the circle, so make it fit the width of the belly and hold it against the stuffed body before you sew.
Assembling the Teddy
- Body. Once the legs are joined and the body is stuffed, close the last round and weave in the tail.
- Head. Center it on top of the body and sew around the opening using the long tail. Add a bit more stuffing before you close the seam.
- Arms. Pin an arm on each side just under the head, and check that they match in height before sewing.
- Ears. Set them on the upper sides of the head and stitch them flat.
- Tail. Sew it to the back, between the legs.
- Badge. Last of all, stitch the white circle with the clover to the middle of the front, sewing around the edge so it lies flat.
Customising the Crochet Teddy Bear Pattern
Color Changes
For a traditional teddy look, use brown, cream, or pink chenille in place of green. If you do, pick a clover color that contrasts so it is still easy to see.
Badge Variations
The white circle can carry a heart, a star, or a small initial instead of the clover. The base is unchanged, so only the center motif is different.
Face Details
You can embroider a tiny nose and mouth with black cotton. Keep the stitches small so the face looks tidy against the plush fabric.
Troubleshooting the Crochet Teddy Bear Pattern
Stitch Count Drifts
Chenille hides your stitches, so the count can slip without you noticing. Count when every round ends and keep the first stitch clearly marked.
Gaps Where the Legs Join
Small holes beside the connecting chains happen often. Before stuffing, close them with a few stitches made from the yarn tail.
Head Looks Lopsided
Lumps come from uneven increases. Space them out evenly and check that the cheek increases in round 10 fall on both sides.
Eyes Sit Unevenly
Compare the eye positions before you lock the backs, because they cannot be moved once they snap on.
Visible Stuffing
Loose stitches let the filling show through. Choose the hook that gives a firm fabric and add the stuffing in small pieces.
Finishing and Care
Weave in all the tails with the yarn needle and cut the ends close to the fabric. After that, test that the eyes are secure and every seam is closed.
Spot cleaning is the safest option. If it needs a full wash, hand wash in cool water with mild soap, press the water out with a towel, and let it air dry while you gently reshape it. Try the dark green clover on a hidden spot first, as cotton dye may mark the white base.
Photo Tips for Sharing Your Finished Teddy
A few simple choices make the finished bear look its best in photos. Sit it upright against a plain, light background so the green and the white badge stand out. Place it near a window for soft daylight and turn the clover toward the camera. Then share your finished crochet teddy bear in the comments or on Pinterest so other makers can see it.
Gift Ideas for a Lucky Teddy
With its clover, this bear fits St. Patrick’s Day, a graduation, a new job, or a get-well wish. A handwritten note tucked under one arm adds a personal touch.
Crochet Teddy Bear Pattern FAQs
Why not cut the yarn after the second leg?
The body is crocheted straight off the second leg. Leaving the yarn attached saves a join and keeps the lower half seamless.
Can I use cotton instead of chenille?
Yes, although the plush feel will be different, and you may need another hook size to keep the stitches tight.
Is this teddy safe for young children?
Safety eyes can come loose, so embroidered eyes are the better choice for babies and toddlers.
A Lucky Bear Worth Making
Soft chenille and a four-leaf clover turn plain stitches into a keepsake you can hand to someone special. Count carefully, stuff firmly, and take your time with the assembly, and each piece will fit together. So pick up your yarn, begin the first leg, and enjoy watching the bear come to life.