Crochet Skirt Pattern with Ribbed Waistband
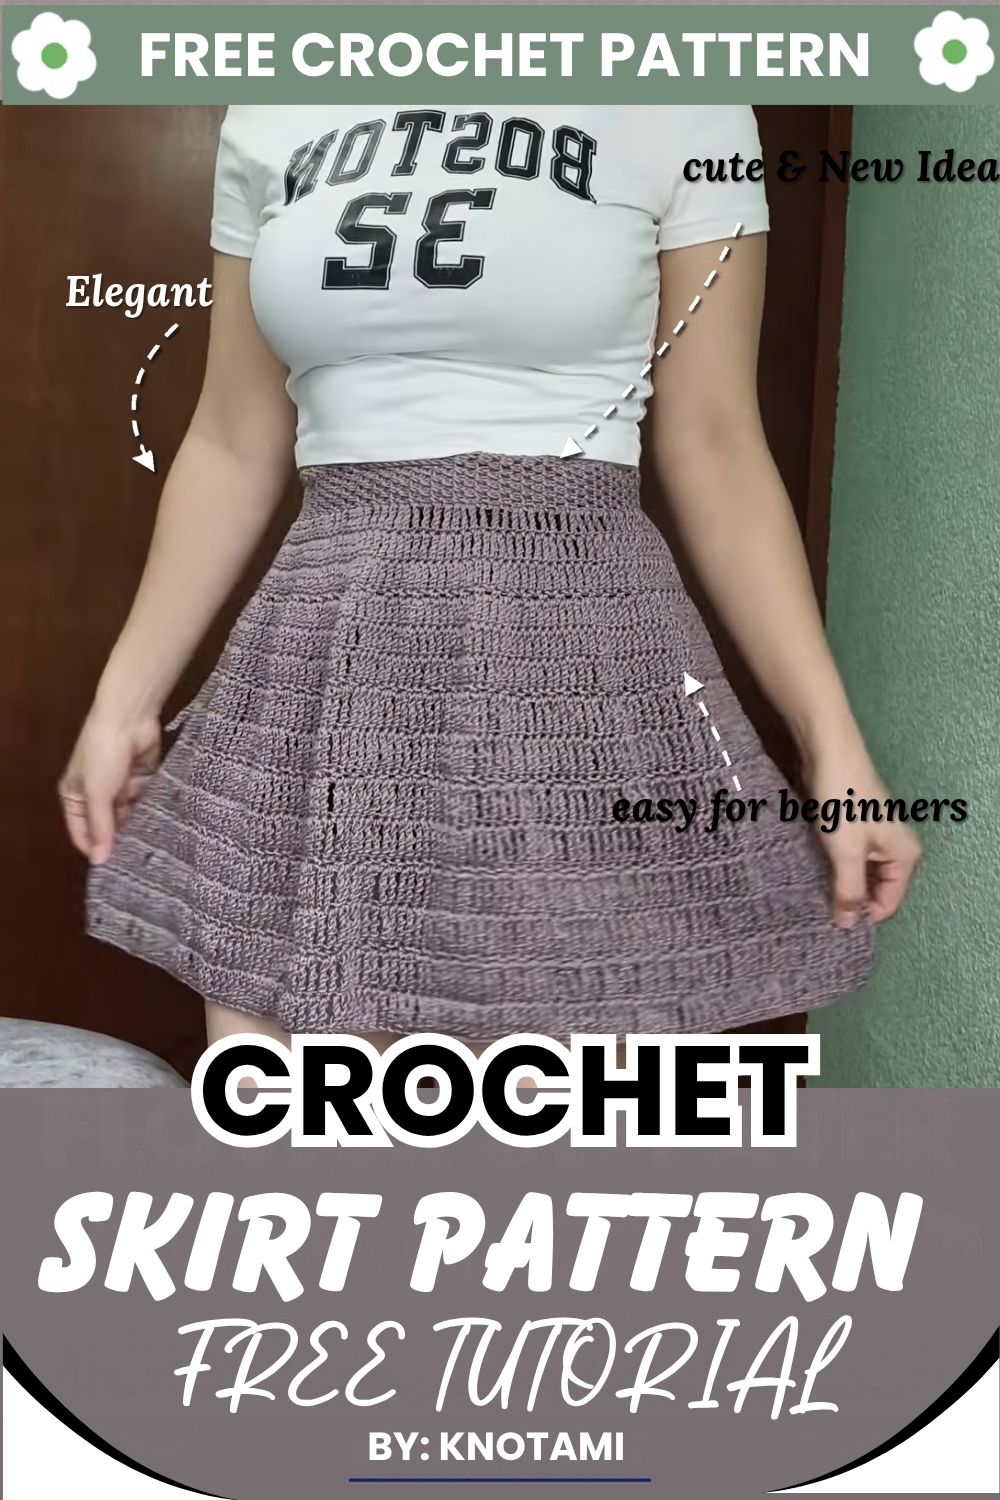
A crochet skirt pattern like this one starts at the waist and works down to the hem. The waistband is a flat strip in a moss stitch variation, which gives it a ribbed look and some stretch. After that, you crochet along the band’s long edge in rounds of tall stitches, with mesh rounds between them.
In this tutorial, you will make the band, join it into a ring, and build the skirt in tiers of treble and double treble stitches. Then you will add a drawstring tie to adjust the fit. Because the pattern uses a swatch and your own waist measurement, you can adapt it to your size.

Why Make a Crochet Skirt Pattern Like This?
This project teaches several skills at once. For example, you practice a sideways-worked band, tall stitches, increases, and open mesh rounds. As a result, it suits crocheters who are comfortable with single crochet and basic tall stitches.
Also, the skirt is built from repeating rounds, so once you understand the tier, the rest follows the same rhythm.
Materials for Your Crochet Skirt
- Yarn: mercerised cotton yarn. Yarn amounts depend on your size, yarn, and tension, so buy extra from the same dye lot.
- Crochet hook: 4.0 mm. A hook larger than the yarn label suggests gives a more open drape, so swatch first to check the look.
- Tools: tape measure, scissors, and a tapestry needle for weaving in ends.
Sizing and Measurements
The sample in this pattern uses these numbers:
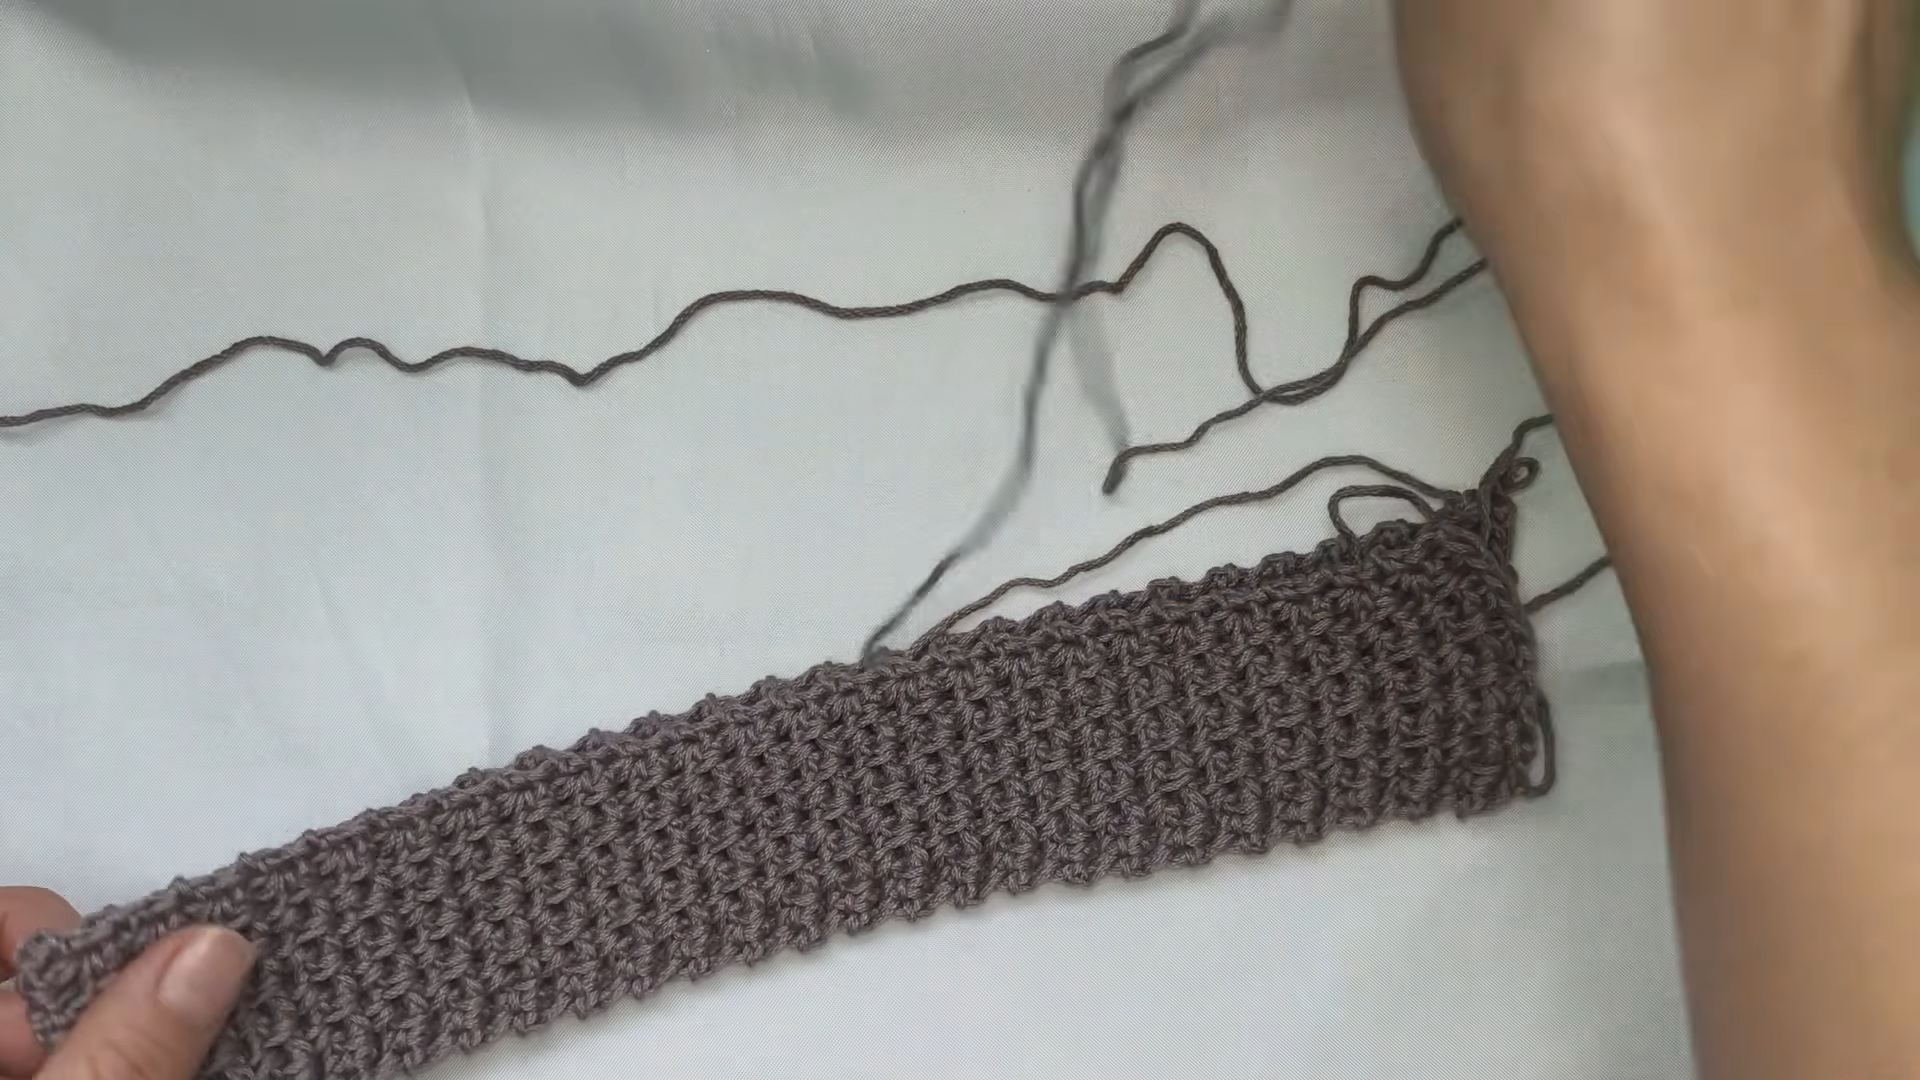
- Waistband width: about 5 cm (2 in).
- Sample size (medium): fits about a 68 cm (26.8 in) waist, which is about 100 waistband rows stretched.
- Final length: about 37 cm (14.5 in).
To size the skirt, measure your waist, and then work the band until it stretches comfortably around you. Next, check that the skirt can pass over your hips after the first three rounds, because those rounds set the width. Finally, add or remove rounds at the end to reach your length.
Stitches and Terms You Will Use (US Terms)
- ch (chain): a row of linked loops that forms a foundation.
- sl st (slip stitch): a very short stitch used to join.
- sc (single crochet): a short, dense stitch. In UK patterns, this same stitch is called double crochet.
- sc2tog: two single crochets worked together into one stitch.
- tr (treble crochet): yarn over twice before you insert the hook. In UK patterns, this is a double treble.
- dtr (double treble crochet): yarn over three times before you insert the hook. In UK patterns, this is a triple treble.
- inc (increase): two stitches worked into the same stitch.
- Moss stitch: a stitch pattern of single crochets and chain-1 spaces that gives a dense, woven look.
- Mesh round: a round of single crochets and chain-1 spaces that leaves small openings.
- Turning chain: the chain made at the start of a round that stands in for the first tall stitch.
Make the Ribbed Waistband
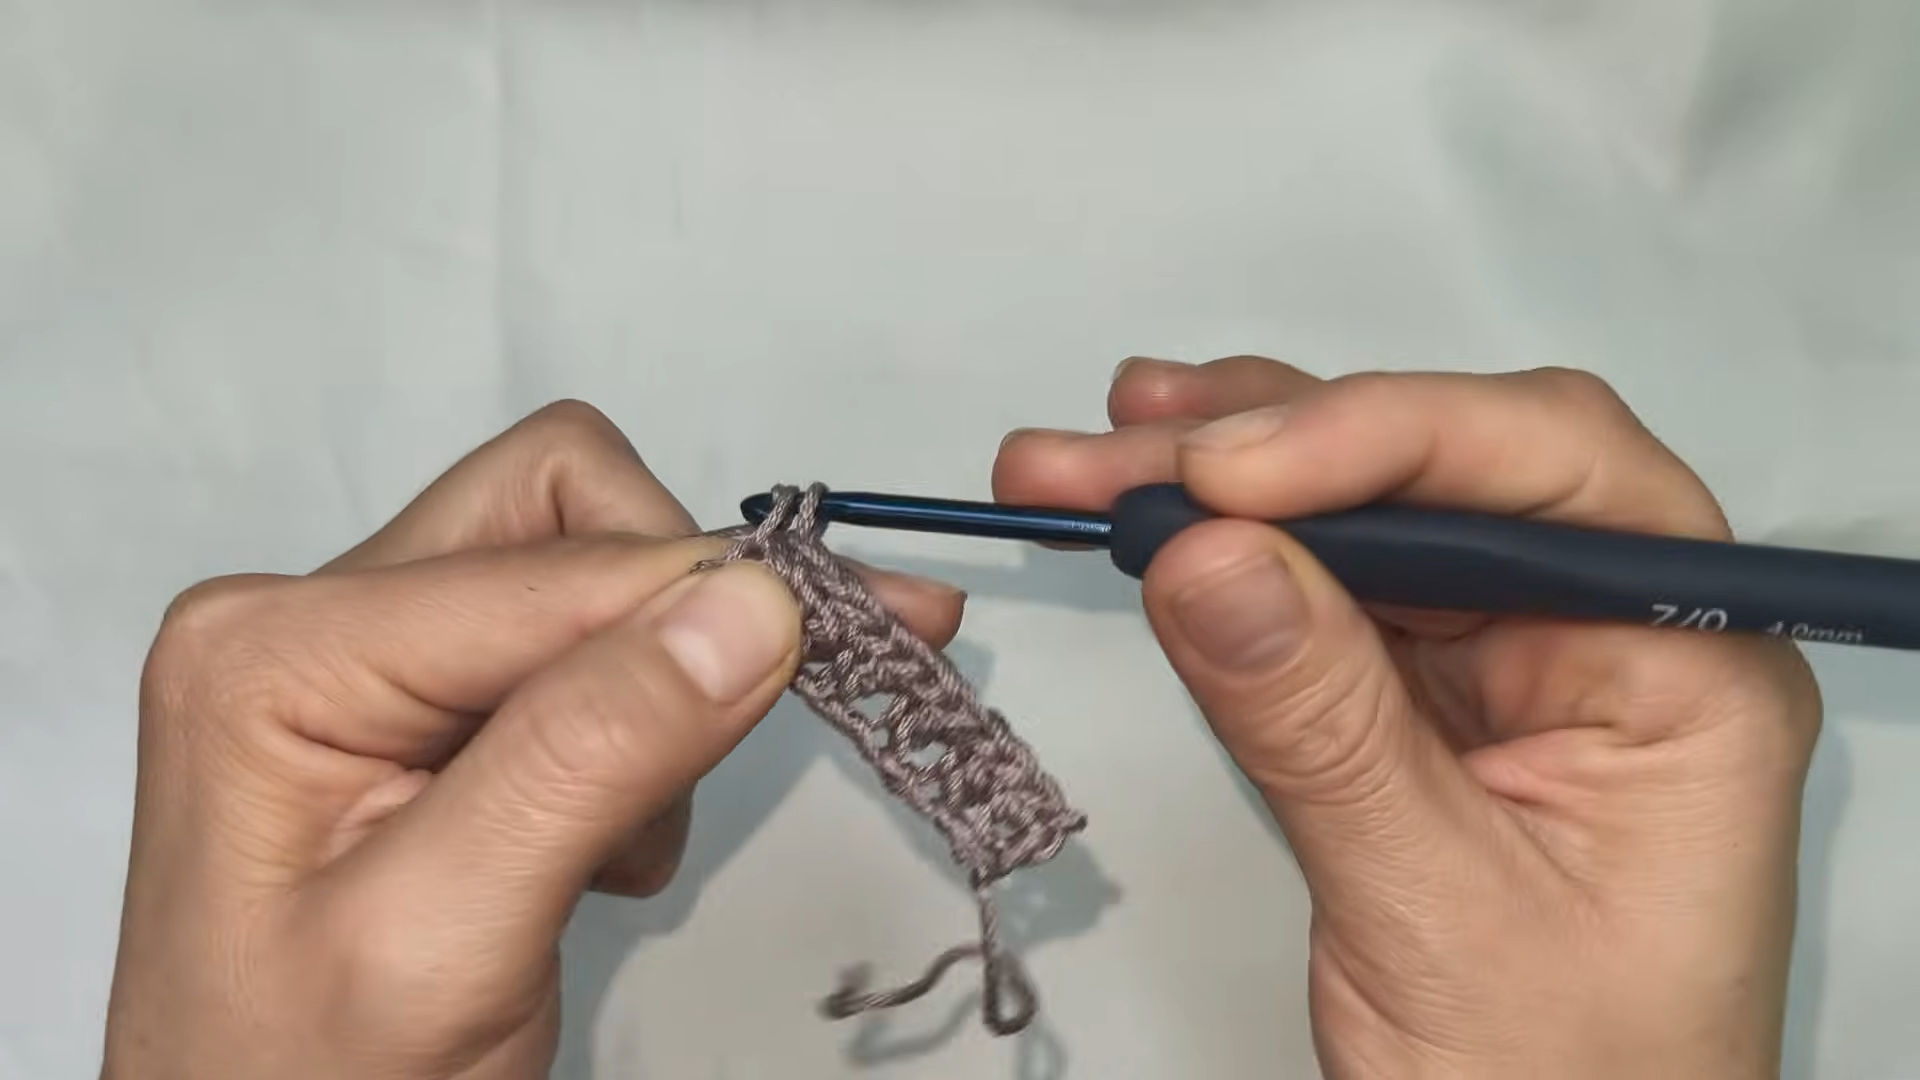
- Foundation chain: Ch 12.
- Row 1: Sc in the back loop of the 2nd chain from the hook. Then [ch 1, skip 1 chain, sc in the next chain] across to the end. (11 sts, counting the chains)
- Row 2: Ch 1, turn. Work sc2tog at the beginning. Next, [ch 1, skip 1 st, sc in the next ch space] across, ending with sc2tog at the final edge.
- Row 3: Ch 1, turn. Work 1 sc in the first stitch. Then [ch 1, skip 1 st, sc in the next ch space] across.
- Rows 4 to 100, or as many as your waist needs: Alternate Row 2 and Row 3 until the band stretches comfortably around your waist. Keep the band flat and open, and don’t join it into a ring yet.

Build the Upper Skirt (Treble Stitches)
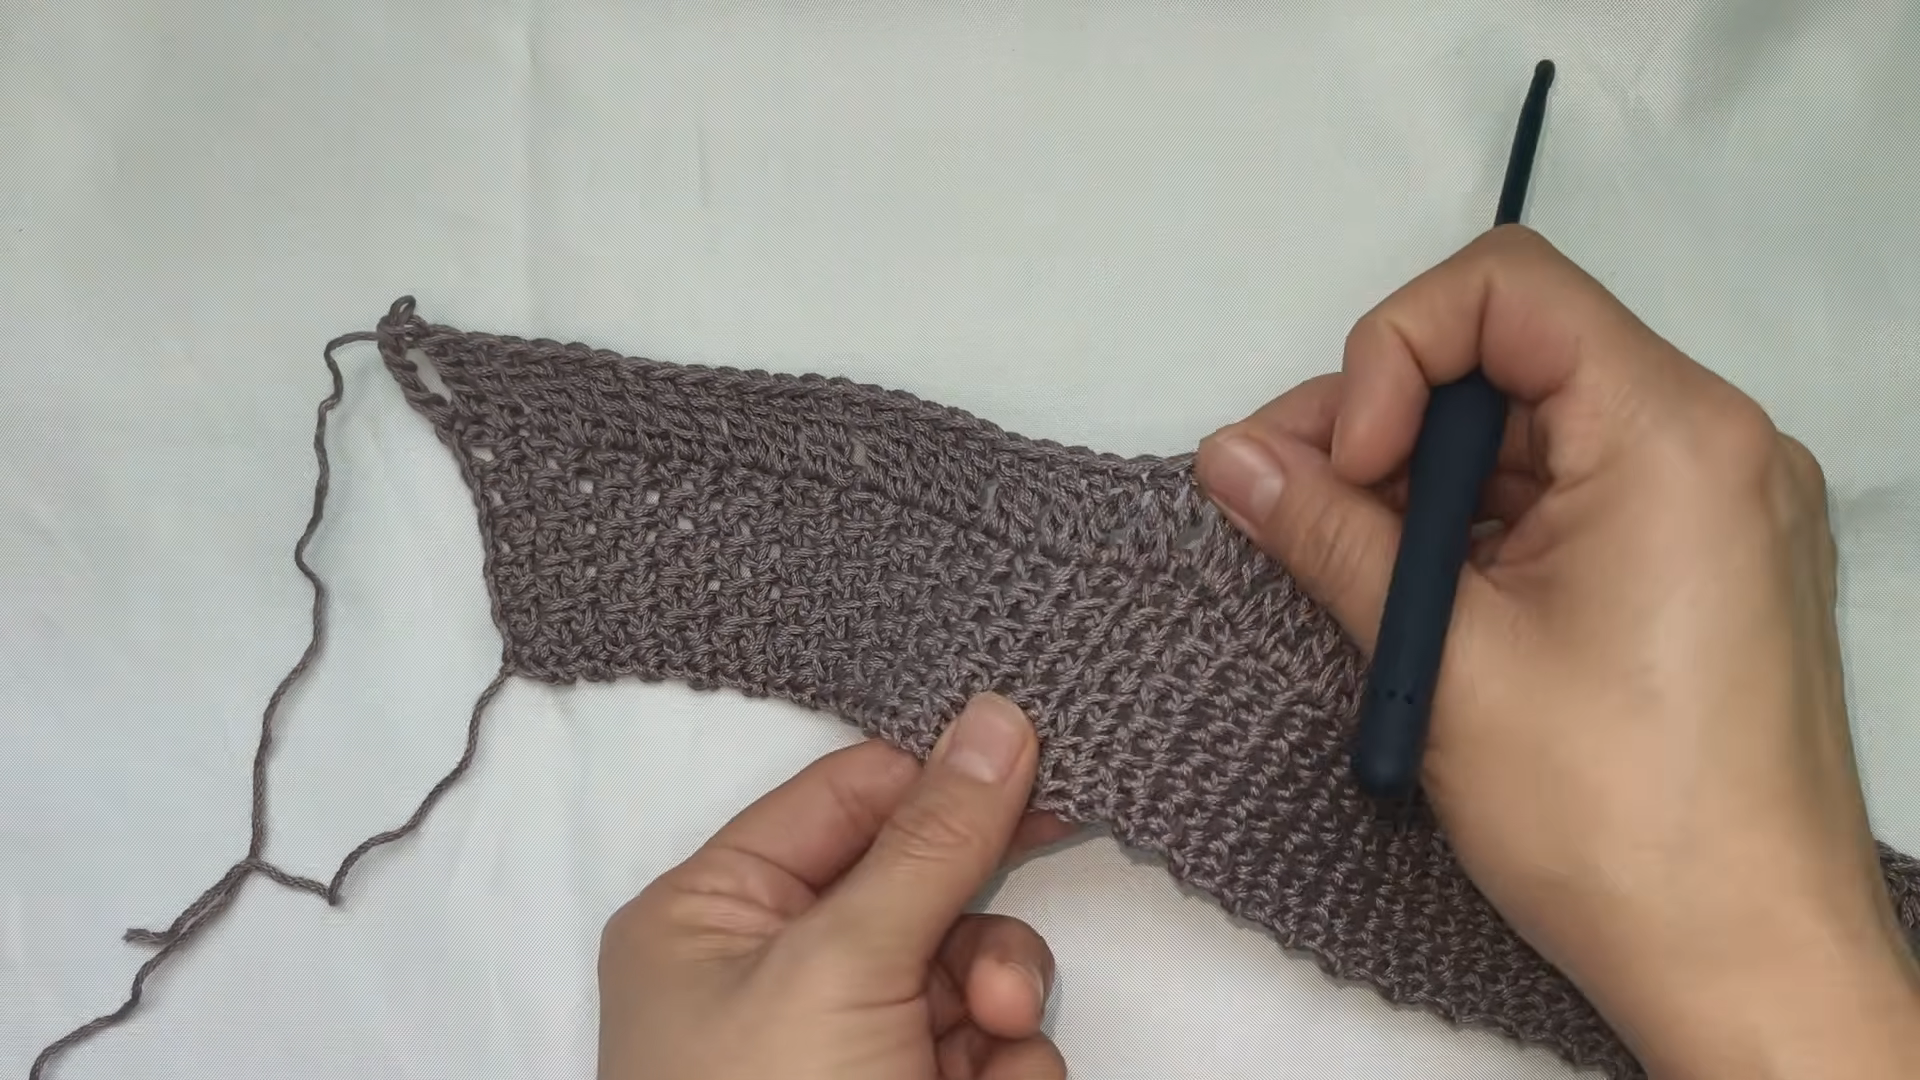
Work along the long edge of the waistband strip.
- Round 1: Join yarn with a sc at the top edge. Then ch 4, which counts as the first treble. Next, work a second treble in the same spot for an increase. After that, work [4 tr, 1 increase of 2 tr in one stitch] across the whole top edge.
- Round 2: Join the ends of the waistband to work in rounds. Then ch 4 and work 1 tr in the same stitch for an increase, and repeat [4 tr, 1 increase] around. Sl st to the top of the starting chain to join.
- Round 3: Repeat [4 tr, 1 increase] around. Join with a sl st.
- Round 4 (mesh round): Ch 1, then 1 sc in the same stitch. After that, [ch 1, skip 1 st, 1 sc in the next stitch] around. Join with a sl st.
- Rounds 5 and 6: Work 1 tr in each stitch around, with no increases.

Build the Lower Skirt (Double Treble Stitches)
These taller stitches add length and drape.
- Rounds 7 and 8: Ch 5, which counts as the first double treble. Then work 1 dtr in every stitch around.
- Round 9 (mesh round): Work [1 sc, ch 1, skip 1 st] around.
- Repeat: Keep alternating 2 rounds of dtr with 1 mesh round until the skirt reaches your length. In the sample, this adds up to about 8 rounds of dtr for a skirt of about 37 cm (14.5 in).
Add the Drawstring and Finish
- Make the tie cord: Chain to the length you want. It should be long enough to go around the waist and tie in a bow. Then skip the 1st chain and sl st in each chain back across. Fasten off.
- Thread the cord: Weave the cord through the waistband mesh spaces so you can adjust the fit.
- Finish: Weave in all loose ends.
Crochet Skirt Mistakes
- Wrong stitch height: check the number of yarn overs for each stitch name before you start the tier.
- Uneven tiers: count your stitches at the end of each round.
- Odd stitch counts in the mesh round: each repeat uses two stitches, so adjust the last stitch of the round.
- Tight turning chains: chain loosely, so the first stitch of the round isn’t pulled in.
- Skirt too snug at the hips: swatch the tall stitches and check the width after the increase rounds.
Troubleshooting Your Crochet Skirt
If the waistband feels too tight, add rows, because the rows run around your waist. Similarly, if the band is too loose, remove rows. When the skirt won’t pass over the hips, add more increases in the early rounds. Finally, if the tiers look gappy, use a smaller hook.

Tips for a Neater Crochet Skirt Pattern
- Keep your tension steady, because tall stitches show uneven loops.
- Also, mark the first stitch of each round with a stitch marker.
- Lay the skirt flat now and then to check that the rounds look even.
- Before you add the drawstring, try the skirt on.

Bonus: Swatch the Drape First
Crochet a small swatch of tr and dtr stitches with your 4.0 mm hook and yarn. As a result, you can see how the fabric hangs before you start the waistband, and change the hook size if you like.
Frequently Asked Questions About the Crochet Skirt Pattern
Is this crochet skirt pattern good for beginners?
It uses tall stitches, increases, and a sideways-worked band, so it suits crocheters who have finished a few smaller projects.
How do I change the size?
Add or remove waistband rows for your waist. Then check the width after the first three rounds, and add or remove rounds for the length.
Why is the waistband worked sideways?
It makes a ribbed, stretchy band, and then you work the skirt along its long edge.
Can I use a different yarn?
Yes, but the drape and size will change. In addition, you may need a different hook size, so swatch first.
Do I need the drawstring?
It is part of the design and helps you adjust the fit.
Video Pattern:
Wear It at Your Waist
You’ve worked a ribbed waistband, built the skirt in tiers, and added a drawstring tie. Now try it on, adjust the length, and wear it or wrap it as a gift. When you want another project, try the same tiers in a different yarn colour.