Crochet Coffee Cup Keychain With Matching Saucer
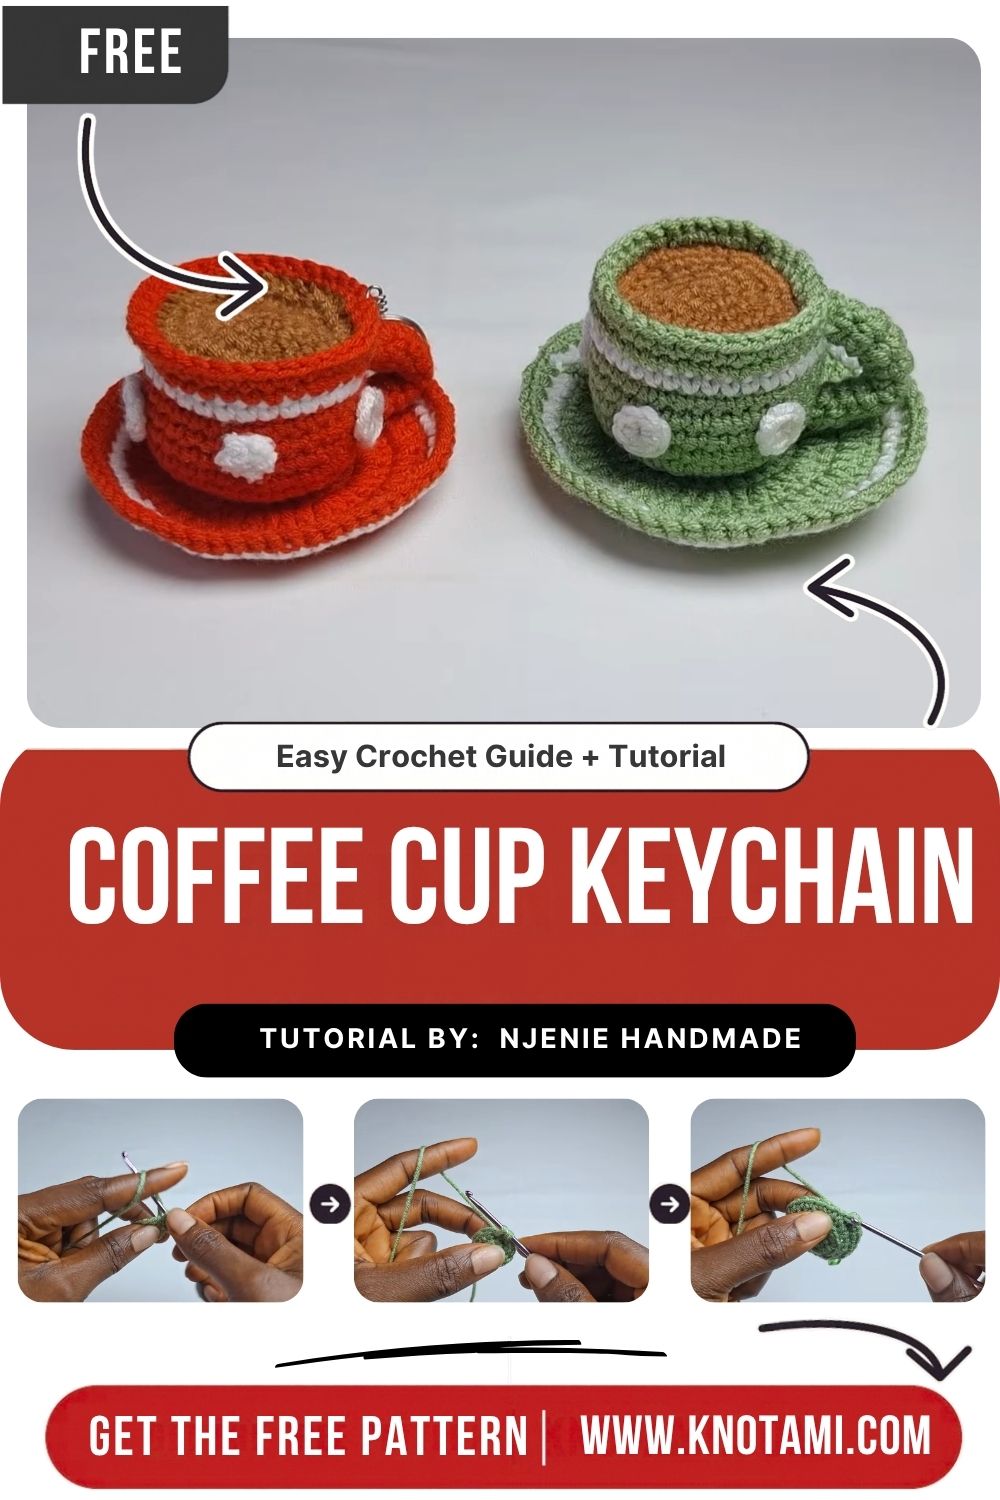
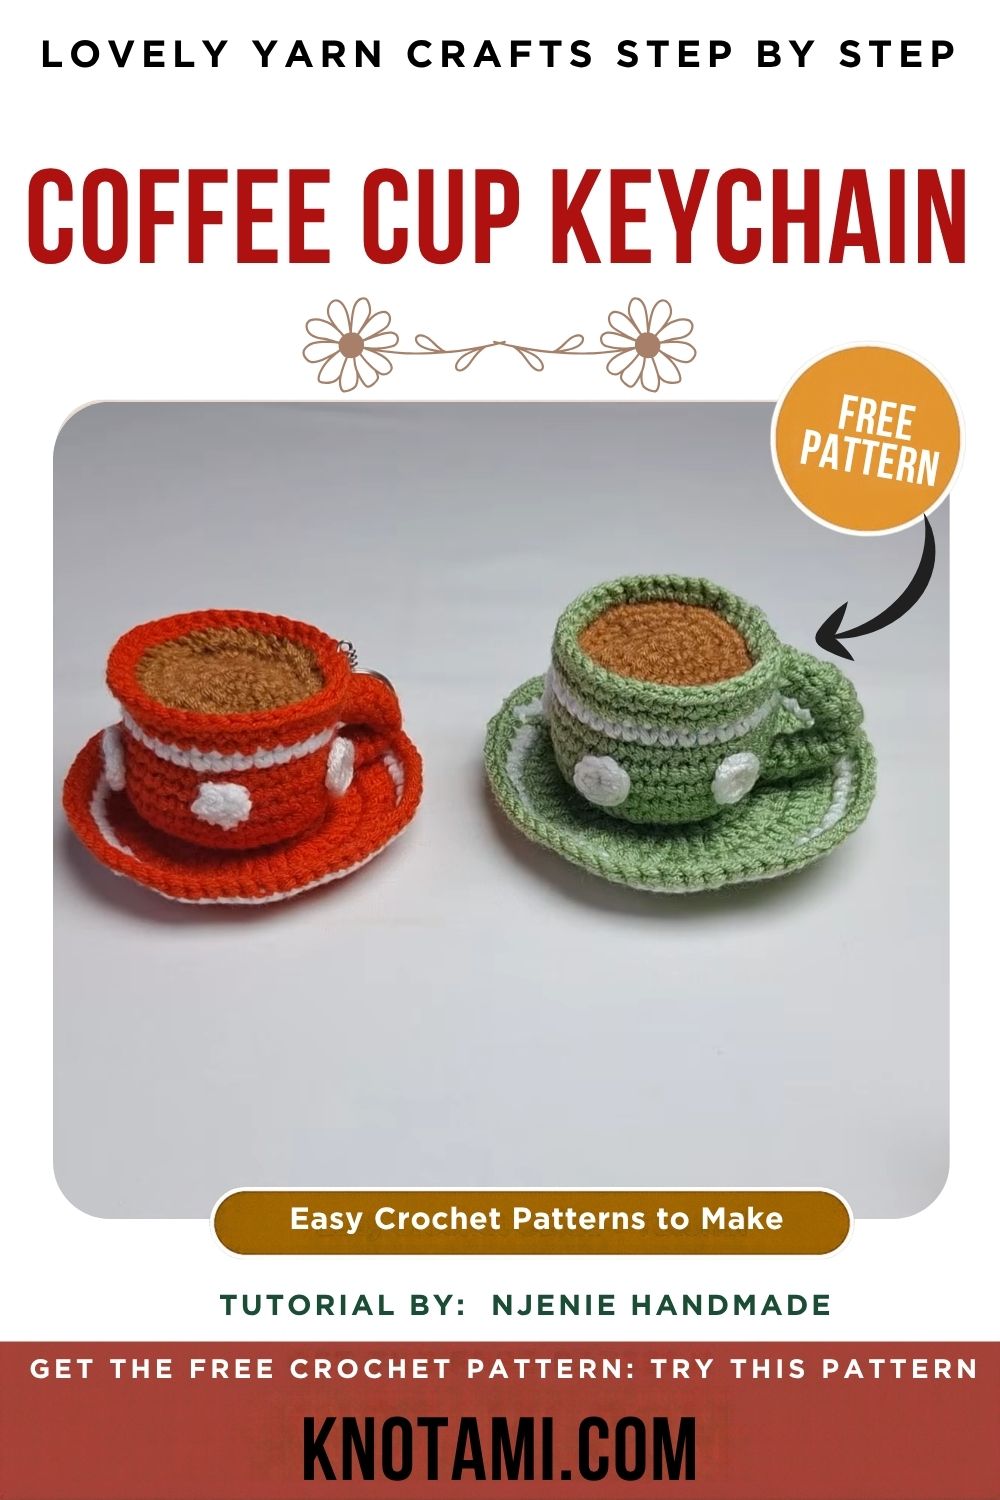
A tiny sage green cup filled with brown “coffee” sits on its own white-edged saucer in this crochet coffee cup keychain with a matching saucer. It’s made in four small parts works up quickly in tight little rounds and is a sweet treat for any coffee lover.
Hang it from your keys, clip it to a bag, or give it as a gift. A 3.5 mm hook and worsted yarn keep it compact, and a back loop round helps the cup stand up straight. Want it even smaller? Skip the saucer or use a thinner yarn. Below you’ll find every round count and step-by-step help with assembly.
About This Coffee Cup Keychain
The project has four small parts: the cup, the coffee top, the handle and the saucer. Each one is worked in the round, and they’re sewn together at the end.
With worsted yarn and a 3.5 mm hook, the cup stands about 2 inches tall and the saucer is about 2.5 inches wide. Your size may change slightly with your tension.
Materials
- Worsted weight (#4) yarn in sage green, about 20 yards
- Worsted weight yarn in white, about 5 yards
- Worsted weight yarn in brown, about 5 yards
- 3.5 mm crochet hook
- Stitch marker, tapestry needle and scissors
- A small handful of fiberfill
- A split key ring and one jump ring
Abbreviations (US Terms)
- MR – magic ring
- ch – chain
- sc – single crochet
- inc – 2 sc in the same stitch
- dec – sc 2 stitches together
- sl st – slip stitch
- st(s) – stitch(es)
- rnd – round
- BLO – back loop only
- FO – fasten off
Before You Begin
Work in continuous rounds without joining or chaining at the end of each round. Move your stitch marker up to the first stitch of every new round instead.
Keep your tension snug, because tight stitches help the cup hold its shape and hide the stuffing. Leave long tails on the coffee top, handle and saucer, since you’ll sew with them later. Whenever you put your work down, pull the loop on your hook long so nothing slips loose.
Watch the Video Tutorial
Prefer to crochet along with a video? The full tutorial walks through every part of the cup and saucer.
How to Crochet the Coffee Cup Keychain
Step 1: Start the Cup Base
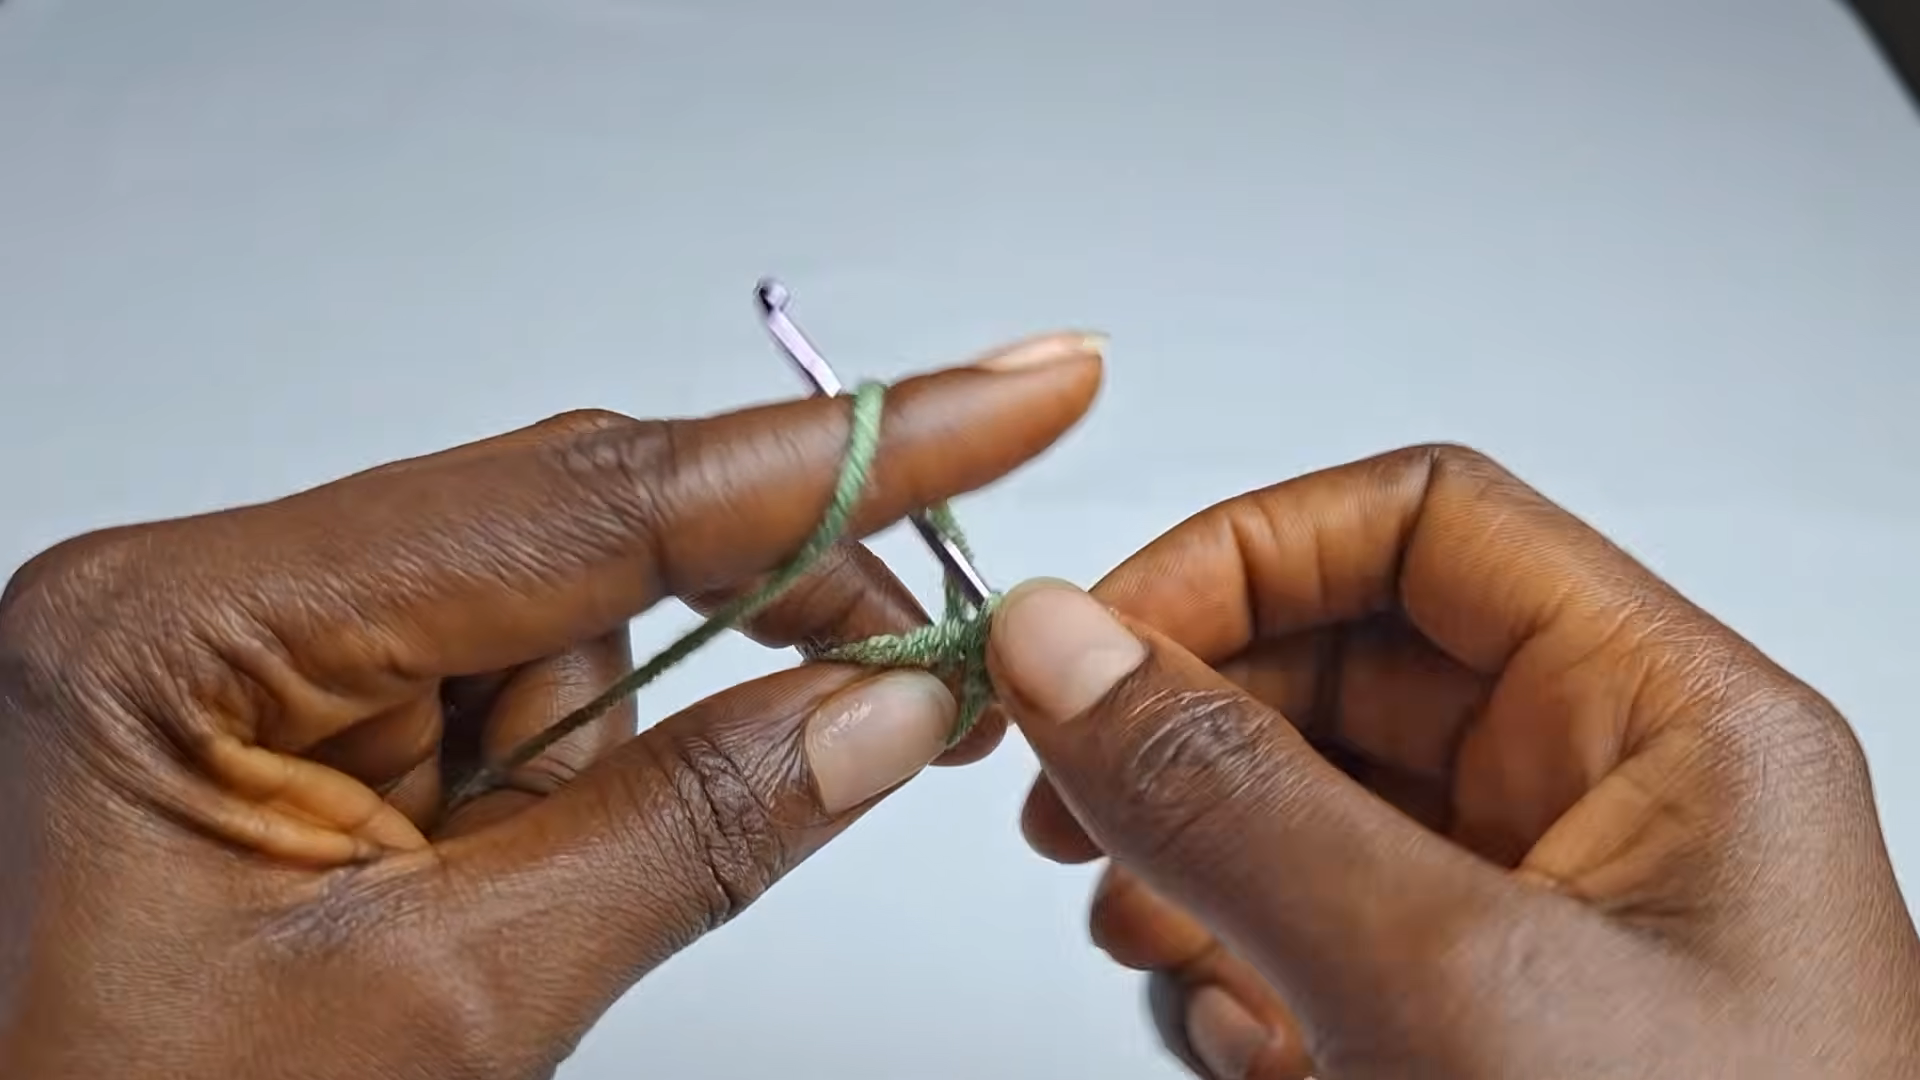
Make a magic ring with green yarn, keeping the working yarn over your index finger. If the tail and working yarn swap places, the ring won’t close.
- Rnd 1: 6 sc in MR (6)
Pull the tail snug once the round is done. The center should close with no hole.
Step 2: Grow the Flat Base
- Rnd 2: inc in each st around (12)
- Rnd 3: (sc, inc) 6 times (18)
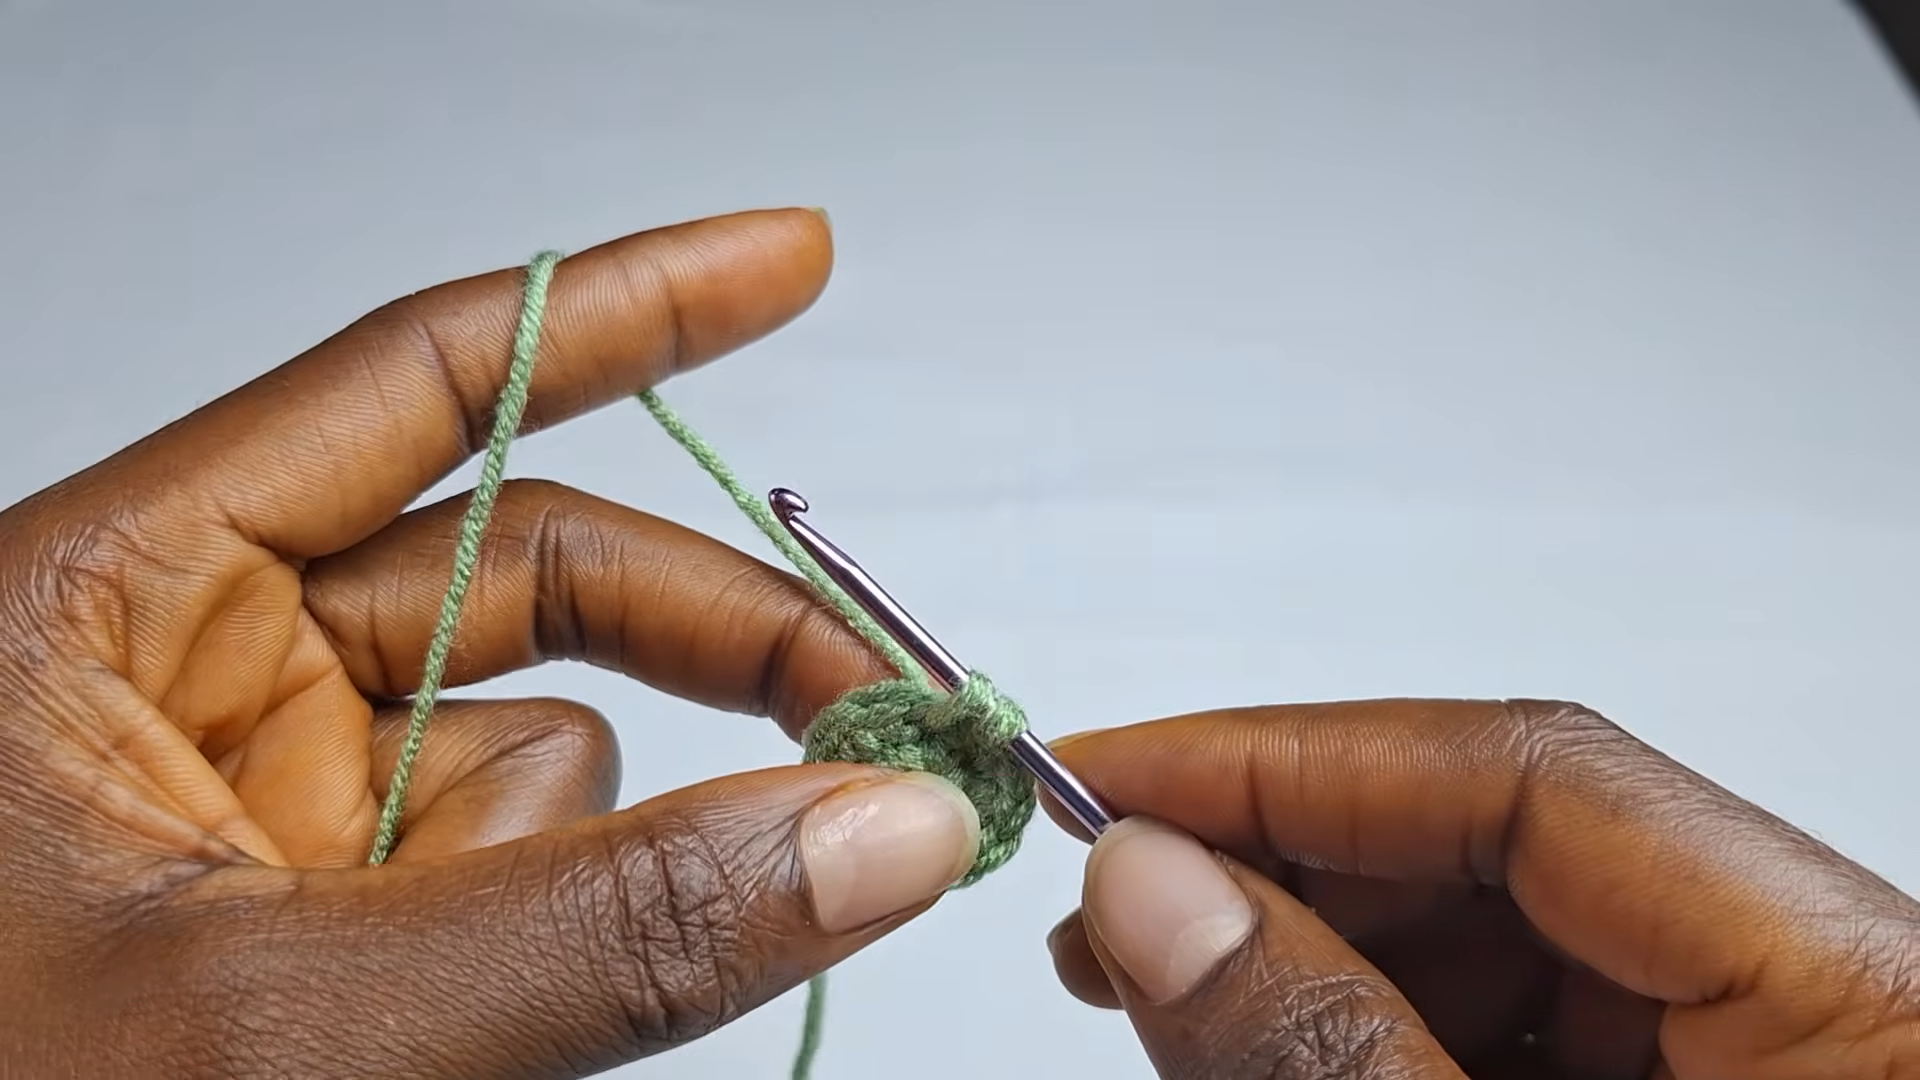
The circle should lie flat on your palm. If it cups, you have too few increases. If it ruffles, you have too many. Count your stitches at the end of each round, because small errors grow fast on a piece this size.
Step 3: Finish the Base and Turn the Edge
- Rnd 4: (2 sc, inc) 6 times (24)
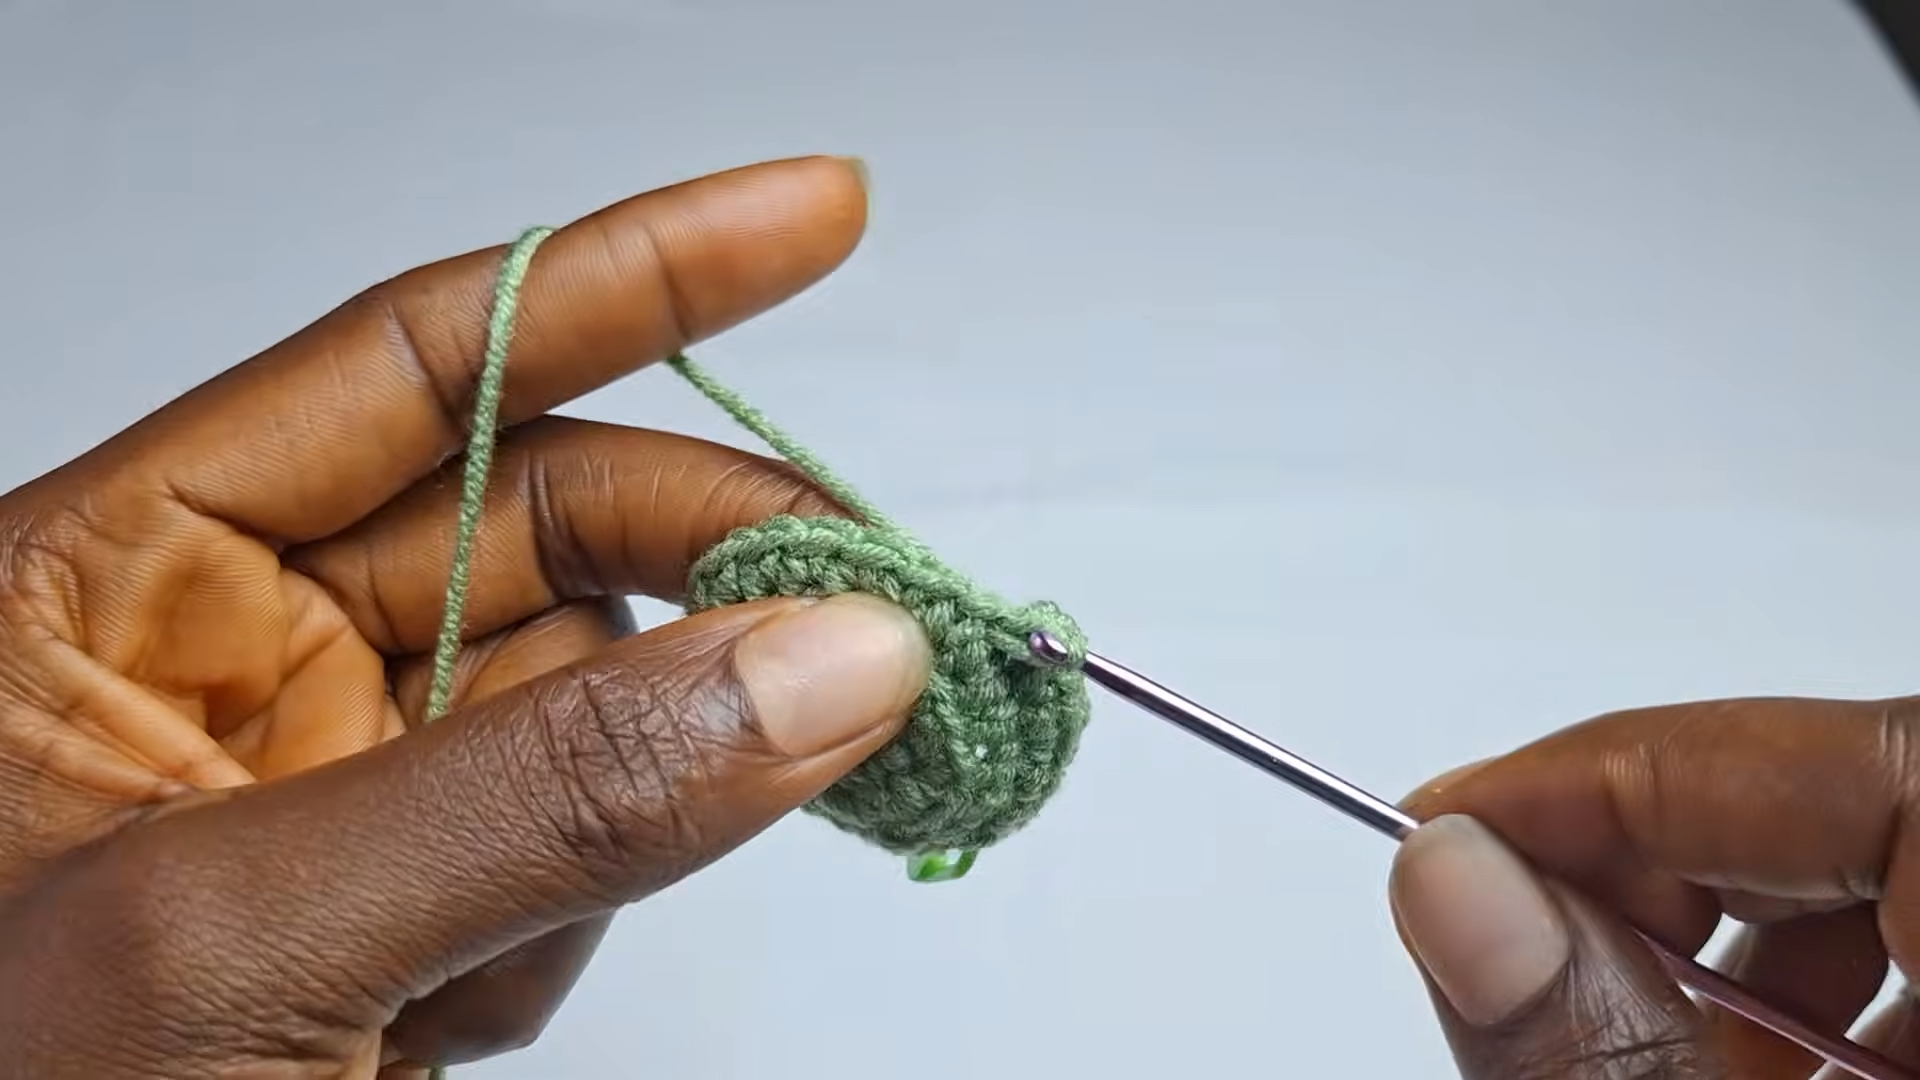
Your base should now be a flat disc with even rings. Next, work into the back loops only. This leaves a ridge that helps the cup stand up straight.
- Rnd 5: sc in BLO in each st around (24)
Step 4: Build the Cup Walls
After the BLO round, stop increasing. The edge curls upward and the walls start to rise.
- Rnds 6–11: sc in each st around (24)
Check that the walls go straight up. If they flare out, your tension may be too loose.
Step 5: Add the White Stripe
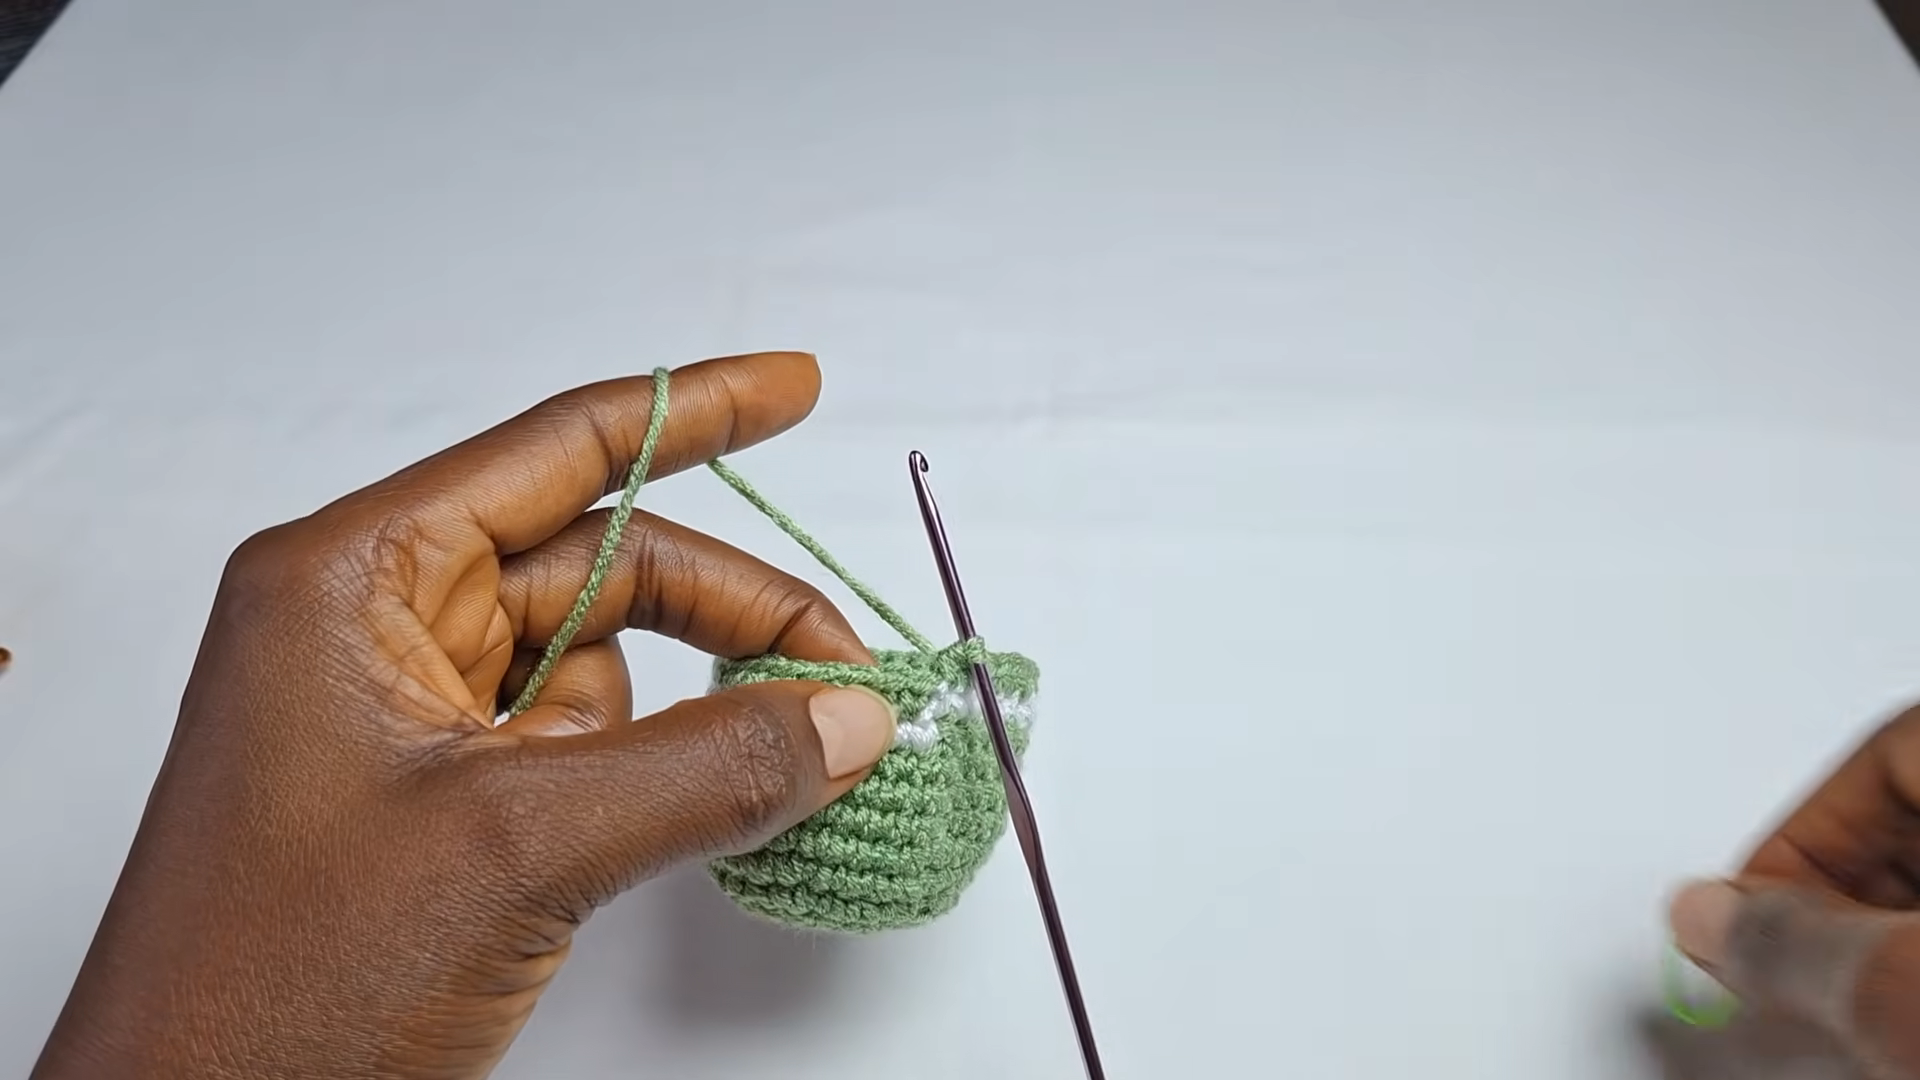
Change to white on the last yarn over of Rnd 11.
- Rnd 12 (white): sc in each st around (24). Change back to green on the last yarn over.
- Rnds 13–14 (green): sc in each st around (24)
The stripe should sit level all the way around, with just a small jog where the rounds start. Turn that jog to the back, because you’ll hide it under the handle later. Sl st into the next st, FO, and tie the white tails inside the cup.
Step 6: Make the Coffee Top
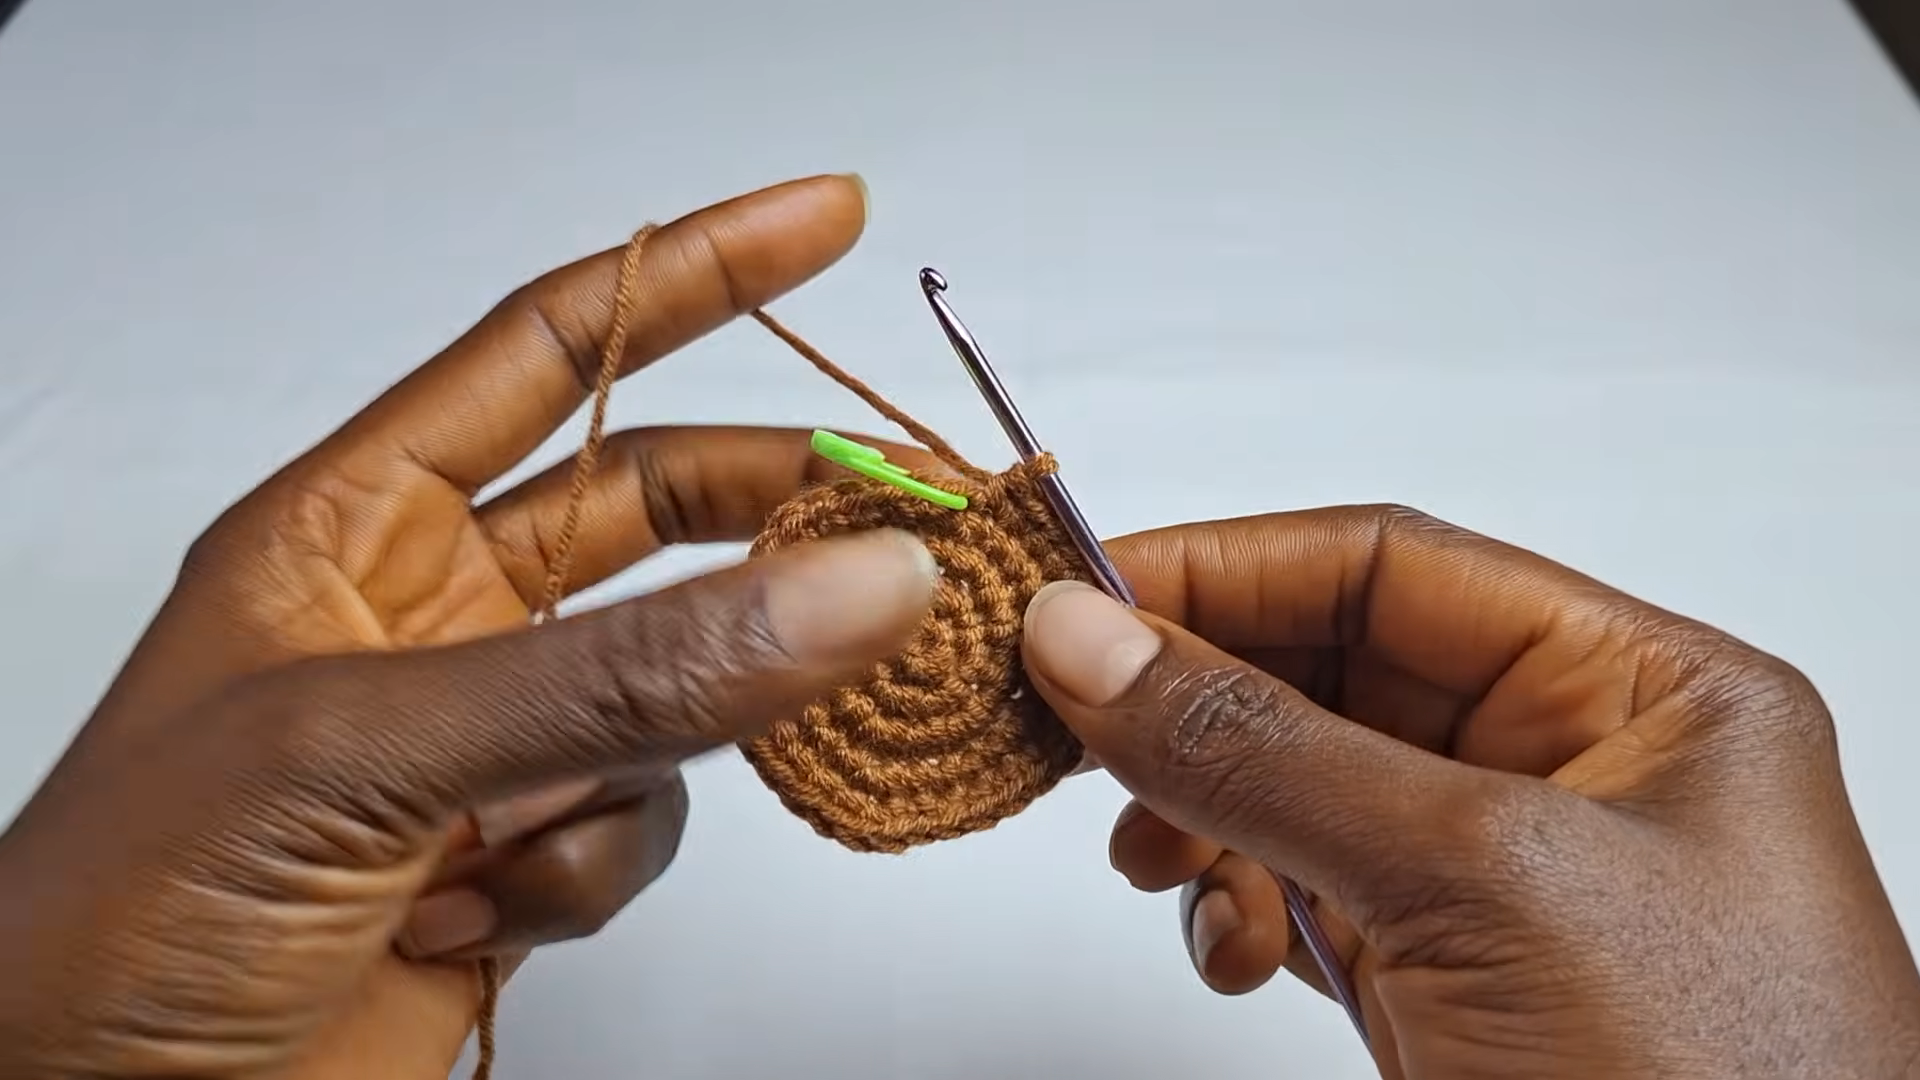
With brown yarn, start a new MR.
- Rnd 1: 6 sc in MR (6)
- Rnd 2: inc in each st around (12)
- Rnd 3: (sc, inc) 6 times (18)
- Rnd 4: (2 sc, inc) 6 times (24)
Hold the disc over the cup rim before you fasten off. Both edges have 24 stitches, so they should line up. Then sl st into the next st and FO, leaving a 12-inch tail. The spiral should look even, with no puckers.
Step 7: Make and Sew On the Handle
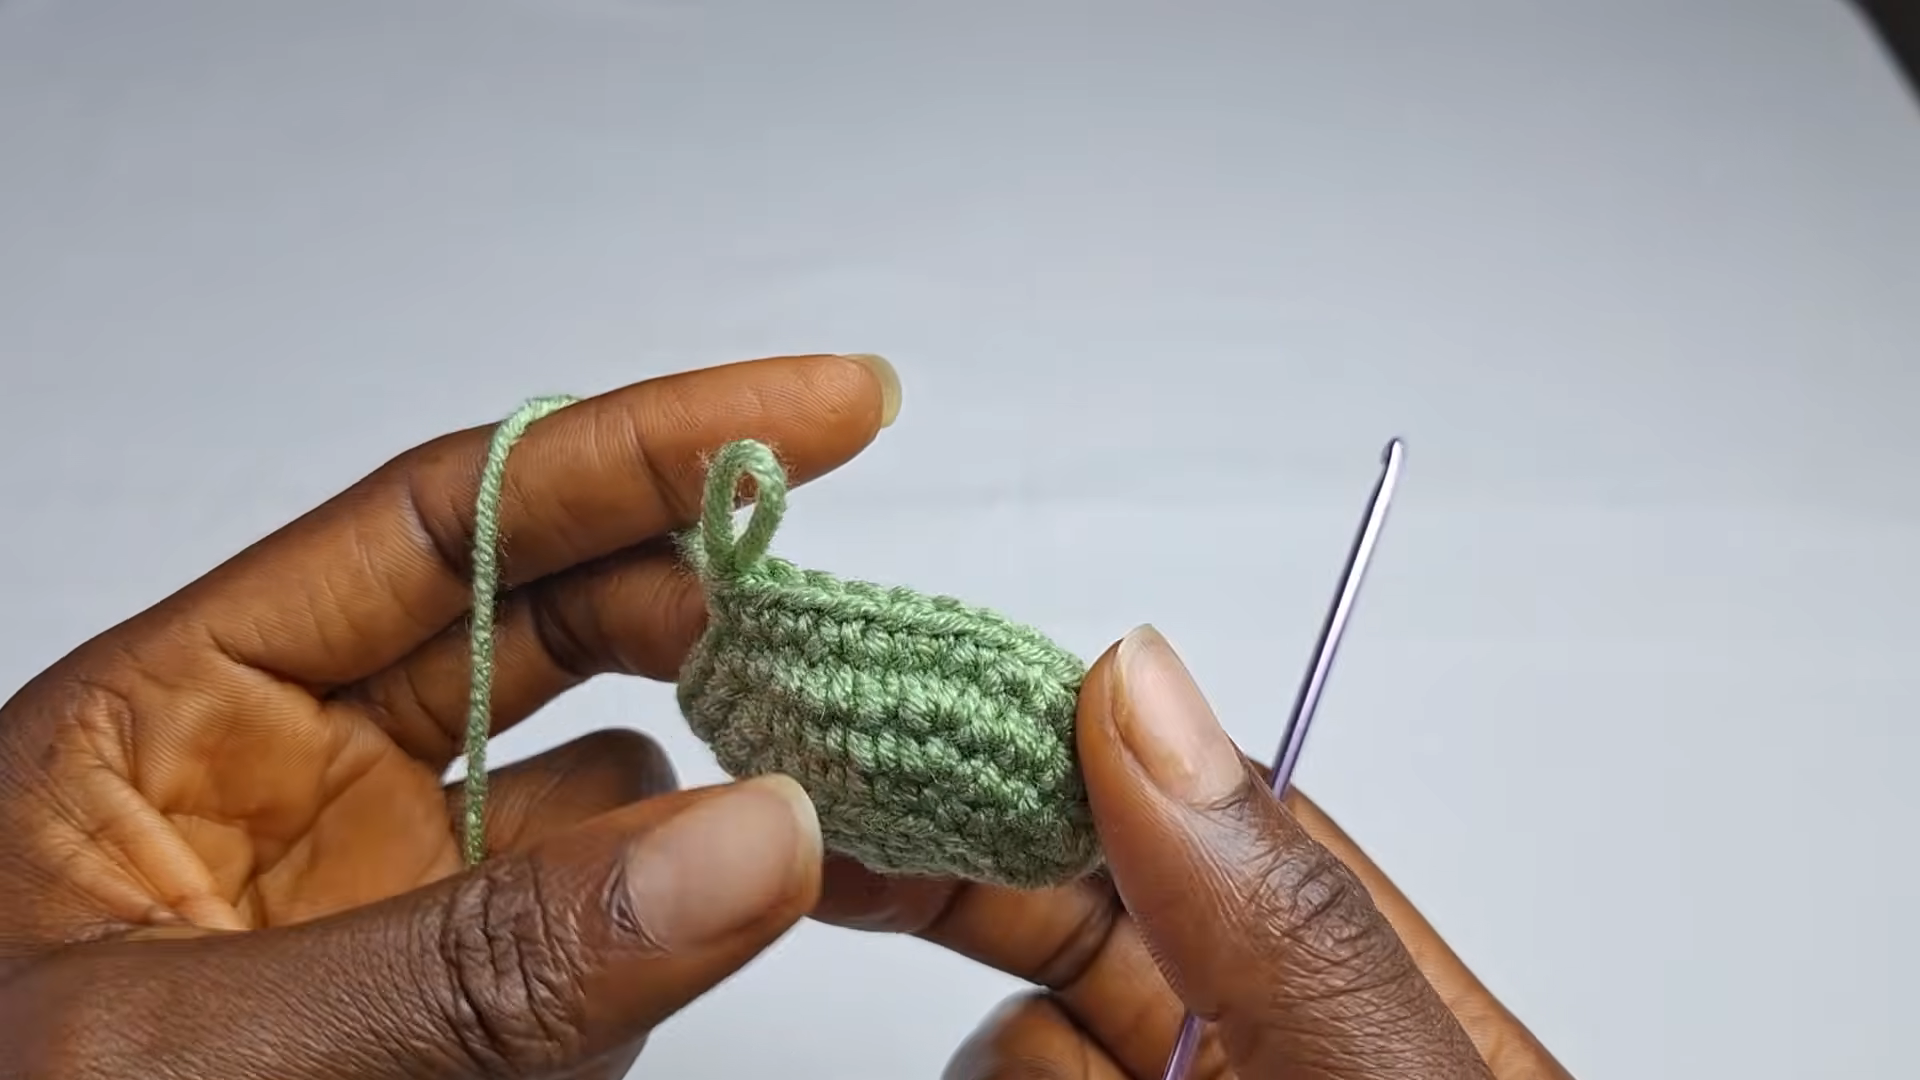
The handle is a small green tube.
- Rnd 1: 4 sc in MR (4)
- Rnds 2–8: sc in each st around (4)
FO and leave a 10-inch tail. Don’t stuff the handle.
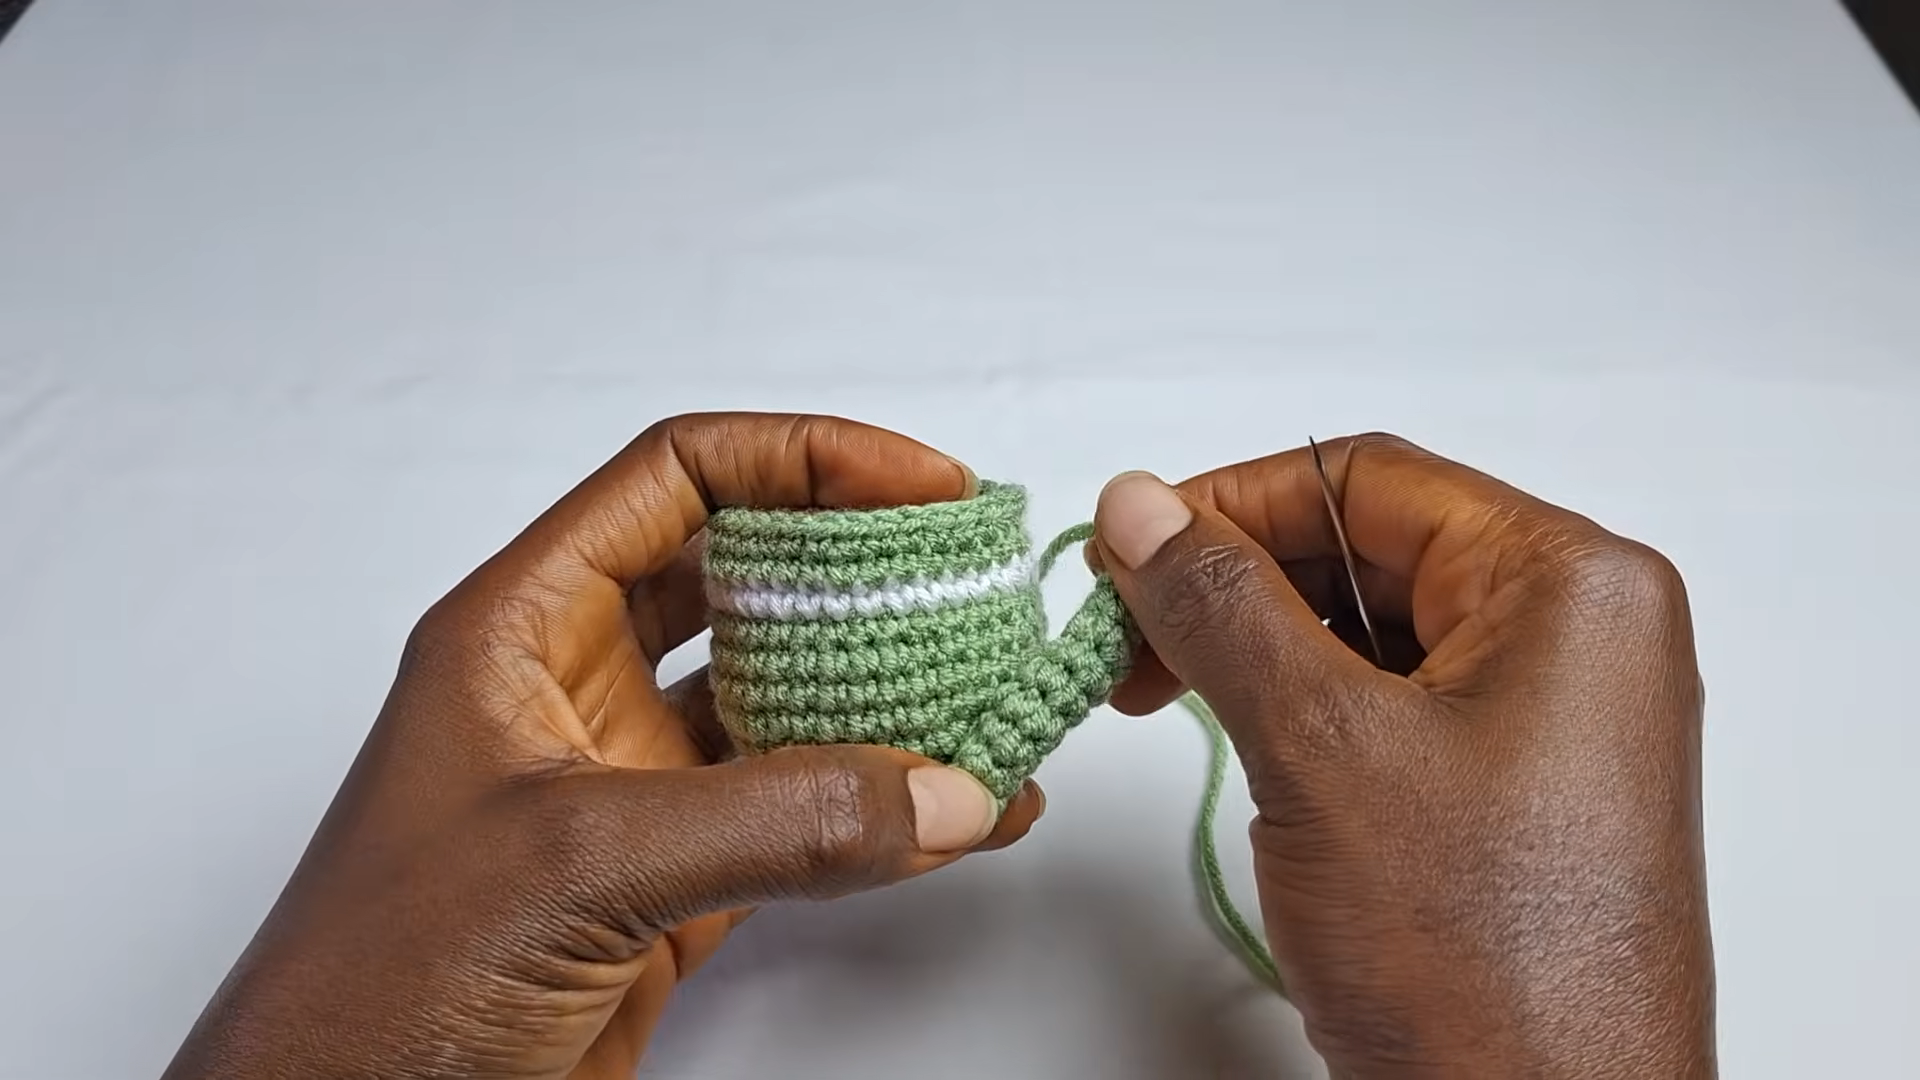
Place the handle over the color jog from Step 5. Sew the top end just below Rnd 13 with a tapestry needle, then curve the tube and sew the other end at about Rnd 7. Keep both ends in a straight vertical line.
Step 8: Crochet the Matching Saucer
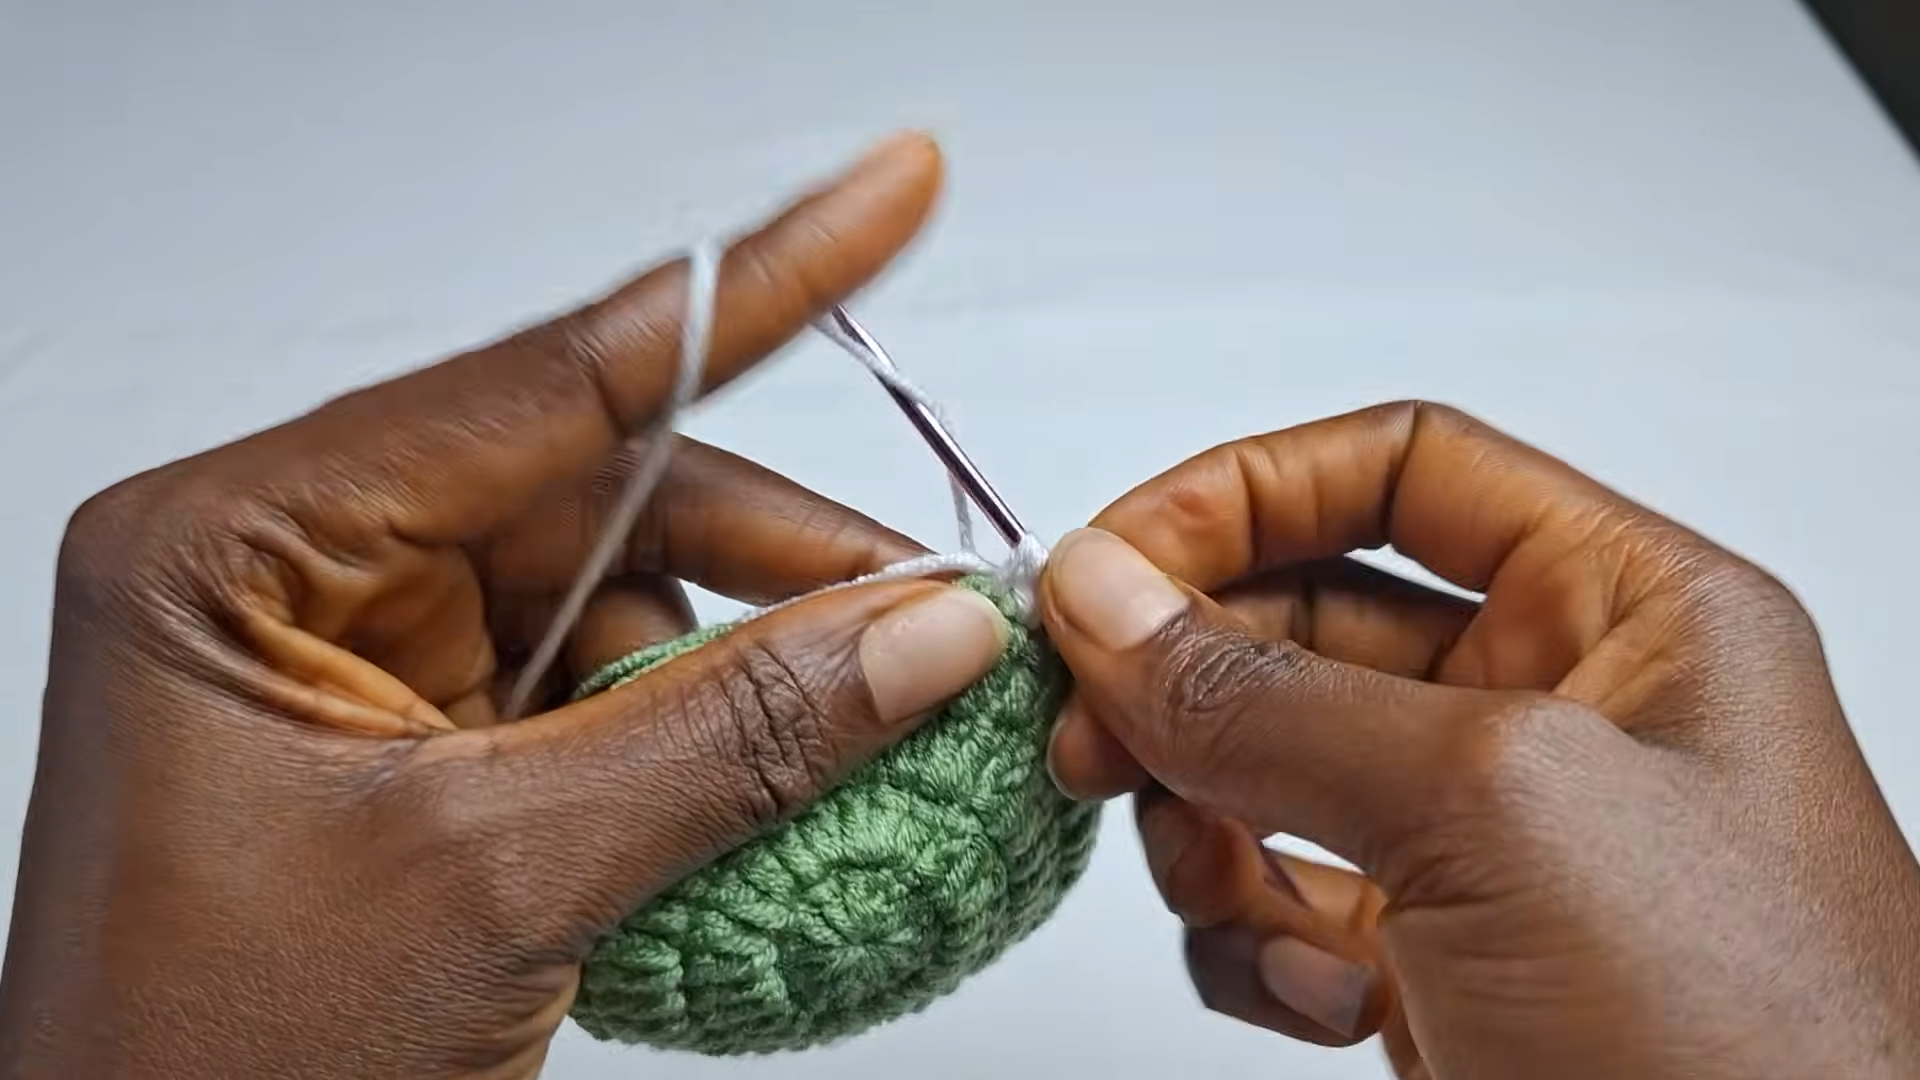
Start the saucer with green yarn in a MR.
- Rnd 1: 6 sc in MR (6)
- Rnd 2: inc in each st around (12)
- Rnd 3: (sc, inc) 6 times (18)
- Rnd 4: (2 sc, inc) 6 times (24)
- Rnd 5: (3 sc, inc) 6 times (30)
- Rnd 6: (4 sc, inc) 6 times (36)
- Rnd 7: sc in each st around (36). This even round lifts the edge into a shallow lip. Change to white on the last yarn over.
- Rnd 8 (white): sc in each st around (36)
Keep the white round loose enough that the saucer keeps a slight curve. Sl st into the next st, FO, and weave in the white tail.
Step 9: Assemble the Keychain
- Push a small amount of fiberfill into the cup, filling it to just below the rim without packing it hard.
- Set the brown disc on top and whipstitch its edge to the inner loops of Rnd 14 all the way around. The cup should now look full.
- Center the cup on the saucer. Sew through the front loops left by Rnd 5, so your stitches hide under the base ridge.
- Open the jump ring, slide it through the top of the handle, and close it onto the key ring.
Common Mistakes to Avoid
- A wavy base: Recount your increases. The disc must lie flat before the BLO round.
- Flared walls: Loose tension or an extra stitch can cause this. Count 24 stitches every round.
- A jog at the front: Turn the round start to the back before you sew on the handle.
- A lumpy top: Too much stuffing pushes the coffee disc up. Use just enough to hold the shape.
Make It Tough Enough for Daily Keys
Keychains rub against keys, bags and pockets every day, so a few small choices matter more here than on a shelf toy.
- Choose a smooth yarn: Cotton holds its shape and fuzzes less, while acrylic feels softer.
- Knot every tail twice inside the cup before weaving it in.
- Sew the saucer on with two full passes instead of one.
- Use a split ring plus a jump ring, not a thin wire loop. Solid metal wears on yarn far less.
Brew a Whole Café Set
The same cup pattern turns into a whole menu of drinks with a few color swaps and tiny embroidered details. Make a set for your coffee-loving friends and let each pick their favorite.
- Latte: Make the top in tan, then embroider a tiny white heart in the center for latte art.
- Matcha: Use a light green top in a cream or white cup.
- Hot chocolate: Use a dark brown top with three or four white French knots for mini marshmallows.
- Tea cup: Make an amber top, and let a short piece of white thread hang over the rim with a tiny paper tag for a tea bag string.
- Holiday mocha: A red cup with a cream stripe and a brown top makes a sweet Christmas gift.
Looking for more quick charms? Pair your cup with the crazy donut keychain for a coffee-and-donut set, or try the watermelon keychain and the crochet hat keychain. For a bigger sweet-treat project, the crochet candy bag is a fun next step.
Care Tips
Spot clean with a damp cloth and a drop of mild soap, then let it air dry flat. Skip the dryer, because heat can warp small pieces.
FAQs
How big is the coffee cup keychain?
With worsted yarn and a 3.5 mm hook, the cup is about 2 inches tall and the saucer about 2.5 inches across. Thinner yarn makes a smaller cup.
Can I skip the saucer?
Yes, the cup works on its own. Just attach the ring through the handle. The saucer mainly adds balance and style.
Why does my stuffing show through?
Your stitches may be too loose for the yarn. Go down one hook size and try again, since tighter fabric hides fiberfill much better.
Your Pocket-Sized Coffee Break
Once the saucer is sewn on and the ring is in place, this little cup is ready for everyday adventures. Give every tail a final check inside the cup, then clip it to your keys. It’s the one cup of coffee that never goes cold, and it’s quick enough that a whole café set could be done by the weekend.