Easy Own Crochet Little Ant Amigurumi Pattern Toy
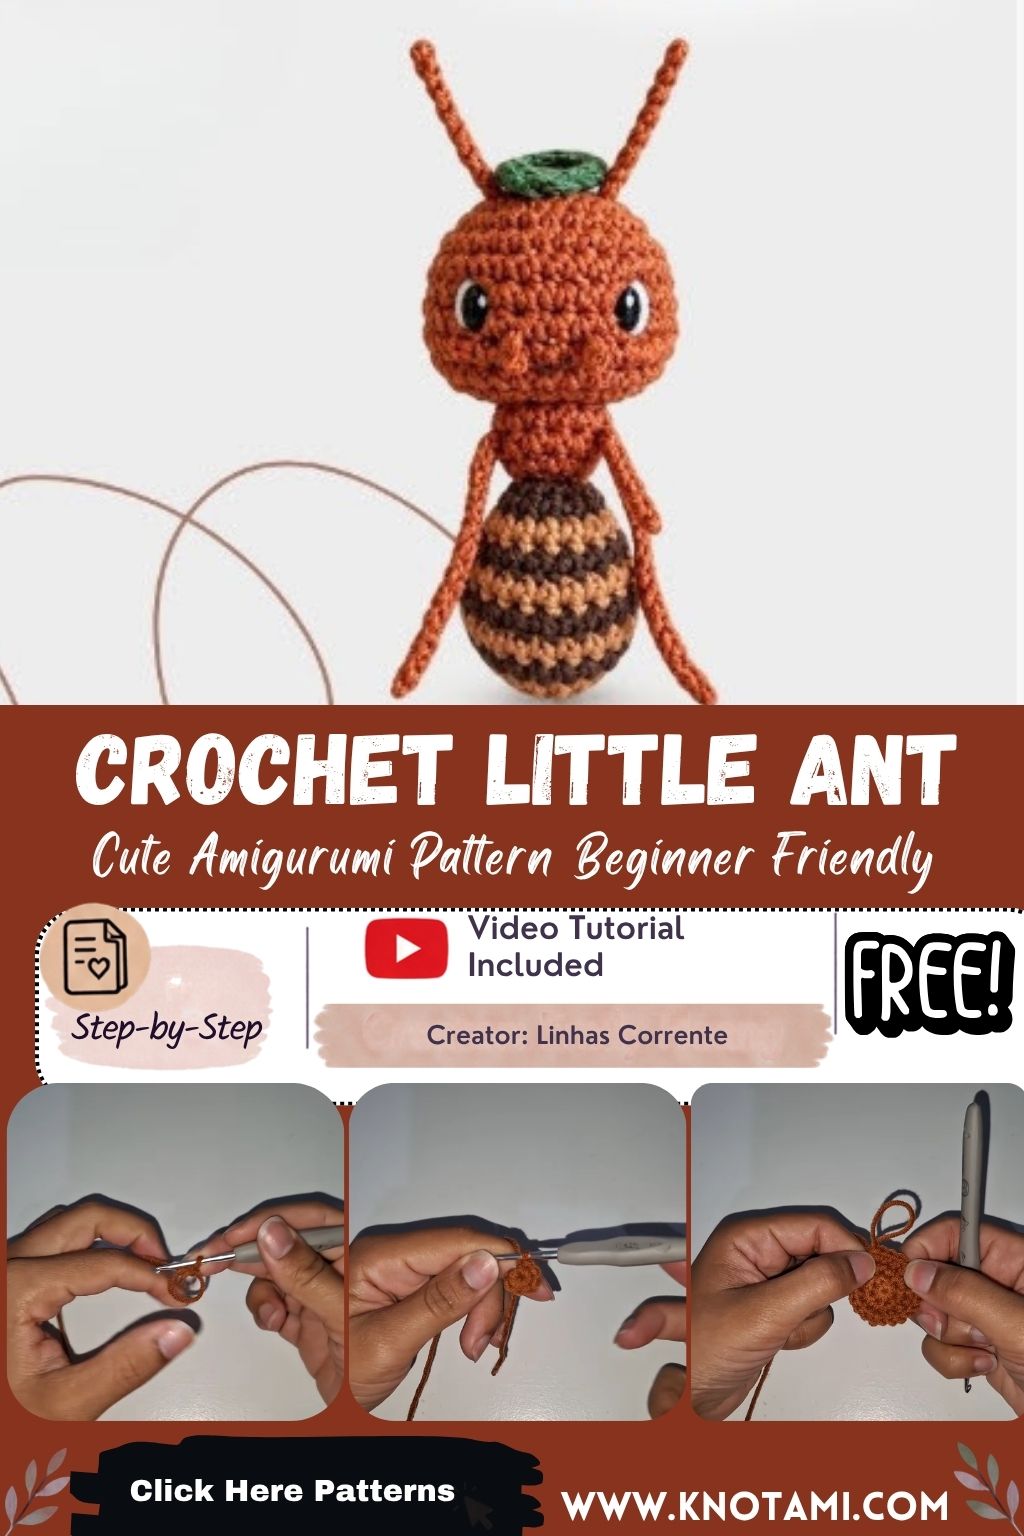
Rust-brown yarn, two shiny black eyes, and a belly striped in tan and cocoa come together in Easy Own Crochet Little Ant Amigurumi Pattern Toy. The finished bug sits in one palm, and it only asks for a handful of small rounds, a little stuffing, and a few thin cords.
A crochet little ant amigurumi is the kind of make you can finish over a quiet evening and hand to someone the next morning. The head and body are worked as two round pieces and joined with one short seam, so there is very little sewing. What sets the ant apart is its striped amigurumi body, with bands of tan and dark brown that make it read as a proper little insect. Big eyes framed in white give it a friendly face.
Pattern Overview for Your Little Ant Amigurumi
Two round pieces make up the ant. The rust head holds the safety eyes, and the body starts with a rust base before switching to tan and dark brown bands. Once both parts are stuffed, you sew the head on top.
Short cords of chain and slip stitch become the antennae and six legs. Standing upright, the finished ant measures about 3 inches tall, not counting the antennae.
Materials and Tools
Every stitch in the pattern uses US crochet terms.
- Sport weight (2) acrylic yarn in rust brown, about 30 yards
- Sport weight yarn in tan, about 10 yards
- Sport weight yarn in dark brown, about 8 yards
- A short length of white yarn for the eye rings
- 2.5 mm (B/1 or C/2) crochet hook
- Two 6 mm black safety eyes
- Fiberfill stuffing
- Stitch marker and a few sewing pins
- Yarn needle and scissors
Not sure what weight your yarn is? The Craft Yarn Council yarn weight chart sorts it out in a minute. A 2.5 mm hook runs a little small for sport yarn, and that is on purpose. Tight stitches keep the stuffing from peeking through.
Abbreviations (US Terms)
- MR: magic ring
- ch: chain
- sc: single crochet
- inc: 2 sc in the same stitch
- dec: single crochet 2 together
- sl st: slip stitch
- st(s): stitch(es)
- Rnd: round
- FO: fasten off
Time Box
- Prep: about 10 minutes to wind the yarn and lay out the eyes
- Stitching: roughly 1½ to 2 hours for the head and body
- Finishing: around 40 minutes to join the pieces, stitch the eye rings, and add antennae and legs
How to Crochet the Little Ant Amigurumi
Both pieces are worked in a continuous spiral, so skip the joining slip stitch at the end of each round. Slide your marker up whenever you reach it.
Step 1: Start the Magic Ring
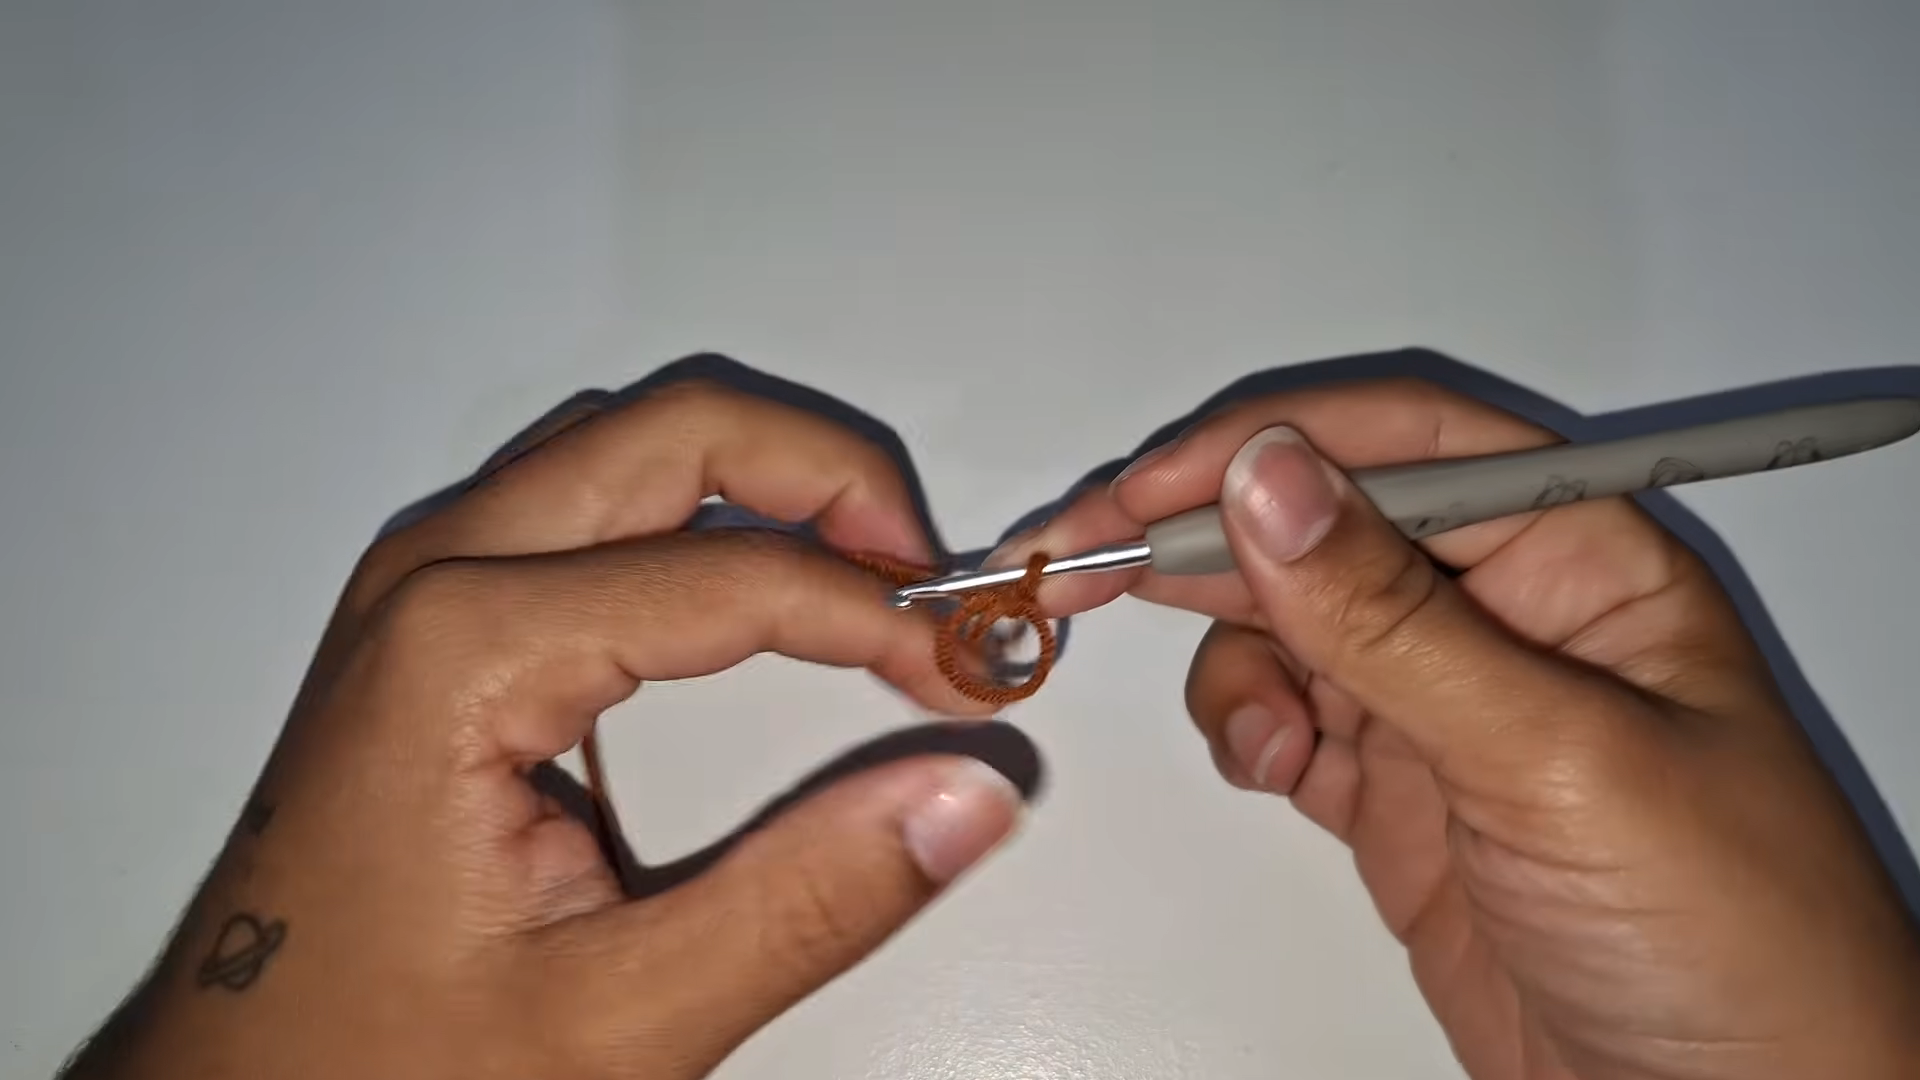
With rust brown, make a magic ring and chain 1.
- Rnd 1: 6 sc in MR (6)
Keep the working yarn over your finger and leave the loop loose for now. You will tighten it in the next step.
Step 2: Grow the Head Base
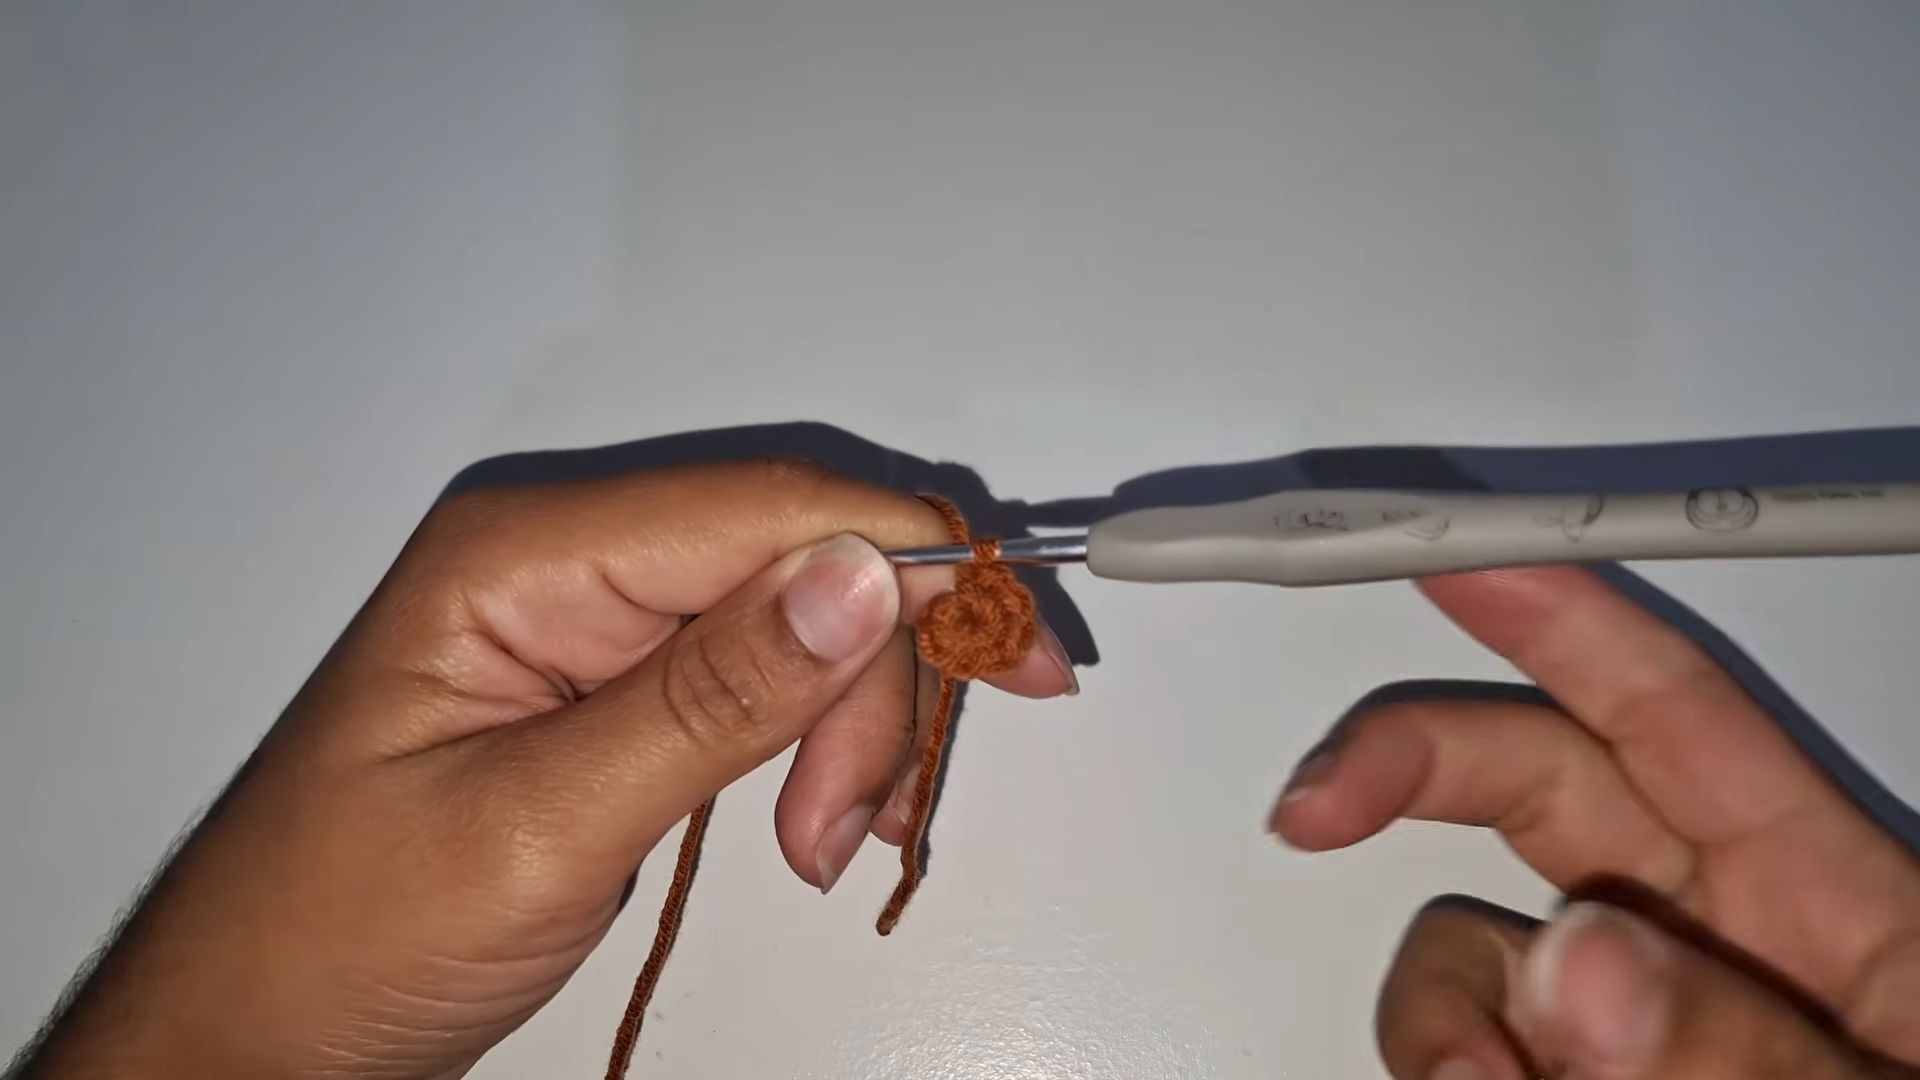
Pull the tail firmly until the center closes with no gap. Place your marker in the first stitch, then work the increases.
- Rnd 2: inc in each st around (12)
- Rnd 3: (sc, inc) x 6 (18)
- Rnd 4: (2 sc, inc) x 6 (24)
After Round 4 you should have a flat circle about 1¼ inches across. If a hole shows in the middle, give the tail one more tug.
Step 3: Work the Even Rounds
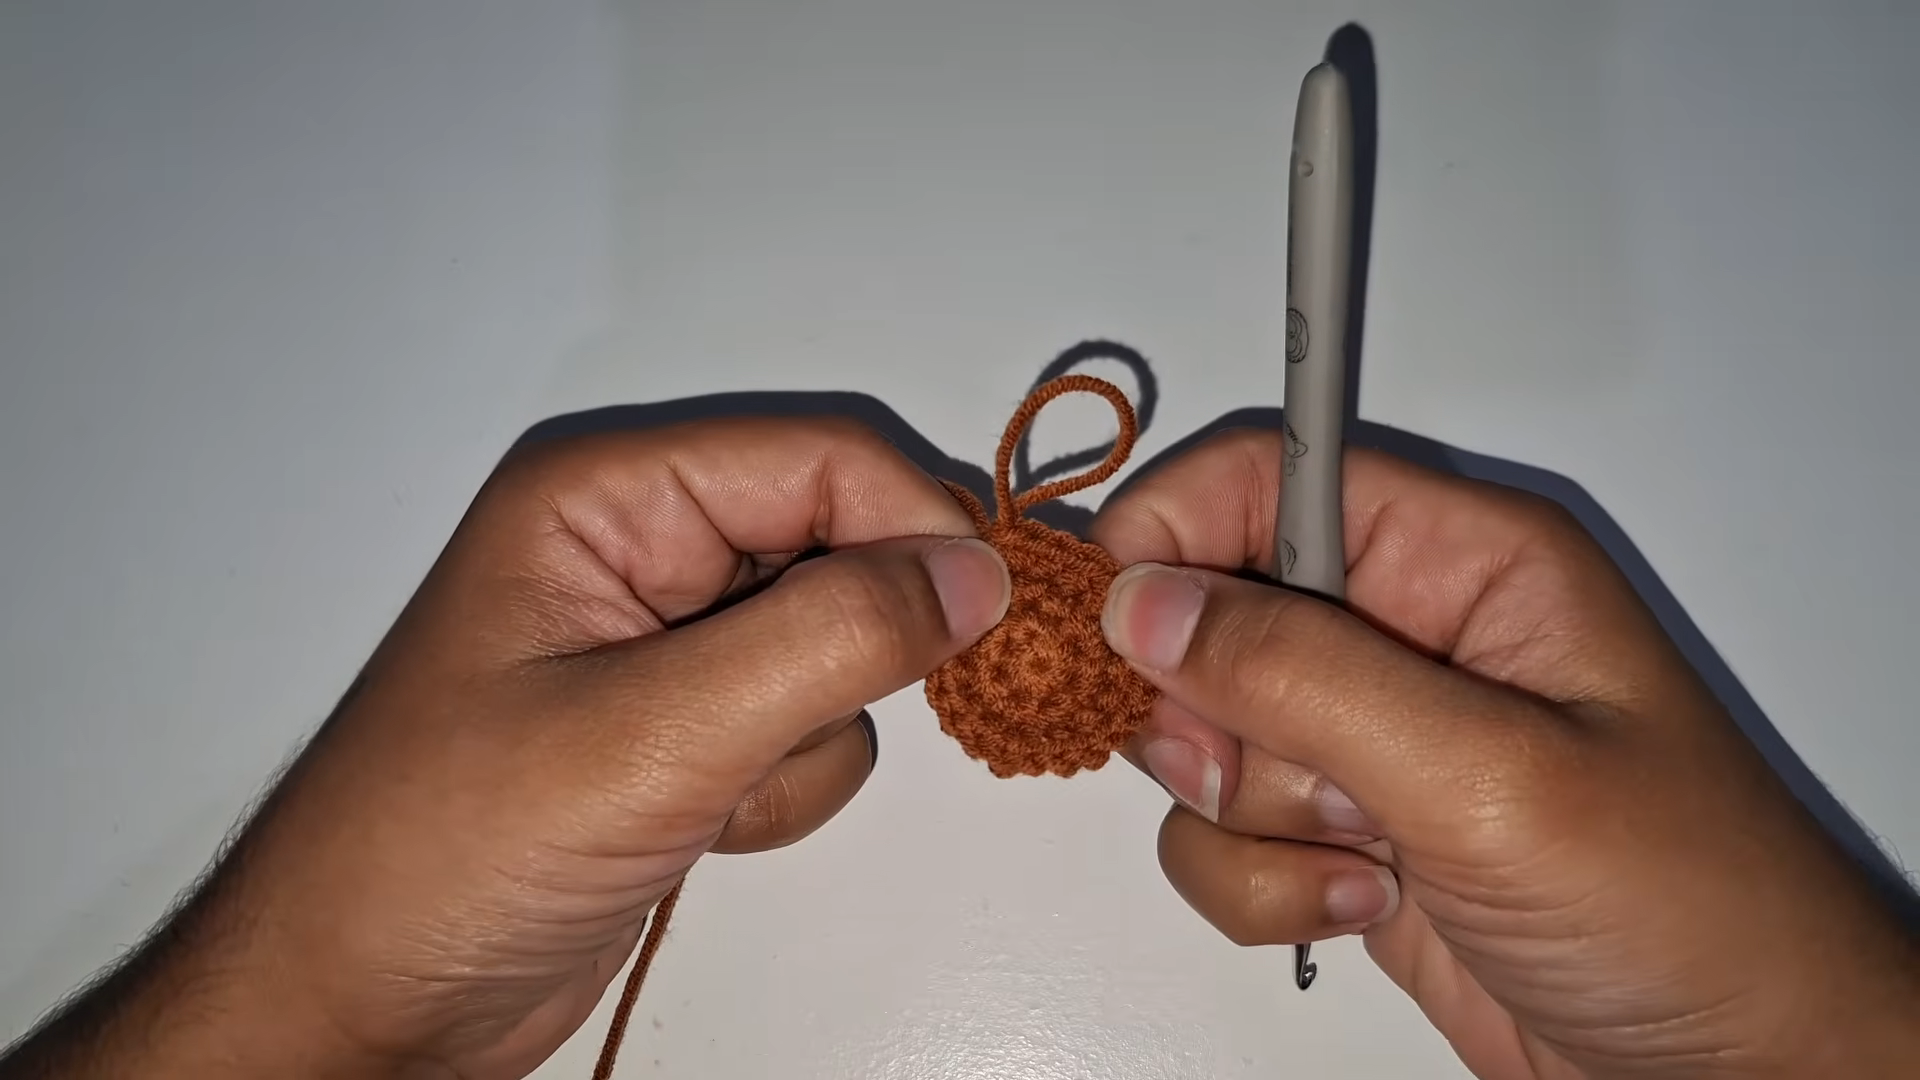
- Rnds 5–9: sc in each st around (24)
With no increases, the edges curl upward and the circle turns into a small cup about 1¾ inches wide. Count all 24 stitches at the end of Round 9, since one stray stitch is enough to make the head lopsided.
Pro Tip: Leave the magic ring tail hanging inside. You can weave it in after the head is stuffed and closed.
Step 4: Place the Safety Eyes
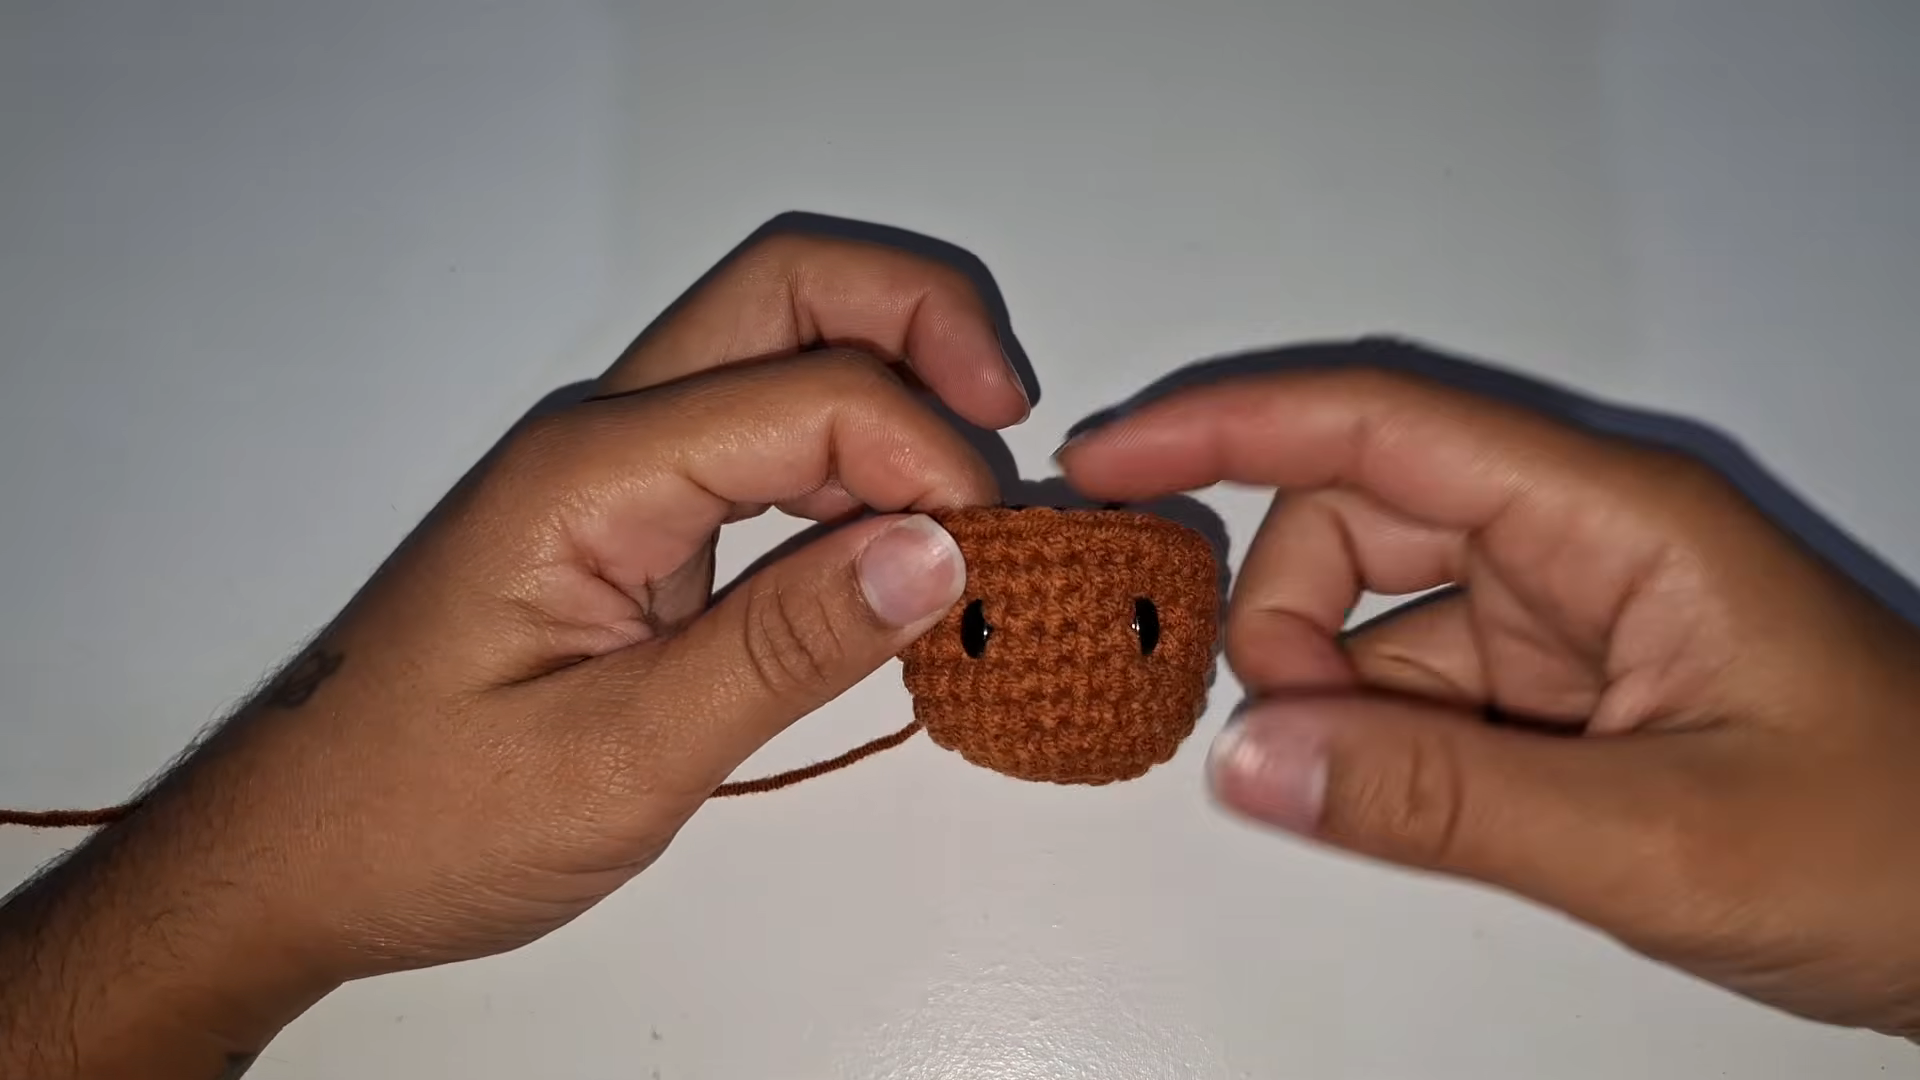
Push the safety eyes through from the front between Rounds 7 and 8, leaving 6 stitches between them. Before you snap the backs on, look at the face straight on. Both eyes should sit on the same round and at the same height.
Pro Tip: Mark the eye spots with pins first. Once a safety eye back clicks into place, getting it off again is close to impossible.
Step 5: Stuff and Close the Head
- Rnd 10: (2 sc, dec) x 6 (18)
- Rnd 11: (sc, dec) x 6 (12)
- Stuff the head firmly.
- Rnd 12: dec x 6 (6)
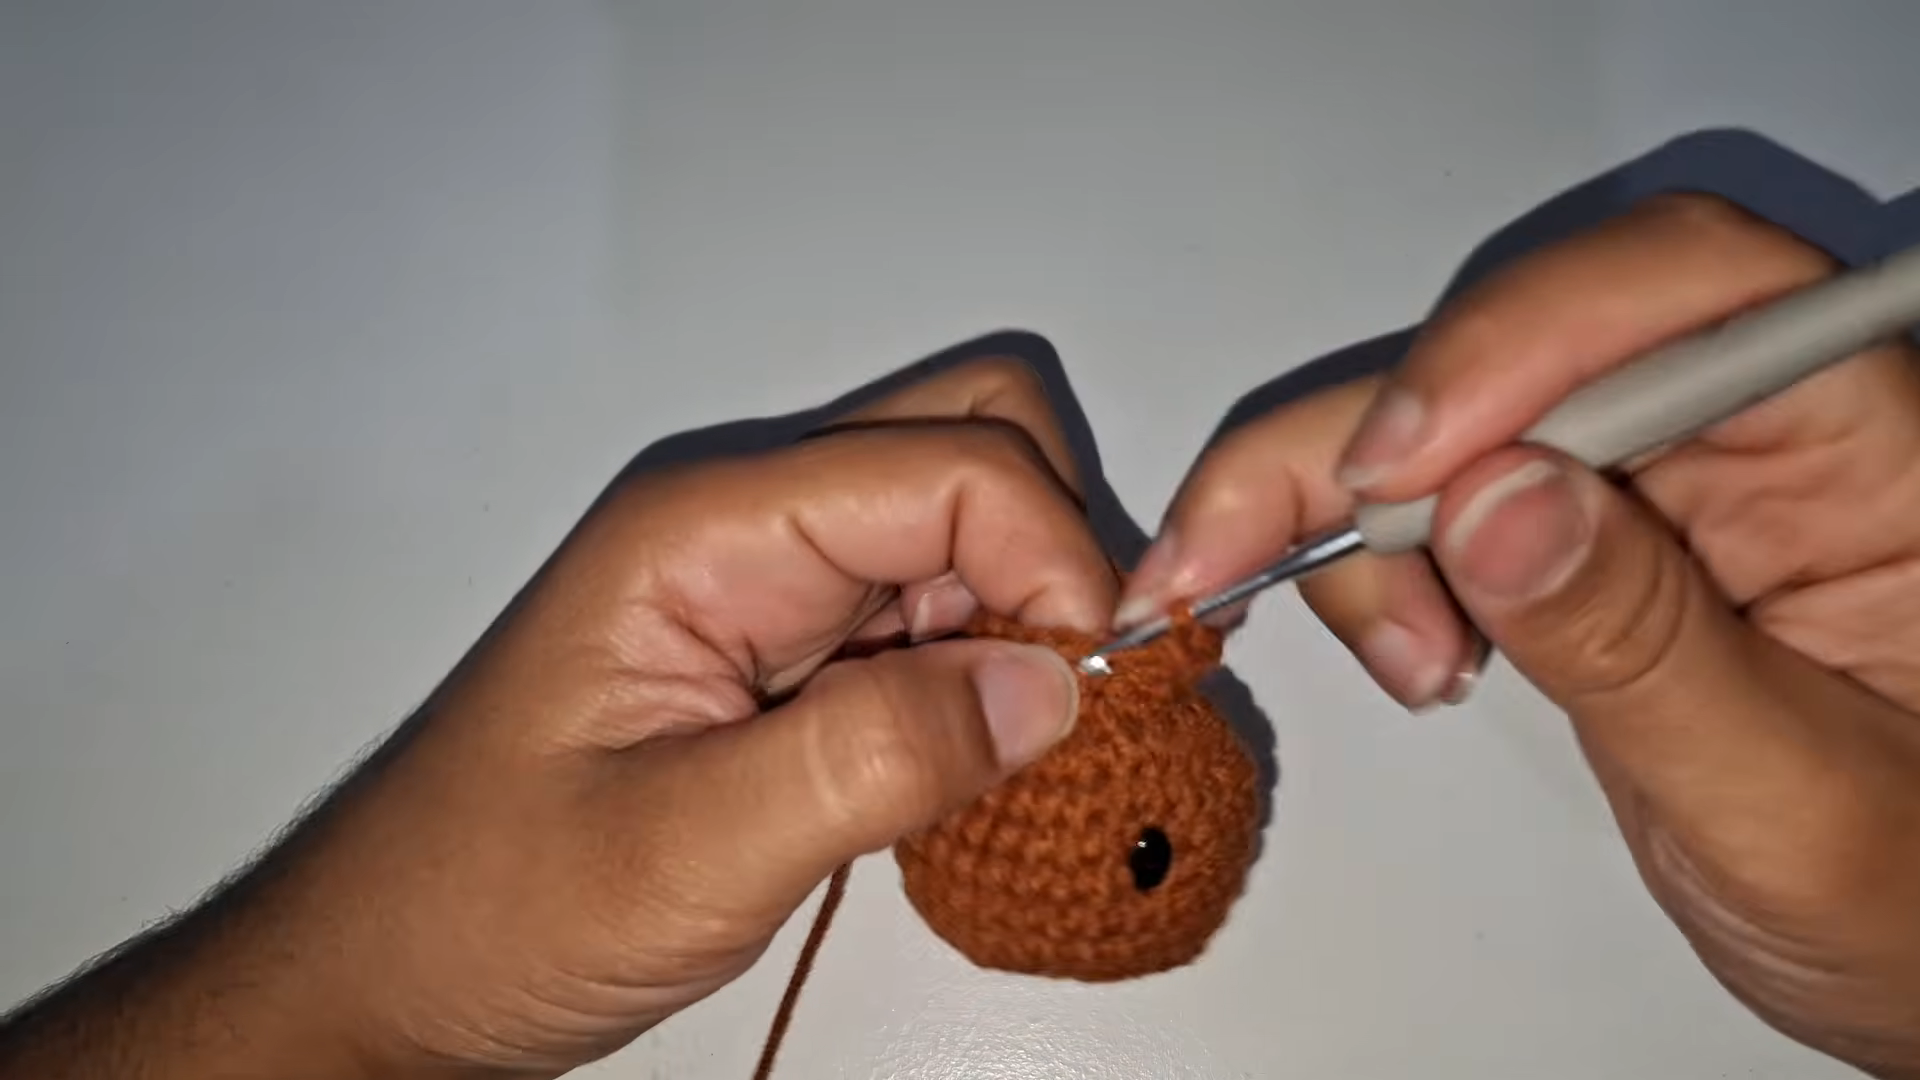
Fasten off, run the tail through the front loops of the last 6 stitches, and pull it snug. Hide the end inside the head.
For the eye rings, thread a short piece of white yarn on your needle and make one loop around each eye. Keep the loop close to the eye so it stays neat and thin.
Step 6: Crochet the Striped Body
Begin the body with rust brown, the same way you started the head.
- Rnd 1 (rust): 6 sc in MR (6)
- Rnd 2 (rust): inc in each st around (12)
- Rnd 3 (rust): (sc, inc) x 6 (18)
- Rnd 4 (rust): (2 sc, inc) x 6 (24)
- Rnd 5 (rust): sc in each st around (24)
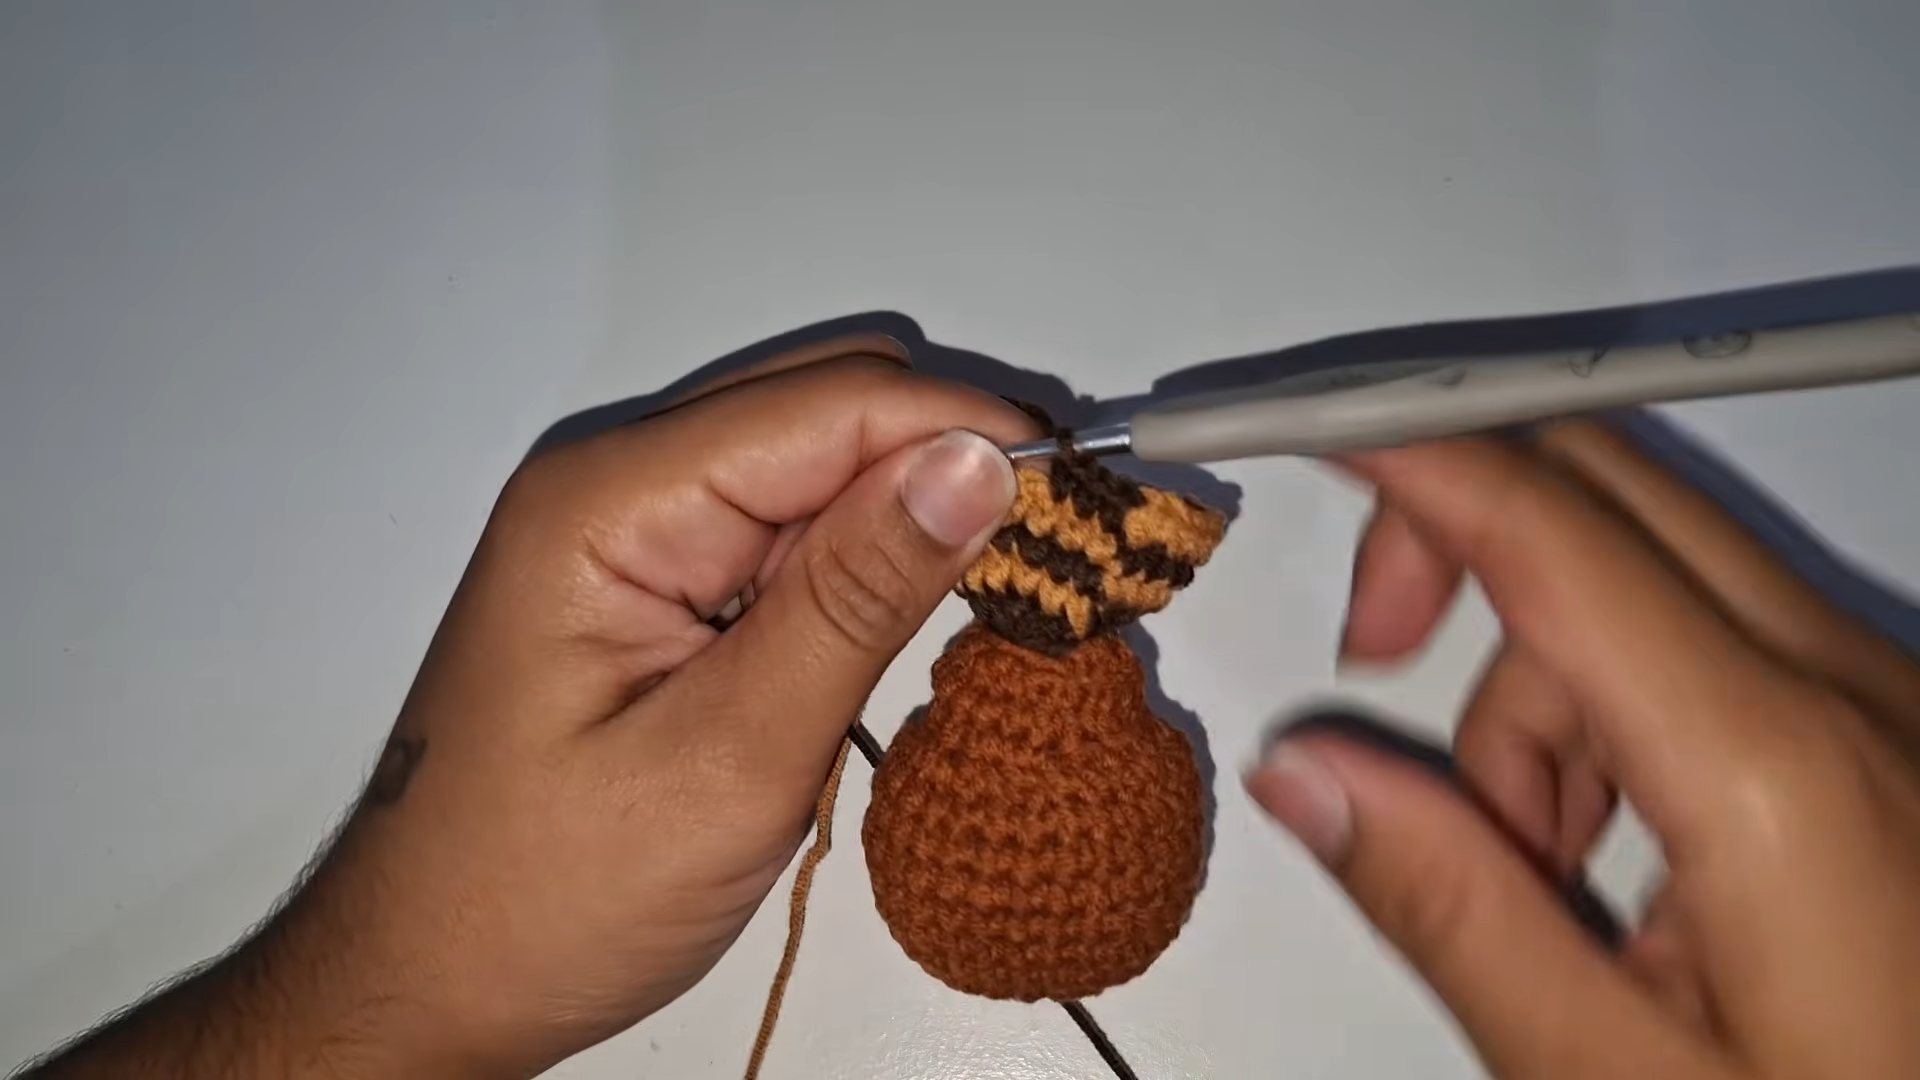
- Rnds 6–7 (tan): sc in each st around (24)
- Rnd 8 (dark brown): sc in each st around (24)
- Rnds 9–10 (tan): sc in each st around (24)
- Rnd 11 (dark brown): (2 sc, dec) x 6 (18)
- Rnd 12 (tan): (sc, dec) x 6 (12)
Stuff the body firmly and fasten off, leaving a tail of about 12 inches for sewing. Keep the top open.
Pro Tip: Switch colors on the last yarn over of the stitch before the change. Carry the unused strand inside the body instead of cutting it every time.
Step 7: Join the Head to the Body
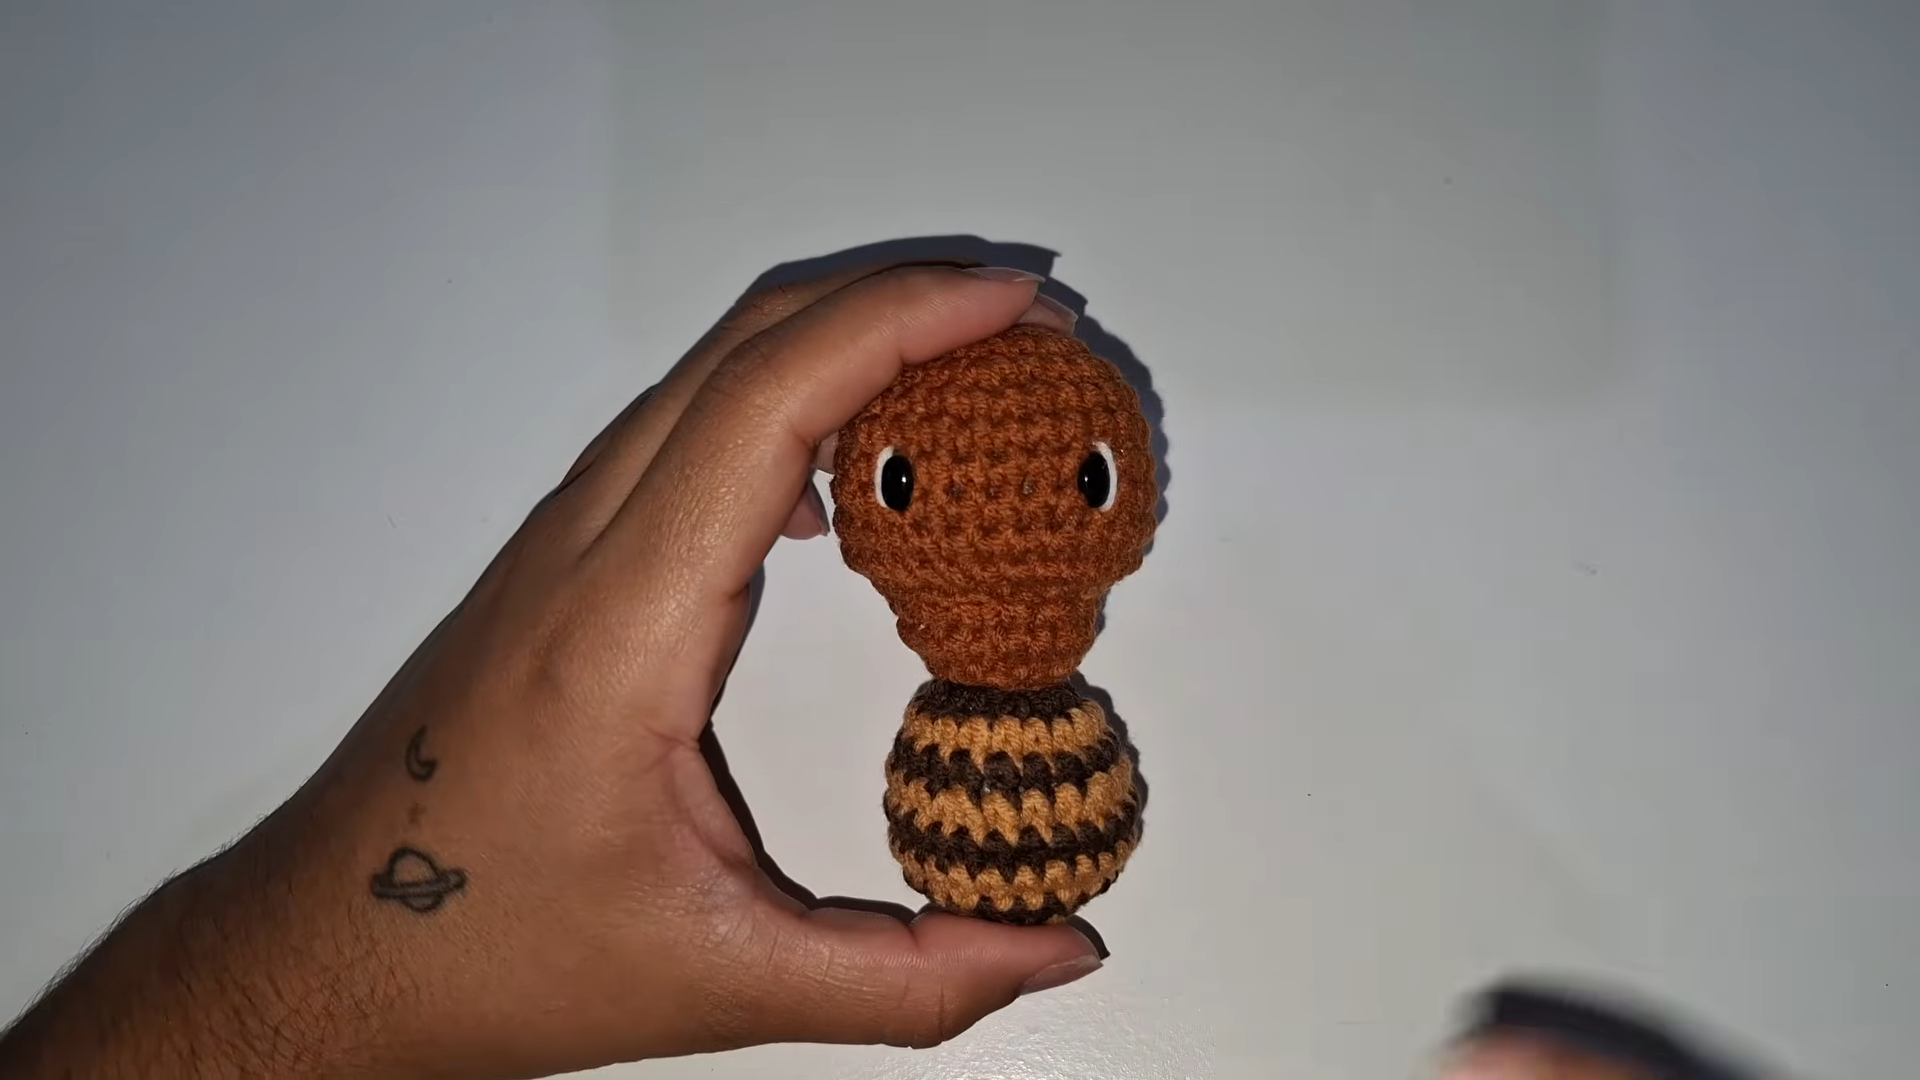
Set the head over the body opening with the eyes facing forward, then pin it in place. Using the long body tail, whipstitch all the way around the 12-stitch opening. Push in a pinch of extra stuffing before the last few stitches so the neck stays firm.
Stand the ant up and check it from the front. The head should sit straight on top, not tipped toward one side.
Step 8: Add the Antennae and Legs
- Antennae (make 2): With rust yarn, ch 10. Sl st in the 2nd ch from the hook and in each ch back down (9 sl st).
- Legs (make 6): Ch 14, then sl st back down the same way (13 sl st).
Sew both antennae to the top of the head, just behind the eyes. Attach three legs on each side of the body, right below the neck seam. Space them evenly and count all six before you hide the tails.
Common Mistakes with a Crochet Little Ant Amigurumi
- Losing the round start. Forget to move the marker once and your counts drift fast.
- Setting the eyes too late. After Round 11 the opening gets too small to reach inside and click the backs on.
- Under-stuffing the head. A soft head flops forward once it sits on the body.
- Jagged stripes. A tiny jog at each color change is normal in a spiral, but a clean switch keeps it small.
- Curly legs. A bare chain twists. Slip stitching back along it gives a firmer, straighter cord.
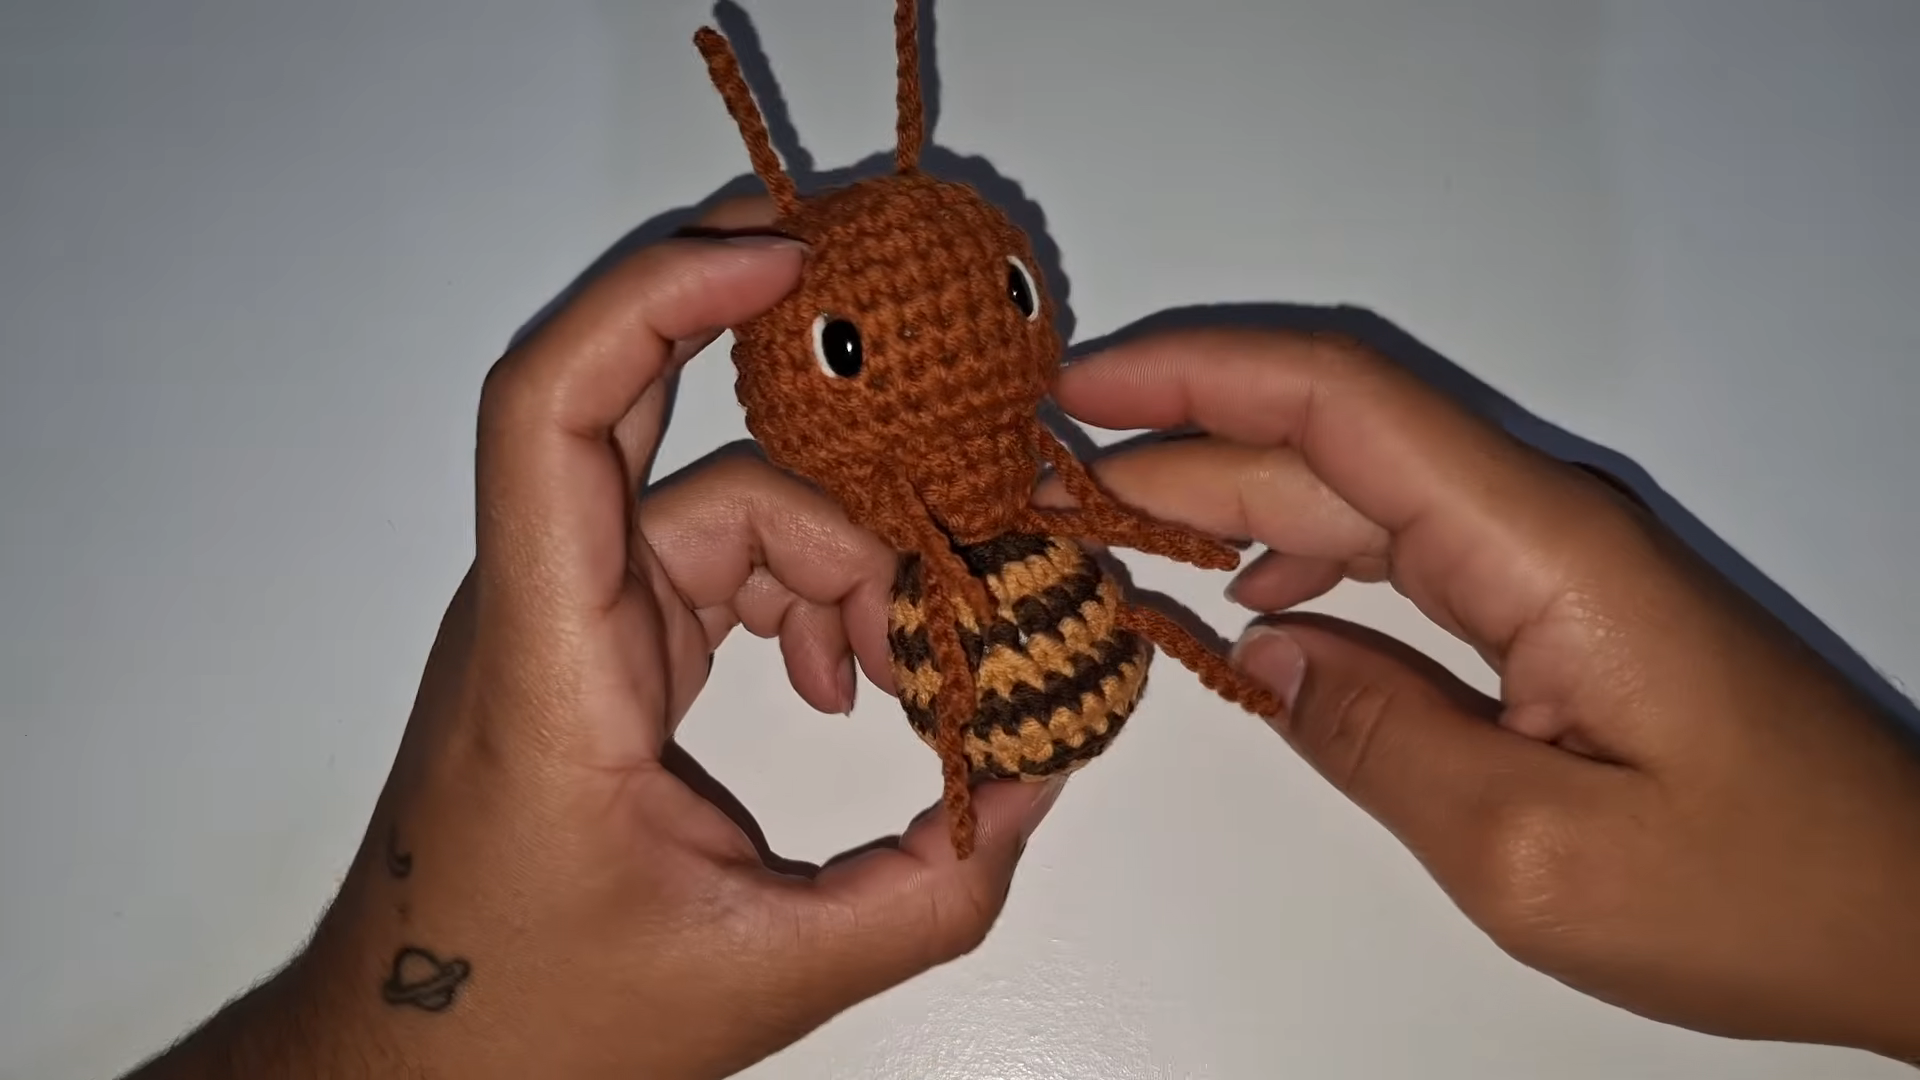
Want to see the stitches in motion? The video below follows the same steps.
Ways to Use Your Little Ant
Small as it is, the ant earns its spot in plenty of places. Perch one on a monitor as a desk buddy, tuck one into a lunch box as a surprise, or clip a mini version to a zipper pull. Kids love them for garden-themed story time, and teachers use them as reward toys. Since the whole bug takes an evening and very little yarn, it also makes a handy last-minute gift or a quick seller at a craft table.
Beginner Tips
Count your stitches at the end of every round, not every few rounds. Pick a marker in a bright color that stands out against both browns. If the stitches feel tight on the hook, loosen your grip before you think about going up a hook size.
Personalization Ideas
Swap the Colors
A red head with red and black stripes turns it into a fire ant. Green with lime bands looks more like a garden bug. For more striped color play, the crochet tiger doll amigurumi pattern is a fun next step.
Try a Different Face
Embroider the eyes with black yarn in place of safety eyes, then add a tiny stitched smile just below them.
Crown a Queen
Size up the ant and sew two felt wings to its back. A little yellow crown on the head completes the royal look.
Make It a Keychain
Skip the long legs, keep the antennae short, and stitch a keyring loop into the top of the head. The crochet red panda keychain amigurumi shows a neat way to attach the hardware.
Bonus: Make a Tiny Ant Colony Set
One ant looks sweet, but three in a row tell a story. Stitch a queen with worsted yarn and a 3.5 mm hook, then make two workers with the sport yarn and 2.5 mm hook.
Crochet a flat green leaf for them to march across, and glue a small felt crumb to one worker’s front legs. Every ant in the set uses the same rounds, only in a different size. For a garden friend to join the parade, try the crochet cute snake amigurumi or the crochet baby duck plush.
Care and Washing
Hand wash the ant in cool water with a drop of mild soap. Press out the water gently with a towel, and never wring it, since twisting can bend the legs. Let it air dry away from direct sun so the tan and brown stay rich.
FAQs About the Crochet Little Ant Amigurumi
Is the little ant safe for babies?
Not as written. Safety eyes and thin legs can be a choking risk for children under 3. For a baby, embroider the eyes and keep the legs short and firmly sewn.
What yarn works best for a crochet ant?
Smooth acrylic or cotton gives the cleanest result. Fuzzy yarn hides the stitch lines and makes the stripes look blurry.
How do I stop the stuffing from showing through?
Go down a hook size and keep your tension even. The yarn-under single crochet also helps, because it makes a tighter stitch.
Can I make the ant bigger?
Yes. Switch to worsted yarn and a 3.5 mm hook and follow the same rounds. The ant comes out about 4 inches tall.
Time to Let Your Ant March
The first ant teaches your hands the rounds, and the second one flies by. Mix up the colors, line a few up on a shelf, or slip one into a card for a friend who needs a smile. And if you want another quick weekend make after that, the crochet loaf cat pattern is waiting.