
A crochet cat head is a tiny, flat kitty face that works up fast. First, you get two pointed ears and a little pink triangle nose. Then you add a few stitched details, all in just three rounds. Because nothing needs stuffing and there is no body to shape, the face lies flat and tidy from the very first stitch.
This crochet cat head pattern uses basic stitches and only a small amount of yarn, so confident beginners will enjoy it. Besides that, you can pick any colours you like, which gives every cat its own look. Once it is finished, stitch it onto a coaster, bag, card or gift box. As a result, it becomes a handmade surprise for any cat lover.
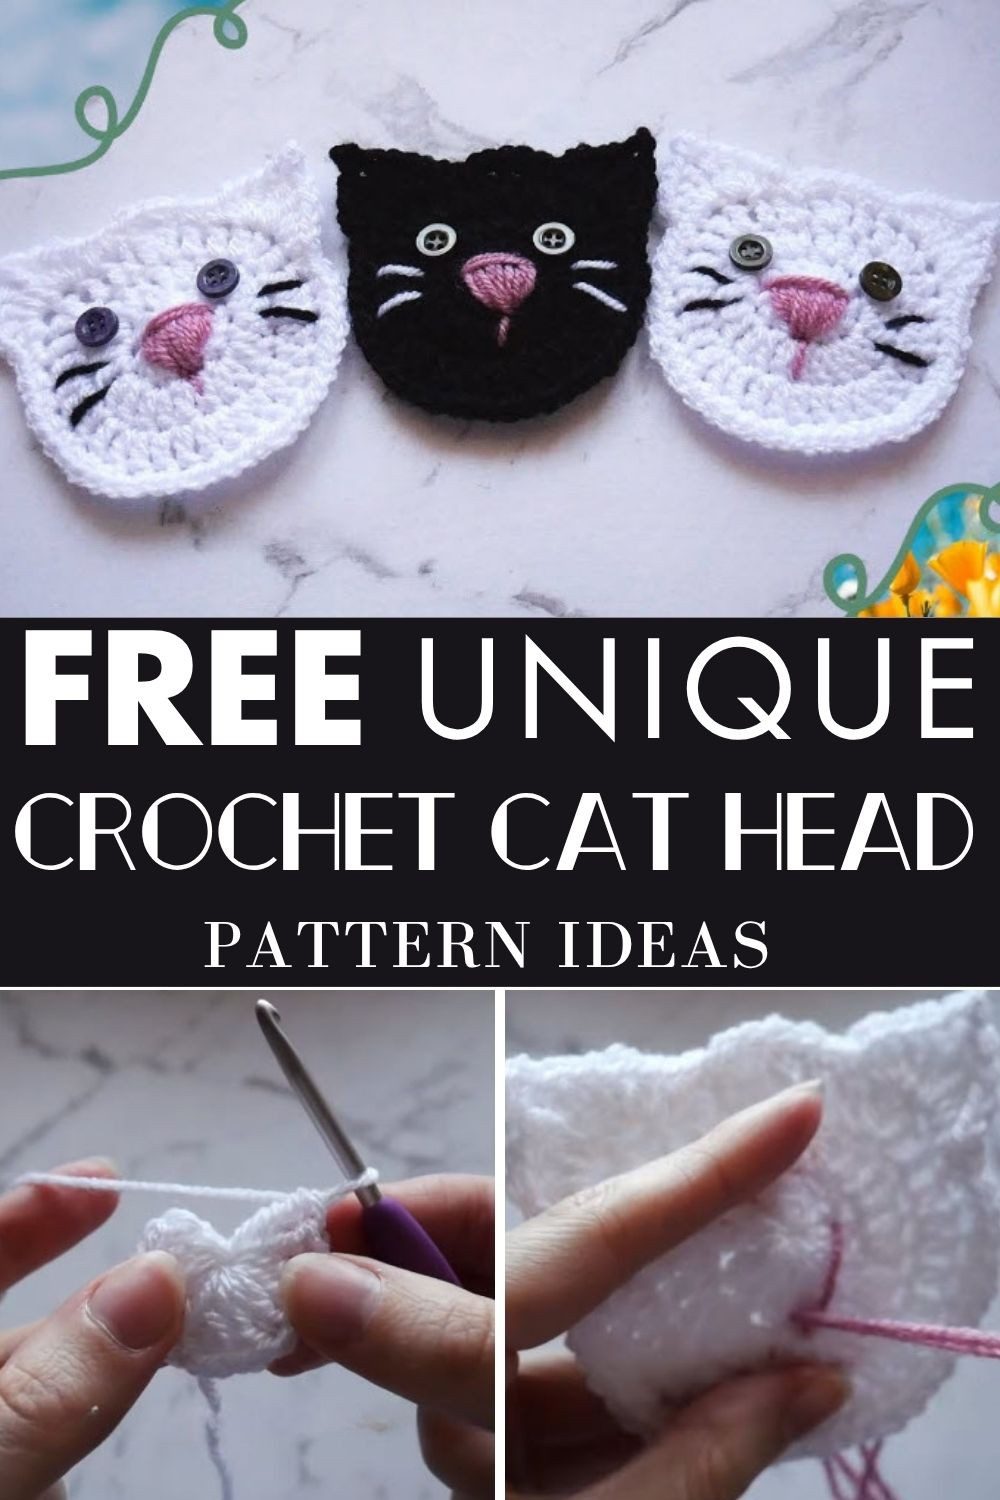
Crochet Cat Head Project Overview
This design follows Molly’s “Quick and Easy Crochet Cat Head” video tutorial. Therefore, if you share your finished cat, please credit her. Also, please don’t sell the pattern.
The head starts at the center and grows outward in joined rounds. In the last round, you make the edging and both ears together, so there is nothing to sew on later. After that, you stitch the nose, mouth and face lines.
Skill level: Confident beginner (Estimated).
Finished size: About 2.5 inches wide and 2.2 inches tall (6.5 x 5.5 cm) with DK or worsted yarn and a 3.5–4.0 mm hook (Estimated).
Materials for the Crochet Cat Head
Confirmed from the video description:
- 3 colors of yarn
- 2 buttons (optional in this version)
- Crochet hook
- Yarn needle
- Stitch markers
- Scissors
- Sewing needle and thread
Recommended:
- DK or worsted weight yarn in acrylic or a cotton blend
- Hook, 3.5 mm to 4.0 mm (US E-4 to G-6)
- Main colour: under 20 yards (Estimated)
- Pink yarn for the nose: a small scrap
- Black yarn for the face lines: a small scrap
- Two small round buttons, about 3/8 inch, if you prefer button eyes
Stitch Abbreviations
ch = chain
sl st = slip stitch
sc = single crochet
hdc = half double crochet
dc = double crochet
tr = treble crochet
st / sts = stitch / stitches
MR = magic ring
Special stitches:
- Satin stitch: short stitches laid side by side to fill a shape. You will use it for the nose.
- Straight stitch: one plain stitch from one point to another. You will use it for the mouth line, eyes and whiskers.
Gauge and Sizing
Gauge isn’t important here because this is a small decorative piece. For that reason, a tighter or looser hand only changes the size a little. If you want a bigger cat, move up to thicker yarn and a bigger hook. On the other hand, thinner yarn gives you a smaller one.
Before You Begin
First, choose your colours. For example, a white cat looks great with black stitching, while a black cat looks great with white stitching. Next, if the magic ring is new to you, practice it once on scrap yarn. That way, you get a tight centre, which keeps the face neat and stops a hole from showing through. Finally, put a stitch marker in the first stitch of every round so the joins are easy to find.
Crochet Cat Head Pattern Notes
- Every round is joined with a sl st.
- The ch 2 at the start of a dc round does not count as a stitch.
- Likewise, the ch 1 at the start of Round 3 does not count.
- Stitch counts are in brackets at the end of each round.
- Because the ears are made inside Round 3, you don’t sew anything on later.
- Each ear has a ch-1 space at its peak, so don’t skip it.
Complete Crochet Cat Head Pattern, Step by Step
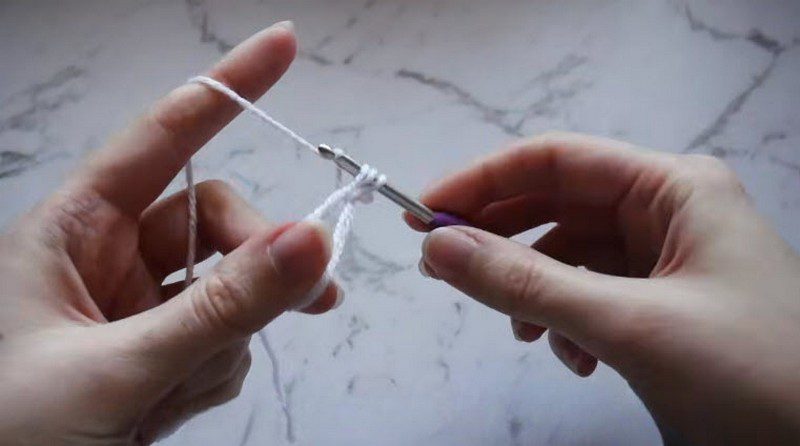
Step 1: Start the Magic Ring
First, make a MR with your main color. Then ch 2 to begin Round 1.
Step 2: Round 1 and Round 2
Round 1: Work 12 dc into the ring. Next, pull the tail tight to close the center. Then join with a sl st to the top of the first dc. (12 dc)
Round 2: Ch 2. After that, work 2 dc in each stitch around. Finally, join with a sl st to the top of the first dc. (24 dc)
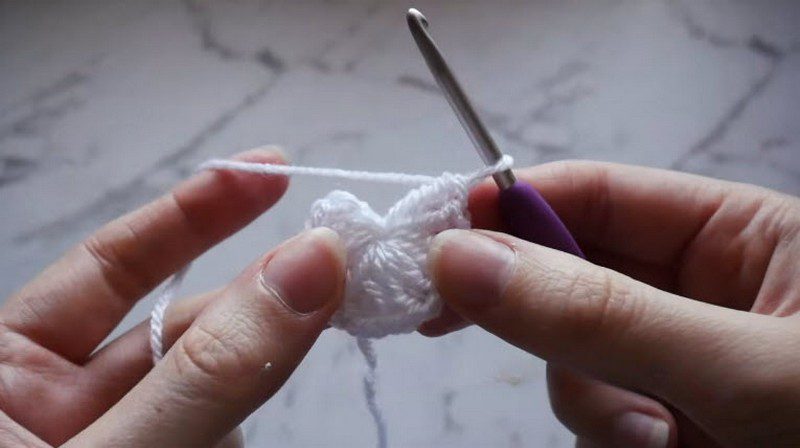
Step 3: Round 3 (Edging and Ears)
To begin, ch 1. Then work 1 sc in each of the next 3 sts.
First ear: Next, in the following st, work [hdc, dc, tr]. After that, ch 1. Then, in the next st, work [tr, dc, hdc].
Now work 1 sc in each of the next 8 sts. This is the chin.
Second ear: Next, in the following st, work [hdc, dc, tr]. After that, ch 1. Then, in the next st, work [tr, dc, hdc].
Finally, work 1 sc in each of the next 7 sts along the forehead. Join with a sl st to the first sc, and then fasten off. (18 sc, 12 ear stitches, 2 ch-1 spaces)
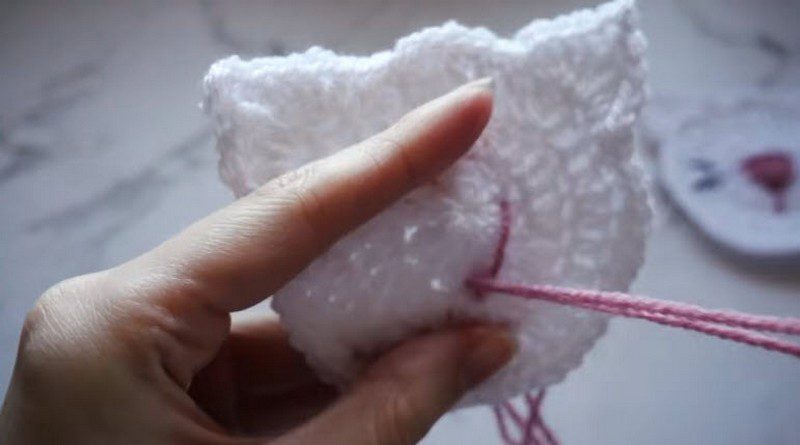
Step 4: Stitch the Pink Nose
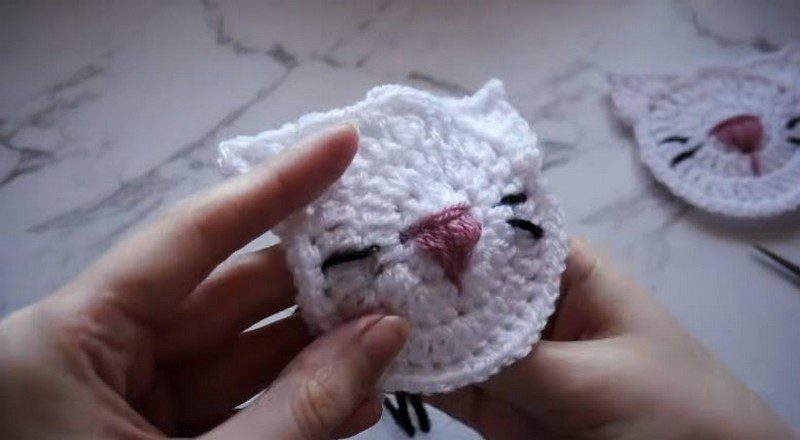
First, thread pink yarn onto the yarn needle. Then come up from the back, in the center of the face over Rounds 1 and 2. Next, fill a small triangle with satin stitch, point facing down. After that, make one short straight stitch down from the point for the mouth line. For now, leave the pink tails on the back.
Step 5: Add the Face Lines
First, with black yarn, make a short curved straight stitch on each side of the nose for the sleepy eyes. Then add a few slanted straight stitches near the cheeks for whiskers. As you stitch, pull gently so the face stays flat. Lastly, weave in all ends on the back.
Assembly and Finishing Your Crochet Cat Head
To start, lay the head face up and look at the ears. Then gently pinch each tip so it points up. Meanwhile, if you like button eyes, sew one on each side of the nose, level with each other and the same distance from the nose. Use matching thread so the buttons stay firm.
Next, turn the piece over and trim your tails. After that, weave each one into the back with the yarn needle, going in two directions so it can’t pull out. However, remember to tie off the pink tails before you weave them in.
Customization Ideas
These are only suggestions, so feel free to mix and match.
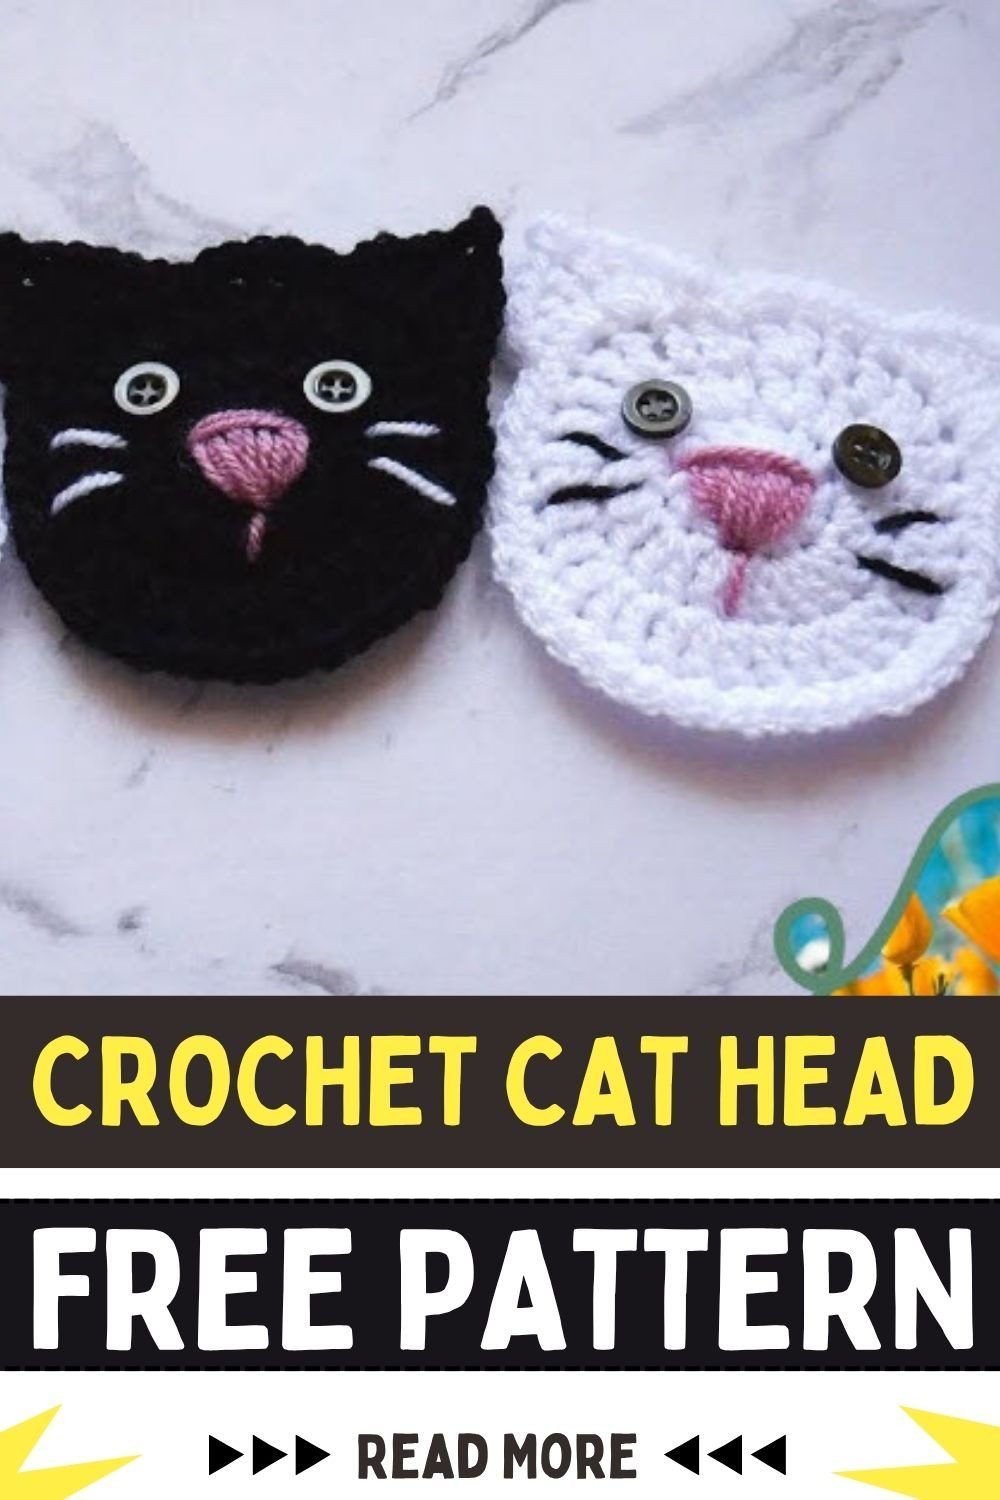
- White cat: white yarn, black stitching, pink nose.
- Black cat: black yarn, white stitching, white or pink nose.
- Other noses: coral, soft red or even grey look sweet.
- Button eyes: use small buttons in black, grey or gold instead of stitched lines.
- Safe eyes for children: skip buttons and use stitched eyes only.
Three Quick Ways to Finish It
Once your cat is done, here is how to turn it into something useful. Simply pick one.
- Magnet: glue a flat round magnet to the back with fabric glue. As a result, it sits nicely on a fridge.
- Bag charm: sew a small loop of yarn to the top of the head between the ears, and then add a clip.
- Garland: make several in different colours and join them with a long chain between each head.
Before you commit, try the head on your chosen spot first. That way, you can see where the ears will sit.
Troubleshooting Your Crochet Cat Head
The Edges Are Curling
Your edging may be too tight. In that case, use a hook half a size bigger for Round 3. Alternatively, press the piece lightly under a damp cloth.
The Ears Look Floppy or Uneven
First, check that both ears have the same stitches and the same ch-1 space. If they still flop, tack each tip with one tiny stitch from the back.
The Nose Looks Lumpy
Pull your stitches less tightly and lay them side by side. If it is still messy, pick it out and redo it, because pink yarn is easy to fix.
Whiskers Are Pulling the Face
Pull each whisker only until it lies flat. Otherwise, the face may bow, so loosen the stitch a little if that happens.
Care Instructions
Recommended: hand wash gently in cool water, press out the water with a towel and dry flat. Also, if you use buttons on an item that goes in the washing machine, take them off first.
Crochet Cat Head FAQs
Can I make this crochet cat head without buttons?
Yes. This version uses stitched eyes, and for that reason it is also the safer choice for children.
Is this crochet cat head pattern good for beginners?
It suits confident beginners, because you need a magic ring and a few taller stitches for the ears.
What can I use it for?
It works as a coaster, an appliqué, a magnet, a garland piece, a gift topper or a bag charm.
Can I make it bigger?
Yes. Simply use thicker yarn and a bigger hook. The size will grow, but the stitches stay the same.
One Cat Is Never Enough
Honestly, this little crochet cat head is so quick that one never feels like enough. So start with a white one and a black one, because they look great side by side. And if a nose comes out a bit wonky, don’t worry. Just pull it out and try again, since it’s only a bit of pink yarn.