
The quiet magic of yarn and a hook
There’s a special kind of peace in watching a strand of yarn bloom into something you can hold. Loop after loop, your hands settle into a rhythm; your breath matches the soft glide of the hook. Crochet turns imagination into something tangible and heartwarming especially when the result is small, squishy, and irresistibly cute.
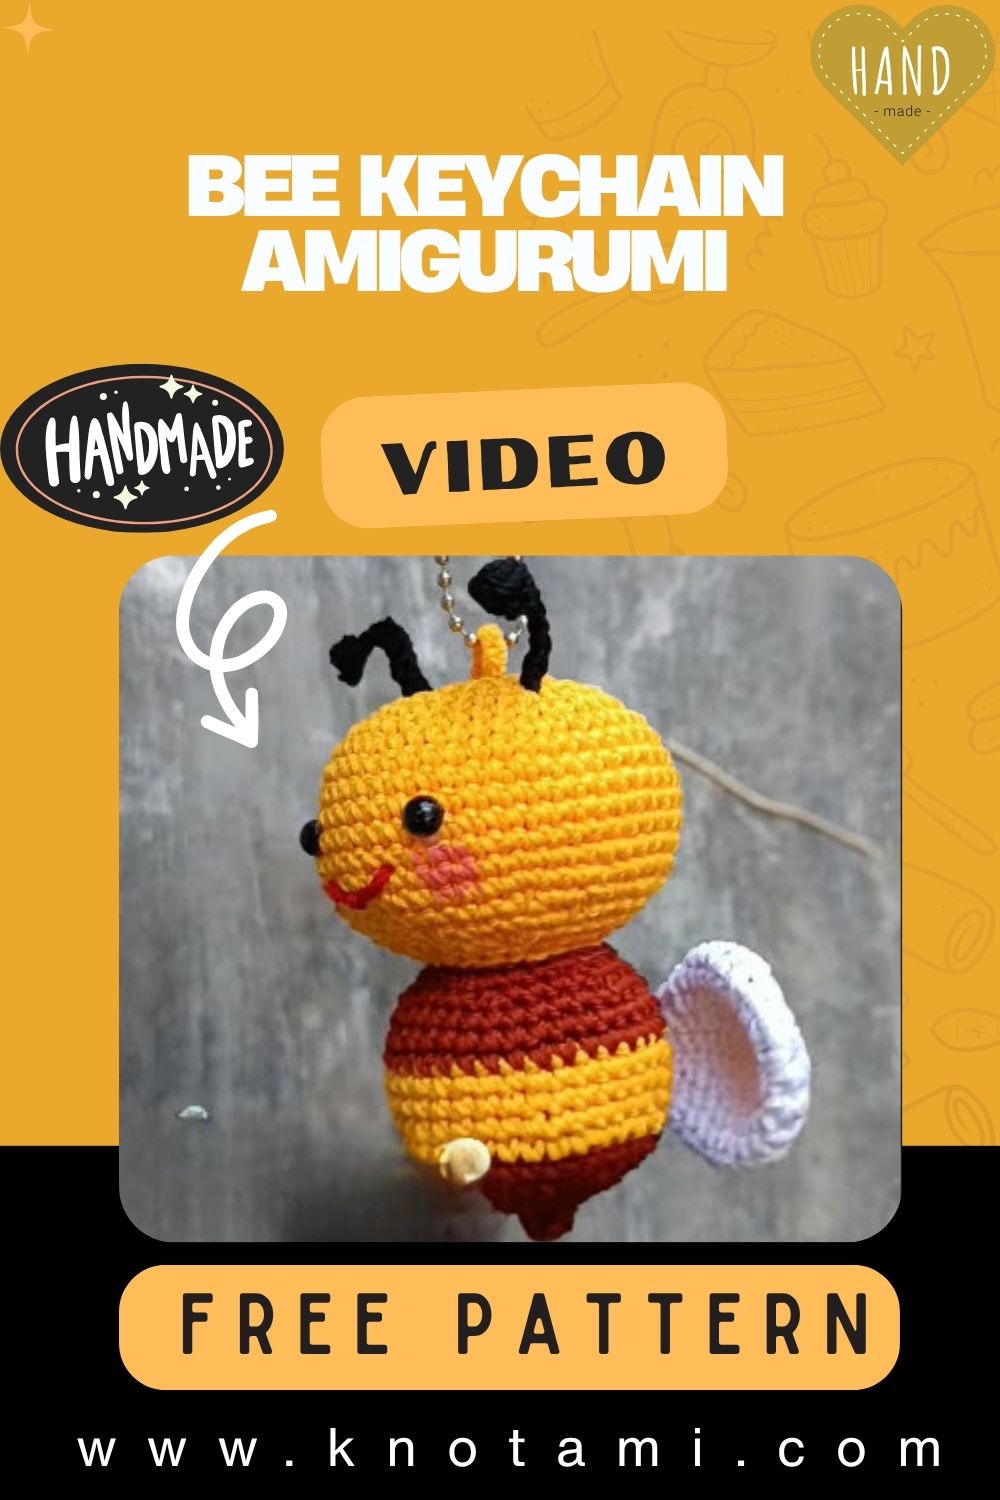
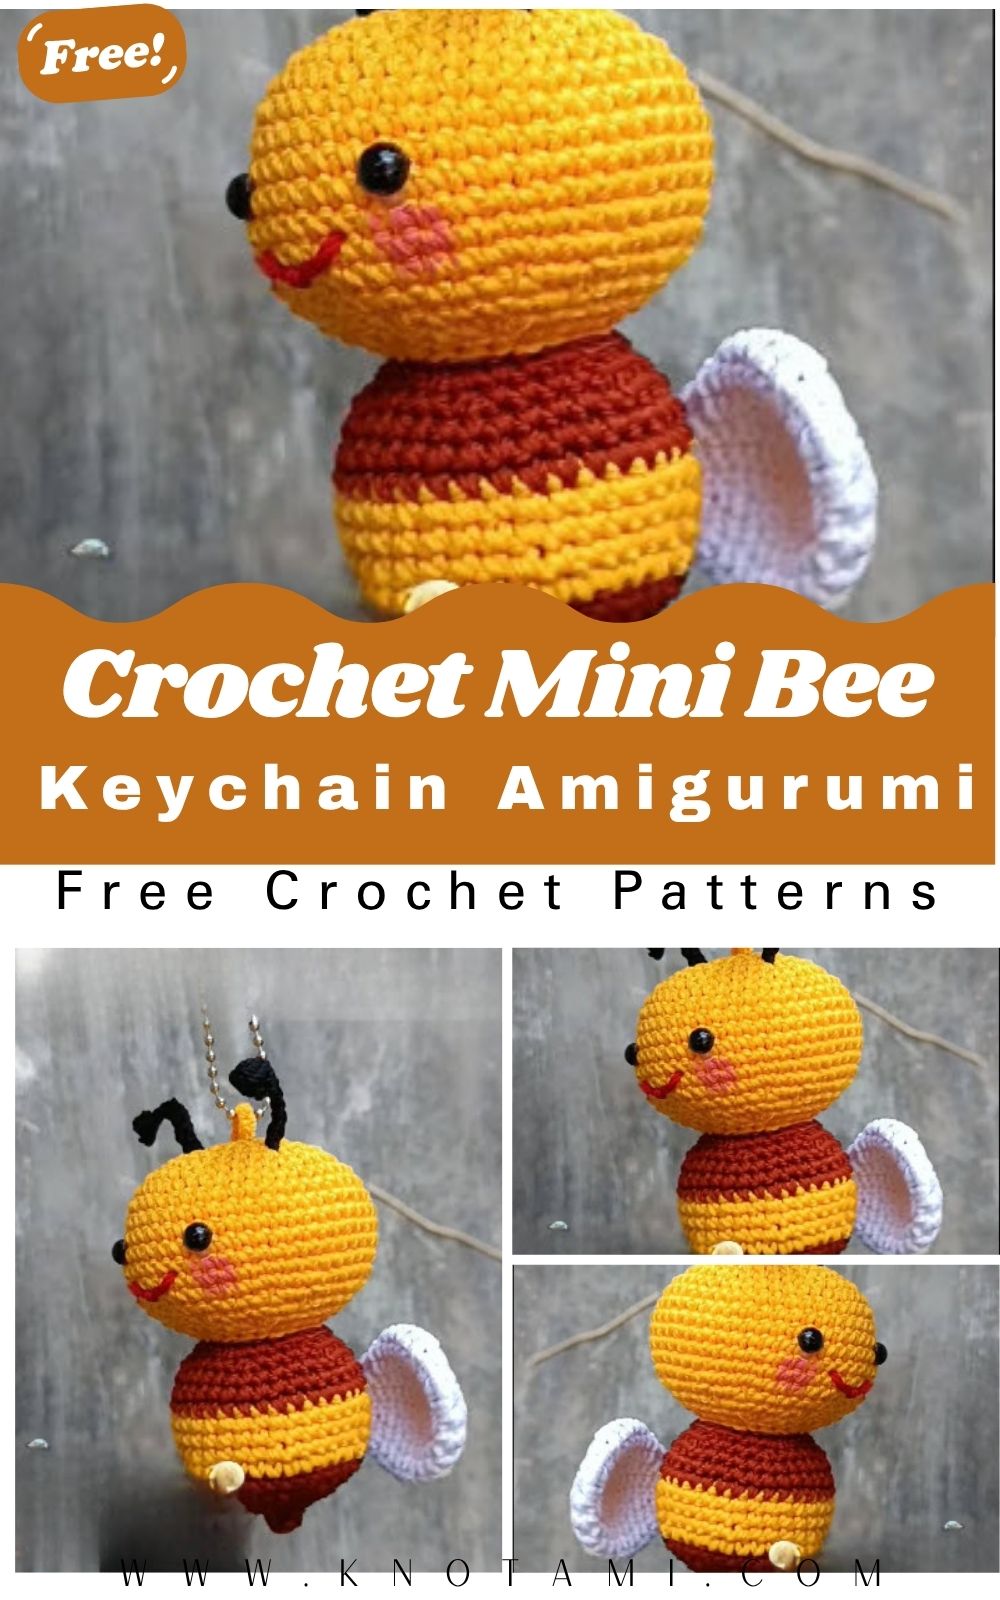
Meet the Crochet Mini Bee Keychain
Today’s project Crochet Mini Bee Keychain packs maximum charm into a tiny, travel-friendly amigurumi. With cheerful stripes, a plush oval body, fluttery wings, and a teeny stinger, this pocket-sized bee is designed to ride along wherever you go: on keys, backpacks, pencil pouches, or even your rear-view mirror. It’s the perfect “quick win” make that still feels polished and professional.
Friendly for beginners, satisfying for pros
If you’re new to amigurumi, this bee teaches foundational techniques: working in a spiral, neat increases and invisible decreases, color changes without jogs, snug stuffing, and clean assembly. Experienced crocheters can lean into crisp finishing, wing shaping, stripe placement, and charming accessoriesa flower, a crown, or a tiny scarf.
Slow crafting, sweet gifting
The mini bee is calming to stitch and delightful to share. It’s a bite-sized project you can finish in an evening, yet it carries all the warmth of handmade art. Whether you keep it on your own keys or gift a little bee happy buddy to a friend, it’s a small reminder that gentle, creative moments add up to a very good day.
Materials & Tools
Yarn (choose one family and keep parts consistent):
-
Worsted/Aran #4 acrylic or cotton for a palm-sized bee (classic choice)
-
DK #3 for a smaller, lighter keychain
-
Velvet/chenille for ultra-squishy texture (tighten gauge and count carefully)
Recommended colors (3–4):
-
Yellow (main body)
-
Black (stripes, antennae, stinger)
-
White (wings)
-
Optional accent: soft pink for cheeks; light gray for muzzle outline
Hook size:
-
3.0–3.5 mm for worsted
-
2.25–3.0 mm for DK
Use the smallest size that still feels comfortable tight stitches keep stuffing from peeking through.
Notions & extras:
-
Safety eyes 6–8 mm (or embroider eyes for baby-safe version)
-
Polyester fiberfill (high-loft)
-
Tapestry needle (blunt tip) for sewing and weaving
-
Stitch marker (locking) to mark round starts
-
Scissors
-
Keychain hardware (split ring + short chain; optional jump ring)
-
Optional: tiny felt circles for blush, fabric glue, a pinch of plastic pellets (secured in a pouch) for balance
Choosing yarn texture, weight & color combinations
-
Texture: Acrylic is soft and springy (ideal for keychains). Cotton gives crisp stitch definition and holds shape beautifully. Velvet looks adorable and marshmallow-soft, but counting stitches needs extra care.
-
Weight: Keep all parts in the same weight to maintain proportions. Want a micro bee? Go DK or sport yarn with a 2.25–2.75 mm hook.
-
Color combos:
-
Classic: sunshine yellow + jet black + white wings
-
Pastel: buttercream + cocoa + pearl white
-
Bold: neon yellow + charcoal + shimmer white
-
Bee-pride: rainbow stripes (swap one black stripe for a rainbow band)
-
Step-by-Step Crochet Instructions
Abbreviations: MR (magic ring), sc (single crochet), inc (increase = 2 sc in same st), dec (invisible decrease), sl st (slip stitch), ch (chain), BLO/FLO (back/front loop only).
Work in a spiral unless stated. Move your stitch marker at the start of each round. Counts appear in ( ) at the end of rounds.
We’ll make a plump oval body (head and torso in one piece), then wings, antennae, and stinger, finish with assembly and hardware.
1) Making the Head (front of the oval)
With Yellow:
-
MR, 6 sc (6)
-
inc around (12)
-
(sc, inc) ×6 (18)
-
(2 sc, inc) ×6 (24)
-
(3 sc, inc) ×6 (30)
6–7. sc around (30 each)
Eyes: Place 6–8 mm safety eyes between Rounds 5–6, about 6–7 stitches apart. If embroidering, add them after stuffing for freedom of placement.
Shaping tips:
-
Keep the head softly stuffed to avoid a bulging muzzle.
-
Test eye spacing with pins before locking.
2) Forming the “Neck” and Upper Body
We’re not making a separate neck; we’ll swell gently into an oval.
-
Change to Black on the last yarn-over of the previous stitch to start Stripe 1. sc around (30)
-
Change to Yellow, sc around (30)
-
(4 sc, inc) ×6 (36) subtle swell begins
-
Black (Stripe 2), sc around (36)
-
Yellow, sc around (36)
Stuffing cue: Begin light stuffing a small tuft behind the eyes and around the cheeks. Keep the front soft and smooth.
3) Building the Main Body (plush oval + stripes)
-
(5 sc, inc) ×6 (42)
-
Black (Stripe 3), sc around (42)
15–16. Yellow, sc around (42 each) -
(5 sc, dec) ×6 (36)
-
Black (Stripe 4), sc around (36)
-
(4 sc, dec) ×6 (30)
-
Yellow, sc around (30)
Stuffing strategy: Add more filling now aim for springy-firm (press and it bounces back). Keep the stripe rounds even by not overstuffing at the moment of color change.
4) Shaping the Base (and planning the stinger)
-
(3 sc, dec) ×6 (24)
-
Black (final stripe + stinger base), sc around (24)
-
(2 sc, dec) ×6 (18) add final stuffing
-
(sc, dec) ×6 (12)
-
dec ×6 (6)
Fasten off. If you prefer to join the stinger directly, leave that 6-st opening and work the stinger before closing completely.
No legs/coil on a bee; the base simply rounds off toward the stinger.
5) Wings, Antennae, and Stinger
A) Wings (make 2; White)
Two quick options: oval puff wings (classic) or heart-petal wings (cute).
Oval puff wings (in rows):
-
ch 6, sc in 2nd ch from hook and across (5)
-
ch 1, turn, sc across (5)
-
ch 1, turn, (inc, sc 3, inc) (7)
-
ch 1, turn, sc across (7)
-
ch 1, turn, (inc, sc 5, inc) (9)
-
ch 1, turn, sc across (9), sl st, fasten off leaving a long tail.
Fold slightly and pinch the middle to give gentle lift when sewing.
Heart-petal wings (worked in the round):
-
MR, (sc, hdc, dc, hdc, sc) into ring; pull tight for a petal.
-
Make two petals connected by one or two slip stitches.
-
Fasten off with a tail for sewing.
B) Antennae (make 2; Black)
-
Option 1 (ultra-mini): ch 6, sl st back through chains (5 sl st).
-
Option 2 (tiny bobbles): ch 5, (yo, insert, yo, pull up) ×3 in next ch, yo pull through all loops, sl st in remaining chains.
Sew to the top of the head, slightly angled outward.
C) Stinger (Black)
-
Cone stinger:
-
MR, 3 sc (3)
-
sc around (3)
-
(sc, inc) ×1 + sc (5)
-
sc around (5)
Lightly stuff with yarn tail; sew centered to the base.
-
-
Simple knot stinger: Thread black yarn through base, make a small double knot outside, and secure from the inside with several passes.
6) Assembly & Positioning
-
Mark wing line: Count down from the top center line; wings usually look balanced when attached around Rounds 11–13 (mid-body).
-
Pin first, then sew: Mirror the wings; a tiny upward angle reads “in flight.” Use small whip stitches, catching only the back loops on the wing edge for invisible joins.
-
Antennae placement: About 2–3 rounds above eye line, centered.
-
Add cheeks (optional): Stitch two tiny pink ovals or glue felt dots just under the eyes.
-
Attach keychain hardware:
-
Slip a jump ring through a stitch at the top-center (between antennae or just behind them) and connect to the chain.
-
For a strong mount, thread a small loop of strong sewing thread or waxed cotton through the body core and tie to hardware.
-
Balance checks: Hold the bee by the hardware if it tilts, redistribute stuffing or move the anchor one stitch forward/back.
7) Adding Final Touches & Accessories
-
Smile: Embroider a small curved mouth in black or dark brown between stripes near Round 6–7.
-
Blush: Add a whisper of pink pastel or sew mini crochet circles (MR, 6 sc).
-
Mini flower: MR, (ch 2, sl st) ×5 in ring for a tiny daisy; sew near an earline (antenna base).
-
Stripe edging: Surface stitch a thin highlight (light gray) along one yellow stripe for sunlit charm.
-
Name tag: Micro rectangle of felt with an initial; tack it near the keyring.
Customization Ideas
-
Color schemes:
-
Pastel bee: butter yellow + latte brown + pearl wings
-
Bumble glam: mustard + black + metallic thread held double in wings
-
Candy bee: mint + bubblegum pink stripes + white wings
-
Monochrome: charcoal + soft gray stripes + smoke wings
-
Rainbow bee: swap one black stripe for a rainbow gradient band
-
-
Different yarn types:
-
Cotton: crisp stitches; ideal for visible neat stripes.
-
Acrylic: squishy and forgiving; great for beginner tension.
-
Velvet/chenille: plush toy vibe go down a hook size and consider embroidered eyes.
-
-
Themed editions:
-
Holiday: red-green scarf; tiny Santa hat.
-
Spring: floral crown and pastel wings.
-
Fantasy: lavender body, silver wings, star sequins (secure firmly).
-
Kawaii: bigger cheeks, shorter antennae, tiny bowtie.
-
-
Add-ons: bows, scarves, mini honey pot, micro flower bouquet, or a little book charm.
Advanced Tips & Troubleshooting
-
Invisible decreases: Insert hook through front loops only of the next two stitches, yarn over, pull through both front loops, yarn over, pull through 2. The decrease vanishes into the fabric perfect for smooth ovals.
-
Even stitch tension: Anchor the yarn consistently in your non-hook hand; let the hook do the work. If stripes look wavy, your tension changed at color switches slow down and breathe during the change.
-
Prevent twisted rounds: After Round 2, ensure the disc is flat with no twist. If it bowls upward, loosen tension slightly; if it ruffles, you may be increasing too quickly.
-
Color changes without jogs: Change color on the final yarn-over of the stitch before the new color. For perfectly straight stripes, start the new color on the back center and gently snug the tails.
-
Proper stuffing balance: Add fiberfill in small clouds. Over-stuffing at once creates bumps; under-stuffing near the base makes the bee collapse. Aim for “firm but springy.”
-
Joining parts seamlessly: Use tiny whip stitches or ladder stitch and match yarn color to the part being sewn. Catch only the back bar to avoid bulky seams.
-
Reading abbreviations accurately: Keep a mini legend: MR, sc, inc (2 sc in one stitch), dec (invisible), sl st, BLO/FLO. Tick off rounds as you go.
-
Fixing uneven shapes: Massage the stuffed piece to redistribute filling; you can remove a tiny amount with tweezers through the base before fully closing.
-
Eye placement rescue: If eyes feel too far apart, add slightly larger blush circles; if too close, embroider an extra highlight dot on the outer edge to “push” the look outward.
-
Baby-safe version: Replace safety eyes with embroidered French knots (wrap thread 3–4 times). Lock all knots and weave tails deeply.
Care Instructions
-
Gentle hand wash: Lukewarm water + a few drops of mild detergent.
-
Rinse and press: Rinse thoroughly; press in a towel don’t wring.
-
Air dry flat: Reshape wings and antennae while damp; dry out of direct sun.
-
Avoid prolonged sunlight: Yellow shades can fade; display in gentle light.
-
Storage: Keep in a breathable cotton pouch or on a hook; avoid sealed plastic in humidity.
-
Hardware check: Occasionally tighten the jump ring and inspect thread/anchor for daily-carry keychains.
Display & Gift Ideas
-
Home décor: Line up a trio of bees on a windowsill or tiered tray for cheerful vibes.
-
Kid’s room accessory: Clip to backpacks, zipper pulls, or pencil cases.
-
Desk companion: Hang from a monitor corner or plant stake for instant joy.
-
Holiday ornament: Add a hanging loop and tuck into a spring wreath or holiday tree.
-
Personalized gift: Stitch initials on a tiny felt tag, add a micro note Bee Happy! and package in a kraft box with tissue.
Benefits of Making a Crochet Mini Bee Keychain
-
Relaxation & mindfulness: Repetitive rounds help quiet mental noise and steady your focus.
-
Stress relief through crafting: Small, finish-in-an-evening projects provide a satisfying win.
-
Accomplishment & joy: Watching a blob of stitches become a character never gets old.
-
Eco-friendly gifting: Handmade beats mass-produced meaningful, repairable, and low-waste.
-
Emotional connection: A tiny buddy made by you carries intention, time, and care real heart in every stitch.
Photography & Social Media Tips
-
Use natural daylight: Shoot near a bright window with indirect light for true color and soft texture.
-
Soft backgrounds: Neutral poster board, linen napkins, or warm wood create clean contrast.
-
Props that tell a story: A honey dipper, mini jar, flowers, yarn cakes, or a small plant pot.
-
Angles that flatter: Front, 45°, and top-down; close-ups of wings, stripes, and stinger.
-
Keep edits gentle: Slightly raise exposure and sharpness; avoid over-saturation so yarn looks real.
-
Process content: Short clips of color changes, wing stitching, or attaching hardware get great engagement.
Conclusion
The DIY Crochet Mini Bee Keychain is tiny, joyful, and wonderfully achievable exactly the kind of project that reminds us why we love to crochet. Round by round, you’ll feel your shoulders drop and your focus settle. By the time you add that last wing stitch and clip on the keyring, you’ve created more than a cute accessory you’ve made a small, buzzing token of calm and care.
So pick your happiest yellow, cue a cozy playlist, and let your hook hum. In just a little while, you’ll have a plump, smiling bee ready to brighten keys, bags, and days. Happy stitching and may your making always bee sweet.