
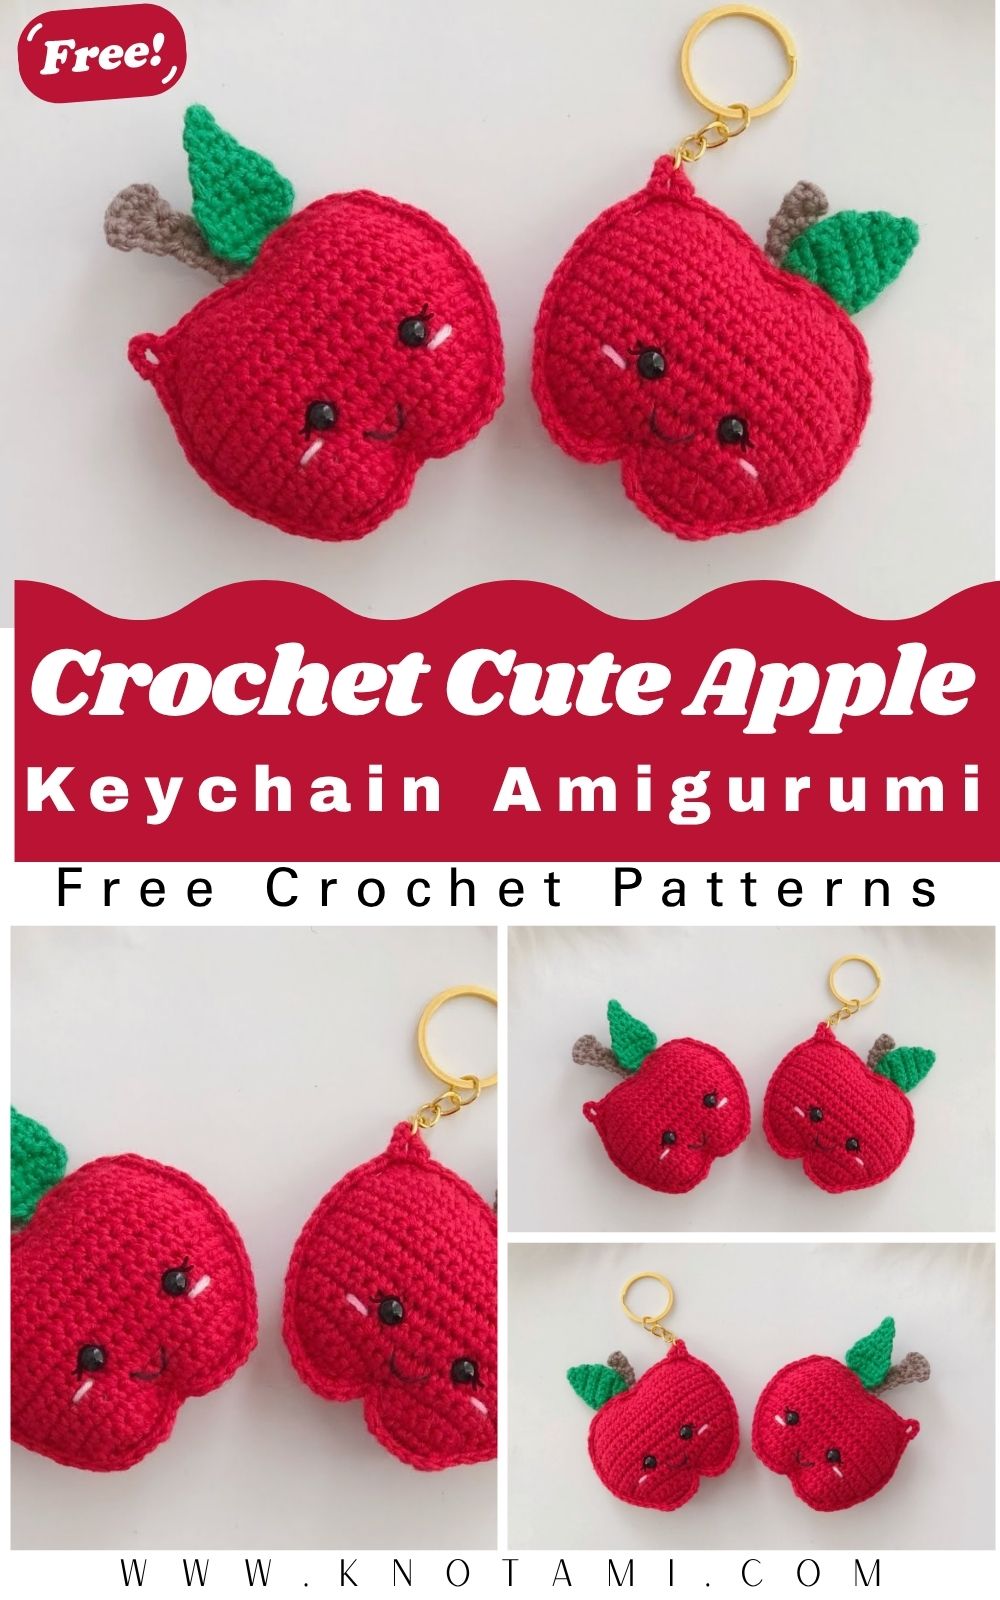
Create a brand new and super adorable little fruit with your crochet hook that you’ve never made before! This Crochet Cute Apple Keychain Amigurumi is tiny, charming, and overflowing with kawaii vibes. It’s the perfect way to beautify your keys or give a sweet, handmade gift to someone special. Let’s come together and create some sweet little joy
Add a touch of sweetness to your everyday life with this fun project! This Crochet Cute Apple Keychain Amigurumi is a beautiful, bright red apple with an adorable smiling face and a lovely green leaf on top. It’s a super easy and quick pattern, perfect for beginners. You’ll turn a simple ball of yarn into a charming kawaii friend that easily attaches to your keys, bag, or purse. Create your own little bundle of joy today.
Why Crochet an Apple Keychain Amigurumi?
Amigurumi the Japanese art of crocheting or knitting stuffed toys – has taken the crafting world by storm, and for good reason. These projects are small, use minimal yarn, and finish fast, making them ideal for beginners or busy crocheters.
This crochet cute apple keychain measures about 2-3 inches tall, depending on your yarn and hook size. It’s a wonderful way to practice basic techniques while ending up with something functional and gift-worthy. Imagine handing these out as teacher appreciation gifts, stocking stuffers, or party favors – they’re always a hit!
Skill Level: Beginner-friendly. If you know the magic ring and single crochet, you’re good to go. Even if you’re brand new, the step-by-step instructions here (plus the linked YouTube inspiration) will guide you smoothly.
Materials and Supplies You’ll Need
Gathering your supplies is half the fun. Here’s everything for one adorable apple keychain:
- Yarn colors:
- Red (main apple body) – about 10-15g of DK or sport weight cotton
- Brown or light green (stem)
- Bright green (leaf)
- Small amounts of black (for mouth) and pink (optional blush cheeks)
- Crochet hook: 2.5mm to 3.5mm (adjust based on yarn weight for tighter stitches)
- Safety eyes: 6-8mm pair (or embroider eyes if making for young kids)
- Stuffing: Polyester fiberfill
- Tools: Yarn needle (tapestry needle), scissors, stitch markers
- Accessories: Keychain ring or lobster clasp, jump ring for attachment
Use cotton yarn for best results – it holds shape well and gives a clean, professional look. Worsted weight works too for a slightly larger version.
Crochet Techniques Used
You’ll practice these essential amigurumi skills:
- Magic ring (for a seamless start)
- Single crochet (sc)
- Increase (inc) – 2 sc in one stitch
- Decrease (dec) – usually invisible decrease for smooth shaping
- Chain stitch, slip stitch
- Sewing parts together with yarn needle
No fancy stitches needed – that’s what makes this pattern so approachable!
Step-by-Step Crochet Pattern Instructions
Work in continuous rounds unless noted. Use a stitch marker to track your first stitch each round. Let’s create this little cutie!
Head/Body Creation (The Apple Itself)
Round 1: Make a magic ring, 6 sc in ring. (6) Round 2: Inc in each stitch around. (12) Round 3: (1 sc, inc) repeat 6 times. (18) Round 4: (2 sc, inc) repeat 6 times. (24) Rounds 5-8: Sc in each stitch around. (24) – This builds the plump middle.
(If adding a face, now’s the time to insert safety eyes between rounds 6-7, about 4-5 stitches apart. Embroider a tiny smile below.)
Round 9: (2 sc, dec) repeat 6 times. (18) Round 10: (1 sc, dec) repeat 6 times. (12) Stuff firmly but gently – you want a nice round shape without lumps. Round 11: Dec around. (6) Fasten off, leaving a long tail. Thread through front loops of remaining stitches and pull tight to close. Weave in end.
Stem and Leaf
Stem (Brown yarn): Chain 6. Starting in 2nd chain from hook, slip stitch in each chain (5 sl st). Fasten off, leaving tail for sewing.
Leaf (Green yarn): Chain 6 or 7. In 2nd chain: sl st, sc, hdc, 2 dc in next, hdc, sc, sl st. Work back along other side similarly for a symmetrical leaf shape. Fasten off.
Facial Details
- Place safety eyes for that kawaii sparkle.
- Embroider a sweet curved mouth with black thread.
- Add pink blush circles under eyes with yarn for extra cuteness.
Assembly Process
- Sew the stem to the top center of the apple.
- Attach the leaf next to the stem, slightly angled.
- Use the yarn tails to secure everything firmly.
- For the keychain: Attach a jump ring to the top (through the stem or a reinforced stitch), then add the keyring.
Weave in all ends neatly. Give it a gentle squeeze to even out the stuffing.
Finishing Touches
Trim any stray yarn. If the bottom isn’t perfectly flat, run a yarn needle through the base a few times and pull gently to create a slight indentation, mimicking a real apple. Your crochet cute apple keychain is now ready for adventures!
Helpful Beginner Tips for Amigurumi Success
- Tight stitches are key: Amigurumi looks best with snug tension so stuffing doesn’t show. Go down a hook size if needed.
- Stitch markers are your best friend: Mark the start of each round to avoid losing count.
- Proper stuffing techniques: Add small bits at a time. Use the back of your hook or a chopstick to push stuffing into curves without overstuffing (which can distort the shape).
- Count your stitches at the end of every round; it saves headaches later!
Design Customization Ideas
Make this pattern your own:
- Different colors: Try green or yellow apples, or even a shiny red with glitter yarn accents.
- Cute accessories: Add a tiny worm peeking out, a flower on the leaf, or turn it into a cherry by making two smaller ones on one stem.
- Mini size variations: Use thinner yarn and a 2mm hook for keychains, or bulky chenille for a bigger plush version perfect for hugging.
- Theme it for seasons – add a tiny hat for fall or sparkly eyes for holidays.
FAQ Section
What’s the best yarn for amigurumi?
Cotton DK or sport weight is ideal because it’s sturdy, has great stitch definition, and doesn’t pill easily. Avoid fuzzy yarns for small projects.
How do I make my crochet plush firm?
Use tight stitches, stuff gradually, and close the piece securely. Some crocheters add a bit of plastic canvas inside for extra structure, but it’s not necessary here.
How long does this project take?
Beginners can finish in 1-2 hours. Experienced crocheters whip one up in under an hour perfect for batch-making gifts!
Can I sell items made from this pattern?
Yes! Just credit the design inspiration and make them uniquely yours.
Conclusion: Happy Crocheting!
There you have it, your complete guide to creating an amazing crochet cute apple keychain amigurumi. This little project is more than just yarn and stitches; it’s a burst of joy you can carry everywhere. Whether it’s your first amigurumi or your fiftieth, I hope you fall in love with the process and the finished piece.
Grab your hook, pick some bright yarn, and give it a try today. Share your creations in the comments or tag a fellow crocheter who needs this pattern in their life. Don’t forget to check out the inspiring video for extra tips.