
The quiet magic of yarn and a hook
There’s a certain hush that settles in when yarn slips over a hook and your hands fall into rhythm. Loop after loop, soft fibers become something you can hold something with character, charm, and a little spark of personality. That’s the magic of crochet: turning imagination into a tiny friend who makes ordinary moments feel special.
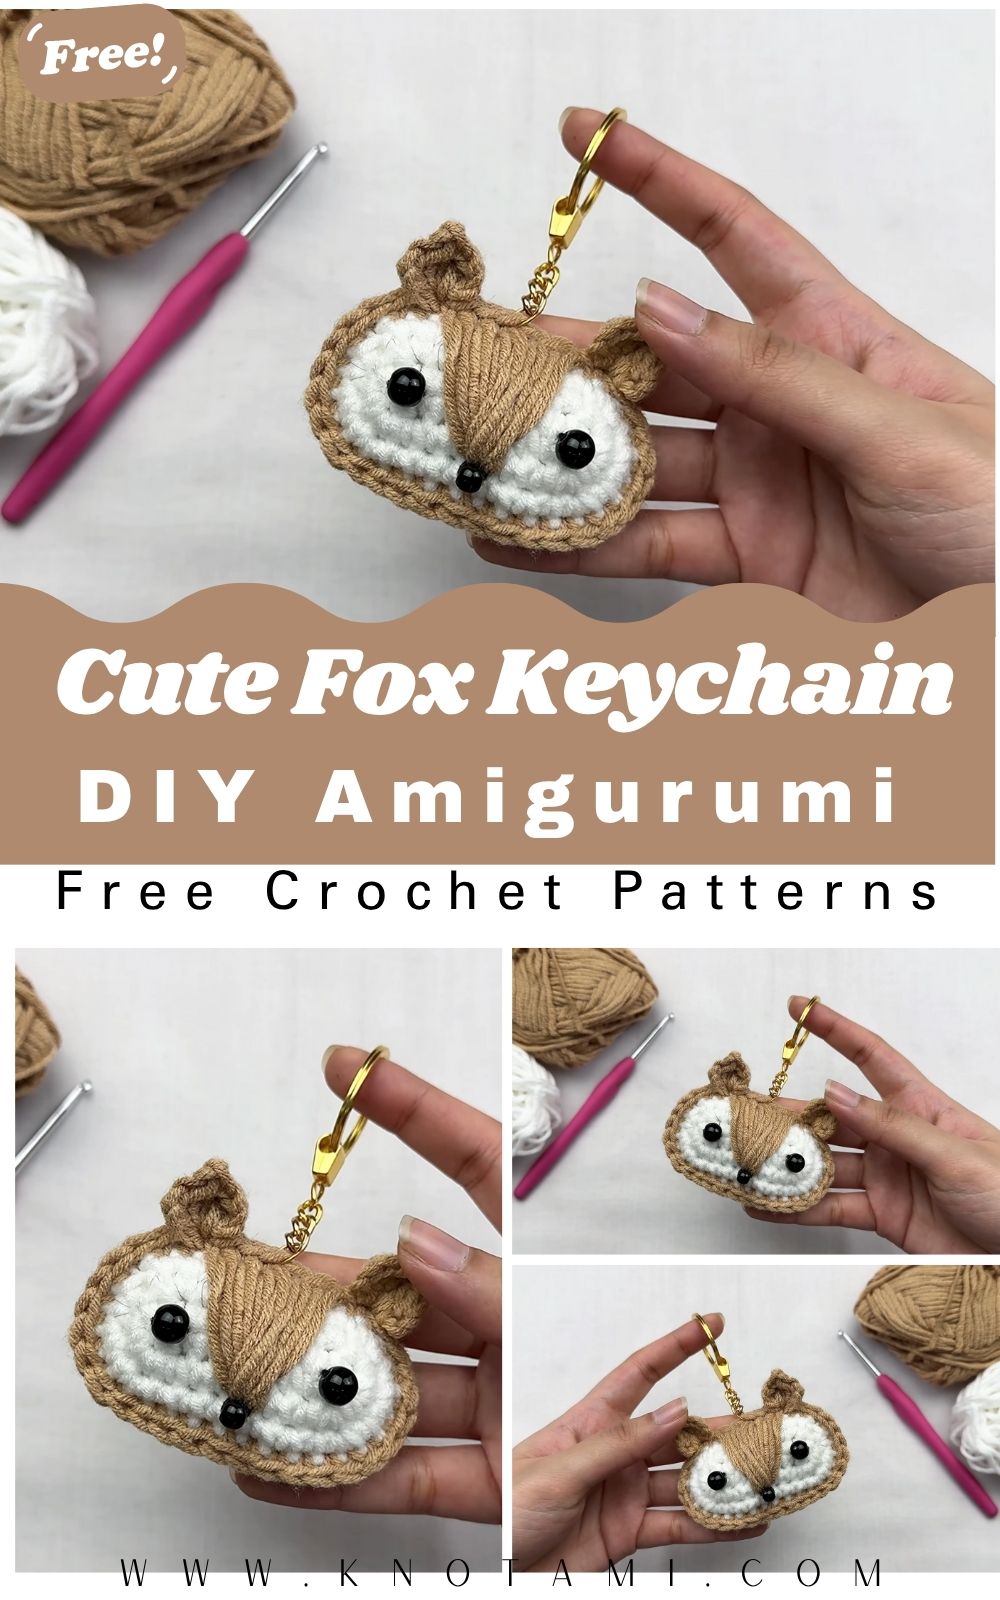
Meet the Crochet Cute Fox Keychain
Today’s project Crochet Cute Fox Keychain packs a lot of delight into a small size. With its sweet muzzle, perky ears, fluffy tail tip, and bright woodland colors, this fox is a mini mood-booster designed to travel everywhere: keys, backpacks, pencil pouches, zipper pulls, even rear-view mirrors. It’s simple to make, irresistibly photogenic, and endlessly giftable.
Friendly for beginners, satisfying for pros
If you’re new to amigurumi, this pattern is a gentle introduction to spirals, increases, invisible decreases, color changes, and tidy finishing. If you’re experienced, you’ll enjoy refining proportion, playing with textures, and adding tiny accessories (a scarf! a book! a mushroom!). Either way, you’ll end up with a polished little fox that looks store-bought but feels beautifully handmade.
Slow crafting, big smiles
Small projects are soothing: you can complete them in an evening, yet they deliver the calm of slow making. The fox keychain is perfect for mindful breaks, stash-busting, and last-minute gifts. And the moment you sew on the tail tip and clip the keyring, you’ll feel that quiet burst of pride only a handmade finish can bring.
Materials & Tools
Yarn (choose one family and keep all parts consistent):
-
Worsted/Aran (#4) acrylic or cotton for a palm-size fox (classic choice for keychains)
-
DK (#3) for a smaller micro-fox
-
Velvet/chenille for ultra-squishy texture (use a smaller hook and count carefully)
Suggested colors (3–4):
-
Main: burnt orange / pumpkin / copper
-
Contrast 1: white or cream (muzzle, ear inner, tail tip, belly patch)
-
Contrast 2: black or dark brown (nose, eye lines, paw tips)
-
Optional accent: blush pink for cheeks or scarf color of your choice
Hook size:
-
3.0–3.25 mm for worsted (#4)
-
2.25–2.75 mm for DK (#3)
Use the smallest size that’s comfortable to get dense fabric (no stuffing peeking through).
Notions:
-
Safety eyes 6–8 mm (or embroider for baby-safe version)
-
Polyester fiberfill (high-loft)
-
Tapestry needle (blunt tip)
-
Stitch marker (locking)
-
Scissors
-
Keychain hardware (split ring, short chain, and a jump ring)
-
Optional: a pinch of plastic pellets in a sewn pouch to weight the base, tiny felt circles for blush, fabric glue (if using felt)
Choosing yarn, texture & colors
-
Acrylic = soft and springy; ideal for keychains that get tossed around.
-
Cotton = crisp stitch definition and a tidy, modern look.
-
Velvet/chenille = unbelievably cute marshmallow fox; tighten gauge and avoid safety eyes (embroider instead).
-
Color harmony: Classic fox reads best with high contrast between orange, white, and a few black details. Pastel foxes (peach, cream, latte) look dreamy; monochrome (all-cream with black nose) is minimalist and chic.
Step-by-Step Crochet Instructions
Abbreviations: MR (magic ring), sc (single crochet), inc (increase = 2 sc in one st), dec (invisible decrease), sl st (slip stitch), ch (chain), BLO/FLO (back/front loop only).
Work in a spiral unless noted. Move your stitch marker to the first stitch of each round. Stitch counts appear in ( ).
We’ll build an oval head-and-body, then add ears, muzzle, tail, and tiny limbs. Finish with assembly and keychain hardware.
1) Making the Head
With main (orange):
-
MR, 6 sc (6)
-
inc around (12)
-
(sc, inc) ×6 (18)
-
(2 sc, inc) ×6 (24)
-
(3 sc, inc) ×6 (30)
6–7. sc around (30 each)
Eye placement: Insert 6–8 mm safety eyes between Rounds 6–7, about 6–7 sts apart. Alternatively, embroider eyes later for a baby-safe fox.
-
(4 sc, inc) ×6 (36) soft dome for the top of head
9–10. sc around (36 each)
Pro shaping tip: Keep the face slightly under-stuffed at first; too much stuffing too early can distort the muzzle area later.
-
(4 sc, dec) ×6 (30)
-
(3 sc, dec) ×6 (24) begin light stuffing, focusing behind the eyes and cheeks
-
(2 sc, dec) ×6 (18)
-
(sc, dec) ×6 (12)
-
sc around (12) leave attached if continuing seamlessly into the neck; otherwise, fasten off and reattach for next step.
2) Forming the Neck & Upper Body
We’ll widen gently from the neck to the chest.
-
From Round 15’s 12 sts, increase evenly to 18: (sc, inc) ×6 (18)
-
sc around (18)
-
(2 sc, inc) ×6 (24)
-
sc around (24)
-
(3 sc, inc) ×6 (30)
Stuffing cue: Firm up the neck so the head doesn’t wobble, but don’t create a rigid rod. Think springy-firm.
3) Building the Main Body
-
sc around (30)
-
(4 sc, inc) ×6 (36)
3–6. sc around (36 each) -
(4 sc, dec) ×6 (30)
-
sc around (30)
-
(3 sc, dec) ×6 (24)
-
sc around (24)
Begin full stuffing now, shaping a plump oval. Keep the belly slightly fuller than the back so the fox sits nicely.
4) Shaping the Base (and optional legs)
-
(2 sc, dec) ×6 (18)
-
sc around (18)
-
(sc, dec) ×6 (12) finish stuffing
-
dec ×6 (6), sl st, fasten off, and weave in.
Optional separate base disc (for super-stable sitters):
-
MR 6; inc around to 12, 18, 24 as needed to match the opening. Sew on flat with tiny whip stitches before fully closing. Hide a micro pellet pouch inside for balance if you plan to hang vertically.
5) Tail, Ears, Muzzle & Limbs
A) Tail (orange with white tip)
-
With white: MR, 6 sc (6)
-
(sc, inc) ×3 (9)
-
sc around (9)
-
Switch to orange, (2 sc, inc) ×3 (12)
5–7. sc around (12 each)
Lightly stuff the base only, leave the tip soft. Flatten top and sew to back center of the body, angling slightly upward. Fluff the white tip with a yarn brush if desired.
B) Ears (make 2; outer orange, inner white)
Outer (orange):
-
MR, 4 sc (4)
-
(sc, inc) ×2 (6)
-
(2 sc, inc) ×2 (8)
4–6. sc around (8 each), fasten off, leave tail.
Inner (white) – tiny triangle:
-
MR, 3 sc (3)
-
(sc, inc) + sc (5)
-
sc around (5), fasten off.
Sew the white inner lightly onto the orange outer. Flatten ear and sew to head between Rounds 4–6, angled outward for a perky look.
C) Muzzle (white)
-
MR, 6 sc (6)
-
(sc, inc) ×3 (9)
-
(2 sc, inc) ×3 (12)
-
sc around (12), fasten off, leave tail.
Slightly stuff and sew centered beneath the eyes. Embroider a black nose at the top of the muzzle and a tiny “V” smile.
D) Arms (make 2; orange, optional black paw tips)
-
MR, 6 sc (6)
-
(sc, inc) ×3 (9)
3–5. sc around (9) -
Optional: change to black for 2 rounds (paw tip).
Lightly stuff the lower half only. Flatten opening and stitch to body at the upper sides.
E) Legs (make 2; orange with black paw tips)
-
MR, 6 sc (6)
-
(sc, inc) ×3 (9)
-
sc around (9)
-
Change to black, sc around (9)
Flatten and sew at the base front for a seated pose.
6) Assembly & Positioning
-
Pin before sewing so you can evaluate symmetry from front and side.
-
Attach ears first, then muzzle, then arms and legs, and finally the tail.
-
Weave tails inward securely and trim only after tug-testing joins.
-
Massage stuffing to correct small asymmetries. If the head leans, add a pinch of filling at the neck with your needle.
Keychain anchor:
-
For durability, thread strong sewing thread or waxed cotton through the head center (top), passing completely through the body, then back up, tie multiple tight knots, and attach to a jump ring. Connect to your chain + split ring.
7) Final Touches & Accessories
-
Eye highlights: Embroider a tiny white dot on each safety eye for sparkle.
-
Cheeks: Tiny pink felt circles or embroidered blush.
-
Neck scarf: ch 40–45, sc back for 1–2 rows; wrap and tie gently.
-
Mini acorn or mushroom: MR 6 in brown for a cap; small beige stem; stitch to paw.
-
Belly patch: Small oval in white; sew low for a kawaii vibe.
Customization Ideas
-
Color palettes:
-
Classic: pumpkin orange + cream + black details
-
Arctic fox: all white + light gray nose and ear tips
-
Pastel: peach + vanilla + cocoa paw tips
-
Forest: rust + tan + moss green scarf
-
Monochrome: charcoal + silver + black
-
-
Yarn adventures:
-
Cotton for crisp features.
-
Acrylic for soft, resilient everyday carry.
-
Velvet for plush marshmallow foxes (embroider features).
-
Bouclé or eyelash for slightly shaggy woodland texture (use sparingly on tail).
-
-
Themes:
-
Holiday fox: green scarf, tiny candy cane.
-
Winter fox: sky-blue hat with pom-pom.
-
Scholar fox: micro glasses (thin wire) and mini book.
-
Birthday fox: party hat cone (ch 18, join, sc decreasing rounds).
-
-
Add-ons: micro leaf, acorn, backpack, bow/bowtie, or a tiny satchel (rectangle folded with a chain strap).
Advanced Tips & Troubleshooting
-
Invisible decreases: Insert hook through front loops only of the next two stitches, yarn over, pull through both loops, yarn over, pull through 2. This yields smooth shaping with no pits.
-
Even tension: Let your hook do the work. If your fabric feels stiff and your stripes wave, relax your grip and keep the yarn path consistent.
-
Avoid twisted work: After Round 2 of any piece, check the disc lies flat. If it cups, your tension may be tight; if it ruffles, you’ve added too many increases.
-
Color changes without jogs: Change color on the final yarn-over of the stitch before the new color. For very crisp lines, start each stripe at the back center.
-
Stuffing strategy: Add filling in small clouds, not one big clump. Aim for “firm but springy.” Over-stuffing can stretch stitches around the muzzle.
-
Seamless joins: Use ladder stitch or very small whip stitches, catching only the back bar on the piece you’re attaching to minimize bulk.
-
Proportion rescue: If the head looks oversized, add a thicker scarf; if too small, add ears slightly higher and a fluffier tail tip to balance.
-
Symmetry check: Count stitches between ears and arms; take a quick overhead photo misplacements are easier to spot from above.
-
Baby-safe version: Embroider eyes and nose with satin stitches; secure knots deeply and weave tails far into the stuffing channel.
-
Hardware durability: Anchor the hanging loop through the head core (not only surface stitches) so daily use won’t tear fabric.
Care Instructions
-
Gentle hand wash in lukewarm water with mild detergent.
-
Rinse & press: Rinse thoroughly and press in a towel do not wring.
-
Air dry flat; reshape ears and tail tip while damp.
-
Avoid direct sunlight to prevent color fading (especially orange).
-
Storage: Keep in a breathable pouch or on a hook; avoid sealed plastic in humid climates.
-
Hardware check: Occasionally tighten jump rings and inspect the anchor thread if you use it daily.
Display & Gift Ideas
-
Home décor: Perch a trio of foxes on a shelf, tray, or plant pot for woodland vibes.
-
Kid’s room: Clip to backpack zippers or pencil cases (embroidered eyes for young children).
-
Desk companion: Hang from a monitor corner or place in a tiny mug.
-
Holiday ornament: Add a hanging loop and nestle into a winter wreath or tree.
-
Personalized gift: Embroider initials on a micro felt tag; include a tiny “Adoption Certificate” card for extra charm.
-
Market-ready: Display in egg cartons or little kraft boxes with see-through windows adorable and protective.
Benefits of Making a Crochet Cute Fox Keychain
-
Relaxation & mindfulness: Repetitive rounds settle your focus and ease stress.
-
Creative expression: Colors, accessories, and expressions turn a simple pattern into “your” fox.
-
Quick accomplishment: Finish in an evening for a big mood boost and a small win.
-
Eco-friendly gifting: Handmade beats mass-produced trinkets less waste, more meaning.
-
Emotional connection: A tiny plush crafted by you becomes a keepsake, carrying time and care in every stitch.
Photography & Social Media Tips
-
Natural daylight: Shoot near a bright window with indirect light for accurate color and soft shadows.
-
Soft backgrounds: Neutral poster board, linen, or wood. For woodland themes, add leaves, twigs, or a pinecone.
-
Angles: Front, 45°, and top-down; a few macro shots for muzzle, tail tip, and ears.
-
Story props: Mini book, acorn, tiny scarf just one or two so the fox stays the star.
-
Gentle edits: Slightly raise exposure and sharpness; avoid over-saturation so yarn texture looks real.
-
Process reels: Short clips of tail assembly, ear placement, or adding the keyring perform great and help others learn.
Conclusion
The DIY Crochet Cute Fox Keychain is a tiny celebration of creativity simple enough for beginners, flexible enough for seasoned makers, and charming enough to brighten any day. From the first magic ring to the last invisible decrease, each stitch invites calm and delivers joy. And when you clip on that keyring and see your fox’s little face looking back, you’ll feel it: the quiet pride of turning yarn into something warm, sweet, and full of personality.
So choose your favorite orange, cue a cozy playlist, and let your hook find its hum. In just a little while, you’ll have a pocket-sized woodland friend ready to ride along on every adventure and to remind you that handmade moments are the very best kind.