
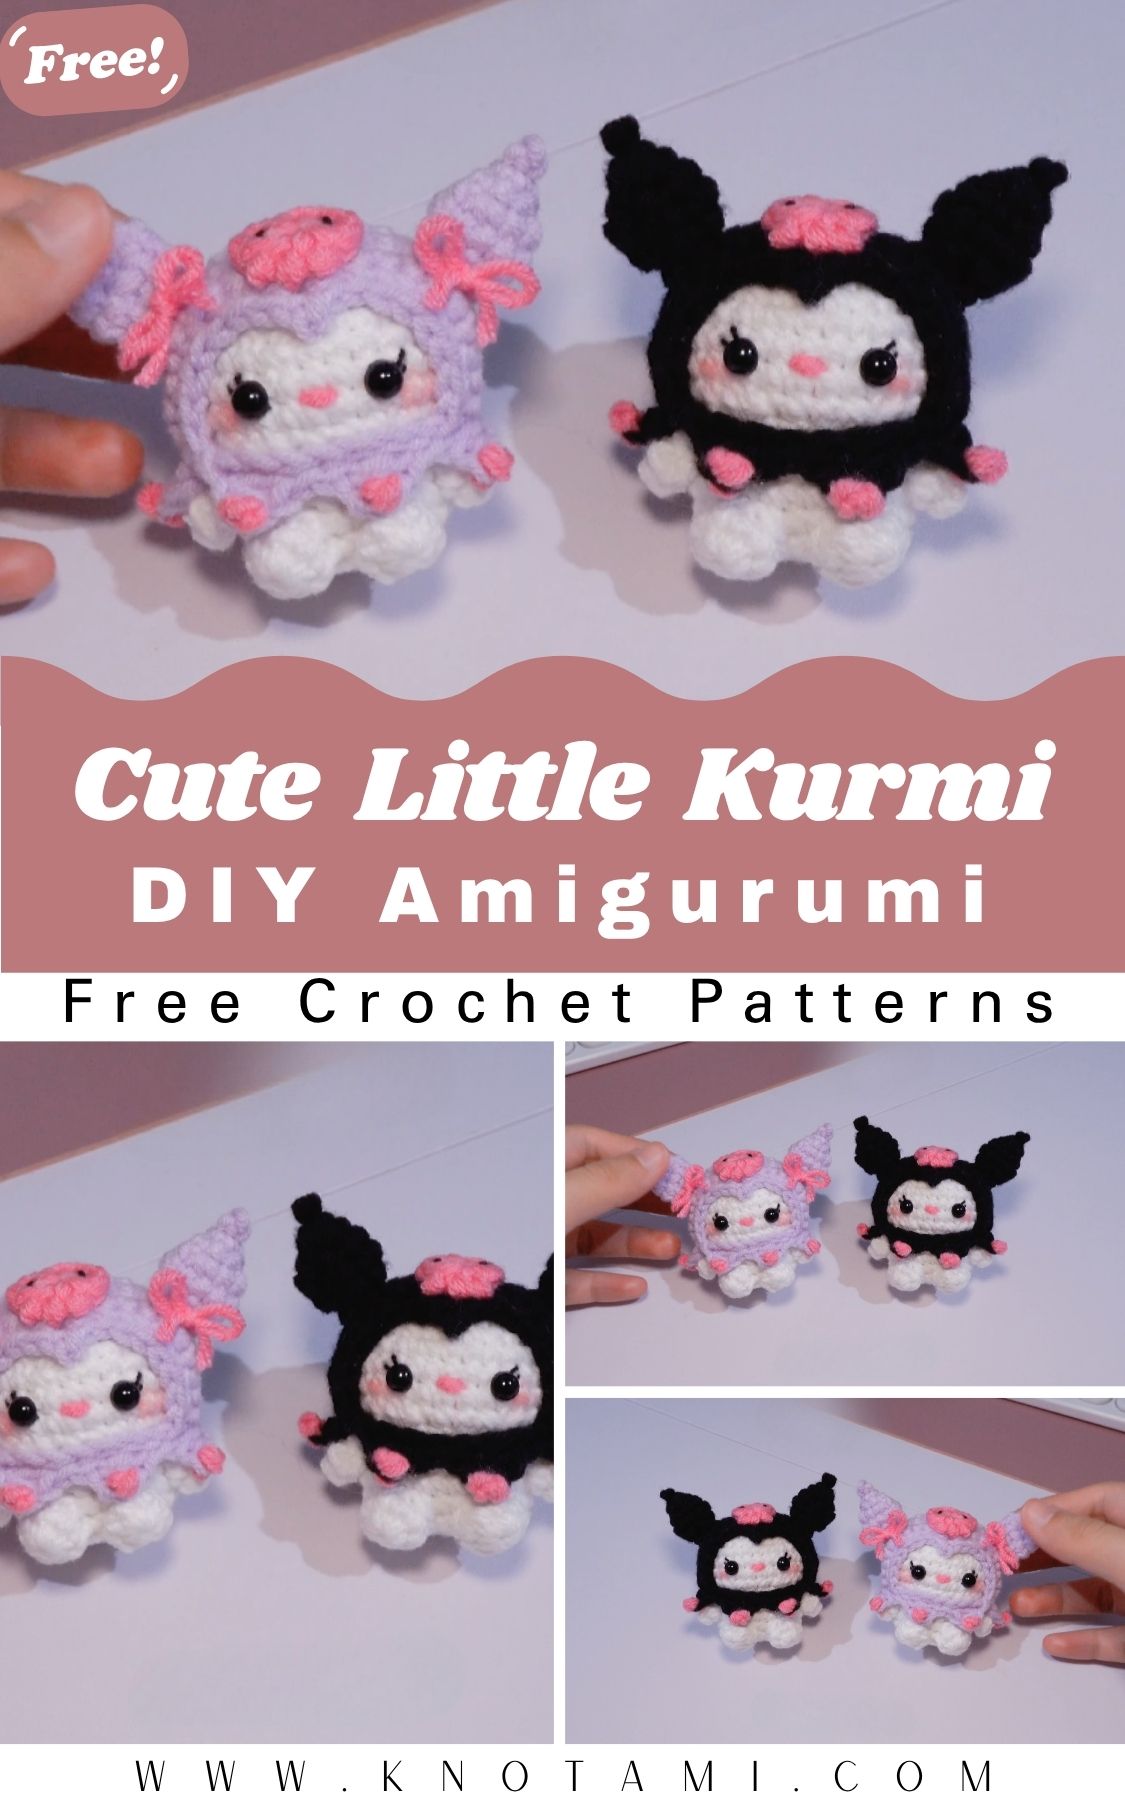
Complete an adorable and gift-ready crochet project in just a few hours with this Crochet Cute Little Kurmi Amigurumi design. This pattern allows you to create a cute little character while practicing neat stitching, smooth filling, and beautiful finishing. Its simple yet charming style makes it a great choice for mini plushies, classic amigurumi figures, and lovers of handmade soft toys.
A soft little Kurumi feels like a little treasure in the palm of your hand, a round shell, a cute face, and a style that makes you want to hold it in your hand. As you crochet and stitch, its shape gradually becomes more complete, and the character begins to look more realistic. This project is great for beginners because it uses simple increases and decreases rather than complicated techniques. Still, once it’s finished, it looks very special and beautiful, perfect for gifting or decorating your desk.
Necessary Materials
To keep your Kurmi looking crisp and evenly shaped, gather these supplies before you start:
- Yarn (main color): Smooth worsted/DK yarn for the body (green, mint, teal, or any “turtle” shade)
- Yarn (accent colors): Small amounts for belly/shell detail and facial features (cream, beige, brown, pink, black/white)
- Crochet hook: Usually 2.5 mm to 3.5 mm, depending on yarn thickness and your tension
- Stuffing: Polyester fiberfill for a plush, even feel
- Needle: Tapestry/yarn needle for sewing parts and weaving ends
- Stitch marker: Locking marker or scrap yarn to track rounds
- Scissors: Sharp enough for clean yarn cuts
- Safety eyes (optional): Small eyes for a toy-like finish (or embroider eyes for baby-safe use)
- Pins (optional): Helps position limbs and facial pieces before stitching
- Row counter (optional): Useful if you tend to lose your place in spirals
Research Method
This overview keeps things simple; for the full visual sequence, follow the video instructions.
Step 1: Build the head and body base
Start with a magic ring and work in continuous rounds. Increase evenly to create a smooth dome, then continue with steady rounds to form the main shape. Keep your tension firm so stuffing never shows through.
Step 2: Shape the shell and belly area
Switch colors if your Kurmi design includes a lighter tummy or a distinct shell panel. Use tidy increases to widen the midsection, then stabilize with a few even rounds. You’ll see the cute “turtle-like” silhouette appear quickly.
Step 3: Crochet the limbs and tail
Work small pieces like arms, legs, and a tiny tail using tight stitches. Make pairs that match in size so the character looks balanced. Lightly stuff limbs if the pattern calls for it, then pinch the opening for easier sewing.
Step 4: Assemble and secure details
Pin limbs in place first, then stitch them on firmly with a tapestry needle. Add facial elements—eyes, blush, and any signature Kurmi touches so the expression feels friendly. The video shows ideal placement, which helps a lot.
Step 5: Finish shaping and close cleanly
Stuff gradually, then adjust with your fingers to remove bumps. Decrease carefully around the final rounds and close the opening neatly. Weave ends inside the body so the finish looks professional.
Unique Design & Character Appeal
This Kurmi amigurumi stands out because it blends simplicity with personality. The rounded head and compact body create a “palm-sized” cuteness that works for both kids and collectors. In addition, the shell-like shaping makes the character instantly recognizable even if you change colors.
What really sells the charm is the gentle expression. When you place the eyes slightly lower and add a tiny blush or stitched smile, the Kurmi looks sweet rather than sleepy or blank. Because the design uses clean curves instead of sharp angles, it also photographs beautifully, perfect if you love sharing makes on social media or in craft groups.
Uses & Benefits
A small Kurmi amigurumi may look simple, yet it fits into everyday life in so many ways:
- Toy use: Soft, lightweight, and easy for little hands to hold (especially if you embroider the eyes).
- Gift idea: A handmade Kurmi makes a thoughtful birthday, baby shower, or “just because” present.
- Decorative piece: Place it on a shelf, craft cart, or bedside table for instant cozy vibes.
Plus, this project helps you practice core amigurumi skills like shaping, stuffing, and assembly—so it doubles as a confidence-builder.
Time & Skill Level
Most crocheters finish this cute Kurmi in 2 to 4 hours, depending on yarn size, detail level, and how quickly you sew pieces together. If you crochet in short sessions, you can easily complete it in a weekend.
As for difficulty, I’d rate it beginner-friendly. You only need basic stitches and a little patience for sewing. However, if you stay consistent with tension and follow the shaping carefully, your results will look clean and shop-quality.
Recommended Yarn & Tools
For the neatest stitches, choose a yarn that holds definition:
- Best yarn type: DK or worsted-weight cotton or cotton-blend
Cotton grips well and shows stitch texture clearly, so your Kurmi looks crisp. Acrylic also works, although it can appear fuzzier over time. - Suggested hook size: 2.5 mm–3.5 mm
Use a hook slightly smaller than the yarn label recommends. That choice tightens stitches and prevents stuffing from peeking through, which matters a lot in amigurumi.
Also, keep a stitch marker close. Since amigurumi often uses continuous rounds, the marker saves you from accidental spirals that shift facial placement.
Finished Size & Final Look
Expect an approximate finished size of 8–12 cm (3–5 inches) tall, depending on yarn thickness and hook size. With tighter tension and a smaller hook, you’ll create a compact, sturdy Kurmi that holds its shape.
The final look should feel smooth and plush, with even curves and a gentle, rounded shell area. If you distribute stuffing gradually, the body will look full without stretching stitches. In addition, neat decreases will keep the closing round clean, which makes the whole amigurumi look more “store-bought,” even though it comes from your hands.
Creative Display & Usage Ideas
Once you finish your Kurmi, you can enjoy it in more ways than you might expect:
- Keychain: Add a small keyring loop to the top or back and make a mini version for bags.
- Desk décor: Set it near your monitor, notions box, or plant shelf for a cheerful craft buddy.
- Gift presentation: Place it in a small gift box with tissue paper and a handwritten tag.
- Craft showcase: Add it to a market table display or a crochet portfolio as a “cute character” sample.
If you create a few in coordinated colors, you can even build a tiny collection that looks cohesive on a shelf.
Common Mistakes & Fixes
- Loose stitches → maintain consistent tension
- Uneven stuffing → distribute properly
- Wrong yarn → use recommended yarn
- Shape issues → follow the pattern carefully
Care Instructions
- Hand wash gently
- Avoid harsh detergents
- Dry flat
- Store properly
Customization Ideas & Color Variations
- Use different color combinations (pastel Kurmi, classic green, or bold rainbow shell)
- Add accessories or details (tiny bow, mini scarf, or embroidered stars on the shell)
- Adjust size for different uses (smaller for keychains, larger for cuddly plushies)
- Experiment with yarn textures (velvet yarn for extra softness, cotton for crisp stitches)
Safety Tips for ( Crochet Cute Little Kurmi Amigurumi)0
- Use child-safe materials (embroidered eyes work best for babies and toddlers)
- Secure all parts properly (double-stitch limbs and weave ends inside)
- Avoid small loose pieces (skip beads or tiny buttons for young children)
Why This Amigurumi is Trending
Kurmi-style amigurumi keeps trending because it gives beginners a fast, adorable finish without complicated shaping. The character’s rounded features look cute even with simple stitch work, so new crocheters feel proud instead of frustrated. Meanwhile, the online craft world loves “small and collectible” projects, and this design fits that vibe perfectly.
In addition, handmade toys feel personal in a way store-bought items rarely do. When you crochet a Kurmi, you choose the colors, the expression, and the final personality. As a result, each version looks unique even when you follow the same pattern so people keep making more.
FAQs for ( Crochet Cute Little Kurmi Amigurumi)
Q1: What stitches do I need for a beginner Kurmi amigurumi?
You typically need chain stitches, single crochet, increases, and decreases. You also need basic sewing for assembly.
Q2: Can I make this Kurmi without safety eyes?
Yes, and I recommend embroidered eyes for baby-safe projects. Simple black yarn and a few stitches can create a sweet expression.
Q3: Why does my amigurumi look lumpy after stuffing?
You likely added stuffing in large chunks. Add small pieces gradually, then shape with your fingers as you go.
Q4: How do I keep the stitches tight enough to hide stuffing?
Use a smaller hook than normal and maintain even tension. Also, choose a smooth yarn that shows stitch definition.
Q5: Can I resize the pattern easily?
Yes. Use thicker yarn and a larger hook for a bigger Kurmi, or thinner yarn and a smaller hook for a mini version.
Conclusion
This elegant Crochet Cute Little Kurmi Amigurumi proves that beginners can crochet something cute, polished, and genuinely gift-worthy. Because the shaping stays simple, you can focus on clean stitches and good stuffing habits; meanwhile, the character details keep the project fun. Additionally, you can customize colors, add accessories, and even turn your Kurmi into a keychain or desk buddy. So gather your yarn, take your time with assembly, and enjoy the relaxing process. Your finished Kurmi will look adorable from every angle.