
Thick white textured yarn forms the cuddly body of this crochet pom pom gnome pattern with colorful pointed hats, a whimsical holiday project with plenty of charm. The fluffy pom pom body gives every gnome its own cozy personality.
The crocheted parts use only basic stitches: single crochet, increases, decreases, and one round worked in back loops. Leftover yarn scraps work well for the bright hat and boots, while a thick, textured yarn gives the body its soft, huggable look. Set the finished gnome on a shelf or mantel as holiday decor, or tuck one into a handmade gift.
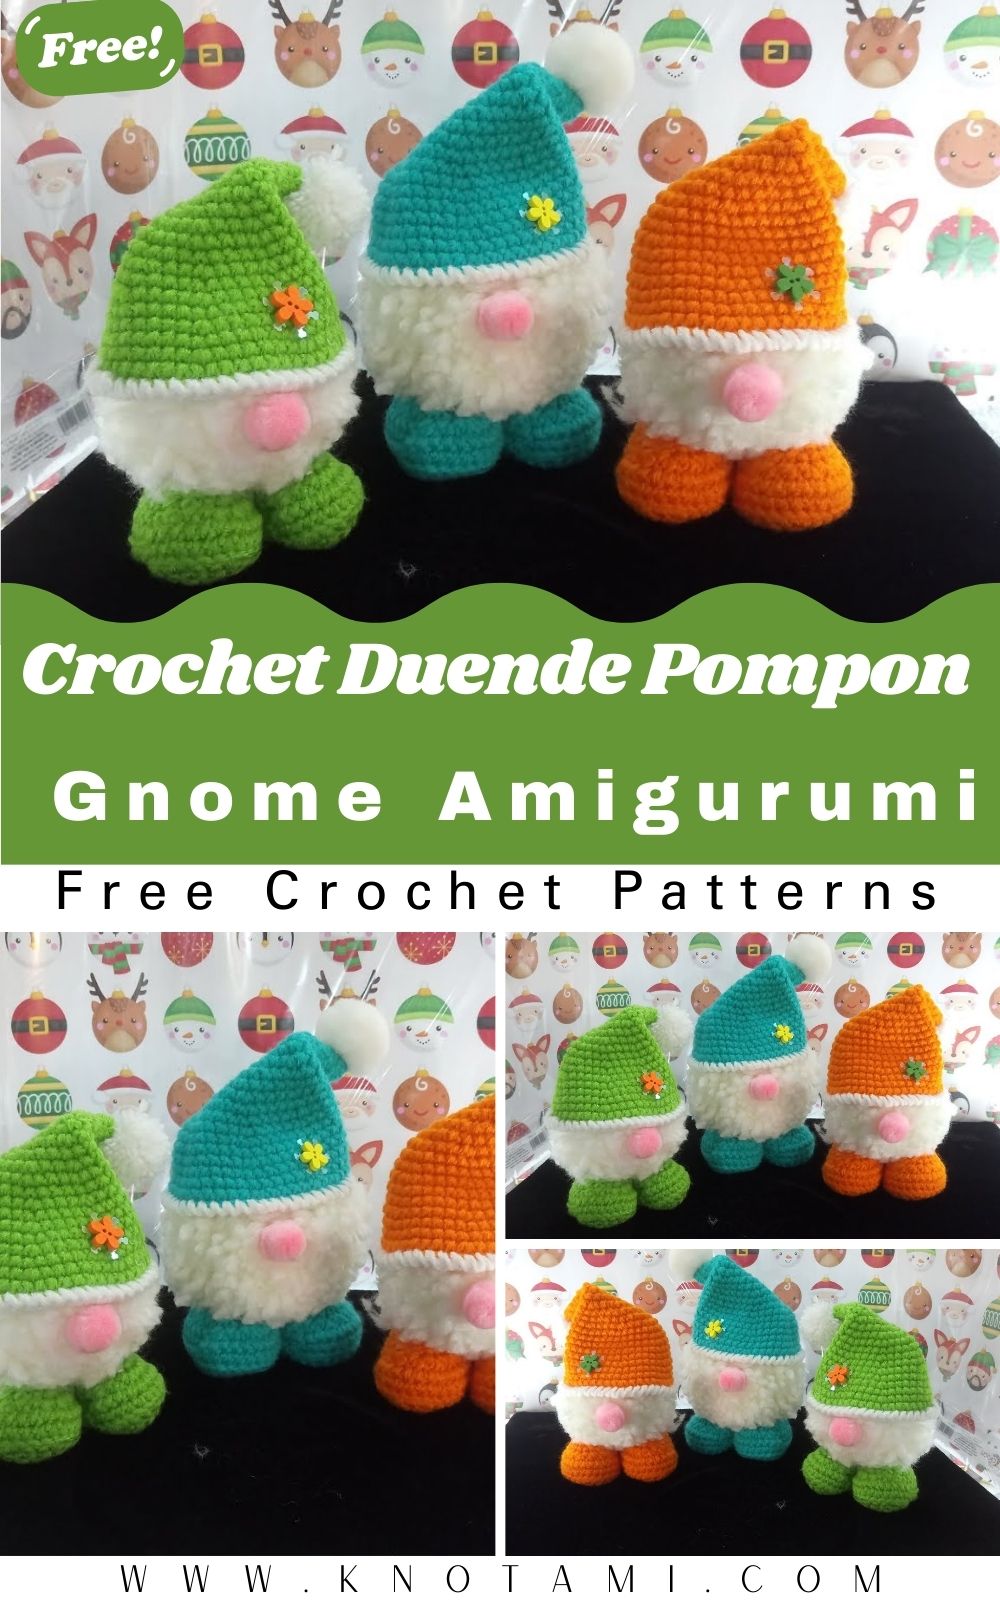
A full video tutorial is linked further down the page. Seeing the yarn tension and hook placement can make a real difference, so keep it open while you follow the written steps.
Materials Needed
Gather these supplies before you start. Having everything ready makes assembly easier and helps the gnome stay sturdy.
- Yarn: White yarn for the body (a thick, fuzzy yarn works best), plus your choice of colors for the hat and boots.
- Crochet hook: A 4.5 mm hook is recommended for thick yarn, but always match your hook to the weight of the yarn you’re using.
- Stuffing: Polyester fiberfill to keep the boots and hat plump.
- Cardboard: Small scraps from a toothpaste box or similar thin packaging to make firm soles for the boots.
- Pom pom maker: A plastic pom pom maker or the traditional cardboard method.
- Strong string: For tying the center of each pom pom.
- Notions: A tapestry needle, scissors, and stitch markers.
- Glue: A hot glue gun for adults, or cold silicone glue if children are helping.
- Decorations: A snowflake charm or small fabric flowers for a festive finish.
- Optional: A small wooden bead or peach yarn for the nose, and a pipe cleaner to help the hat stand up.
Abbreviations (US Terms)
- ch – chain
- sc – single crochet
- inc – increase (2 sc in the same stitch)
- dec – decrease (single crochet 2 stitches together)
- BLO – back loop only
- st(s) – stitch(es)
How to Make a Crochet Pom Pom Gnome
Step 1: Crochet the Gnome Shoes
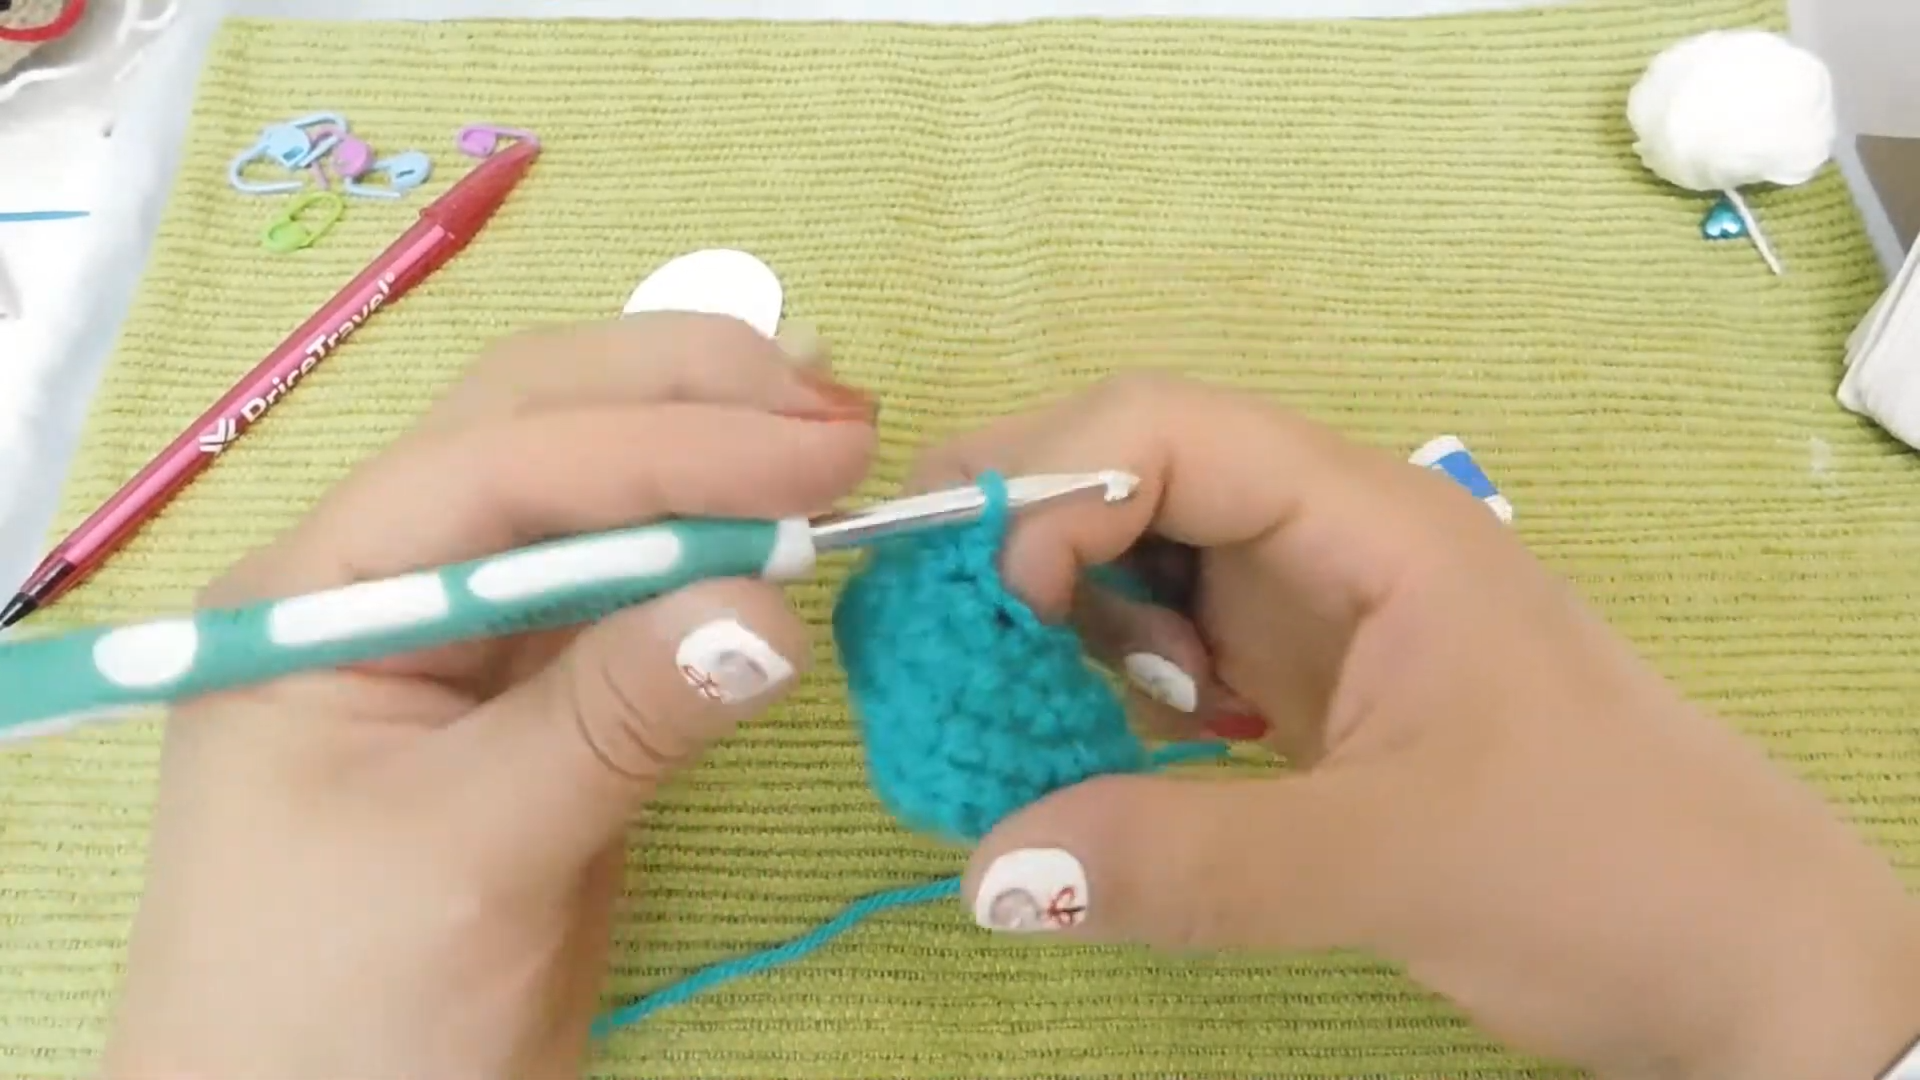
The gnome stands on two crocheted boots, so make two of each piece in this step and the next.
Round 1: Ch 6. Starting in the second chain from the hook, sc across. In the last chain, work 3 sc to turn the corner, then continue down the other side of the chain to form an oval. Work over the starting tail as you go to hide it.
Round 2: Work 3 increases at each curved end to widen the sole (18 sts). Place a stitch marker in the first stitch so you don’t lose your starting point.
Round 3: Continue shaping the curves by working (inc, sc) 3 times at each end (24 sts).
Round 4: Increase evenly around the curves to reach 30 sts. You now have the flat base that will hold the cardboard sole.
Step 2: Build Up the Boot Sides
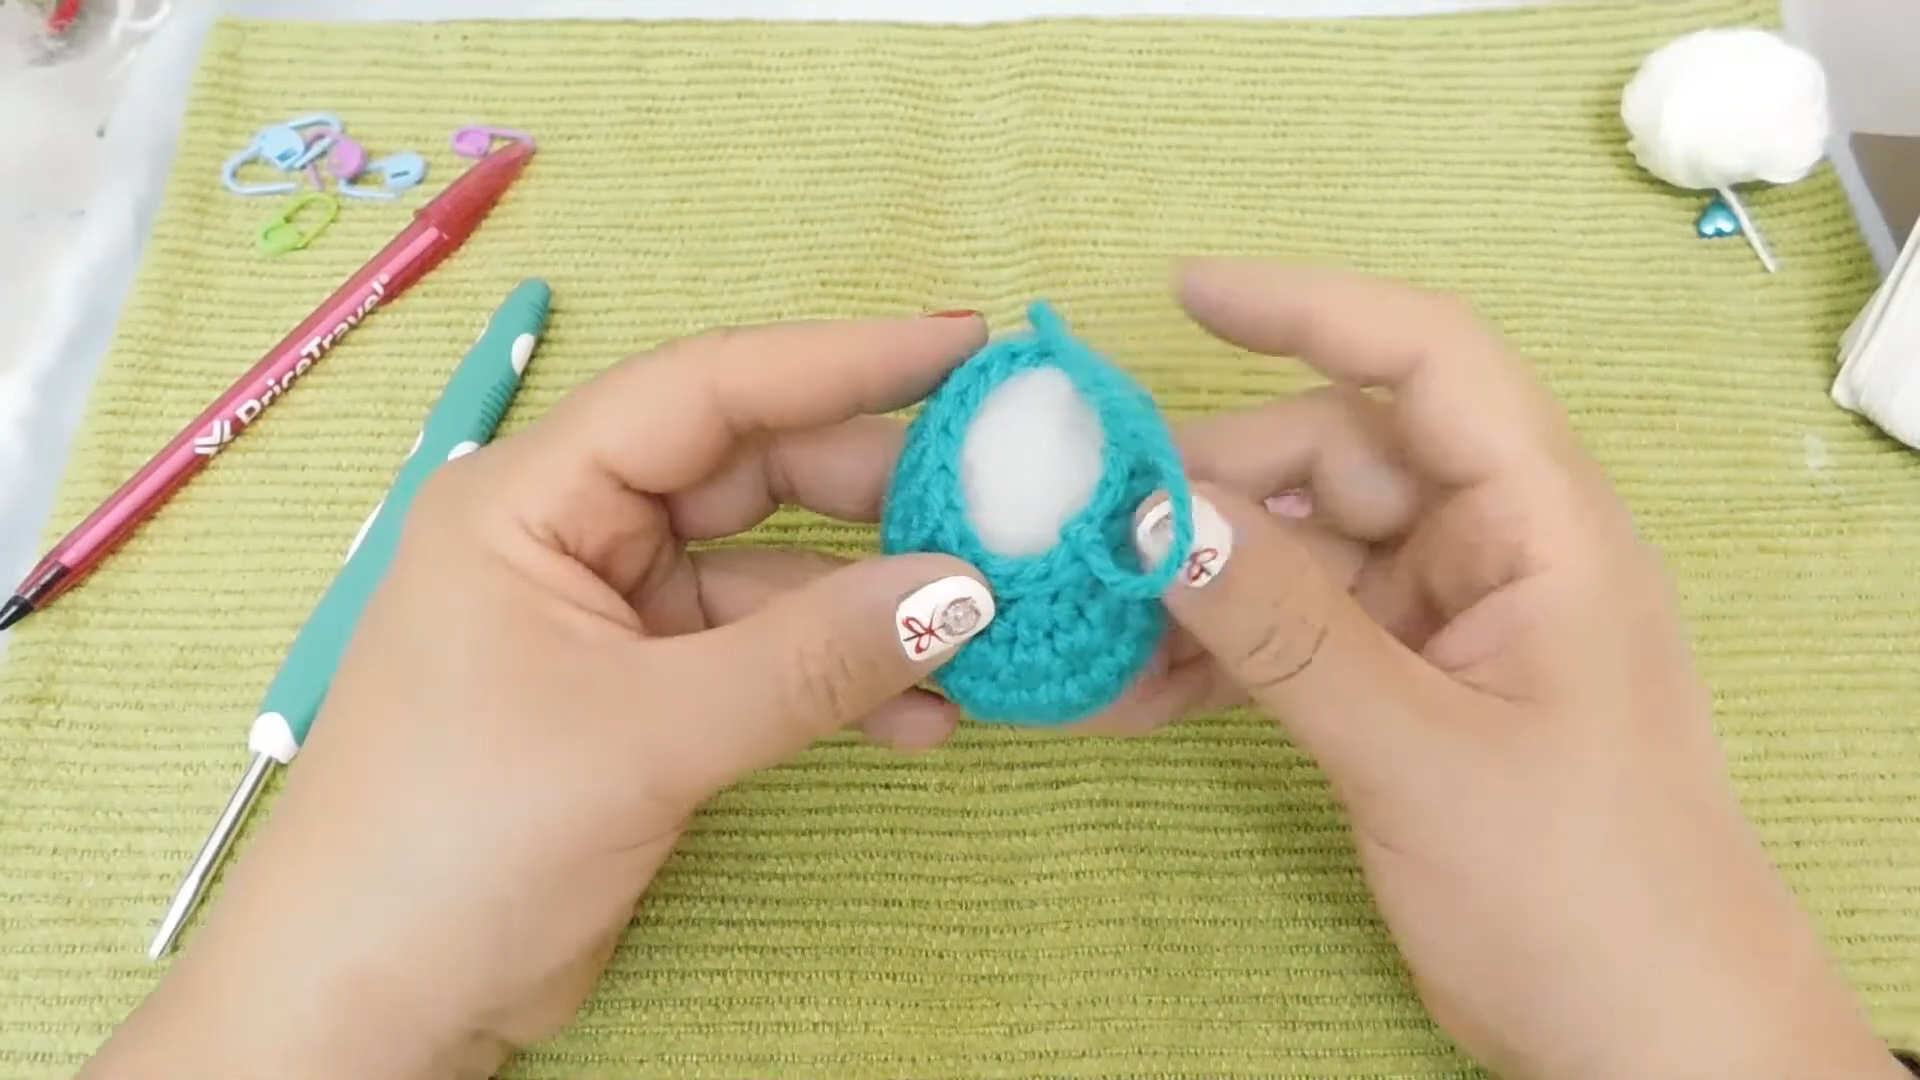
Round 5: Sc in BLO around (30 sts). Working in the back loops creates a crisp edge that helps the boot sit flat.
Round 6: Sc around through both loops (30 sts).
Rounds 7–8: In round 7, work 5 decreases across the front of the boot to pull the fabric inward and shape the toe, then sc the remaining stitches. In round 8, work a few more decreases at the front, following the video for exact placement, until the boot has its rounded shape.
Cut a piece of cardboard to fit the sole and slide it into the bottom of the boot, then stuff firmly. The cardboard keeps the base flat so the gnome can stand on its own.
Step 3: Crochet the Pointed Hat
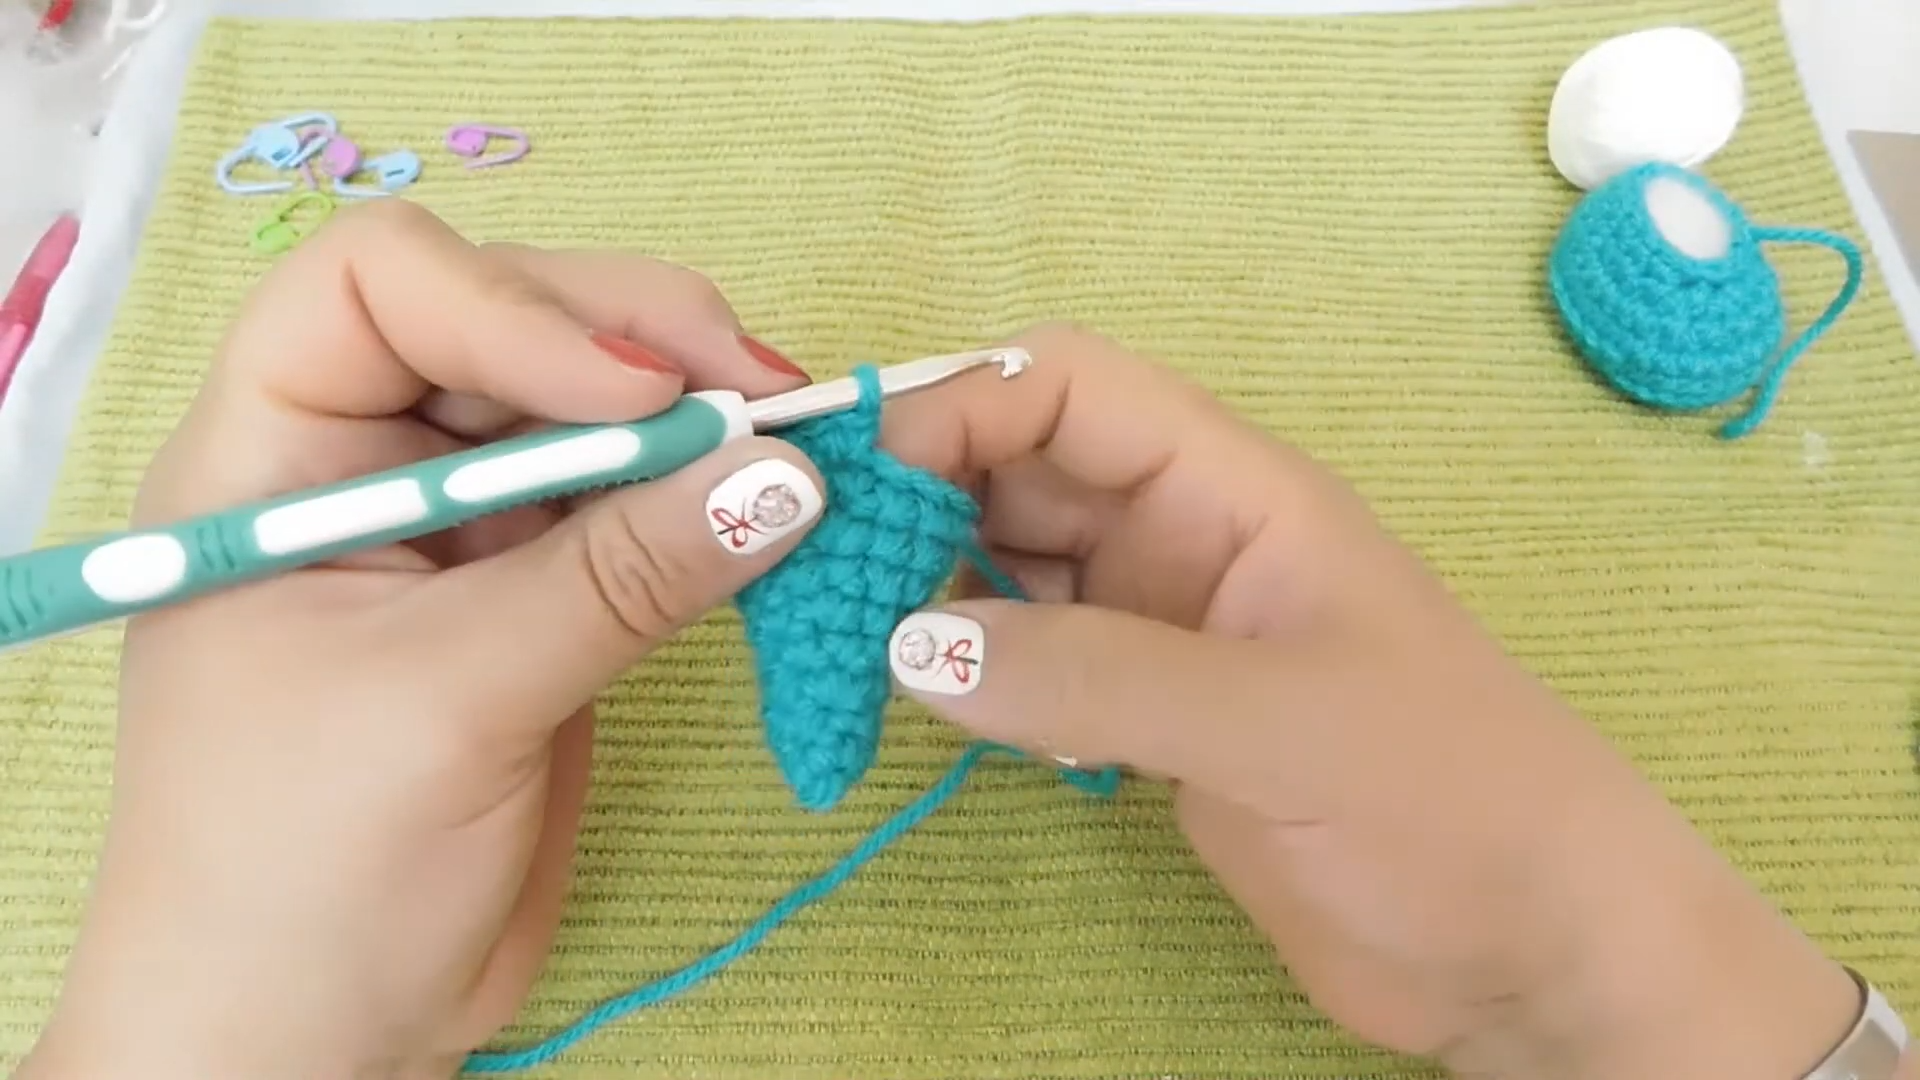
Round 1: Work 4 sc into a magic ring. The tip is small, so the first few rounds can feel fiddly.
Round 2: Increase to 6 sts. If the piece starts curling, turn it right side out so you aren’t crocheting inside out.
Rounds 3–21: Grow the hat gradually by alternating increase rounds with plain rounds that keep the same stitch count. For example, increase to 9 sts in round 4, then work those 9 sts evenly in round 5. Continue alternating increase and plain rounds, using the video as a guide for how many increases to add, until you finish round 21 with 42 sts. The slow increases give the hat its long, pointed shape and a base wide enough to sit over the pom pom body.
Step 4: Make the Pom Pom Body
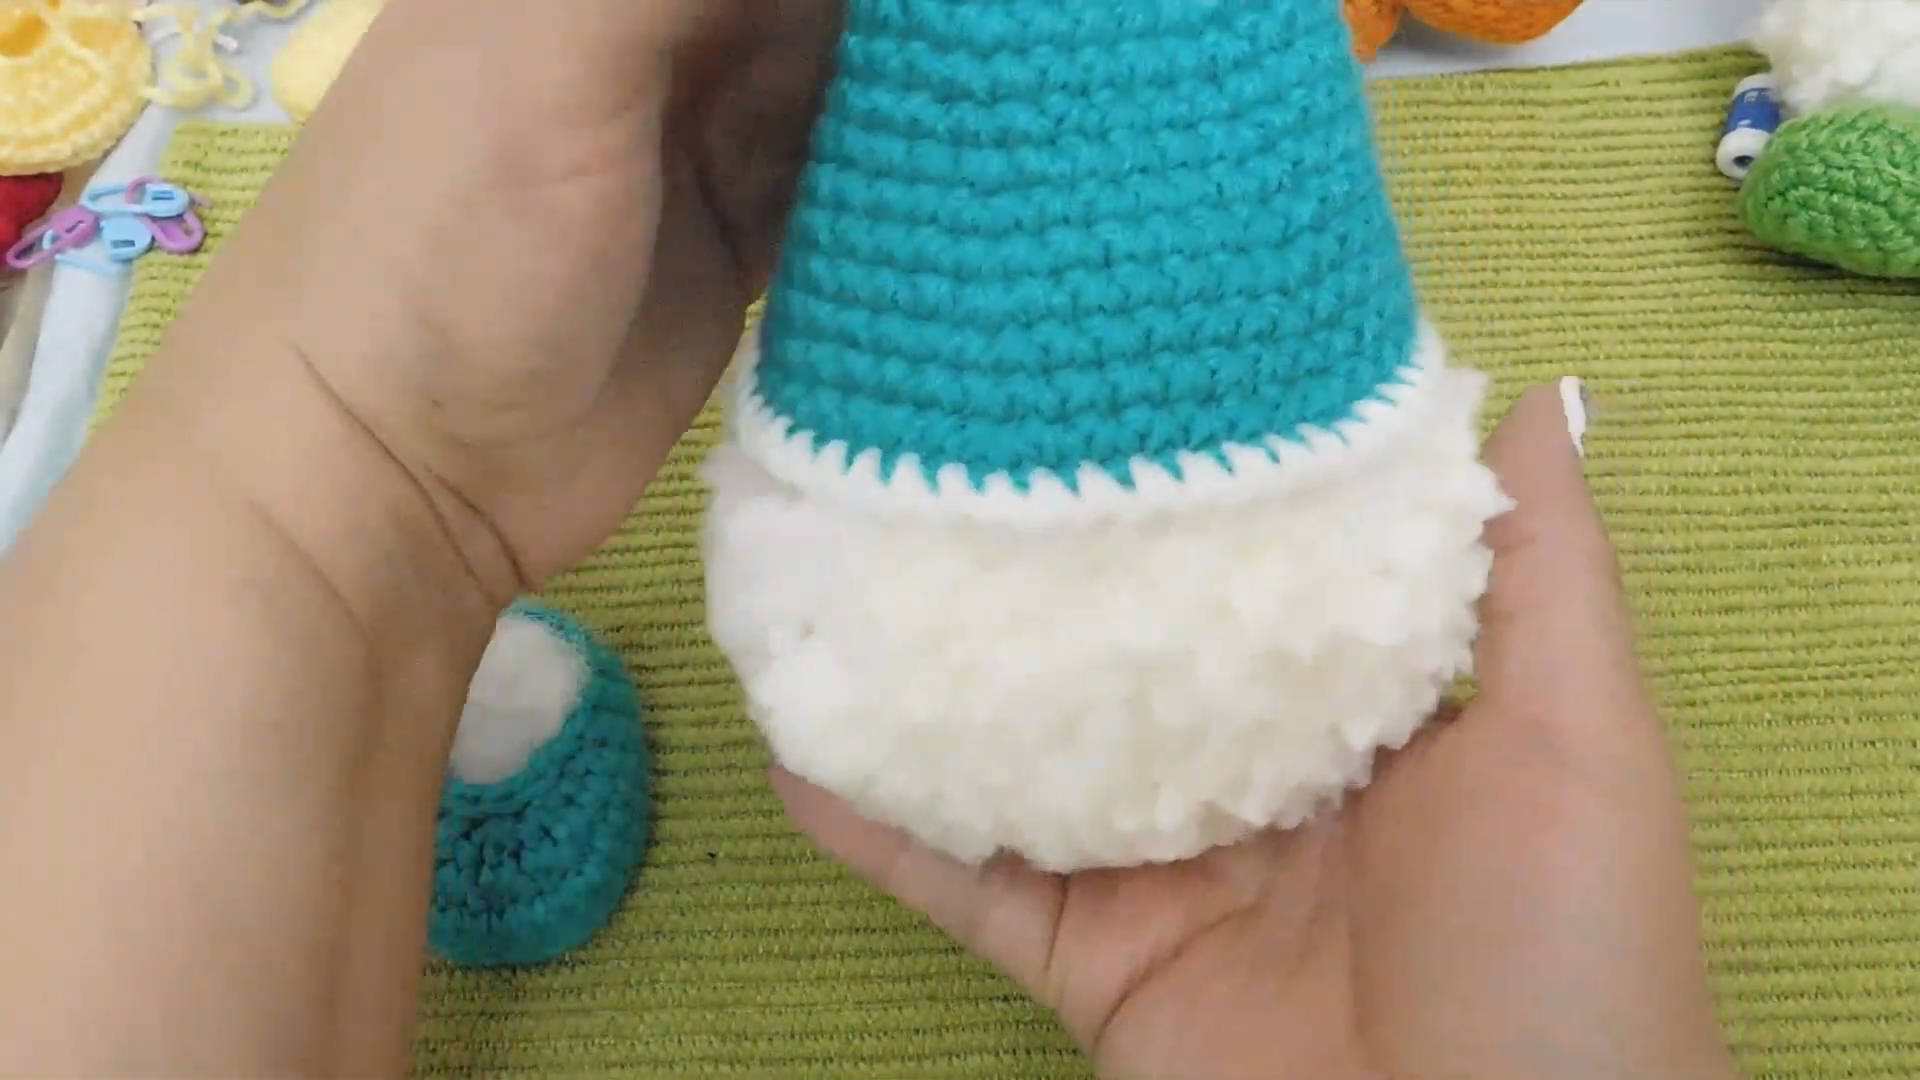
The body isn’t crocheted at all. It’s a large, fluffy pom pom, which is what gives the gnome its soft look. Wrap the thick white yarn around your pom pom maker or a piece of cardboard many times. The more yarn you wrap, the fuller your gnome will be.
Tie the center tightly with strong string, cut the loops, and trim until you have a neat sphere. Make a much smaller pom pom for the tip of the hat, plus a medium one if you’d like a big, fluffy nose.
Step 5: Assemble the Gnome
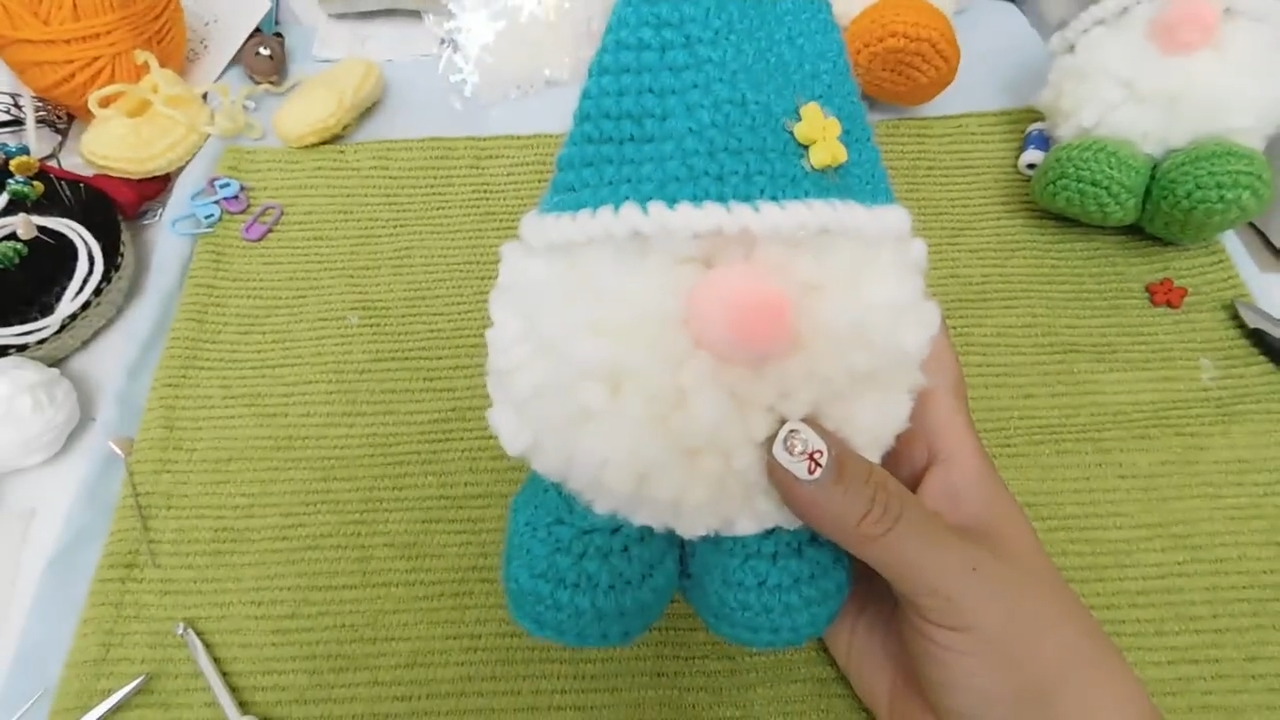
Heat your glue gun or prepare the cold glue. Attach both boots to the bottom of the large white pom pom, keeping them level so the gnome doesn’t tip. Place the hat over the top of the pom pom, adding a little stuffing inside if it needs help holding its shape.
Glue the small pom pom to the tip of the hat, then add your snowflake charm or fabric flower. For the nose, tuck a small wooden bead or a peach-colored pom pom just under the hat brim.
Watch the Video Tutorial
Watch the full pom pom gnome video pattern on YouTube
Common Mistakes to Avoid
- Skipping the stitch marker: The pieces are worked in a continuous spiral, so it’s easy to lose your place. That can lead to a lopsided hat or boots that don’t match. Mark the first stitch of every round.
- Understuffing the boots: Loose stuffing lets the cardboard sole shift, and the gnome will wobble. Pack the fiberfill firmly around the cardboard.
- Tying the pom pom too loosely: If the center knot isn’t tight, strands will work loose over time and the body will lose its fluffiness.
Ways to Customize Your Gnome
Changing the hat and boot colors is the easiest way to give each gnome a new look. Try red and green for Christmas or pastel pink and yellow for spring. A tiny bell sewn to the tip of the hat adds a gentle jingle.
If the hat turns out too small for your pom pom, add a few more increase rounds following the same pattern. Adjusting the pom pom size and hat length lets you make anything from a big mantel gnome to a small one for your desk.
Planning a full holiday display? This gnome looks right at home next to a crochet Christmas snowman or a set of crochet Christmas trees.
Frequently Asked Questions
What is the best yarn for the gnome body?
A bulky or fuzzy white yarn gives the softest, cutest result. Standard thin acrylic yarn makes a flatter-looking pom pom.
Can I make the gnome without a glue gun?
Yes. Cold silicone glue works, or you can sew the pieces together with a tapestry needle and matching yarn. Sewing is the safer choice if the gnome will be a toy for a small child.
How do I make the hat stand up straight?
Soft yarn can make the hat flop over. Slide a pipe cleaner or a short piece of wire inside the hat before gluing it to the body.
Why does the pattern use cardboard in the shoes?
The cardboard gives each boot a flat, rigid base. Without it, the bottom of the boot stays rounded and the gnome can’t stand on its own.
Can I wash my crochet gnome?
Spot clean only if the boots contain cardboard. Soaking the gnome will ruin the soles and can flatten the pom poms.