

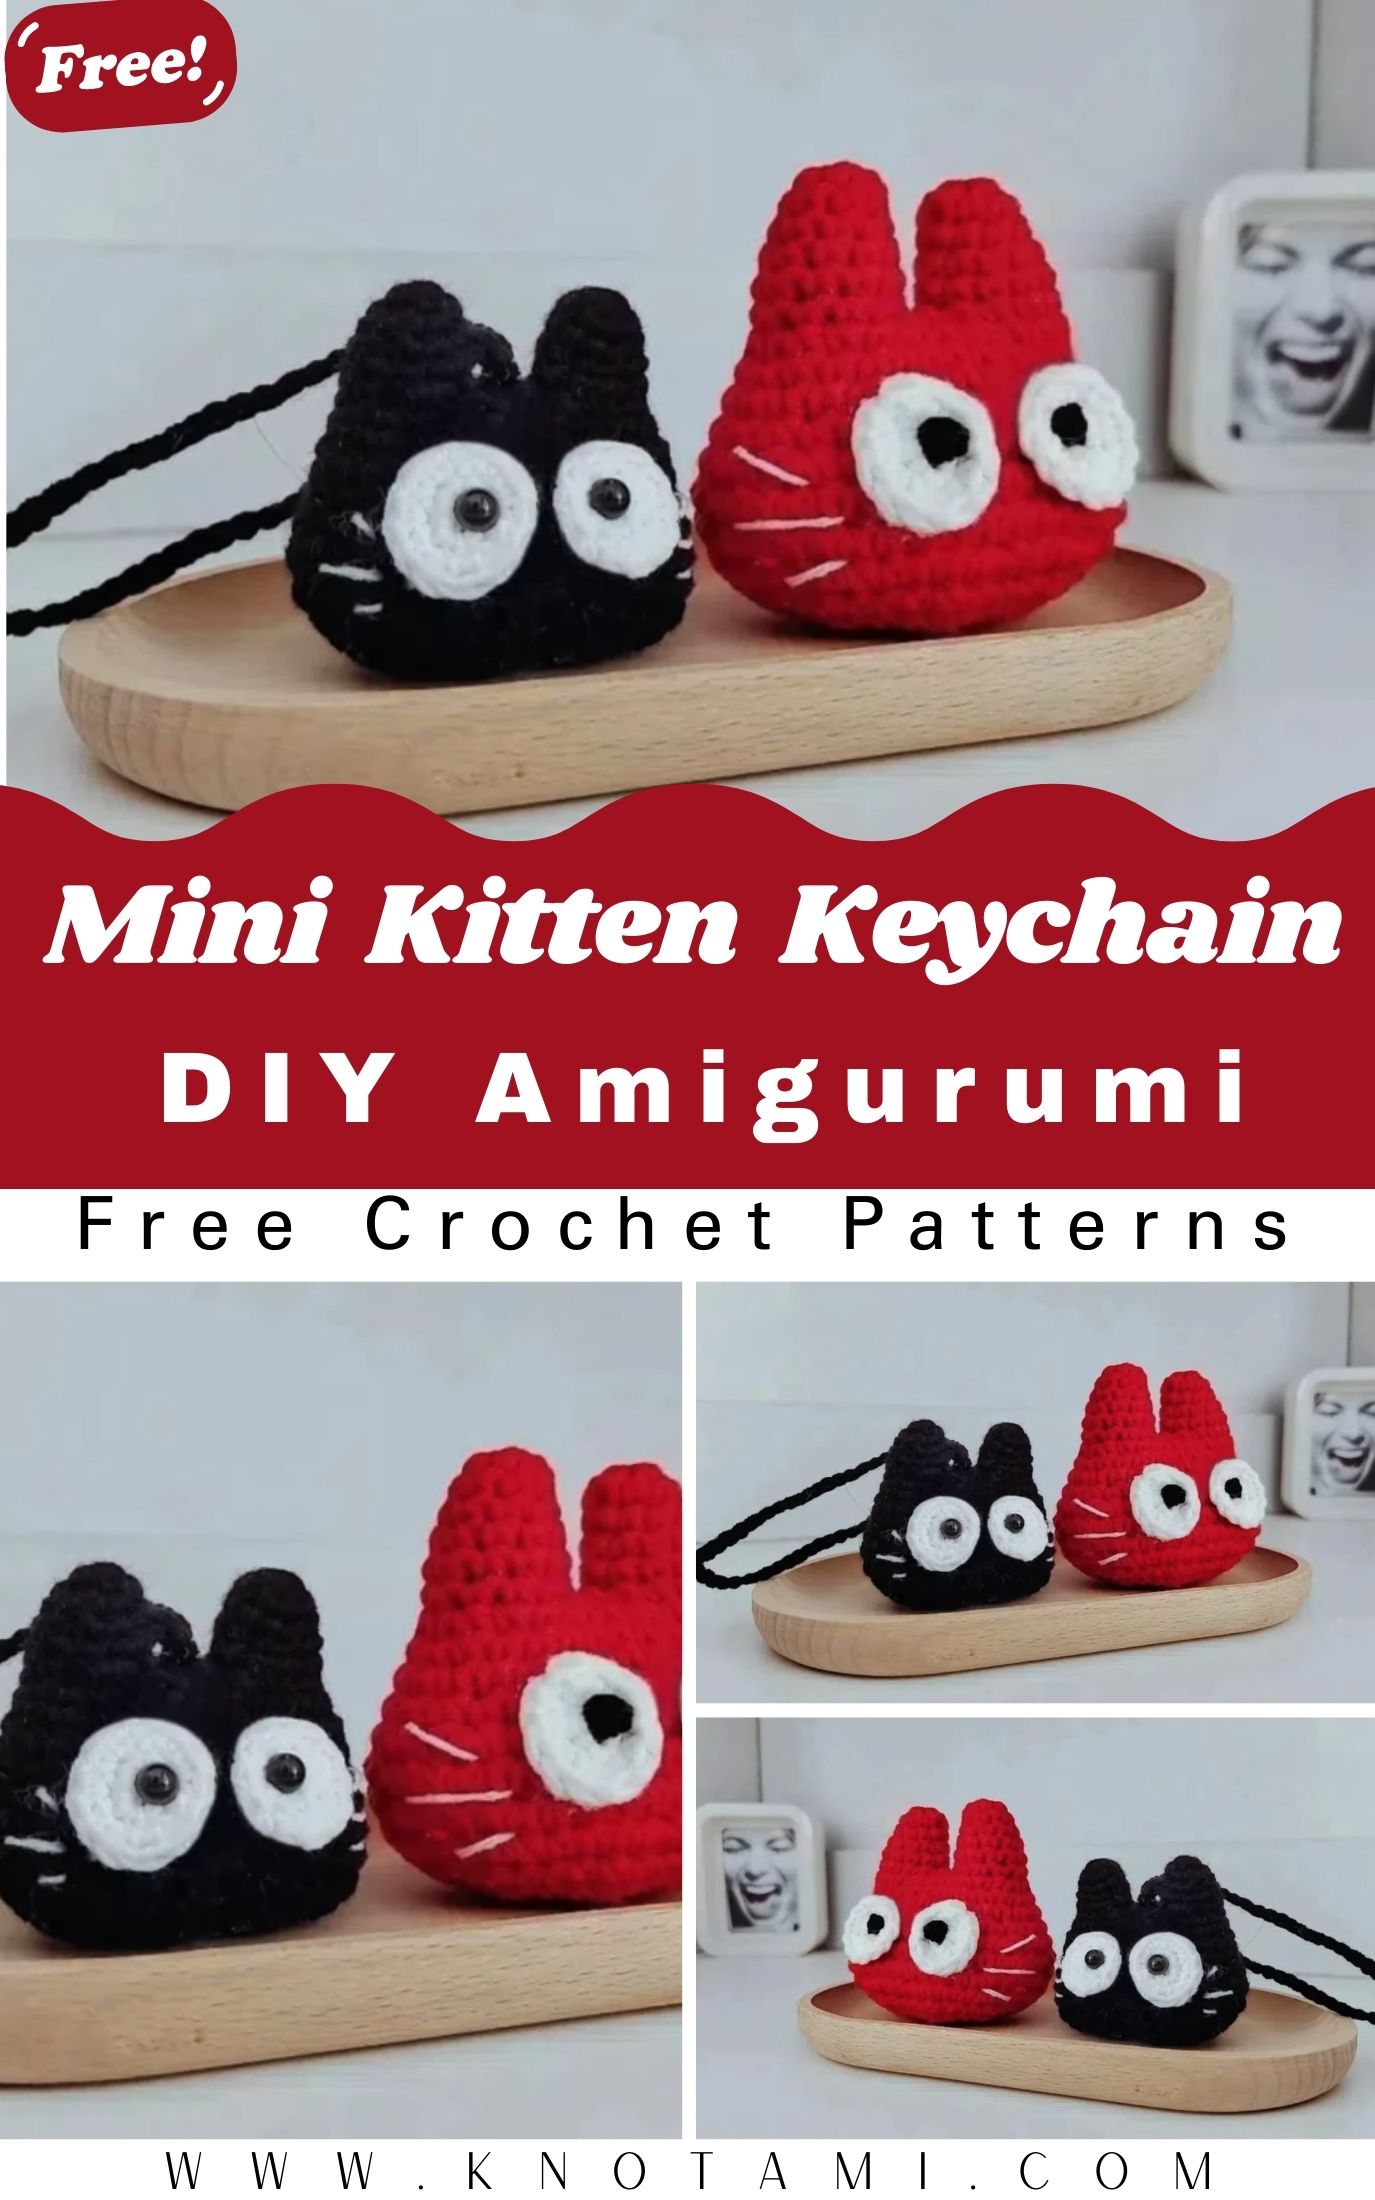
If you’re all about tiny projects that come together fast and make you smile, this little kitty keychain is going to be your new go-to. This sweet amigurumi kitten is small enough to dangle from your keys, tote, or even your car mirror, and every glance is a mini dose of joy. It brings the cozy charm of amigurumi to a practical accessory you can carry everywhere.
The finished kitty fits right in your palm, plump, soft, and packed with personality. With perky ears, teeny paws, and a simple embroidered face, it captures that playful kitten vibe in the cutest way. Keep it classic with cream, gray, or tabby tones, or have fun with pastels and bright pops of color to make it your own.
It’s also a fantastic stash-buster for leftover yarn. Whether you’re just learning shaping techniques or you’ve been crocheting for years and want a quick win, this project is pure satisfaction. Whip one up for gifts, sell a few at craft fairs, or make a handful as thoughtful little keepsakes for fellow handmade lovers.
Materials Needed
Before starting your mini kitten keychain, gather the following supplies:
-
Yarn: Lightweight (sport or DK) cotton or acrylic yarn, around 20–30g total (main color + accent).
-
Crochet Hook: 2.5mm or 3.0mm hook, depending on your yarn thickness.
-
Stuffing: Polyester fiberfill for shaping.
-
Safety Eyes: 6mm or smaller, or you can embroider the eyes for a softer look.
-
Tapestry or Yarn Needle: For sewing parts and weaving ends.
-
Scissors: For trimming yarn ends.
-
Stitch Markers: Helpful for keeping track of rounds.
-
Keychain Ring or Lobster Clasp: To attach your amigurumi to bags or keys.
-
Optional Add-ons: Small ribbon, bell, or embroidered heart for extra cuteness.
Yarn & Color Tips
For this project, cotton yarn gives a crisp, smooth look and holds shape well, perfect for a structured mini toy. Acrylic yarn, on the other hand, produces a slightly softer and fuzzier finish, making the kitten look extra cuddly.
When it comes to color, you can’t go wrong with classic tones like gray, beige, or white, but don’t hesitate to experiment with pastel pink kittens, golden tabbies, or even mint-green fantasy cats, which look absolutely adorable.
Level of Difficulty
This pattern is beginner-friendly, making it perfect for anyone new to amigurumi or looking for a quick, satisfying make. You’ll need to know a few basic crochet techniques, such as:
-
Magic ring
-
Single crochet (sc)
-
Increase (inc) and decrease (dec)
-
Slip stitch (sl st)
-
Sewing parts together
If you can comfortably make small amigurumi rounds and count your stitches, you’ll find this pattern simple and enjoyable. Even if you’re new, this project is small enough that it won’t feel overwhelming, and you’ll learn a lot in the process!
Step-by-Step Overview
1. Starting the Body
The kitten’s body starts with a small round base, worked in continuous spirals using the magic ring technique. You’ll gradually increase the stitches to form a round, plump shape.
Tip: Use a stitch marker to mark the first stitch of each round. It helps keep track of where to start your next row.
As you progress, you’ll notice the shape taking on a little sphere-like form. Before closing the final rounds, lightly stuff it with fiberfill. Avoid overstuffing, as you’ll need the body to stay slightly squishy.
2. Shaping the Head
The head is crocheted as a seamless continuation of the body or as a separate piece (depending on how you prefer to assemble). It’s slightly larger than the body, with soft shaping to give that “kitten face” look.
Attach the safety eyes before finishing the last few rows. Position them evenly and low enough to give that classic round-faced kitten charm. Embroider a tiny triangle nose and a gentle smile with black or brown yarn.
Pro Tip: For a softer expression, use pink or light brown for the nose and mouth instead of black.
3. Making the Ears
Each ear is a small triangle worked in just a few rows. Once finished, lightly pinch the base and sew them onto the head at equal distances.
You can adjust the ear size for different kitten expressions, smaller for a baby look or slightly bigger for a cartoon-style effect.
4. Adding Paws and Tail
The arms and legs are made from simple short tubes or ovals. They’re lightly stuffed and sewn near the lower sides of the body. For the tail, make a narrow chain and crochet a few rounds around it for thickness, then attach it to the back.
Adding these tiny limbs gives your kitten balance and personality. You can also embroider small paw pads using a darker yarn for extra detail.
5. Assembling and Joining
Now comes the fun part, putting everything together! Attach the head and body securely using your yarn needle and matching thread. Make sure all parts are symmetrical before tightening the stitches completely.
Attach the keychain ring by threading a loop of yarn through the top of the head, knotting it firmly. You can also use a metal jump ring if you prefer a neater look.
At this stage, your Crochet Mini Kitten Keychain Amigurumi should look irresistibly cute, with tiny paws, perky ears, and an adorable face full of personality.
6. Adding Details and Finishing Touches
This is where your creativity shines. You can add:
-
A small bow around the neck for a cute touch.
-
Blush cheeks using pink felt circles or embroidery.
-
A mini bell or charm to make it jingle.
If your yarn has fuzz, lightly brush it with a soft toothbrush for a fluffy kitten effect.
Special Features of This Pattern
What makes this Crochet Mini Kitten Keychain Amigurumi special is how much detail it packs into such a tiny design.
-
Quick and simple: You can finish one in just a few hours.
-
Low yarn usage: Perfect for using up leftover yarn scraps.
-
Beginner-friendly construction: Most parts use simple stitches and minimal sewing.
-
Compact size: Lightweight enough for bags, keys, or car mirrors.
-
Personalizable: Change colors, facial expressions, and accessories easily.
The source tutorial is also easy to follow, with clear camera angles, slow demonstrations, and explanations for every step. It’s a great companion for crocheters who prefer learning visually.
Tips for Best Results
Keep these tips in mind for a neat, polished mini kitten:
-
Use tighter tension so the stuffing doesn’t show through stitches.
-
Count each round carefully; even one missed stitch can affect the symmetry.
-
Stuff gradually using small tufts of fiberfill to avoid lumps.
-
Pin before sewing to ensure the ears and limbs look balanced.
-
Use a matching thread when attaching pieces for a clean look.
-
Avoid overstuffing the head; it should stay slightly soft for a cute, rounded shape.
-
Check proportions before final assembly. Adjust ears or paws if needed.
-
Brush gently with a soft brush if you want a fuzzy finish.
-
Use a split ring keychain so it stays secure when used daily.
-
Keep extras handy. Once people see yours, they’ll want one too!
How to Use or Gift Your Crochet Mini Kitten Keychain Amigurumi
This little kitten is versatile, more than just a keychain; it’s a small, handmade treasure that brings warmth and joy wherever it goes.
Ways to Use It
-
As a keychain or bag charm.
-
A car mirror decoration.
-
An adorable desk buddy for your workspace.
-
A mini plush toy for kids’ dollhouses.
Gift Ideas
It’s a perfect handmade gift for cat lovers, kids, or friends who appreciate thoughtful keepsakes. You can make several kittens in different colors and gift them as a set.
Wrap your finished piece in a small organza bag or a tiny box with a tag that says “Handmade with love.” It’s a small touch that makes a big difference.
Customization Ideas
One of the best parts about making amigurumi is how easy it is to personalize your creation.
1. Play with Colors
Use realistic cat shades like gray, cream, or orange tabby, or go creative with fantasy colors like lavender, mint, or pastel blue. Add tiny embroidered stripes or spots for more detail.
2. Try Different Yarn Types
-
Cotton: Gives a neat, polished look.
-
Acrylic: Lightweight and soft, great for everyday use.
-
Velvet or Chenille: Turns your kitten into a mini plush charm.
Each yarn texture changes the personality of the final piece.
3. Adjust the Size
Want a bigger kitten? Use a thicker yarn and a larger hook. For a micro-size version, switch to thread and a 1.5mm hook perfect for delicate jewelry or phone charms.
4. Add Accessories
-
Tiny bow or scarf
-
Mini flower on the head
-
Small embroidered initials
-
Glittery yarn details or tiny beads
These small touches make each kitten one of a kind.
Conclusion
The Crochet Mini Kitten Keychain Amigurumi is a project that proves small things can bring big joy. It’s quick, charming, and endlessly customizable, perfect for gifting or keeping as your own pocket-sized companion.
Once you finish your own Crochet Mini Kitten Keychain Amigurumi, you’ll see how much personality a few stitches and some yarn can create. Every time it dangles from your keys or bag, it’ll remind you that handmade art has a special kind of magic, soft, personal, and full of love.