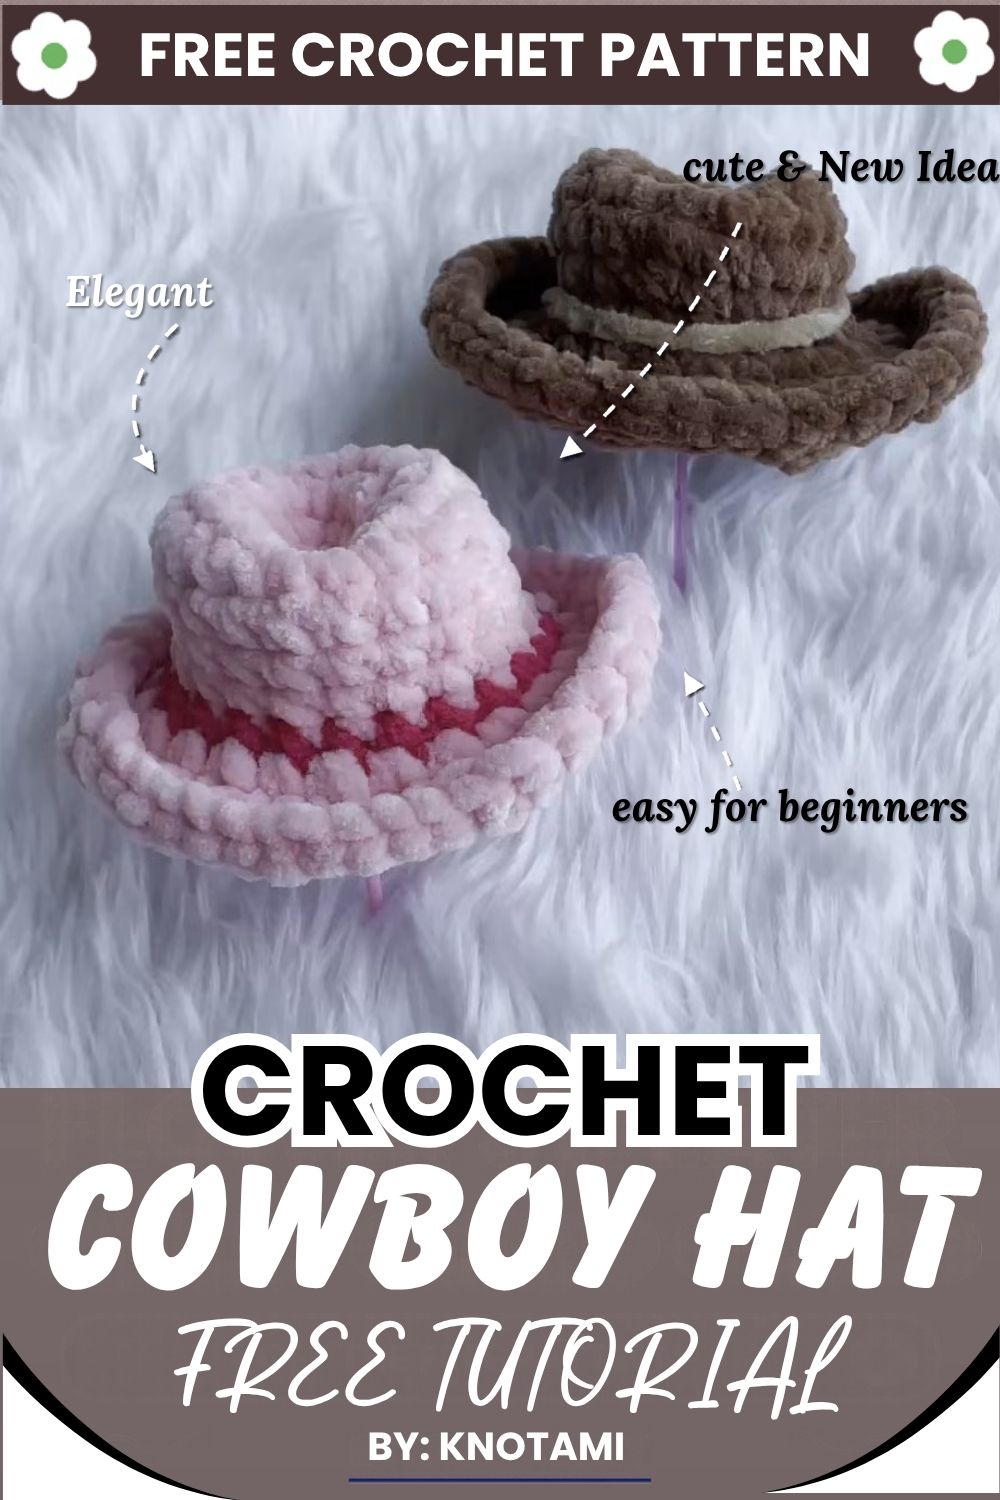
Infuse your crochet projects with charm using this How to Crochet Cowboy Hat Pattern, which is fun, easy, and perfect for creative flair.
Who says the tiniest things can’t bring the biggest smiles? Turning a simple ball of yarn into a little cowboy hat feels like pure magic. This tiny hat is perfect for dressing up dolls and plush toys, adding to party favors, or decorating a shelf or desk. The How to Crochet Cowboy Hat Pattern makes it easy to whip one up, because it uses basic stitches and gives a cute Western look. These mini hats aren’t just accessories, they are adorable conversation starters. Pick soft pink for a sweet style or brown for a classic cowboy feel, and add a ribbon or small beads to match any occasion. Crocheting them is half the fun, because there is something very satisfying about shaping fluffy yarn into a tiny hat with a dented top and a curled brim.
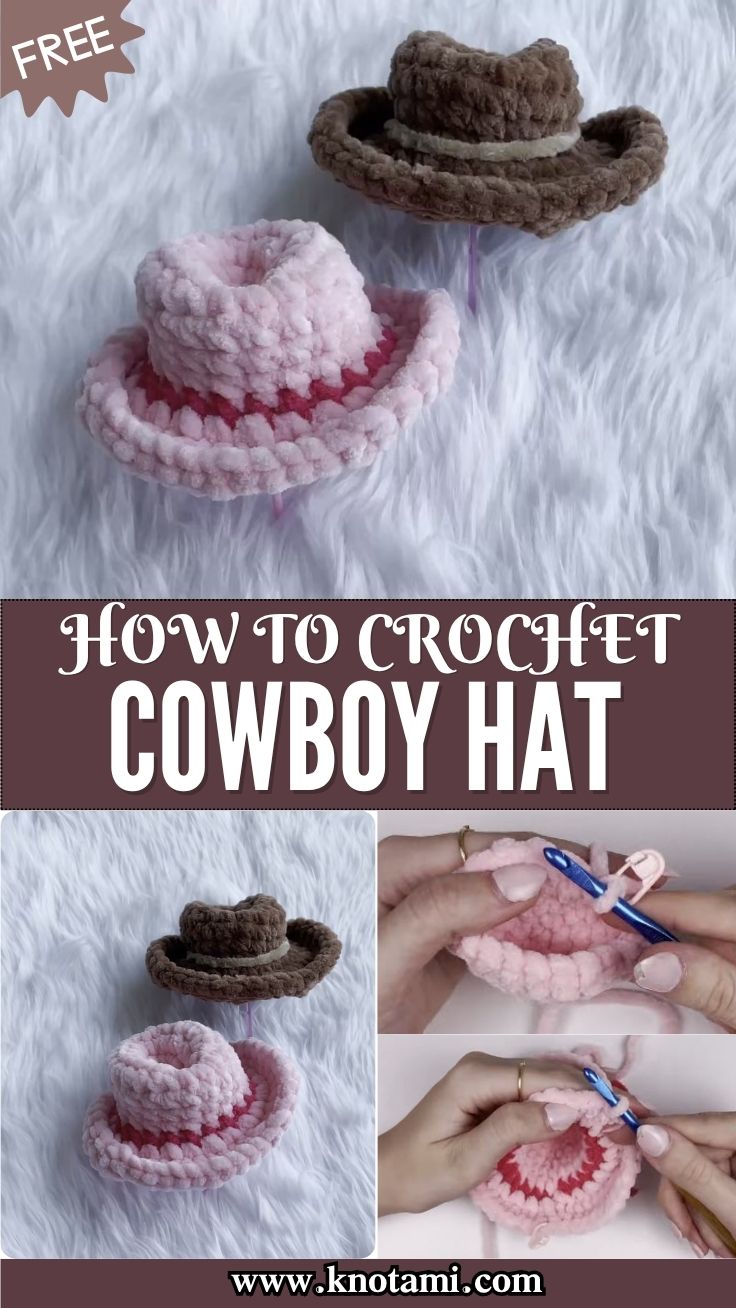
Beyond their cuteness, this hat offers a relaxing escape. With every stitch, you enjoy the calm rhythm of crochet while making a keepsake that brings smiles to others. It is fun, soothing, and easy to gift, and it shows that good things really do come in small sizes.
Project: A miniature, palm-sized kitten plush with a rounded head, pointed ears, tiny arms, and a short tail. It is small enough to fit in a pocket or hang on a bag as a keychain charm.
Skill level: Advanced beginner. You should be comfortable with continuous spiral rounds, magic rings, increases, and invisible decreases.
Finished size: about 3 to 4 in (7.5 to 10 cm) tall, estimated
Terminology: US
Materials and Tools
- Sport (#2) or DK (#3) weight cotton or acrylic yarn with a smooth, matte texture
- Main kitten color, plus pink and black scraps
- Total yarn needed: under 25 g, so it works well as a scrap-buster
- 2.25 mm crochet hook (2.0 to 2.5 mm also works). A small hook keeps the tension tight so the stuffing doesn’t show through.
- Polyfill stuffing
- Stitch marker
- Tapestry (embroidery) needle
- Scissors
- Optional: 6 mm safety eyes, or black embroidery floss for the eyes
Abbreviations
- MR: magic ring
- ch: chain
- sl st: slip stitch
- sc: single crochet
- inc: increase (2 sc in the same stitch)
- dec: invisible decrease (sc2tog worked in front loops only)
- st(s): stitch(es)
- Rnd: round
Stitches and Techniques
Single crochet (sc): Insert the hook into the stitch, yarn over, and pull up a loop (2 loops on the hook). Yarn over and pull through both loops.
Increase (inc): Work 2 sc into the same stitch.
Invisible decrease (dec): Insert the hook into the front loop only of stitch 1, then the front loop only of stitch 2 (3 loops on the hook). Yarn over and pull through the first 2 loops. Yarn over and pull through the remaining 2 loops.
Magic ring (MR): Wrap the yarn around your fingers to make a loop. Insert the hook through the center, yarn over, pull up a loop, and chain 1 to secure it. Work the first round of sc into the center of the loop, over both the working yarn and the tail. Then pull the tail firmly to close the hole.
Slip stitch (sl st): Insert the hook into the stitch, yarn over, pull up a loop, and pull it through the loop on your hook.
Chain (ch): Yarn over and pull the yarn through the loop on your hook.
Fastening off: Cut the yarn, leaving a 6 in tail. Pull the tail through the last loop and tighten.
Continuous spiral rounds: Work without joining or chaining at the end of each round. Put a stitch marker in the last stitch of every round and move it up as you finish each round.
Color changes: Work the last sc of the old color until 2 loops remain on the hook. Yarn over with the new color and pull through both loops.
Keeping count: Mark the last stitch of every round and recount your stitches at the end of every round.
Head and Body
- Rnd 1: 6 sc in MR. (6 sts)
- Rnd 2: inc in each st around, x 6. (12 sts)
- Rnd 3: [sc 1, inc] x 6. (18 sts)
- Rnd 4: [sc 2, inc] x 6. (24 sts)
- Rnd 5: [sc 3, inc] x 6. (30 sts)
- Rnds 6-10: sc in all 30 sts around (5 rounds). (30 sts)
- Rnd 11: [sc 3, dec] x 6. (24 sts)
- Rnd 12: [sc 2, dec] x 6. (18 sts)
- Stuff the head firmly with fiberfill.
- Rnd 13: [sc 1, dec] x 6. (12 sts)
- Rnd 14: dec x 6. (6 sts)
- Fasten off. Thread the tail through the front loops, pull tight to close, and weave the end inside.
Ears (make 2)
- Rnd 1: 4 sc in MR. (4 sts)
- Rnd 2: [sc 1, inc] x 2. (6 sts)
- Rnd 3: [sc 2, inc] x 2. (8 sts)
- Rnd 4: [sc 3, inc] x 2. (10 sts)
- Sl st and fasten off, leaving a long tail for sewing. Leave the ears unstuffed.
Arms / Paws (make 2)
- Rnd 1: 5 sc in MR. (5 sts)
- Rnds 2-4: sc in all 5 sts around (3 rounds). (5 sts)
- Fasten off, leaving a sewing tail.
Tail (make 1)
- Rnd 1: 4 sc in MR. (4 sts)
- Rnds 2-5: sc in all 4 sts around (4 rounds). (4 sts)
- Fasten off, leaving a sewing tail.
Shaping and Stuffing
Stuff firmly so the curves stay smooth, but don’t overstretch the stitches. Don’t overstuff the small parts.
Face
- Safety eyes: Place them between Rnds 7 and 8 of the head, with about 4 to 5 stitches between them.
- Embroidered eyes: Stitch sleepy, closed eyes with black thread.
- Nose: Embroider a tiny pink triangle in the center, between the eyes.
Assembly
- Sew the ears to the top of the head across Rnds 2 to 5.
- Attach the arms to the upper sides of the body.
- Sew the tail to the lower back.
- Pin all the pieces in place before sewing so everything sits evenly.
- Weave in all yarn tails and hide them inside the body.
Beginner Tips
- Keep your tension consistent.
- Count your stitches every round.
- Don’t overstuff the small limbs.
- For an invisible finish, thread the tail through the front loops and pull tight.
Child Safety
If the kitten is for an infant or toddler, leave out the plastic safety eyes completely. Embroider all the facial features with secure yarn stitches to avoid a choking hazard.
Customisation Ideas
- Add a small braided yarn band around the base of the crown
- Stitch a tiny star on the front with an embroidery needle
- Make a thin chin cord with a simple chain for doll wear
- Try a contrasting colour for the brim edge
- Make a matching mini hat for a set
Care & Washing Instructions
The source gives no care instructions, so check the yarn label first. In general, plush yarns do best with gentle hand washing in cool water, light squeezing, and flat drying. Also, avoid wringing, as it can flatten the fluffy texture. Finally, reshape the brim while the hat is damp so the curve holds.
More Crochet Ideas on Knotami
If you enjoyed this project, you can browse more free patterns on the Knotami home page. Moreover, we add new step-by-step designs regularly.
Ready to Stitch Your Western Hat?
A thick pink hat with a bright stripe and curved brim is a rewarding make that works up quickly and shows off every stitch. So, double-check the round counts noted above, shape the brim with care, and enjoy a cheerful finished piece. Ultimately, this crochet cowboy hat pattern brings a little western spirit to any space.