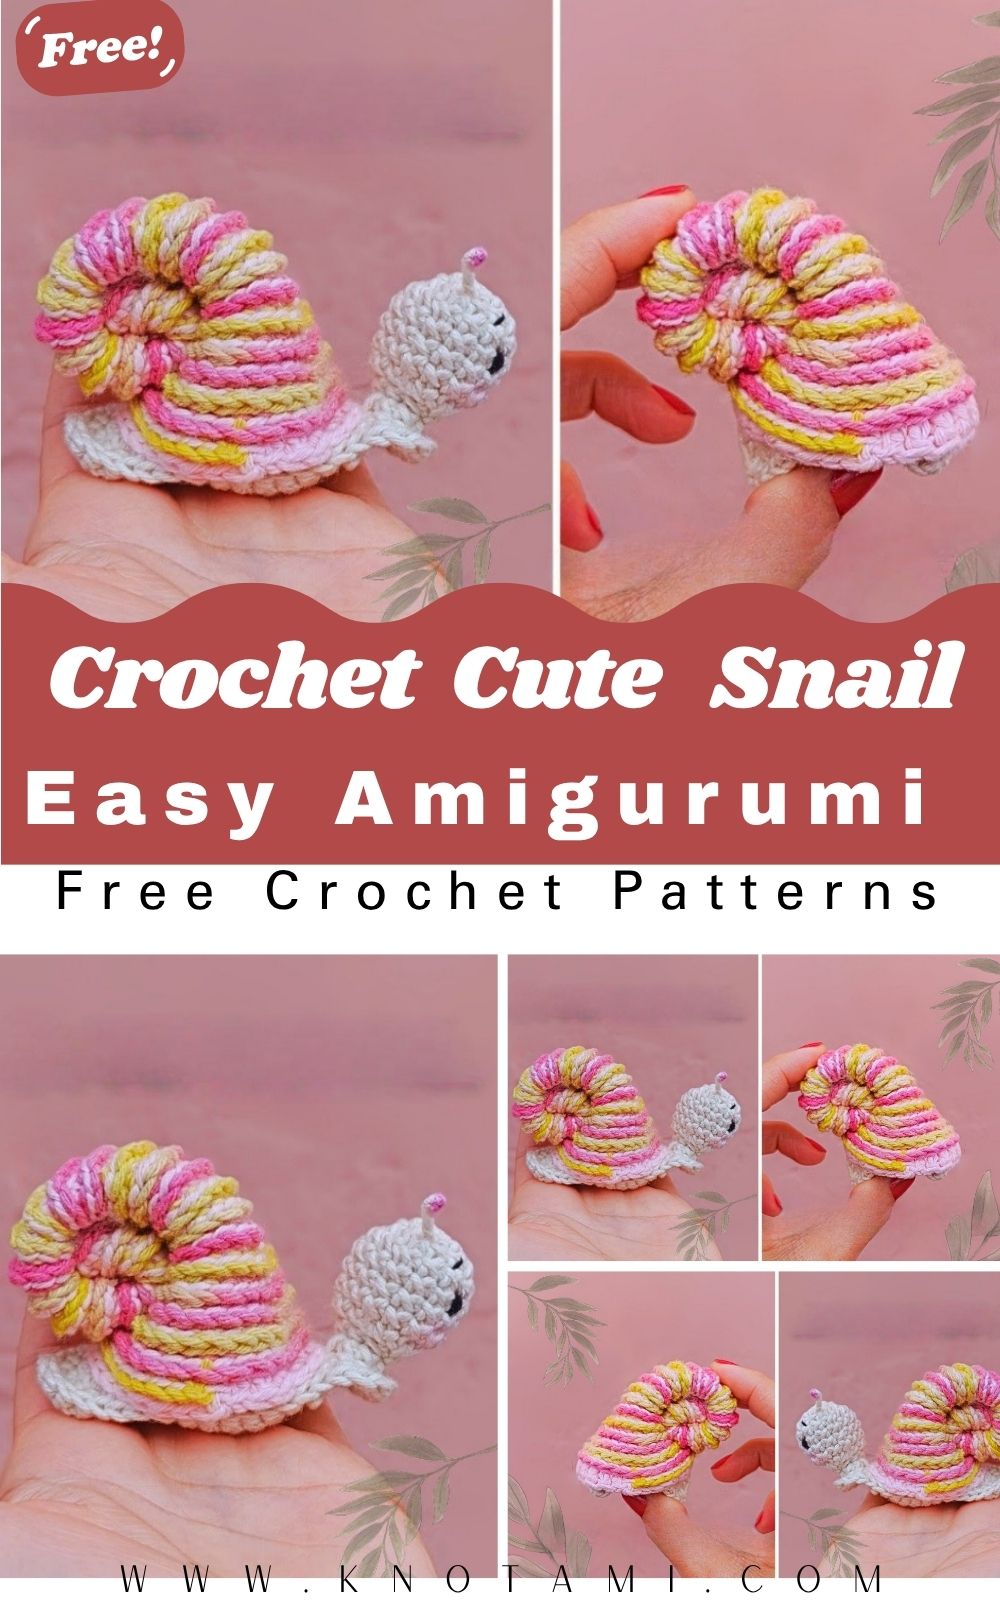
There’s a beautiful moment in every crochet project when yarn stops being yarn and becomes a tiny story in your hands. Loop by loop, you sculpt softness into shape, and suddenly there’s a face, a curve, a character. That quiet alchemy turning a skein into something alive with personality is what makes amigurumi so heartwarming. It’s creativity you can hold.
Today’s project, the Crochet Cute Magic Snail Amigurumi, bottles that feeling perfectly. With a gentle smile, sweet antennae, and a spiraled candy-like shell, this little friend is an instant dose of cozy whimsy. The simple body paired with the curled shell keeps the making approachable, and the end result looks polished enough to display proudly or gift with love.
This snail is ideal for beginners and still satisfying for experienced makers. The body uses familiar shapes and stitches; the shell invites playful colorwork, texturing, and subtle shaping tricks. You’ll practice clean increases, smooth decreases, and assembly techniques that boost your amigurumi confidence. If you’re new to 3D crochet, this is a forgiving on-ramp; if you’re seasoned, it’s a joyful palette to embellish.
Best of all, crocheting a snail encourages slow crafting. You settle into a steady rhythm, watch the spiral grow, and feel your breathing match the pace of your stitching. By the time you embroider the smile and attach the shell, you’ve made more than a plush you’ve made a mood: calm, cheerful, and handmade.

Materials & Tools
-
Yarn (DK / light worsted):
-
Body: soft neutral (cream, light tan, pastel peach, or mint)
-
Shell: two or three contrasting colors for a magical spiral (rose + butter yellow + white, or lavender + teal + cream)
-
Accent: tiny amount of black/brown (mouth), pink (blush), optional sparkle thread for “magic” glints
-
-
Hook: 2.5–3.0 mm (choose a size that gives tight, gap-free fabric with your yarn)
-
Stuffing: polyester fiberfill
-
Safety eyes: 6–8 mm (or embroider/felt for baby-safe)
-
Tapestry needle & fine sewing needle (for weaving ends and optional lining on shell edge)
-
Scissors
-
Stitch markers (move each round)
-
Optional: pipe cleaner (to gently pose antennae), small flat washer or a few glass beads in a tied muslin pouch (to weight the base discreetly), fabric glue (very light use for blush/felt dots)
Choosing Yarn & Color
-
Cotton gives crisp stitch definition (great for spiral texture).
-
Acrylic is softer and plush, excellent for cuddly finish.
-
Velvet/chenille makes a dreamy snail use a 3.5–4.0 mm hook and embroider eyes.
-
Color strategy: Pick a calm body and a joyful shell. A simple 2-color spiral reads elegant; a 3-color spiral feels candy-cute. Add a strand of metallic sewing thread carried along the shell rounds for a subtle magic sparkle.
Step-by-Step Crochet Instructions
US terms. Work in spirals unless noted. Keep tension even and fabric tight enough that stuffing doesn’t peek through.
Abbreviations:
MR (magic ring), sc (single crochet), inc (increase), dec (invisible decrease), sl st (slip stitch), ch (chain), BLO (back loop only), FLO (front loop only)
1) Making the Head
Body color
-
R1: MR, 6 sc (6)
-
R2: inc x 6 (12)
-
R3: (1 sc, inc) x 6 (18)
-
R4: (2 sc, inc) x 6 (24)
-
R5–R7: sc around (24)
Place safety eyes between R5–R6, about 5–6 sts apart. Lightly stuff as you go so the head keeps a soft sphere.
Shape polish: If you prefer a taller head, add one extra plain round before decreasing later.
2) Forming the Neck & Upper Body
-
R8: (3 sc, inc) x 6 (30)
-
R9–R10: sc around (30)
-
R11: (3 sc, dec) x 6 (24)
Tip: R8 widens subtly below the face cute cheek without embroidery. Don’t overstuff here; keep a gentle oval.
3) Building the Main Body
-
R12: (3 sc, inc) x 6 (30)
-
R13: sc around (30)
-
R14: BLO, sc around (30) (forms a seam ridge to seat the shell)
-
R15: (3 sc, dec) x 6 (24)
-
R16: (2 sc, dec) x 6 (18)
Add most of your stuffing by R15. The snail should sit stably; if needed, tuck a tiny weighted pouch into the belly before final closing.
4) Shaping/Closing the Base
-
R17: (1 sc, dec) x 6 (12)
-
R18: dec x 6 (6) FO, weave tail through front loops to close.
Pinch and roll the body gently between palms to smooth the silhouette.
5) Antennae (Eye Stalks)
Option A (soft):
-
Antenna (make 2): ch 7; starting 2nd ch from hook: sl st, sc, sc, hdc, sc, sl st. FO with long tail.
-
Sew on top of the head, slightly forward. You can curl the tips a touch while stitching for expression.
Option B (poseable):
-
Crochet a slim tube (ch 8, join, sc around 1–2 rounds). Insert a short piece of pipe cleaner, fold end inward, stitch closed, then sew to head carefully.
Eye dots: For kawaii style, embroider a tiny white highlight on each safety eye; or use felt dots with a speck of fabric glue.
The Spiral Shell (Two Approaches)
You can make a flat spiral coil that’s rolled and stitched, or a 3D cinnamon-roll shell for extra plush dimension.
A) Flat Spiral Shell (Beginner-friendly)
Shell colors A/B (alternate every round or every two rounds):
-
R1: With Color A, MR, 6 sc (6)
-
R2: inc x 6 (12)
-
R3: (1 sc, inc) x 6 (18)
-
R4: (2 sc, inc) x 6 (24)
-
R5: (3 sc, inc) x 6 (30)
-
R6: (4 sc, inc) x 6 (36)
-
R7: (5 sc, inc) x 6 (42)
Texture option: Work FLO on R6–R7 for a shallow ridge that catches light.
Block very lightly (steam at distance) to keep it flat and neat.
Embroidered spiral: With a contrasting strand, stem-stitch a thin spiral line from center outward for magic sparkle.
Attach:
-
Begin sewing the outer edge of the spiral onto the BLO ridge made in Body R14, letting the spiral overlap ½–⅔ of the ridge.
-
As you spiral inward, secure with tiny stitches every 1–2 cm.
-
Stop near the center; insert a puff of stuffing under the shell for gentle loft; finish sewing center down.
Result: a firm, graceful shell seated into the body’s ridge.
B) 3D Cinnamon Roll Shell (Plush look)
Color A (primary) with Color B (accent stripe)
-
R1: MR, 6 sc (6)
-
R2: inc x 6 (12)
-
R3: (1 sc, inc) x 6 (18)
-
R4: (2 sc, inc) x 6 (24)
-
R5: sc around (24)
-
R6: (3 sc, inc) x 6 (30)
-
R7–R9: sc around (30)
-
R10: (4 sc, inc) x 6 (36)
-
R11–R13: sc around (36)
-
R14: (5 sc, inc) x 6 (42)
-
R15–R16: sc around (42)
Lightly stuff as you go just enough to maintain pillowy sides. FO leaving very long tail.
Stripe pass: With Color B, surface slip-stitch a spiral from center top, descending 1 round every 1–2 stitches to create a candy-stripe whirl. Keep tension even, never puckering the shell.
Attach: Seat the shell onto the BLO ridge (Body R14), matching the lower curve to the back. Stitch around the base; add a little extra stuffing from below before closing the last gaps.
Stability tip: If your shell leans, add a hidden tack stitch from shell sidewall to body shoulder to lock the angle.
6) Assembly & Positioning
-
Test fit: Pin the shell where it looks balanced from front and side views.
-
Sew securely: Take small, consistent stitches into the shell’s base edge and the body’s BLO ridge. Hide knots under the shell.
-
Antennae angle: Adjust tilt for personality slight asymmetry looks charming.
-
Smile & blush: With thin brown/black, embroider a tiny “u” smile. Add 1–2 pink satin stitches each side for blush (or light pastel with fabric chalk).
-
Weight check: If the snail tips backward, stitch a discreet tack between shell and lower back; or add a small flat washer inside the belly.
7) Final Touches & Accessories
-
Leaf saddle: Crochet a quick leaf (ch 10, back with sc → hdc → dc → hdc → sc, picot tip) and stitch to shell side.
-
Mushroom buddy: Tiny red cap with white French-knot “spots,” sewn to base.
-
Star sparkle: Attach a couple of metallic seed beads around the shell spiral (avoid for baby gifts).
-
Scarf: Ch 40 in a contrast color; sc back; tie gently under the chin.
Customization Ideas
Alternative Color Schemes
-
Garden Classic: Cream body + sage shell + butter yellow accents
-
Fairycore Pastel: Mint body + lavender/rose shell with pearl highlights
-
Night Magic: Charcoal body + midnight blue shell with silver spiral
-
Candy Pop: White body + rainbow striped shell (switch color every round)
Yarn Variations
-
Mercerized cotton: Glossy, crisp stitches; shell spiral reads clean and graphic.
-
Acrylic: Softer, rounder silhouette great for plush toys.
-
Velvet/chenille: Ultra-cozy; simplify features (embroidered eyes, minimal embroidery) for clarity.
Themed Versions
-
Holiday: Evergreen shell + red stripe + tiny jingle bell (display only).
-
Spring Meadow: Speckled tweed shell with crocheted daisies.
-
Fantasy: Ombre shell with a thin strand of holographic sewing thread carried along.
Add-Ons
-
Mini letter tag (embroidered initial on felt).
-
Pocket friend: tiny crochet butterfly or bee stitched to the shell rim.
-
Keychain conversion: add a small screw eye at the shell top and a split ring (for older kids/adults).
Advanced Tips & Troubleshooting
-
Invisible decreases: Work through front loops only of next two stitches to avoid bumps critical on the head and shell.
-
Even tension: Let yarn feed smoothly; if you see “windows,” drop hook size by 0.25–0.5 mm.
-
Round drift control: Move your marker every round and keep color changes on the underside/core of the shell.
-
Spiral crispness: For the flat shell, lightly steam at distance before sewing; for 3D, surface slip-stitch slowly with even tension.
-
Stuffing balance: Add small pinches of fiberfill frequently rather than one large wad; shape by palm-rolling.
-
Seam stealth: Use the same yarn as the piece you’re stitching into; catch only inner loops where possible.
-
Shell stability: A single hidden tack stitch from shell wall to shoulder prevents waggle; add a belly weight if needed.
-
Reading patterns: Keep a shorthand: MR, sc, inc, dec, FLO/BLO; highlight decrease rounds to avoid missed counts.
-
Fixing lumps: If a round looks lumpy, unpick 6–8 sts, relax shoulders, re-stitch with steadier tension.
-
Neat finishes: Close small openings with a drawstring pass through front loops; bury tails with multiple direction changes.
Care Instructions
-
Hand wash gently in cool water with mild detergent.
-
Do not wring; press between towels to remove excess moisture.
-
Air dry flat; reshape shell curve and antennae while damp.
-
Avoid direct sunlight to keep colors bright (especially pastels).
-
Storage: Display on a shelf or keep in a breathable cotton pouch; avoid crushing the shell spiral.
Tip for sellers/gifters: Include a tiny care card adds polish and helps your snail live its best life.
Display & Gift Ideas
-
Home décor: Perch on a stack of books or next to a small plant for instant cottage-core charm.
-
Kid’s room: A gentle desk guardian or windowsill friend (embroider eyes for younger children).
-
Desk companion: A calm mascot to remind you to work slowly and kindly.
-
Holiday ornament: Add a hanging loop and nestle in garlands or spring branches.
-
Personalized gift: Stitch an initial on a tiny felt leaf and tuck it under the shell edge.
-
Craft fair sets: Create a garden trio snail + mushroom + leaf and package in a kraft box with tissue.
Benefits of Crocheting the Magic Snail
-
Relaxation & mindfulness: Repetitive stitches and gentle shaping invite steady breathing and focus.
-
Stress relief: Watching a spiral grow is unexpectedly soothing like drawing a mandala with yarn.
-
Accomplishment & joy: Quick wins (head/body) plus a show-stopping shell deliver that I-made-this spark.
-
Eco-friendly gifting: Handmade treasures beat plastic trinkets and can be made from stash yarn.
-
Emotional connection: A snail made slowly, thoughtfully, carries warmth no store-bought piece can match.
Photography & Social Media Tips
-
Light: Use natural window light; place the snail at a 45° angle to the window for soft shadows that highlight the spiral.
-
Background: Neutral linen, wood boards, or a pale pastel sheet lets colors sing.
-
Props: Add a sprig of baby’s breath, a mini mushroom, or your yarn cake for storytelling.
-
Angles:
-
Front-three-quarters to show face + shell.
-
Top-down for the spiral.
-
Macro close-up of stitches/antennae tips.
-
-
Editing: Slight brightness/contrast bump; keep colors true.
Reels idea: Show the spiral from pancake → attached → final turn with blush and smile instant aww.
Conclusion
The Easy Crochet Cute Magic Snail Amigurumi is a small project with big heart. From the calm rise of the head to the satisfying swirl of the shell, each step invites you to slow down, enjoy the rhythm, and watch a little personality emerge stitch by stitch. When you finish, you’re holding more than a plush you’re holding a pocket of peace, a reminder that gentle, handmade things can brighten any corner.
Make one for your desk, a pair for your bookshelf, or a whole family for gifts. Choose colors that make you smile, add a sparkle spiral, or tuck a flower by the shell. However you style it, your magic snail will carry your creativity wherever it sits quietly charming, sweetly whimsical, and full of your unique touch. Happy stitching!
