
There’s something undeniably magical about the art of crochet the way a single strand of yarn can be transformed into something so full of life and personality. Each stitch, each loop, carries creativity, focus, and a quiet joy that only handmade art can bring. From soft plushies to functional accessories, crochet allows you to weave emotion into every fiber, creating something that feels personal and heartfelt.
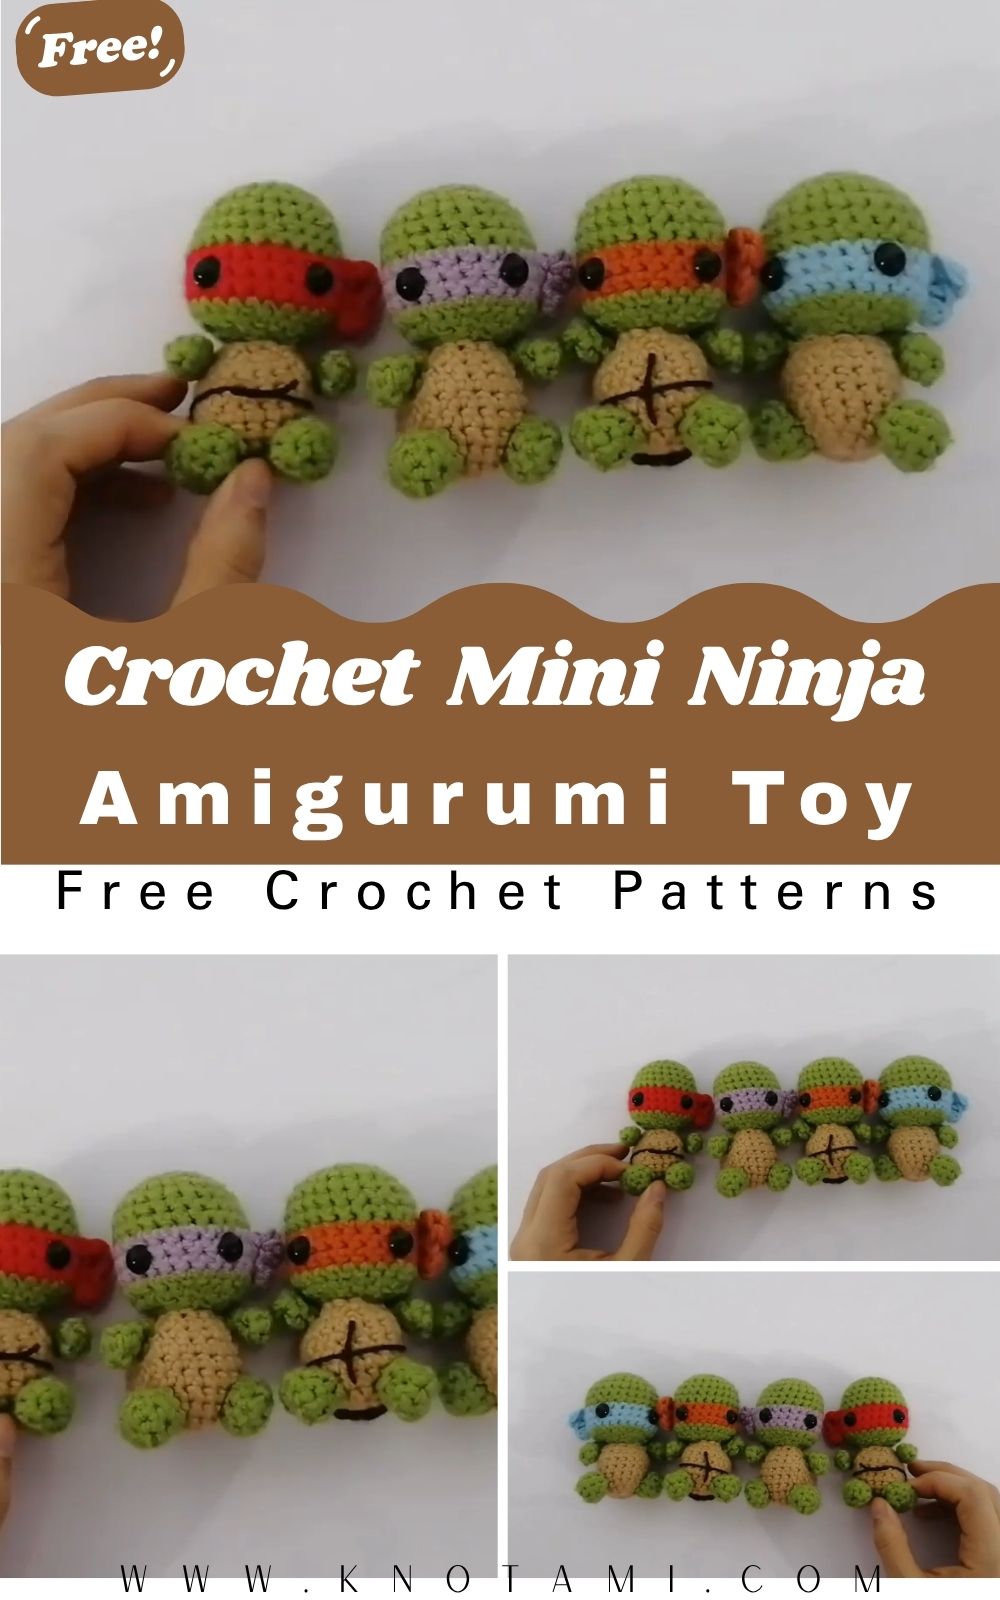
The Easy Crochet Mini Ninja Amigurumi is the perfect example of this magic a tiny, stealthy warrior made entirely from yarn! This adorable project blends simplicity with a fun, playful concept. Whether you’re a fan of ninjas, mini toys, or kawaii-style amigurumi, this project will capture your heart. With its little mask, bright eyes, and compact size, this mini ninja makes the perfect desk buddy, keychain charm, or handmade gift for anyone who loves cute yet bold designs.
This project is beginner-friendly yet satisfying for experienced crocheters. The basic stitches single crochet, increase, and decrease make it accessible for anyone, while the assembly and colorwork offer room for creative flair. You’ll learn to shape the ninja’s head and body, create the iconic mask look, and add details like arms and a belt. Even if it’s your first amigurumi, this little project will give you instant gratification without being overwhelming.
The act of crocheting something small like this is soothing the repetitive rhythm of stitches feels meditative, and the reward is immediate. Watching your ninja take shape in your hands from a simple ball to a tiny, stealthy figure is deeply satisfying. Whether you craft one or an entire ninja squad, each one will carry a touch of your creativity and craftsmanship, reminding you that handmade art always has the power to spark joy.
Materials & Tools
Before diving in, make sure you have everything ready for your ninja mission!
Materials List
-
Yarn:
-
Main color: Black (for ninja suit)
-
Accent color: Skin tone (for face area)
-
Optional accent colors: Red, blue, or gray (for belt or headband)
-
-
Yarn weight: DK (light worsted) or cotton/acrylic blend
-
Hook size: 2.5 mm–3.0 mm (depending on tension)
-
Stuffing: Polyester fiberfill
-
Safety eyes: 6 mm (or embroider eyes with black thread)
-
Tapestry needle: For sewing and embroidery
-
Scissors: For trimming yarn ends
-
Stitch marker: To mark your first stitch of each round
-
Optional keychain ring or loop: If you want to turn it into a bag charm
Yarn & Color Tips
Cotton yarn gives your ninja a crisp, defined look ideal for small amigurumi details. Acrylic yarn offers a softer, fluffier texture, making your toy extra cuddly. Stick to classic ninja black for the main body, or make a rainbow of ninjas red, green, white, or even pastel-colored ones for a cute twist.
Pro Tip: Use a slightly smaller hook than recommended on your yarn label. This creates tighter stitches, preventing the stuffing from showing through.
Step-by-Step Crochet Instructions
Let’s bring your Mini Ninja Amigurumi to life, step by step!
Making the Head
The head is worked in continuous rounds and forms the top half of your ninja.
Pattern:
-
Round 1: Magic ring, 6 sc (6).
-
Round 2: inc in each st (12).
-
Round 3: (1 sc, inc) × 6 (18).
-
Round 4: (2 sc, inc) × 6 (24).
-
Rounds 5–7: sc around (24).
Switch to skin tone yarn to create the visible face section.
-
Rounds 8–9: sc around (24).
-
Switch back to black yarn to continue the mask’s top edge.
-
Rounds 10–12: sc around (24).
Now you’ll have a rounded head shape with a skin-toned strip representing the ninja’s eyes.
Tip: Insert safety eyes between rounds 8 and 9, about 6–7 stitches apart. You can also embroider small eyes for a softer or more stylized look.
Stuff the head firmly but don’t overfill you’ll need to attach it seamlessly to the body later.
Forming the Neck and Upper Body
The body is small and compact, just like a stealthy ninja’s!
Pattern:
-
Round 1: From the last stitch of the head, continue with black yarn. (3 sc, dec) × 4 (20).
-
Round 2: sc around (20).
-
Round 3: (3 sc, inc) × 4 (24).
-
Rounds 4–7: sc around (24).
At this point, your ninja’s torso should be taking shape.
Pro Tip: To create a slimmer silhouette, do an extra decrease round before closing the base.
Building the Main Body
-
Round 8: (2 sc, dec) × 6 (18).
-
Round 9: (1 sc, dec) × 6 (12).
-
Round 10: dec × 6 (6).
-
Fasten off and close.
Stuff the body firmly but evenly. The bottom should be flat enough for the ninja to stand or sit on a shelf.
Shaping the Legs & Base
You can either crochet the legs separately or embroider small marks to represent them. For a three-dimensional version:
Legs (make 2):
-
Magic ring, 6 sc (6).
-
Round 2–3: sc around (6).
-
FO and leave a tail for sewing.
Attach both legs symmetrically at the base of the body.
Creating the Arms
Arms (make 2):
-
Magic ring, 6 sc (6).
-
Round 2–4: sc around (6).
-
FO, leaving a tail for sewing.
Sew the arms slightly downward from the head, positioned on each side. Adjust to look like your ninja is ready for action!
Optional Belt:
-
Using red or gray yarn, wrap around the waist and tie or sew in place.
-
You can also crochet a thin chain (Ch 25, sl st back) to use as a belt cord.
Assembly & Positioning
Now comes the exciting part putting it all together!
-
Position the head on the body and sew it securely using a tapestry needle.
-
Attach arms and legs symmetrically.
-
Embroider a simple eyebrow line above the eyes if you want a fierce expression.
-
Use black yarn to stitch a small line across the front for the mask band.
Finishing Tip: Roll the ninja gently between your palms to smooth the shape and distribute stuffing evenly.
Adding Final Touches & Accessories
-
Headband Tie:
-
Chain 20–25, tie around the head just above the eyes, and secure with a knot on one side.
-
Leave the ends loose for that cool, wind-blown effect!
-
-
Weapon Props:
-
Crochet or cut a tiny felt sword, star, or staff and stitch it to one hand.
-
For extra charm, use metallic embroidery thread to give a shimmering steel look.
-
-
Mask Detailing:
-
Embroider a subtle V shape below the eyes to mimic a cloth crease.
-
With these small details, your ninja goes from simple to extraordinary full of personality and stealthy flair.
Customization Ideas
Your mini ninja doesn’t have to stay traditional personalize it with flair!
Color Variations
-
Classic Ninja: All black with gray belt.
-
Stealth Blue: Navy blue with black mask.
-
Red Fury: Fiery red ninja for a bold look.
-
Kawaii Style: Pastel colors with pink blush on cheeks.
Yarn Texture Variants
-
Cotton Yarn: Best for crisp, defined stitches.
-
Acrylic Yarn: Great for plush, squeezable ninjas.
-
Velvet Yarn: Turns your ninja into a soft, luxurious plush.
Accessories & Themes
-
Add a tiny scarf for a cozy winter ninja.
-
Crochet a mini throwing star (shuriken) as a prop.
-
Use gold or silver thread for a samurai-inspired belt.
-
Make a ninja team set in different colors and poses for display!
Creative Idea: Make a Shadow Ninja Squad one in every color of the rainbow! Perfect for kids or themed desk décor.
Advanced Tips & Troubleshooting
-
Invisible Decreases: Insert hook into front loops only of next two stitches and pull yarn through both for a seamless shape.
-
Even Stitch Tension: Keep your grip relaxed; avoid tight pulling that makes stuffing difficult.
-
Prevent Twisting: Use a stitch marker in the first stitch of every round especially crucial for tiny projects.
-
Smooth Color Transitions: Change colors during the last yarn pull of the previous stitch.
-
Shape Consistency: Periodically check symmetry while crocheting; adjust tension or stuffing as needed.
-
Stuffing Balance: Fill small pieces gradually using tweezers or the back of your hook for even density.
-
Joining Parts: Sew with the same yarn color as the piece hidden stitches look cleaner.
-
Correcting Mistakes: If a stitch count goes off, count each round before moving on it saves rework later.
-
Reading Patterns: Familiarize yourself with abbreviations: sc (single crochet), inc (increase), dec (decrease), sl st (slip stitch).
-
Polish Finishing: Use a light steam (never touch iron directly) to soften shapes and smooth stitches.
Care Instructions
Your mini ninja may be small, but proper care will keep it battle-ready for years!
-
Hand wash gently in cool water with mild soap.
-
Press dry using a towel don’t wring or twist.
-
Air dry flat, reshaping the body as it dries.
-
Avoid direct sunlight to prevent fading, especially for black yarn.
-
Store safely in a dust-free box or shelf away from sharp objects.
Bonus Tip: If you make several ninjas for gifts or sale, pack them individually in small organza bags or kraft boxes with a tag presentation adds charm!
Display & Gift Ideas
Your Crochet Mini Ninja Amigurumi can be displayed or gifted in countless creative ways:
-
Desk Companion: Add one to your work desk for motivation or as a silent protector.
-
Car Charm: Attach a small chain and hang it from your rearview mirror.
-
Keychain Buddy: Lightweight and travel-friendly perfect for keys or backpacks.
-
Home Décor: Display a group of colorful ninjas on a shelf.
-
Themed Gift: Ideal for kids, anime fans, or martial arts enthusiasts.
-
Party Favor: Make multiple ninjas as thank-you gifts for birthdays or game nights.
Creative Gift Idea: Pair your ninja with a tiny scroll that says Stay calm, stay strong a symbolic message of focus and peace.
Benefits of Making a Crochet Mini Ninja
Crocheting your ninja offers more than a cute outcome it’s also a form of creative self-care.
-
Mindful Relaxation: The repetitive motion of crocheting soothes the mind and enhances focus.
-
Stress Relief: Creating something with your hands provides calmness and satisfaction.
-
Sense of Accomplishment: Completing a mini project quickly gives a boost of creative confidence.
-
Eco-Friendly Crafting: Handmade gifts reduce waste and support sustainable living.
-
Emotional Connection: Giving or keeping a handmade ninja becomes a heartfelt token of creativity and care.
Whether you make one or many, each ninja carries the peaceful discipline of the art just like real ninjas, but softer and far cuter!
Photography & Social Media Tips
Show off your ninja squad online with photos that capture their stealthy charm!
-
Lighting: Use soft, natural daylight for even illumination.
-
Backdrop: Plain backgrounds wood, neutral fabric, or paper make the black yarn pop.
-
Props: Add small origami stars, bamboo sticks, or a tiny scroll for ninja vibes.
-
Angles: Take front and 45° shots to highlight facial details and accessories.
-
Focus: Use close-ups to showcase neat stitches and eye placement.
-
Editing: Slightly increase brightness and contrast for clear definition.
Pro Tip: Create a mini stop-motion video of your ninja “sneaking” across your desk it’s guaranteed to charm your audience!
Conclusion
Crafting your own Easy Crochet Mini Ninja Amigurumi is more than just a weekend project it’s a journey of creativity, patience, and joy. From the first stitch to the final knot of the headband, each step brings you closer to creating a little handmade hero full of character. This tiny ninja represents not only skill and attention to detail but also the peaceful concentration that crochet inspires.
Whether you make one as a desk companion, a gift, or part of a colorful collection, your ninja will remind you of the quiet strength in handmade art. So grab your yarn, hook, and imagination and let your next crochet adventure be stealthy, adorable, and full of heart.