
There’s something deeply satisfying about transforming a simple ball of yarn into something cute, functional, and full of personality. Crocheting allows you to breathe life into loops and stitches, turning thread into tangible joy a plush, a toy, or a tiny friend. Every project holds a bit of your heart, creativity, and patience. It’s a hobby that slows down the rush of daily life and lets you focus on creating something beautiful, one stitch at a time.
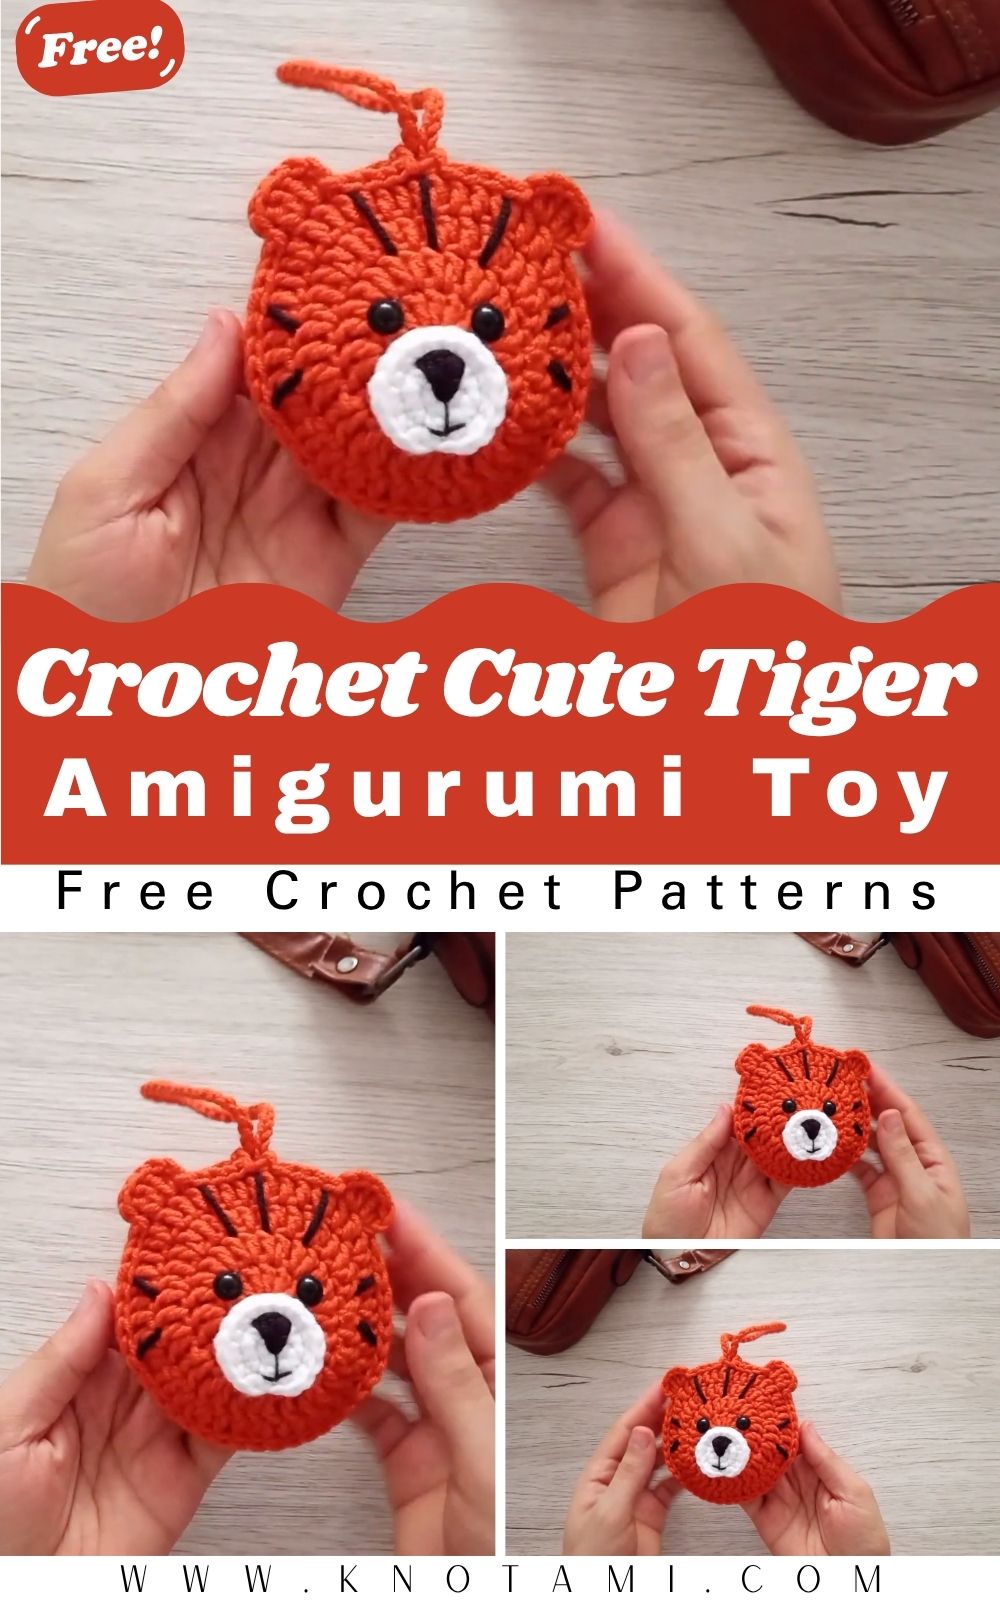
The Crochet Cute Tiger Key Holder Amigurumi is one of those projects that perfectly balances usefulness and cuteness. It’s small enough to fit in your palm yet detailed enough to stand out on your bag, keys, or even as a little desk mascot. With its bright stripes, playful face, and snugly round shape, this tiger design captures all the charm of handmade crochet and the bonus is, it doubles as a keychain or key holder!
This project is suitable for crocheters of all skill levels. Beginners will love the easy-to-follow structure and the small scale, while more experienced crafters will enjoy adding personal touches through color choices, expressions, and accessories. You’ll learn how to make rounded forms, shape limbs, and even add details like ears and stripes for that classic tiger look.
Crocheting this tiger key holder isn’t just about making something cute it’s an experience. The rhythmic repetition of stitches calms the mind, and the moment your little tiger’s face appears under your hook, you’ll feel that spark of joy only handmade crafts can bring. Whether you make it for yourself or gift it to someone special, this tiny tiger carries love, creativity, and a bit of wild-hearted personality in every stitch.
Materials & Tools
To make your Crochet Tiger Key Holder Amigurumi, you’ll need a few essential tools and materials.
Materials List:
-
Yarn: Soft cotton or acrylic DK (light worsted) weight yarn
-
Orange (main body color)
-
White (belly, muzzle, and ear accents)
-
Black (for stripes, nose, and detailing)
-
-
Crochet hook: 2.5 mm–3.0 mm (depending on yarn weight)
-
Stuffing: Polyester fiberfill or soft cotton stuffing
-
Safety eyes: 6 mm–8 mm black eyes (or embroidered if preferred)
-
Tapestry needle: For sewing and embroidery details
-
Scissors: For trimming yarn neatly
-
Keychain ring or clasp: Metal key ring or lobster clasp for attachment
-
Stitch markers: To mark the beginning of each round
Yarn Tips:
Cotton yarn gives a smooth, neat look with defined stitches perfect for amigurumi with details like stripes. Acrylic yarn provides a softer, slightly fluffier result, which is great for a cuddlier look. Stick with bright orange or golden yellow for a classic tiger appearance, or experiment with nontraditional colors like teal, lavender, or pastel peach for something fun and unique!
Step-by-Step Crochet Instructions
Here’s a complete step-by-step tutorial to help you create your own Crochet Tiger Key Holder Amigurumi.
Making the Head
Start with a magic ring and form the tiger’s round head.
Pattern Outline:
-
Round 1: 6 sc in magic ring (6)
-
Round 2: inc in each stitch (12)
-
Round 3: (1 sc, inc) x 6 (18)
-
Round 4: (2 sc, inc) x 6 (24)
-
Rounds 5–8: sc around (24)
Insert safety eyes between rounds 6 and 7, spaced evenly apart (around 6–7 stitches apart). Stuff the head gently but firmly to maintain a smooth round shape.
Pro Tip:
Keep your stitch tension consistent too tight and you’ll struggle to insert the hook; too loose and the stuffing may peek through.
Forming the Muzzle and Nose
For the tiger’s muzzle:
-
Chain 5.
-
Starting from the second chain from hook: sc 3, 3 sc in last stitch, continue on the other side with 2 sc, inc in final stitch (10).
-
Round 2: sc around (10).
Sew the muzzle slightly below the eyes. Embroider a small black triangle for the nose and add a short vertical line downwards to shape the mouth.
Expert Tip:
Add a tiny bit of stuffing inside the muzzle before attaching it gives your tiger a fuller, 3D snout!
Making the Ears
Tigers have small round ears with a bit of white inside.
Pattern:
-
With orange yarn, make a magic ring.
-
Round 1: 6 sc in ring.
-
Round 2: (1 sc, inc) x 3 (9).
-
Fasten off and leave a long tail for sewing.
Create two small white semi-circles for the ear lining using the same pattern but stopping at Round 1. Sew the white inner ear onto the orange circle and attach both ears to the top sides of the head.
Pro Tip:
Position ears slightly forward it makes the expression look cuter and more alert!
Building the Body
The tiger’s body should be compact and slightly oval.
Pattern Outline:
-
Round 1: 6 sc in magic ring (6)
-
Round 2: inc in each stitch (12)
-
Round 3: (1 sc, inc) x 6 (18)
-
Round 4: (2 sc, inc) x 6 (24)
-
Rounds 5–8: sc around (24)
-
Round 9: (2 sc, dec) x 6 (18)
-
Round 10: (1 sc, dec) x 6 (12)
Stuff the body as you go to maintain shape. Then fasten off and sew closed.
Pro Tip:
Ensure the stuffing is even by pressing lightly after each few rounds. It helps prevent lumps or misshapen areas.
Adding Arms, Legs, and Tail
Arms (Make 2):
-
Round 1: 6 sc in magic ring (6)
-
Round 2–3: sc around (6)
-
Round 4: dec x 3 (3)
-
Fasten off and leave a tail for sewing.
Legs (Make 2):
-
Round 1: 6 sc in magic ring (6)
-
Round 2: (1 sc, inc) x 3 (9)
-
Round 3: sc around (9)
-
Round 4: dec x 3 (6)
-
Fasten off and stuff lightly.
Tail:
-
Chain 10, then sc back to start.
-
Switch to black yarn and add a black tip by making 2 sc in each stitch for one extra row.
Attach the tail to the back center of the body.
Pro Tip:
If you want your tiger to sit position the legs slightly forward before sewing.
Assembly & Positioning
Now that all parts are ready, let’s bring your tiger to life!
-
Sew the head onto the body, ensuring it’s centered.
-
Attach arms to the sides, just below the neck line.
-
Add legs to the bottom for a seated pose.
-
Sew the tail securely at the back.
-
Embroider small black stripes on the head, back, and tail using black yarn.
Expert Tip:
Use short, angled stitches for stripes it makes them look more natural and dynamic rather than flat.
Adding Final Touches & Keychain Attachment
Now the fun part personalization!
-
Add blush circles under the eyes using soft pink yarn or fabric paint.
-
Sew or glue a small bow tie or scarf around the neck for extra charm.
-
Attach the keychain ring securely on top of the head or at the back. Use a metal screw hook or strong loop of yarn.
Pro Tip:
For extra durability, insert a small felt circle inside the head where you attach the ring it strengthens the area and prevents stretching over time.
Customization Ideas
Want to make your tiger even more special? Try these creative variations:
Color Options
-
Classic Tiger: Orange with black stripes and white accents.
-
White Tiger: White with gray or black stripes.
-
Fantasy Tiger: Lavender with gold stripes or pastel rainbow shades.
-
Holiday Tiger: Red and green with a mini Santa hat for Christmas.
🧶 Yarn Textures
-
Cotton Yarn: Crisp stitch definition and long-lasting durability.
-
Acrylic Yarn: Soft and fuzzy texture perfect for cute, cuddly results.
-
Velvet Yarn: Luxurious and plush feel for a “fluffy tiger” look.
Accessories
-
Mini hat, bow tie, or scarf.
-
Crochet a tiny fish or yarn ball for the tiger to hold.
-
Add initials or small charms for personalization.
Advanced Tips & Troubleshooting
Perfect your Tiger Key Holder Amigurumi with these pro-level tips:
-
Invisible Decrease: Insert your hook only through front loops of the next two stitches for smoother shaping.
-
Consistent Tension: Keep an even grip on your yarn loose tension leads to gaps, tight tension stiffens the plush.
-
Prevent Twisting: Use a stitch marker in the first stitch of every round.
-
Stuff Gradually: Add small tufts of stuffing at a time to avoid lumps.
-
Seamless Joining: Use whip stitch or mattress stitch for invisible joins between pieces.
-
Reading Abbreviations: Familiarize yourself with sc (single crochet), inc (increase), dec (decrease), sl st (slip stitch).
-
Clean Color Changes: Always pull the new yarn color through the final stitch of the old color.
-
Fixing Uneven Shapes: Roll the stuffed piece between your hands to smooth it out.
-
Embroidery Precision: For stripes or details, use smaller tapestry needles for clean results.
-
Secure Ends: Weave yarn tails deeply inside the plush to prevent unraveling.
Care Instructions
Keep your handmade tiger looking adorable for years with gentle care.
-
Hand wash gently in cool or lukewarm water using mild soap.
-
Do not wring press gently to remove excess water.
-
Air dry flat on a towel. Avoid hanging to prevent stretching.
-
Keep away from sunlight to prevent color fading.
-
Store safely in a dry, dust-free space when not in use.
Gift Tip: Wrap your tiger in tissue paper or place it in a small crochet pouch it looks thoughtful and protects your craft.
Display & Gift Ideas
Your Crochet Tiger Key Holder is a charming and versatile creation!
-
Everyday Use: Attach to keys, handbags, or backpacks.
-
Home Décor: Display on a shelf, desk, or in your car.
-
Kid’s Room Accessory: Perfect as a playful touch for a child’s key set or bag charm.
-
Holiday Ornament: Add a hanging loop for Christmas or Lunar New Year décor.
-
Handmade Gift: Ideal for birthdays, animal lovers, or anyone who adores cute crochet keepsakes.
Creative Idea: Make a whole family of tigers in different sizes parents, cubs, and even a pastel baby tiger and gift them as a set!
Benefits of Crocheting the Tiger Key Holder
Crocheting is not just a hobby; it’s a beautiful form of self-expression and therapy.
-
Relaxation & Mindfulness: The repetitive motion of stitching soothes the mind and promotes calm.
-
Stress Relief: Focusing on small details diverts stress into creative energy.
-
Sense of Achievement: Completing your project fills you with pride and joy.
-
Sustainable Gifting: Handmade items promote eco-friendly living and conscious creativity.
-
Emotional Connection: Giving a handmade key holder feels personal it’s a piece of your time and heart.
This little tiger represents not just skill, but love and creativity proof that simple yarn can turn into something extraordinary.
Photography & Social Media Tips
Show off your adorable tiger key holder online!
-
Lighting: Use natural daylight (morning or afternoon) for soft shadows and bright colors.
-
Background: Neutral or pastel backdrops help your tiger’s colors stand out.
-
Props: Add yarn balls, crochet hooks, or small jungle-themed props like leaves or plants.
-
Angles: Capture side, front, and top views especially the stripes and facial details.
-
Close-ups: Highlight the eyes, muzzle, and stitches.
-
Video Ideas: Make a short time-lapse of your tiger being made for Instagram or TikTok!
Conclusion
Creating your own Crochet Cute Tiger Key Holder Amigurumi is more than a crafting project it’s a journey filled with creativity, calm, and satisfaction. Each stitch carries your focus and heart, slowly forming an adorable tiger full of character and charm. When finished, it’s not just a key holder; it’s a handmade reminder of patience, joy, and imagination turned into reality.
Whether you’re gifting it, selling it, or keeping it for yourself, this crochet tiger is sure to make people smile. So grab your yarn, pick your favorite colors, and start crocheting today because your little tiger friend is just a few stitches away from coming to life!